manuals.online logo
Brands
  1. Home
  2. •
  3. Brands
  4. •
  5. M-system
  6. •
  7. Control Unit
  8. •
  9. M-system R8-DC4C User manual

M-system R8-DC4C User manual

R8-DC4C
P. 1 / 4EM-9743 Rev.1
5-2-55, Minamitsumori, Nishinari-ku, Osaka 557-0063 JAPAN
Phone: +81(6)6659-8201 Fax: +81(6)6659-8510 E-mail: info@m-system.co.jp
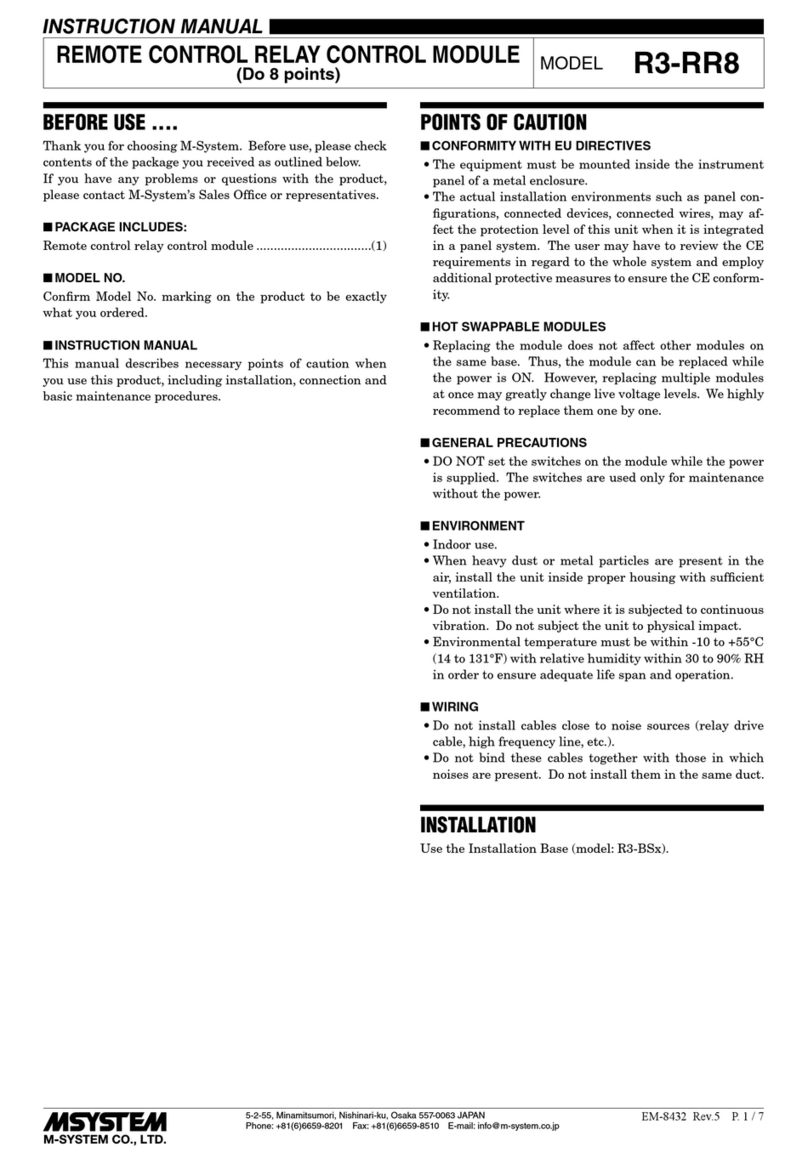
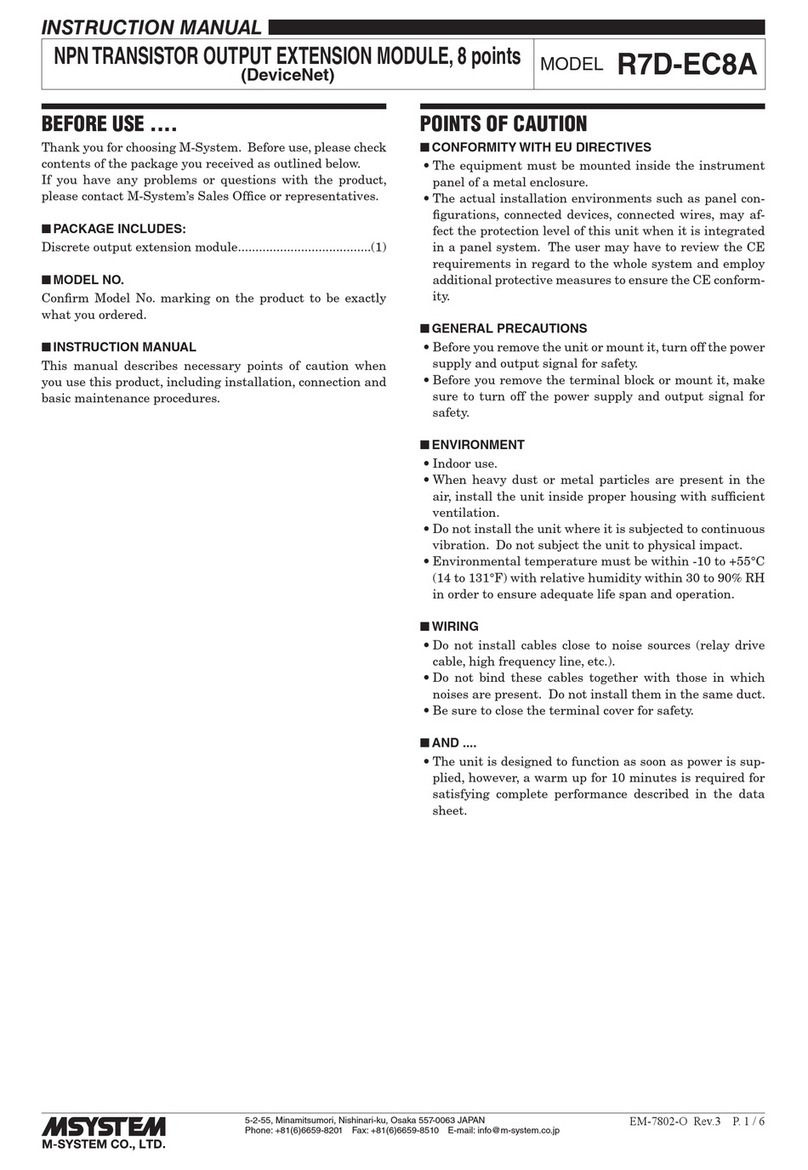
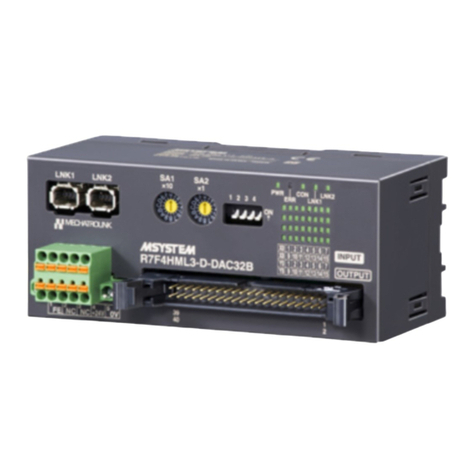
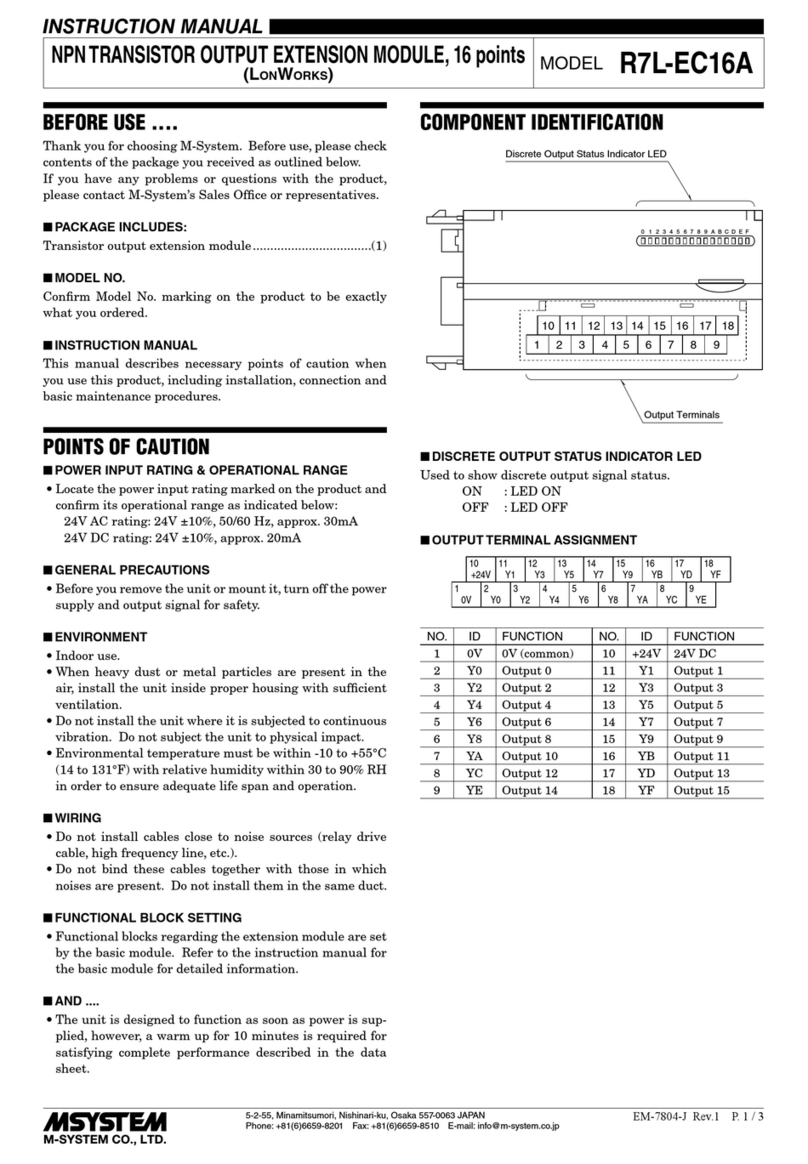
PHOTO MOSFET RELAY OUTPUT MODULE
(4 points) MODEL R8-DC4C
INSTRUCTION MANUAL
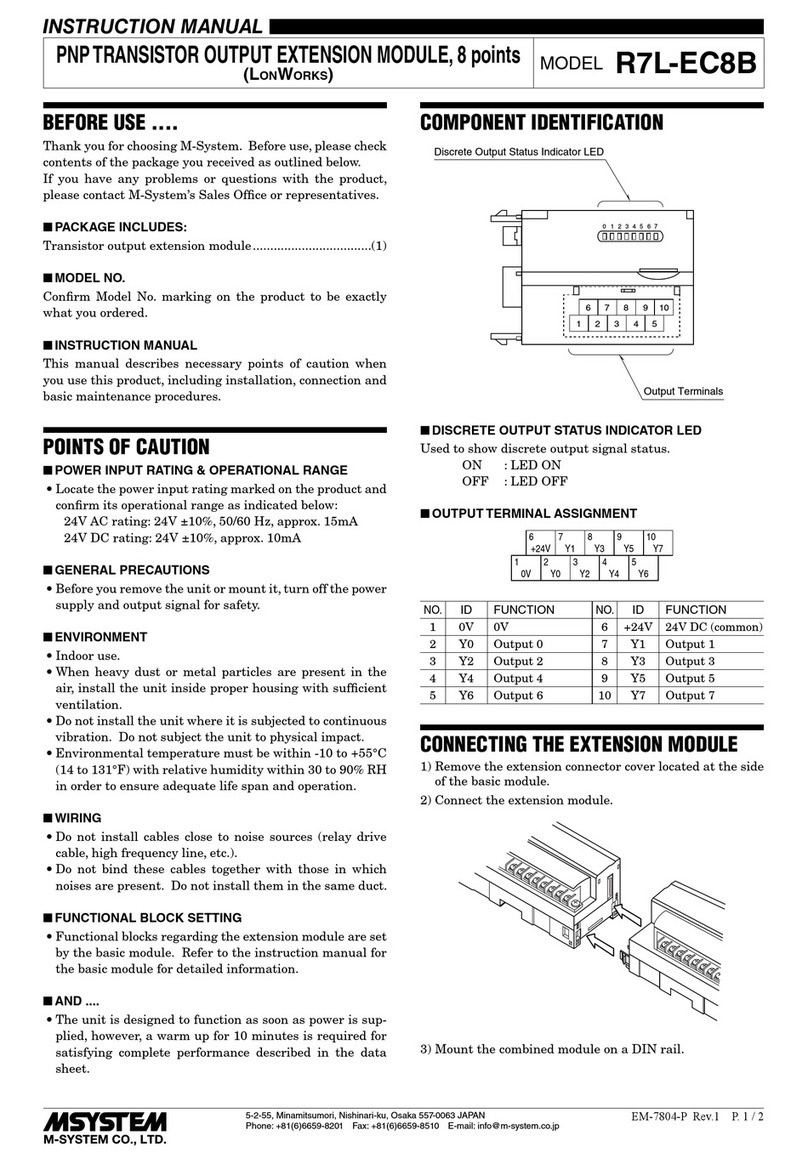
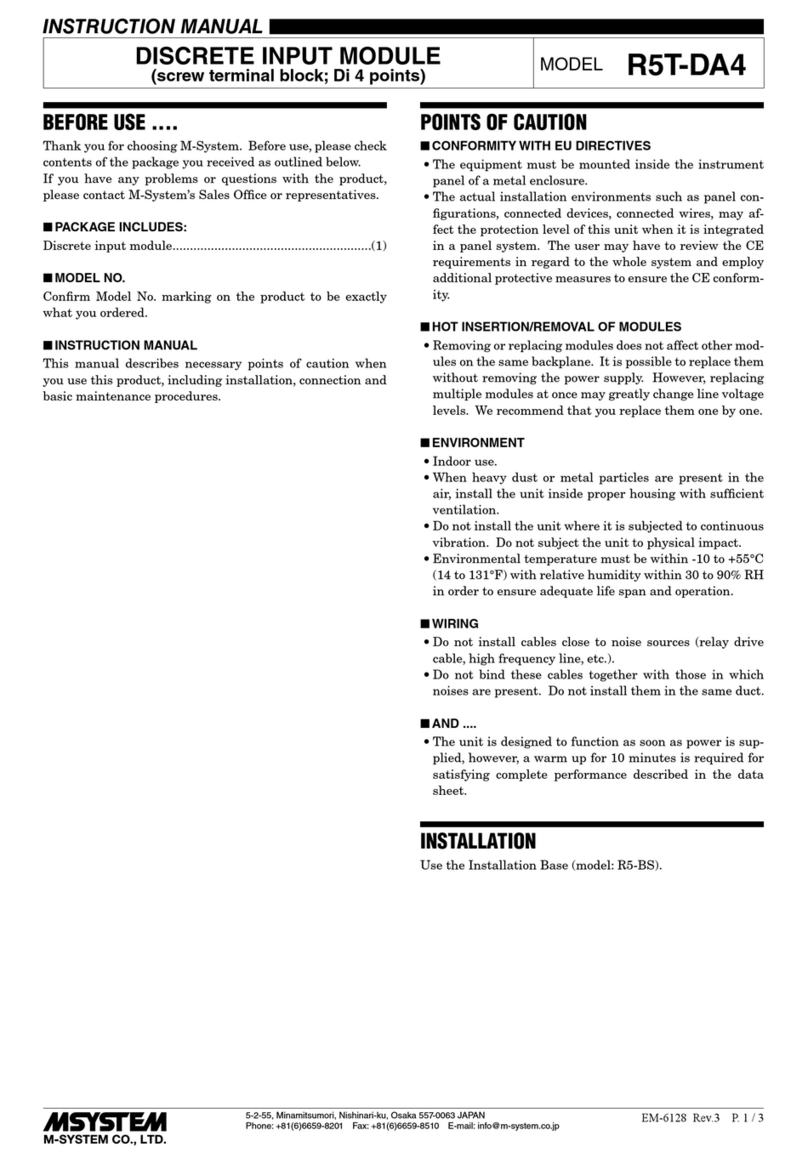
BEFORE USE ....
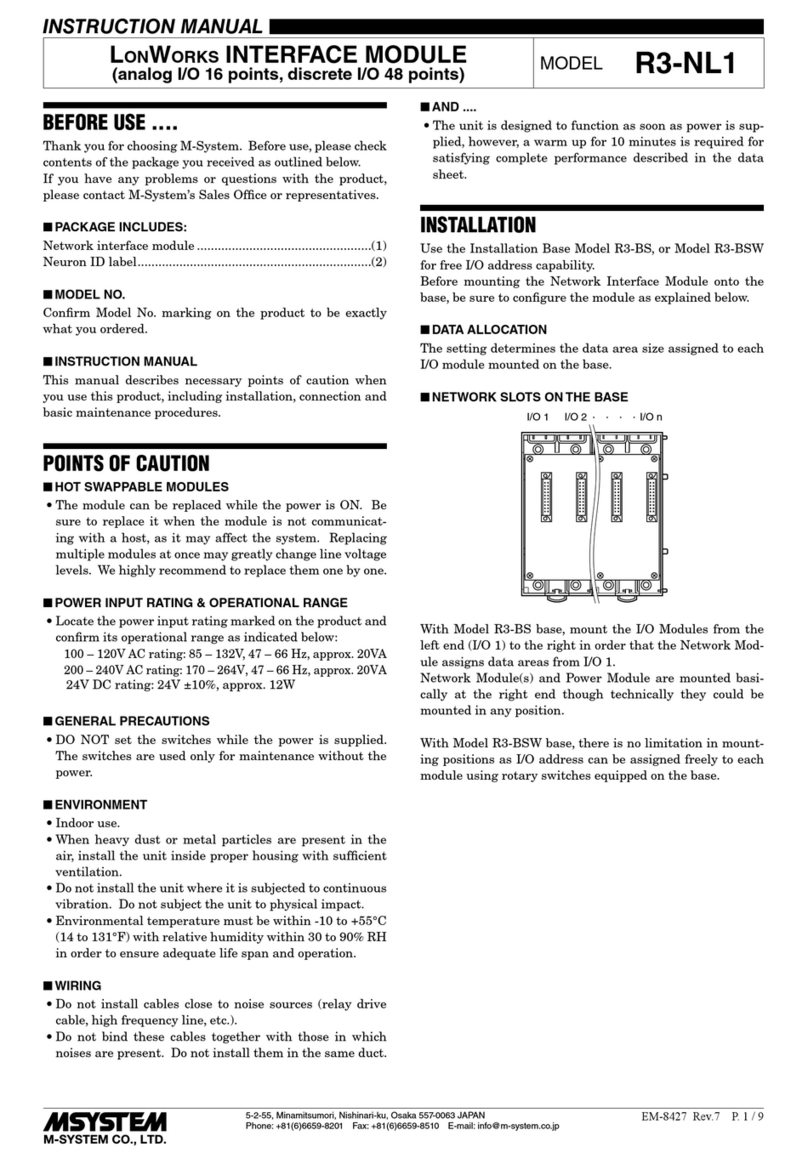
Thank you for choosing M-System. Before use, check the
contents of the package you received as below.
If you have any problems or questions with the product,
please contact M-System’s Sales Office or representatives.
■ PACKAGE INCLUDES:
Photo MOSFET relay output module......................... (1)
■MODEL NO.
Confirm that the model number described on the product is
exactly what you ordered.
■INSTRUCTION MANUAL
This manual describes necessary points of caution when
you use this product, including installation, connection and
basic maintenance procedures.
POINTS OF CAUTION
■CONFORMITY WITH EU DIRECTIVES
•Theequipmentmustbemountedinsideapanel.
•Theactualinstallationenvironmentssuchaspanelcon-
figurations, connected devices and connected wires may
affect the protection level of this unit when it is integrated
in a panel system. The user may have to review the CE
requirements in regard to the whole system and employ
additional protective measures to ensure CE conformity.
■GENERAL PRECAUTIONS
•Beforeyouremoveormounttheunit,turnoffthepower
supply and output signal for safety.
•Switches on the side of the module can be set for mainte-
nance only while the power supply is off. Do not access
them while the power is supplied.
■ ENVIRONMENT
•Indooruse
•Whenheavydustormetalparticlesarepresentintheair,
install the unit inside proper housing with sufficient ven-
tilation.
•Donotinstalltheunitwhereitissubjectedtocontinuous
vibration. Do not apply physical impact to the unit.
•Environmentaltemperaturemustbewithin-10to+55°C
(14to131°F)withrelativehumiditywithin30to90%RH
in order to ensure adequate life span and operation.
■WIRING
•Do not install cables close to noise sources (relay drive
cable, high frequency line, etc.).
•Do not bind these cables together with those in which
noises are present. Do not install them in the same duct.
■AND ....
•Theunitisdesignedtofunctionassoonaspowerissup-
plied,however,awarmupfor10minutesisrequiredfor
satisfying complete performance described in the data
sheet.
INSTALLATION
■HOW TO MOUNT THE MODULE ON DIN RAIL
A
B
• I/O Module
Confirm that the locking clamps of the I/O module are set.
Insert the module in parallel to the next one while aligning the grooves of
both modules (A & B in the above figure).
Maintain it perpendicularly to the rail.
More I/O modules can be added in the same manner.
R8-DC4C
P. 2 / 4EM-9743 Rev.1
5-2-55, Minamitsumori, Nishinari-ku, Osaka 557-0063 JAPAN
Phone: +81(6)6659-8201 Fax: +81(6)6659-8510 E-mail: info@m-system.co.jp
■HOW TO UNMOUNT THE MODULE FROM DIN RAIL
Release the locking clamps and pull out straight the module.
Caution !
1) Be careful not to hurt your hand by pointed edges of the internal
communication bus connector.
2) I/O modules cannot hold tightly on the DIN rail by themselves without
power/network module.
Secure them to the position if necessary by using DIN rail end plates.
• Removing an intermediate module
• Protective Cover
The protective cover is to be attached over the connected I/O module
at the right end.
Align the hooks on the cover with the grooves of the module and slide it
straight until the hooks are latched.
When removing the cover, pull it out while squeezing the hooks inward.
Groove
Hook
R8-DC4C
P. 3 / 4EM-9743 Rev.1
5-2-55, Minamitsumori, Nishinari-ku, Osaka 557-0063 JAPAN
Phone: +81(6)6659-8201 Fax: +81(6)6659-8510 E-mail: info@m-system.co.jp
COMPONENT IDENTIFICATION
RUN
Module Address Setting
Rotary SW
Function Setting
DIP SW
Terminator DIP SW
5
4
3
2
1
0
9
8
7
6
5
4
3
2
1
0
9
8
7
6
SW1
x10
12345678
x1
SW2
SW4
SW3Term
On
On
Status Indicator LED
Output Status Indicator LED
Internal Bus Connector
Output Connectors
FRONT VIEW SIDE VIEW
CARD ADD.
DO1
DO2
DO3
DO4
5
4
3
2
1
0
9
8
7
6
5
4
3
2
1
0
9
8
7
6
■INDICATOR LED
LED
OPERATION
FUNCTION
Status OFF Stopping
Green ON Valid host communication
Green Blinking
Reading/writingconguration
RedON Setting error
RedBlinking Parameter error
Output
Status
OFF OFF
Green ON ON
■OUTPUT CONNECTOR ASSIGNMENT
PIN ID FUNCTION
No.
1 DO Discrete output
2 NC No connection
3 NC No connection
4 DO Discrete output
1
2
3
4
■PC CONFIGURATOR
The following parameters can be set with using PC Configu-
ratorSoftware(model:R8CFG):
•Outputatthestartup
•Outputatthelossofcommunication
•Commonsetting(lossofinternalbuscommunicationde-
tection time)
TurnSW4-8ONtoallowprogrammingbythePCCongu-
ratorviathePower/NetworkModule.
RefertotheusersmanualfortheR8CFGfordetailedopera-
tion of the software program.
■MODULE ADDRESS
■Module Address
The left switch determines the tenth place digit, while the
right switch does the ones place digit of the address.
Address is selected between 0 to 31.
(Factory setting: 0)
Module Address Setting (x1)
Module Address Setting (x10)
5
4
3
2
1
0
9
8
7
6
5
4
3
2
1
0
9
8
7
6
■OPERATING MODE
*Factory setting
• Output at The Loss of Communication
OUTPUT AT THE LOSS OF COMMUNICATION SW4-7
OutputHold(*)
(last data correctly rerceived is hold)
OFF
Stop output (Output fixed at OFF) ON
• Conguration Mode
CONFIGURATION MODE SW4-8
DIP switch setting (*) OFF
PC Configurator and communicaton ON
• Terminator DIP SW
TERMINATOR SW SW3
Without(*) OFF
With ON
Caution:BesuretosetunusedSW4-1through4-6toOFF.
R8-DC4C
P. 4 / 4EM-9743 Rev.1
5-2-55, Minamitsumori, Nishinari-ku, Osaka 557-0063 JAPAN
Phone: +81(6)6659-8201 Fax: +81(6)6659-8510 E-mail: info@m-system.co.jp
EXTERNAL DIMENSIONS unit: mm (inch)
115 (4.53)6 (.24)7 (.28) 6 (.24) 7 (.28)
DIN RAIL
(35 mm wide)
[3 (.12)] [4 (.16)]
12 (.47) 59 (2.32)
55 (2.17)
CONNECTION DIAGRAM
NC
NC
1
2
4
3
NC
NC
1
2
4
3
OUTPUT
CONNECTOR 1
OUTPUT
CONNECTOR 4
INTERNAL
BUS
EXC.
SUPPLY
BUS CONNECTOR
INTERNAL
POWER
*1
*1. Not used.
Do4
Do1
WIRING INSTRUCTIONS
■ e-CON connector
connectorXN2D-1474-S002(Omron)
RecommendedcableconnectorXN2A-1470(Omron)*1
Applicablewiresize:0.08mm2(AWG28)-0.5mm2(AWG20)
Outersheathdiameter:max.1.5dia
*1. The cable connector is not included in the package.
Refertothespecicationsoftheproduct.

Other M-system Control Unit manuals

M-system Mini-M M2DL User manual

M-system

M-system Mini-M M2DL User manual

M-system R3-DS4 User manual

M-system

M-system R3-DS4 User manual

M-system R30TS4 User manual

M-system

M-system R30TS4 User manual

M-system R7C-YS2 User manual

M-system

M-system R7C-YS2 User manual

M-system R8-NC3 User manual

M-system

M-system R8-NC3 User manual

M-system R7M-DC16B User manual

M-system

M-system R7M-DC16B User manual

M-system 61A User manual

M-system

M-system 61A User manual

M-system R5-NE1 User manual

M-system

M-system R5-NE1 User manual

M-system R30SV2 User manual

M-system

M-system R30SV2 User manual

M-system R7L-YS2 User manual

M-system

M-system R7L-YS2 User manual

M-system R3-PT4 User manual

M-system

M-system R3-PT4 User manual

M-system R7C-EC8C User manual

M-system

M-system R7C-EC8C User manual

M-system R3-NP1 User manual

M-system

M-system R3-NP1 User manual

M-system R7HL-DAC15E User manual

M-system

M-system R7HL-DAC15E User manual

M-system R7M-CT4E User manual

M-system

M-system R7M-CT4E User manual

M-system R7HL-DAC16C User manual

M-system

M-system R7HL-DAC16C User manual

M-system R3Y-SS8N User manual

M-system

M-system R3Y-SS8N User manual

M-system R7E-DC16B User manual

M-system

M-system R7E-DC16B User manual

M-system R7M-MS4 User manual

M-system

M-system R7M-MS4 User manual

M-system R1D-GH2 User manual

M-system

M-system R1D-GH2 User manual

M-system R3-PD16B User manual

M-system

M-system R3-PD16B User manual

M-system R7 Series User manual

M-system

M-system R7 Series User manual
M-system R3-NMW1F User manual

M-system

M-system R3-NMW1F User manual

M-system R3-PA4B User manual

M-system

M-system R3-PA4B User manual

Popular Control Unit manuals by other brands

KWC F5 F5EF4002 Installation and operating instructions

KWC

KWC F5 F5EF4002 Installation and operating instructions

NEC 10GBASE-T user guide

NEC

NEC 10GBASE-T user guide

Emerson Fisher GX instruction manual

Emerson

Emerson Fisher GX instruction manual

Dresser Masoneilan V-Max 36005 Series instruction manual

Dresser

Dresser Masoneilan V-Max 36005 Series instruction manual

ABB 07 MK 92 R1161 operating manual

ABB

ABB 07 MK 92 R1161 operating manual

VPro SR instruction manual

VPro

VPro SR instruction manual

GEM N085 Installation, Operating and Maintenance Instruction

GEM

GEM N085 Installation, Operating and Maintenance Instruction

oventrop AQH operating instructions

oventrop

oventrop AQH operating instructions

ZIEHL-ABEGG AM-LON operating instructions

ZIEHL-ABEGG

ZIEHL-ABEGG AM-LON operating instructions

Honeywell SILEN KNIGHT IDP-Zone-6 Installation and maintenance instructions

Honeywell

Honeywell SILEN KNIGHT IDP-Zone-6 Installation and maintenance instructions

Texas Instruments AFE881H1 user guide

Texas Instruments

Texas Instruments AFE881H1 user guide

Allmatic B2VR PROX manual

Allmatic

Allmatic B2VR PROX manual

Honeywell VS8420C installation instructions

Honeywell

Honeywell VS8420C installation instructions

DHI MIKE 3 Flow Model FM user guide

DHI

DHI MIKE 3 Flow Model FM user guide

SMC Networks XT323-4 user manual

SMC Networks

SMC Networks XT323-4 user manual

SDS CPi-2 manual

SDS

SDS CPi-2 manual

SEA USER 1 - 24v DG R1 manual

SEA

SEA USER 1 - 24v DG R1 manual

Graco Dyna-Star 25U218 instructions

Graco

Graco Dyna-Star 25U218 instructions

manuals.online logo
manuals.online logoBrands
  • About & Mission
  • Contact us
  • Privacy Policy
  • Terms and Conditions

Copyright 2025 Manuals.Online. All Rights Reserved.