manuals.online logo
Brands
  1. Home
  2. •
  3. Brands
  4. •
  5. M-system
  6. •
  7. Control Unit
  8. •
  9. M-system R6D-TS2 User manual

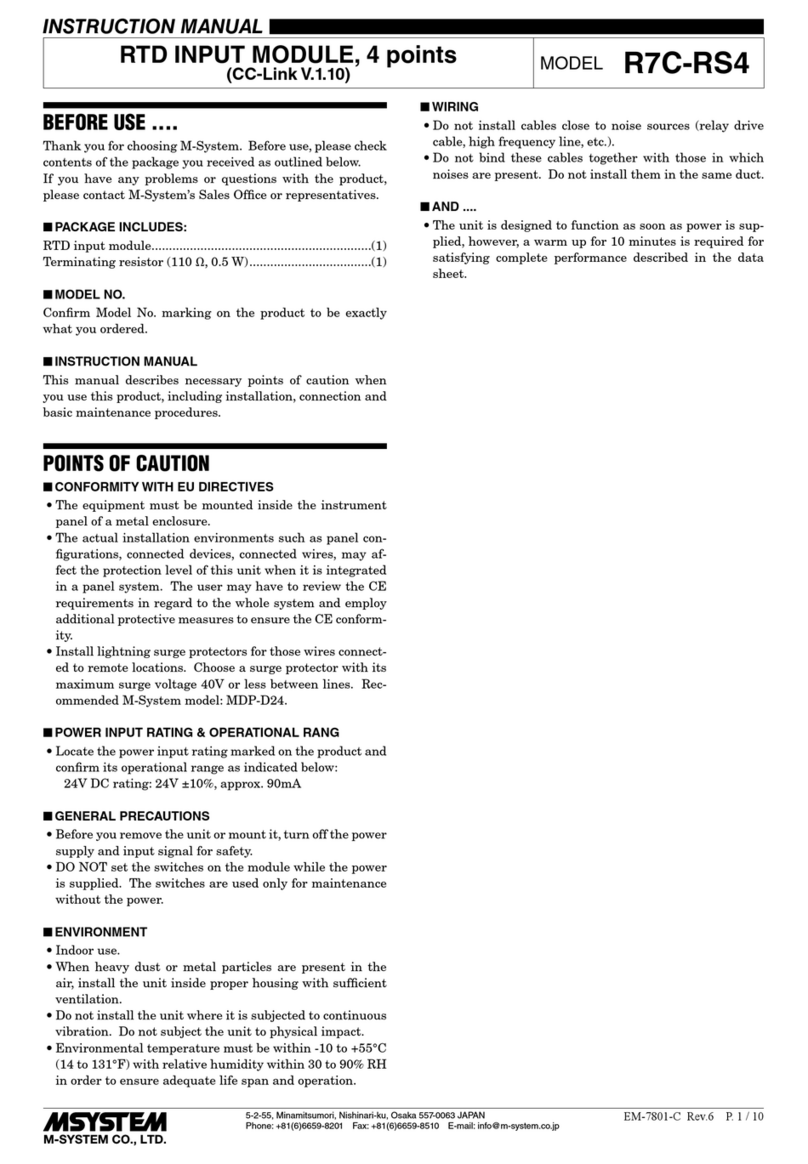
M-system R6D-TS2 User manual

5-2-55, Minamitsumori, Nishinari-ku, Osaka 557-0063 JAPAN
Phone: +81(6)6659-8201 Fax: +81(6)6659-8510 E-mail: info@m-system.co.jp
EM-7781-BG Rev.3 P. 1 / 4
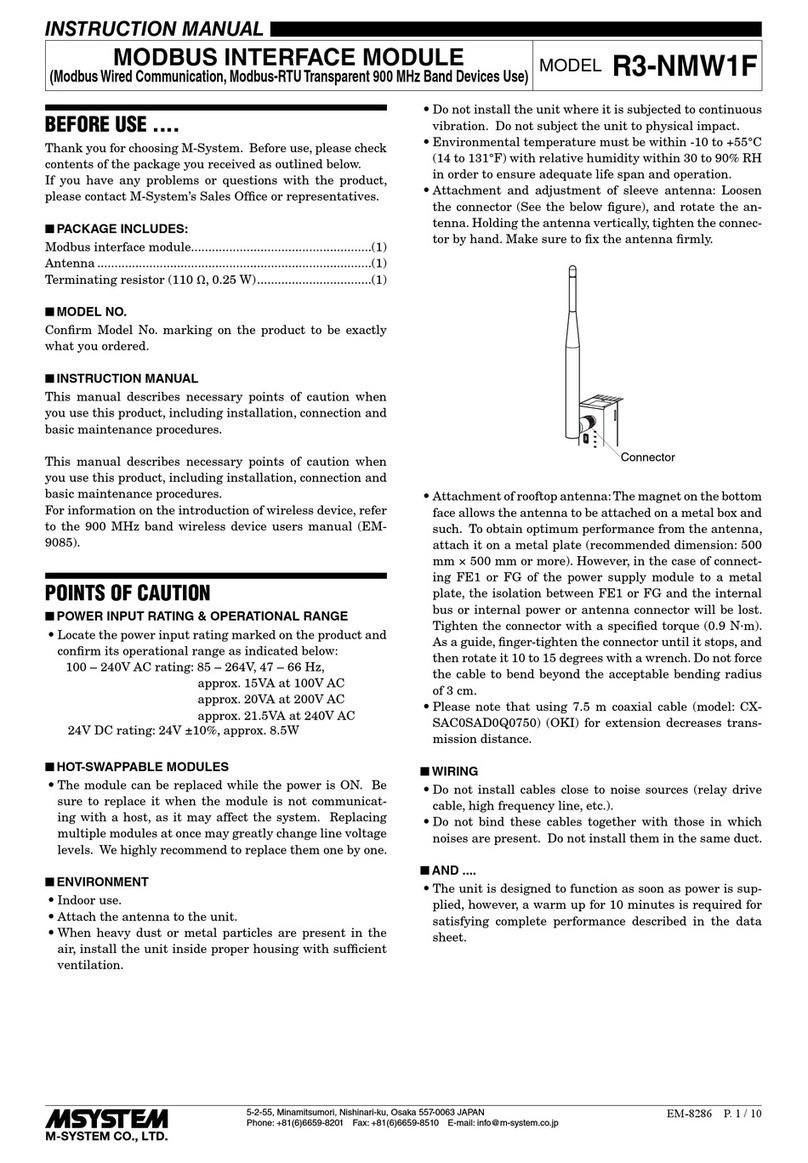
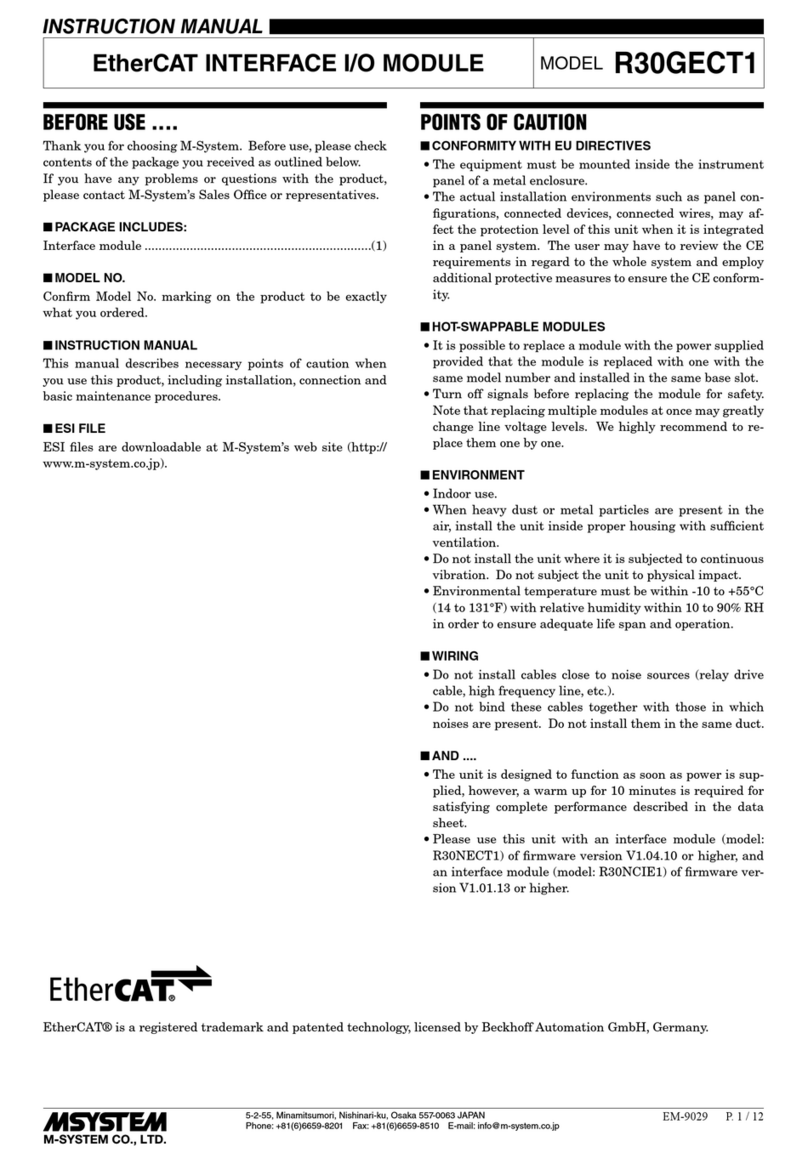
INSTRUCTION MANUAL
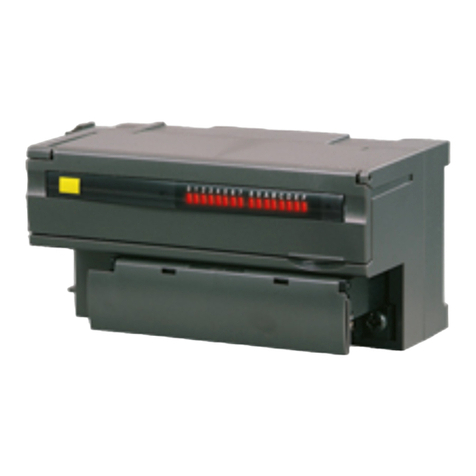
THERMOCOUPLE INPUT MODULE, 2 points
(Euro terminal) MODEL R6D-TS2
BEFORE USE ....
Thank you for choosing M-System. Before use, please check
contents of the package you received as outlined below.
If you have any problems or questions with the product,
please contact M-System’s Sales Office or representatives.
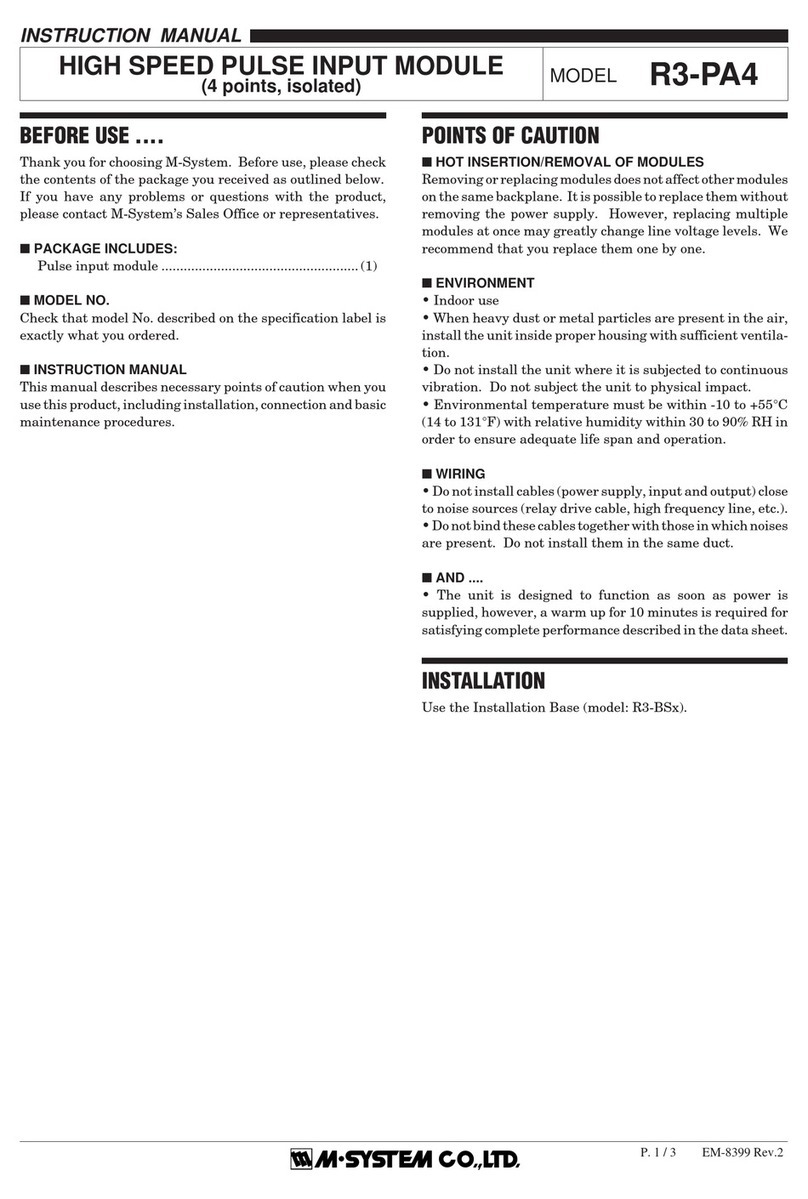
■PACKAGE INCLUDES:
Thermocouple input module...............................................(1)
■MODEL NO.
Confirm Model No. marking on the product to be exactly
what you ordered.
■INSTRUCTION MANUAL
This manual describes necessary points of caution when
you use this product, including installation, connection and
basic maintenance procedures.
The unit is programmable using the PC Configurator Soft-
ware. For detailed information on the PC configuration,
refer to the R6CON users manual. The R6CON PC Con-
figurator Software is downloadable at M-System’s web site:
http://www.m-system.co.jp
POINTS OF CAUTION
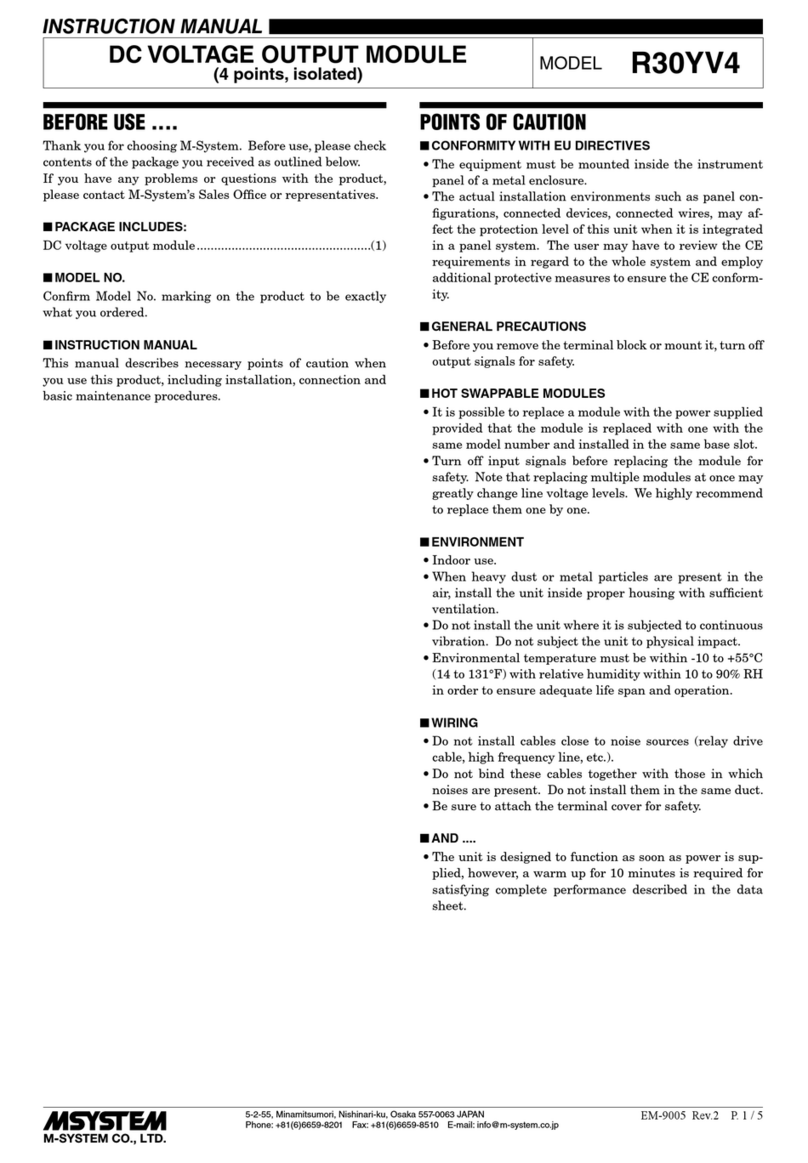
■CONFORMITY WITH EU DIRECTIVES
•The equipment must be mounted inside a panel.
•Insert a noise filter for the input and communication line
connected to the unit. NEC TOKIN Model ESD-SR-250
or equivalent is recommended.
•The actual installation environments such as panel con-
figurations, connected devices, connected wires, may af-
fect the protection level of this unit when it is integrated
in a panel system. The user may have to review the CE
requirements in regard to the whole system and employ
additional protective measures to ensure the CE conform-
ity.
•Install lightning surge protectors for those wires connect-
ed to remote locations.
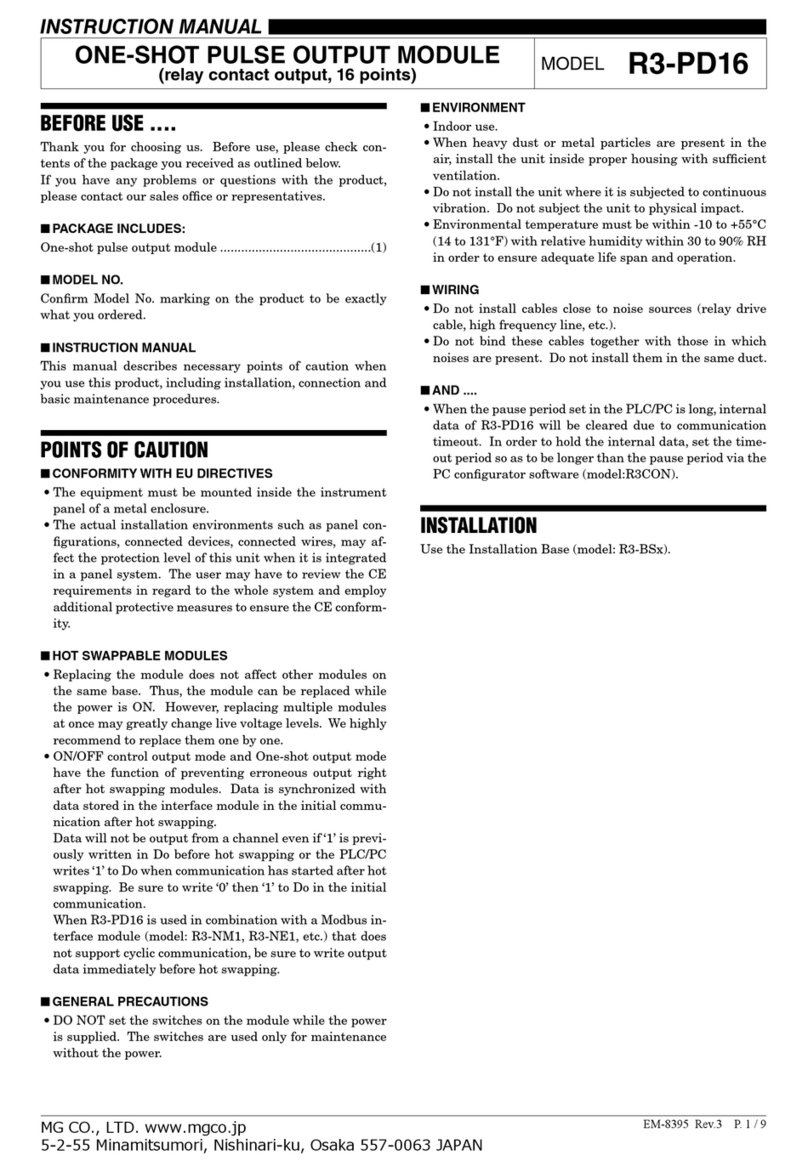
■HOT INSERTION/REMOVAL OF MODULES
•Removing or replacing modules does not affect other mod-
ules on the same backplane. It is possible to replace them
without removing the power supply. However, replacing
multiple modules at once may greatly change line voltage
levels. We recommend that you replace them one by one.
■GENERAL PRECAUTIONS
•Do NOT set the switches while the power is supplied.
The switches are used only for maintenance without the
power.
■ENVIRONMENT
•Indoor use.
•When heavy dust or metal particles are present in the
air, install the unit inside proper housing with sufficient
ventilation.
•Do not install the unit where it is subjected to continuous
vibration. Do not subject the unit to physical impact.
•Environmental temperature must be within -10 to +55°C
(14 to 131°F) with relative humidity within 30 to 90% RH
in order to ensure adequate life span and operation.
■WIRING
•Do not install cables close to noise sources (relay drive
cable, high frequency line, etc.).
•Do not bind these cables together with those in which
noises are present. Do not install them in the same duct.
■AND ....
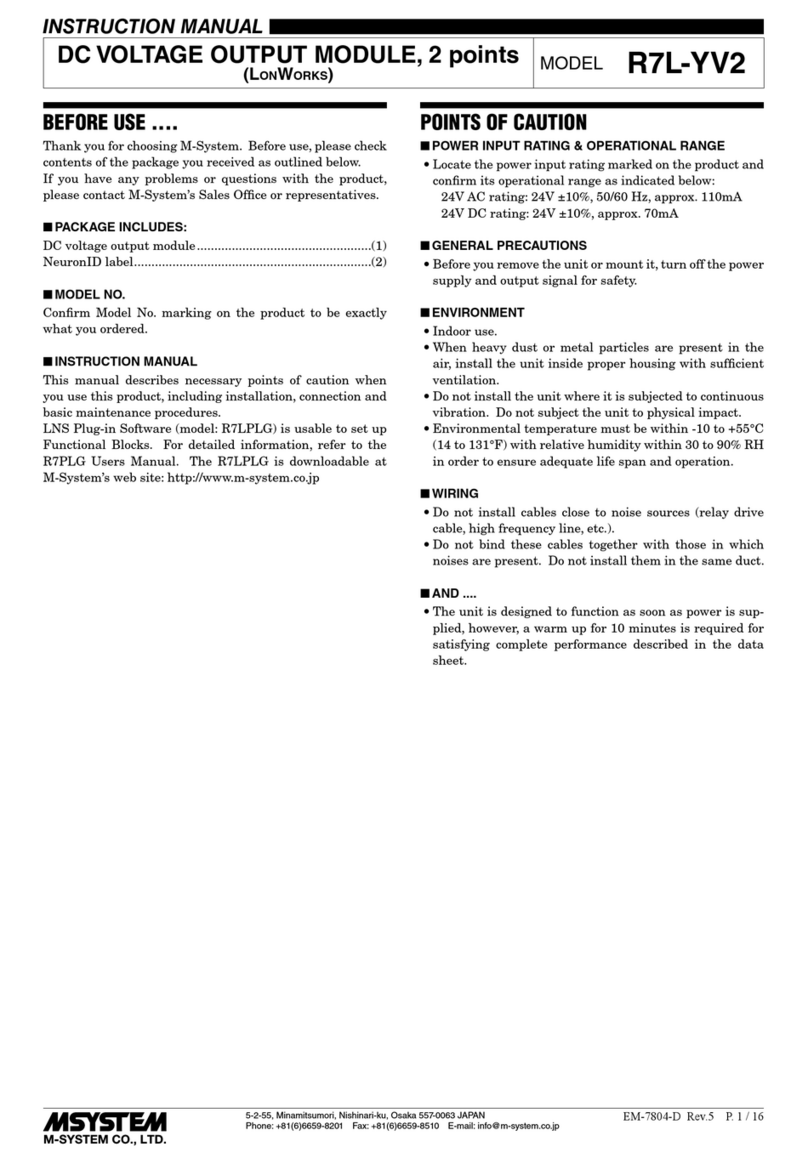
•The unit is designed to function as soon as power is sup-
plied, however, a warm up for 10 minutes is required for
satisfying complete performance described in the data
sheet.
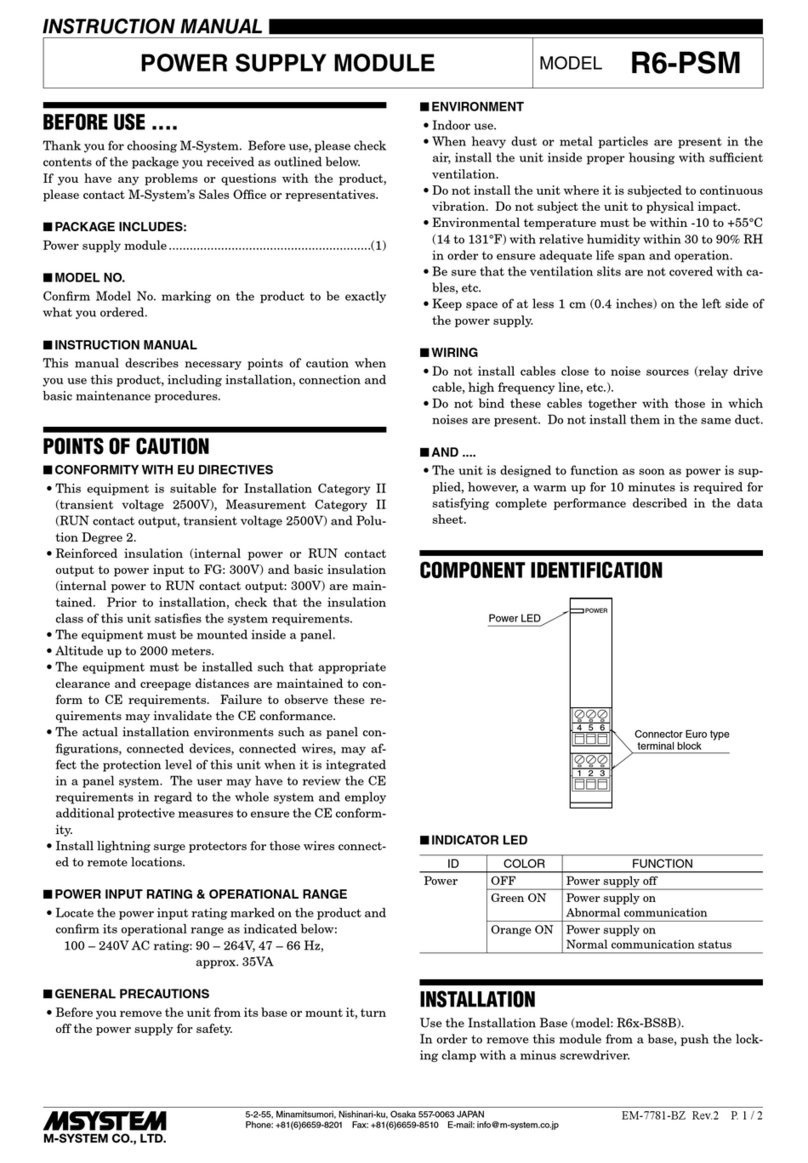
COMPONENT IDENTIFICATION
Specifications
Body
Front Cover
Mounting Adaptor
INSTALLATION
Mount the unit on the base (model: R6D-BS).
R6D-TS2
5-2-55, Minamitsumori, Nishinari-ku, Osaka 557-0063 JAPAN
Phone: +81(6)6659-8201 Fax: +81(6)6659-8510 E-mail: info@m-system.co.jp
EM-7781-BG Rev.3 P. 2 / 4
EXTERNAL VIEWS
8
6
7
3
4
5
2
1
0
F
E
D
C
B
A
9
• Front View (cover opened) • Side View
5678
1234
1
SW3
SW2
SW1
2345678
OFF
ON
0
16
SW3
SW2
SW1
Module Address
Setting
Operating Mode
Setting
Status LED
Power LED
■INDICATOR LED
ID COLOR FUNCTION
Power OFF Power supply is off
Green ON Power supply is on.
Status OFF Standing by (at the startup)
or communication error
Green ON Normal communication
Green blink Configuration mode
Red ON DIP switch error
Red blink
2 sec. interval
Parameter error
Red blink
0.5 sec. interval
Burnout
■MODULE ADDRESS
Module address is selectable between 0 and 31. Choose 0 or
16 with SW1 for offsetting the address selected with SW2 (0
to F, hexadecimal).
The module’s slot position on the base and the module ad-
dress are not necessarily correlated.
ADDRESS SW1 SW2 ADDRESS SW1 SW2
0 0 0 16 16 0
1 0 1 17 16 1
2 0 2 18 16 2
3 0 3 19 16 3
4 0 4 20 16 4
5 0 5 21 16 5
6 0 6 22 16 6
7 0 7 23 16 7
8 0 8 24 16 8
9 0 9 25 16 9
10 0 A 26 16 A
11 0 B 27 16 B
12 0 C 28 16 C
13 0 D 29 16 D
14 0 E 30 16 E
15 0 F 31 16 F
■OPERATING MODE
(*) Factory setting
• Thermocouple Type
T/C
INPUT 1 INPUT 2
SW3 SW3
123456
K (CA) (*)
E (CRC) ■ ■
J (IC) ■ ■
T (CC) ■ ■ ■ ■
B (RH) ■ ■
R■ ■ ■ ■
S■ ■ ■ ■
C (WRe 5-26) ■■■■■■
Use PC Configurator Software (model: R6CON) to set N, U,
L, P (Platinel II) and PR thermocouples.
■= ON, Blank = OFF
• Burnout
BURNOUT SW3-7
Upscale (*)
Downscale ■
■= ON, Blank = OFF
• Conguration Mode
CONFIGURATION MODE SW3-8
DIP SW (*)
PC ■
■= ON, Blank = OFF
R6D-TS2
5-2-55, Minamitsumori, Nishinari-ku, Osaka 557-0063 JAPAN
Phone: +81(6)6659-8201 Fax: +81(6)6659-8510 E-mail: info@m-system.co.jp
EM-7781-BG Rev.3 P. 3 / 4
TERMINAL CONNECTIONS
Connect the unit as in the diagram below or refer to the connection diagram on the side of the unit.
■EXTERNAL DIMENSIONS unit: mm (inch)
94 (3.70)
5.9 (.23)
102 (4.02)
5678
1234
8–M3
EURO TERMINAL
WIRE INSERTION ANGLE: approx. 7°
■CONNECTION DIAGRAM
BUS CONNECTOR
INTERNAL
POWER
INTERNAL
BUS
INPUT 1
INPUT 2
6
7
2
3
+
–
T/C
comp. leadwire
+
–
+
–
T/C
comp. leadwire
+
–
• Unused Input Channels
Close across the unused input terminals as shown below.
(Choose K (CA) thermocouple for unused channels.)
2
3
INPUT 1
6
7
INPUT 2
Short
If unused input terminals are not short-circuited, status in-
dicator LED blinks in red (0.5 sec. cycle), and a burnout flag
is set in the PLC or the host device.
■WIRING INSTRUCTIONS
•Applicable wire size
Solid: 0.2 to 2.5 mm2(0.55 to 1.75 dia.)
Stranded: 0.2 to 2.5 mm2(Tinning wire ends may cause
contact failure and therefore is not recom-
mended.)
Ferruled: 0.2 to 1.5 mm2(0.55 to 1.35 dia.)
•Expose wire conductors by 8 mm (0.31”).
8 mm 8 mm
3.7 mm dia.
max.
3.7 mm dia.
max.
Wire exposure Recommended
ferruled wire
R6D-TS2
5-2-55, Minamitsumori, Nishinari-ku, Osaka 557-0063 JAPAN
Phone: +81(6)6659-8201 Fax: +81(6)6659-8510 E-mail: info@m-system.co.jp
EM-7781-BG Rev.3 P. 4 / 4
• How to Connect Wires
Screwdriver
Wire
Insert a wire. Confirm that the wire tip hits the bottom and
tighten the screw with a screwdriver.
Confirm that the wire’s insulation tube is not caught in the
terminal. (Torque: 0.3 N.m)
Screwdriver
Wire
8 mm
6 mm
PC CONFIGURATOR
With configurator software, settings shown below are avail-
able.
Refer to the software manual of R6CON for detailed opera-
tion.
■CHANNEL INDIVIDUAL SETTING
PARAMETER AVAILABLE RANGE
DEFAULT SETTING
Sensor type K (CA)
E (CRC)
J (IC)
T (CC)
B (RH)
R
S
C (WRe 5-26)
N
U
L
P (Platinel II)
(PR)
K (CA)
Lower range value Depends on sensor type 0.00 (degC)
Upper range value Depends on sensor type 0.00 (degC)
Fine zero adjustment -320.00 to +320.00 (%) 0.00 (%)
Fine gain adjustment -3.2000 to +3.2000 1.0000
Scaled range Zero -32000 to +32000 0
Scaled range Span -32000 to +32000 10000
Burnout Upscale, Downscale Upscale
■CHANNEL BATCH SETTING
PARAMETER AVAILABLE RANGE
DEFAULT SETTING
Loss of internal bus
communication detec-
tion time
0.0 – 99.9 (sec.) 1.0 (sec.)
Conversion rate 250, 500 (msec.) 500 (msec.)
Temperature unit degC, degF, K degC
CJC ON, OFF ON
Limit -15 to +115%
Scaled range Zero / Span
-15 to +115%

Other M-system Control Unit manuals

M-system R7L-RR8 User manual

M-system

M-system R7L-RR8 User manual

M-system F2DL User manual

M-system

M-system F2DL User manual

M-system R7L-EC16B User manual

M-system

M-system R7L-EC16B User manual

M-system R7L-RS4 User manual

M-system

M-system R7L-RS4 User manual

M-system R7M-TS4 User manual

M-system

M-system R7M-TS4 User manual

M-system R3-CT4A User manual

M-system

M-system R3-CT4A User manual

M-system R8-DC4C User manual

M-system

M-system R8-DC4C User manual

M-system R3-SV8C User manual

M-system

M-system R3-SV8C User manual
M-system R7ML-DC16A User manual

M-system

M-system R7ML-DC16A User manual

M-system R3-PS3 User manual

M-system

M-system R3-PS3 User manual

M-system R3-PD16A User manual

M-system

M-system R3-PD16A User manual

M-system R7C-EC16A User manual

M-system

M-system R7C-EC16A User manual

M-system R1M-A1 User manual

M-system

M-system R1M-A1 User manual

M-system R3S-RR8 User manual

M-system

M-system R3S-RR8 User manual

M-system R5-PA2 User manual

M-system

M-system R5-PA2 User manual

M-system R7ML-YV2 User manual

M-system

M-system R7ML-YV2 User manual

M-system R7M-RS4 User manual

M-system

M-system R7M-RS4 User manual

M-system R7EWTU User manual

M-system

M-system R7EWTU User manual

M-system R7L-EC8A User manual

M-system

M-system R7L-EC8A User manual

M-system R7L-EC16A User manual

M-system

M-system R7L-EC16A User manual
M-system R7HL-DC8C User manual

M-system

M-system R7HL-DC8C User manual

M-system Devicenet R7F4HD-DAC32D User manual

M-system

M-system Devicenet R7F4HD-DAC32D User manual

M-system R7D-EC8A User manual

M-system

M-system R7D-EC8A User manual

M-system R7M-DAC16D User manual

M-system

M-system R7M-DAC16D User manual

Popular Control Unit manuals by other brands

GEM eSyDrive R649 operating instructions

GEM

GEM eSyDrive R649 operating instructions

TILLIG BAHN TFi2 operating instructions

TILLIG BAHN

TILLIG BAHN TFi2 operating instructions

Vertiv Liebert CW Installer/user guide

Vertiv

Vertiv Liebert CW Installer/user guide

Oras 182 Installation and maintenance guide

Oras

Oras 182 Installation and maintenance guide

Victaulic 867-42T Installation, operation and maintenance manual

Victaulic

Victaulic 867-42T Installation, operation and maintenance manual

Nice Moon MC824H FUNCTIONS

Nice

Nice Moon MC824H FUNCTIONS

Lenz Digital Plus LK200 manual

Lenz

Lenz Digital Plus LK200 manual

TELECO AUTOMATION TVPLS868TT3 instructions

TELECO AUTOMATION

TELECO AUTOMATION TVPLS868TT3 instructions

Bosch Professional GCY 42 Operating/safety instructions

Bosch

Bosch Professional GCY 42 Operating/safety instructions

ProSoft Technology MVI56E-LDM quick start guide

ProSoft Technology

ProSoft Technology MVI56E-LDM quick start guide

Theben TC 649 E Installation and operating

Theben

Theben TC 649 E Installation and operating

Akai MPD26 Operator's manual

Akai

Akai MPD26 Operator's manual

Siemens HiPath optiPoint 410 Developer's guide

Siemens

Siemens HiPath optiPoint 410 Developer's guide

PNI Prime Pro user manual

PNI

PNI Prime Pro user manual

Endress+Hauser Nivotester FTR325 instruction manual

Endress+Hauser

Endress+Hauser Nivotester FTR325 instruction manual

Tyco DV-5A manual

Tyco

Tyco DV-5A manual

Honeywell Pro-Watch 6000 installation guide

Honeywell

Honeywell Pro-Watch 6000 installation guide

Siemens Synco RMZ792 Basic documentation

Siemens

Siemens Synco RMZ792 Basic documentation

manuals.online logo
manuals.online logoBrands
  • About & Mission
  • Contact us
  • Privacy Policy
  • Terms and Conditions

Copyright 2025 Manuals.Online. All Rights Reserved.