manuals.online logo
Brands
  1. Home
  2. •
  3. Brands
  4. •
  5. M-system
  6. •
  7. Transmitter
  8. •
  9. M-system W2XM User manual

M-system W2XM User manual

5-2-55, Minamitsumori, Nishinari-ku, Osaka 557-0063 JAPAN
Phone: +81(6)6659-8201 Fax: +81(6)6659-8510 E-mail: info@m-system.co.jp
EM-5504 Rev.3 P. 1 / 3
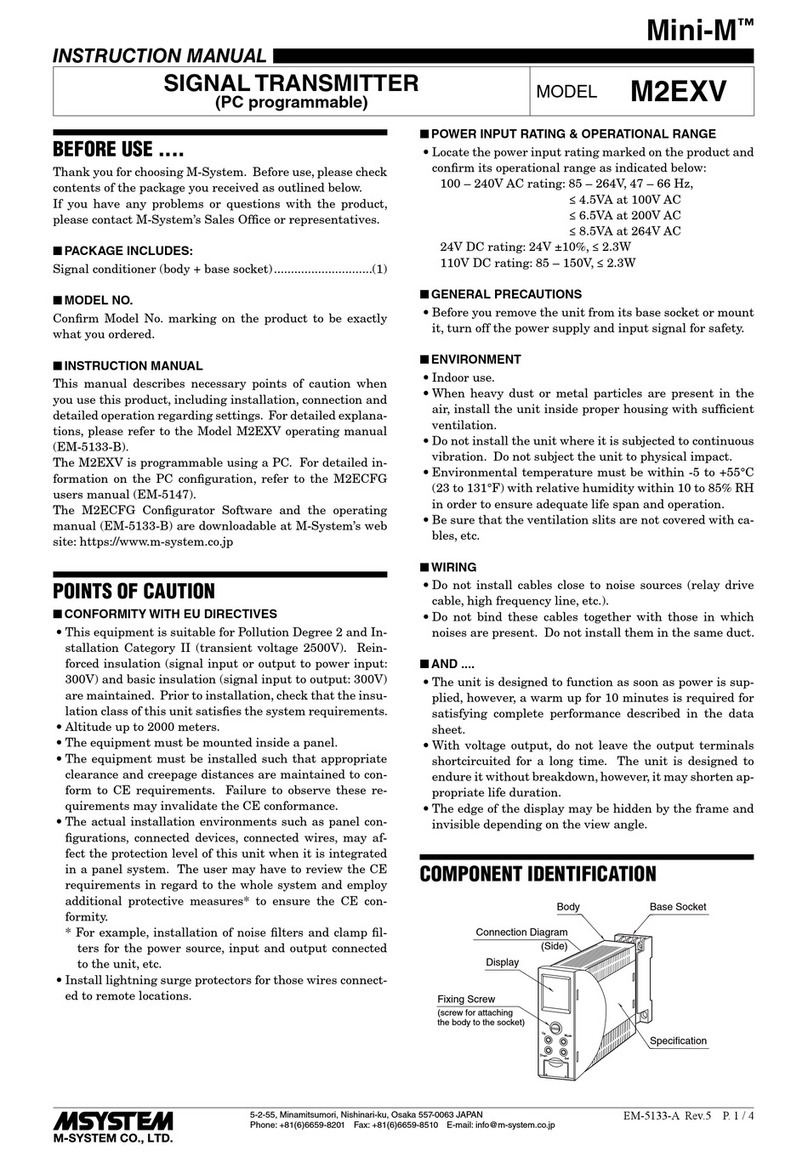
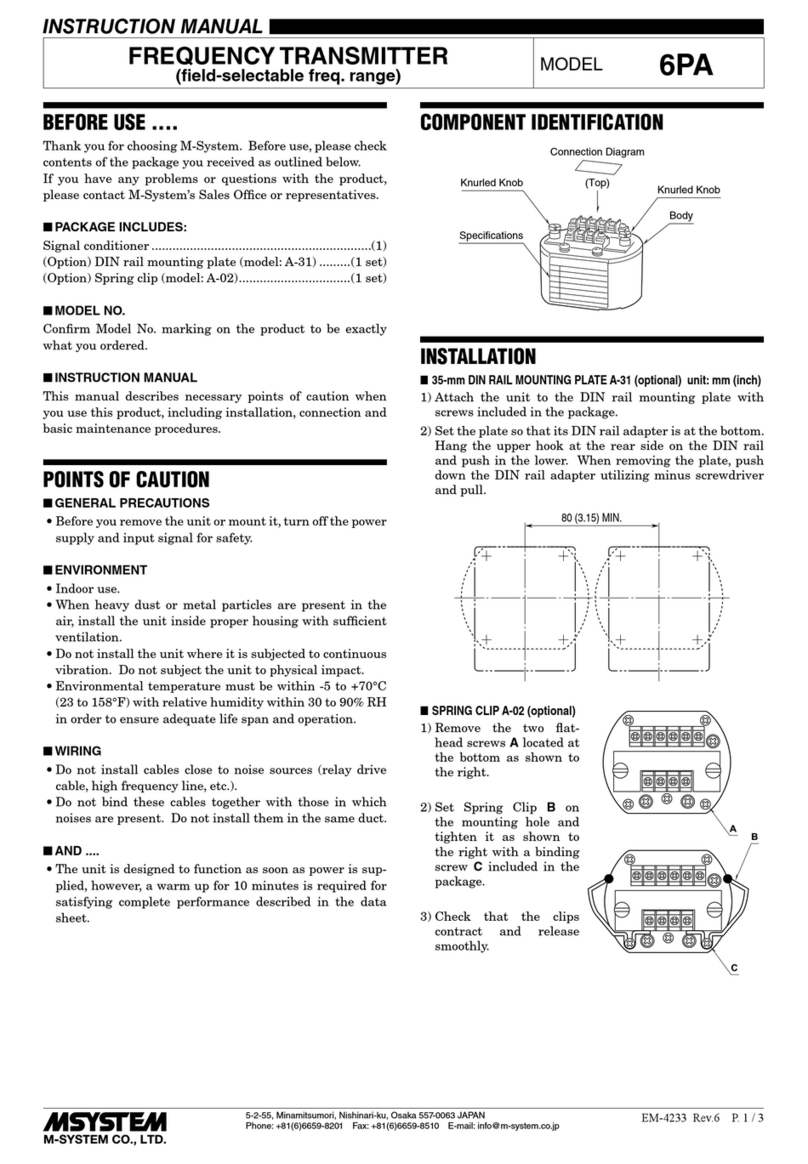
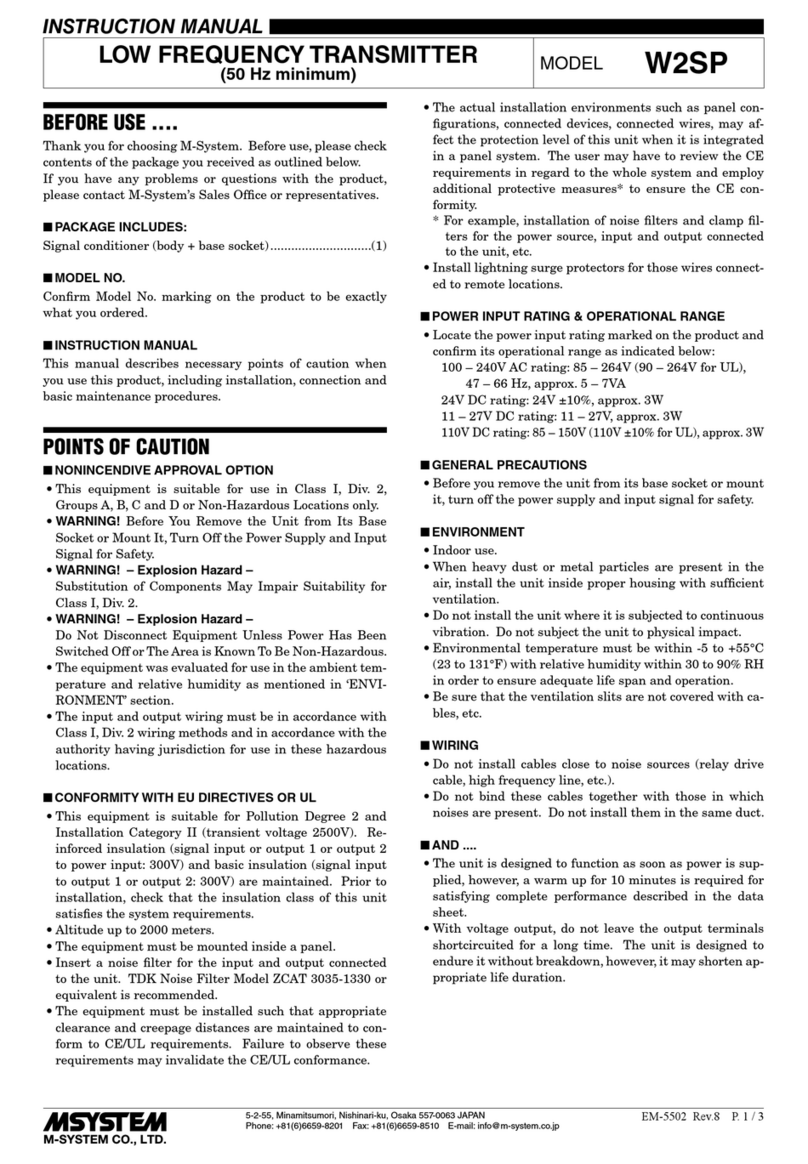
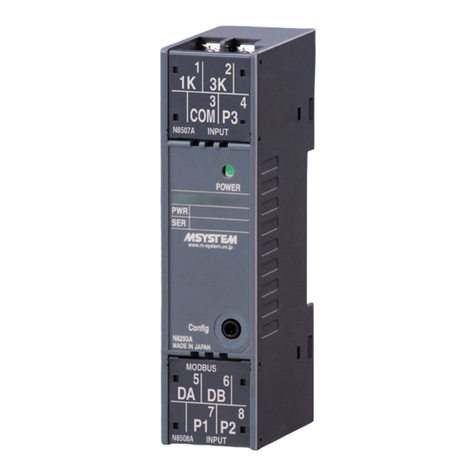
INSTRUCTION MANUAL
POTENTIOMETER TRANSMITTER
(PC programmable) MODEL W2XM
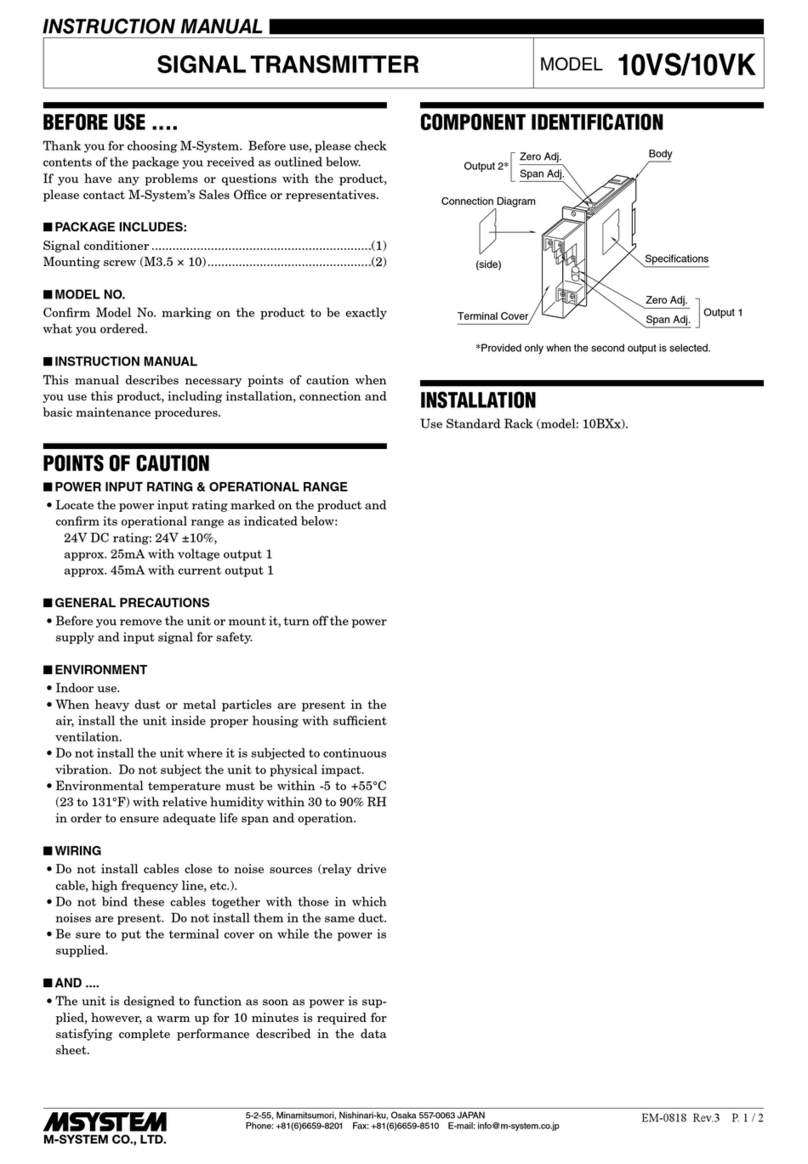
BEFORE USE ....
Thank you for choosing M-System. Before use, please check
contents of the package you received as outlined below.
If you have any problems or questions with the product,
please contact M-System’s Sales Office or representatives.
■PACKAGE INCLUDES:
Signal conditioner (body + base socket).............................(1)
■MODEL NO.
Confirm Model No. marking on the product to be exactly
what you ordered.
■INSTRUCTION MANUAL
This manual describes necessary points of caution when
you use this product, including installation, connection and
basic maintenance procedures.
The unit is programmable using the PC Configurator Soft-
ware. For detailed information on the PC configuration,
refer to the W2CFG users manual. The W2CFG PC Con-
figurator Software is downloadable at M-System’s web site:
http://www.m-system.co.jp.
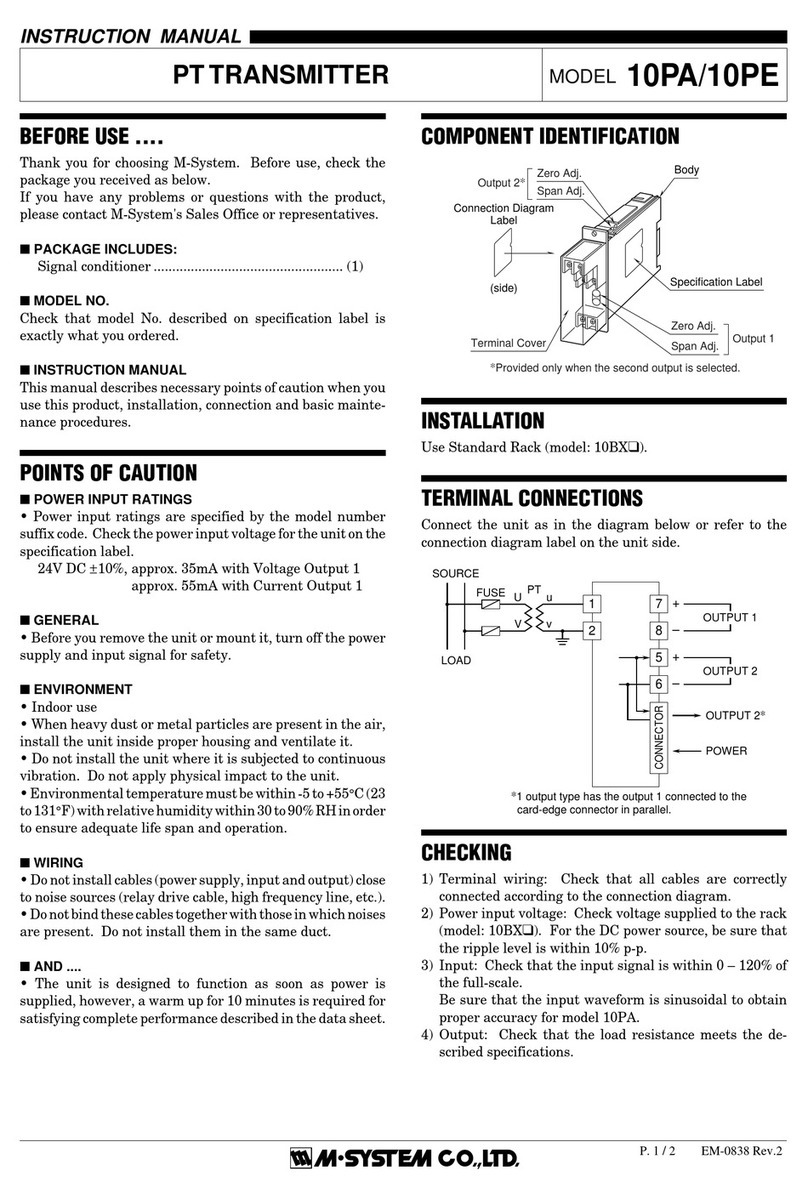
POINTS OF CAUTION
■POWER INPUT RATING & OPERATIONAL RANGE
• Locate the power input rating marked on the product and
confirm its operational range as indicated below:
100 – 240V AC rating: 85 – 264V, 47 – 66 Hz, approx. 5 – 7VA
24V DC rating: 24V ±10%, approx. 3W
11 – 27V DC rating: 11 – 27V, approx. 3W
110V DC rating: 85 – 150V, approx. 3W
■GENERAL PRECAUTIONS
• To protect very delicate components contained inside
the unit against damage from static electricity, wear a
grounded wrist strap when handling them. If you do not
have one, touch both of your hands to a safely grounded
object or to a metal object.
• Ensure that the power supply and input signal are
switched off before you plug in or remove the unit.
• Before you remove the unit from its base socket or mount
it, turn off the power supply and input signal for safety.
■ENVIRONMENT
• Indoor use.
• When heavy dust or metal particles are present in the
air, install the unit inside proper housing with sufficient
ventilation.
• Do not install the unit where it is subjected to continuous
vibration. Do not subject the unit to physical impact.
• Environmental temperature must be within -5 to +55°C
(23 to 131°F) with relative humidity within 30 to 90% RH
in order to ensure adequate life span and operation.
• Be sure that the ventilation slits are not covered with ca-
bles, etc.
■WIRING
• Do not install cables close to noise sources (relay drive
cable, high frequency line, etc.).
• Do not bind these cables together with those in which
noises are present. Do not install them in the same duct.
■AND ....
• The unit is designed to function as soon as power is sup-
plied, however, a warm up for 10 minutes is required for
satisfying complete performance described in the data
sheet.
• With voltage output, do not leave the output terminals
shortcircuited for an extended time period. The unit is
designed to endure it without breakdown, however, it may
shorten appropriate life duration.
COMPONENT IDENTIFICATION
Fixing Screw
Connection
Diagram
Specifications
Body Base Socket
INSTALLATION
Loosen the fixing screw at the front of the unit in order to
separate the body from the base socket.
DIN Rail
35mm wide
Spring Loaded
DIN Rail Adaptor
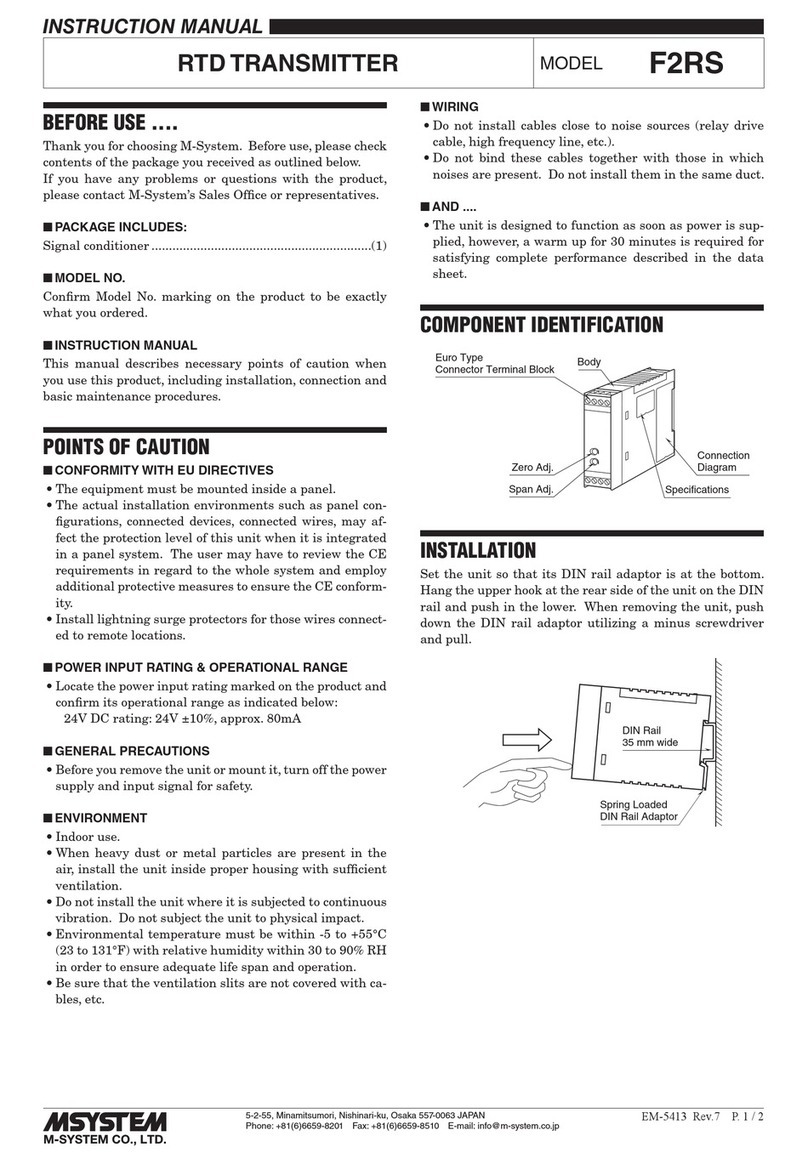
■DIN RAIL MOUNTING
Set the base socket so that
its DIN rail adaptor is at
the bottom. Position the
upper hook at the rear side
of base socket on the DIN
rail and push in the lower.
When removing the socket,
push down the DIN rail
adaptor utilizing a minus
screwdriver and pull.
■WALL MOUNTING
Refer to “EXTERNAL DIMENSIONS.”
W2XM
5-2-55, Minamitsumori, Nishinari-ku, Osaka 557-0063 JAPAN
Phone: +81(6)6659-8201 Fax: +81(6)6659-8510 E-mail: info@m-system.co.jp
EM-5504 Rev.3 P. 2 / 3
TERMINAL CONNECTIONS
Connect the unit as in the diagram below or refer to the connection diagram on the side of the unit.
■EXTERNAL DIMENSIONS unit: mm (inch)
4
8 7
10
21.5 (.87)
88.5 (3.48)
84 (3.31)10 (.39)
22 (.87)
59 (2.32)
DIN RAIL
35mm wide
[4 (.16)]
11
–
M3
SCREW
72 (2.83)
29.5 (1.16)
53 (2.09)
2
–
4.2x5
(.17x.20)
MTG HOLE
6 (.24) deep
114 (4.49)
11
56
123
9
6 (.23)
• When mounting, no extra space is needed between units.
4
(.16)
■CONNECTION DIAGRAM
U(+)
V(–)
POWER
10
11
+
–
OUTPUT 1
7
8
+
–
3
6
OUTPUT 2
The section enclosed by broken line is only with 2nd output option.
1
2
4
CONFIGURATOR JACK
+
–
3
2
1
POTENTIOMETER
max.
min.
WIRING INSTRUCTIONS
■SCREW TERMINAL
Torque: 0.8 N·m
■SOLDERLESS TERMINAL
Refer to the drawing below for recommended ring tongue
terminal size. Spade tongue type is also applicable.
Applicable wire size: 0.25 to 1.65 mm2(AWG 22 to 16)
Recommended manufacturer: Japan Solderless Terminal
MFG.Co.Ltd, Nichifu Co.,ltd
6 (.24) max
3.3 (.13) max
mm (inch)
EXTERNAL VIEWS
LED1 (LD1)
LED2 (LD2)
LED3 (LD3)
Configurator Jack
■ FRONT VIEW ■ SIDE VIEW
SW1SW2
Output 2
Configuration DIP SW
Output 1
Configuration DIP SW
OFF
ON
1234
OFF
ON
1234
*Provided only for two-output type.
*
W2XM
5-2-55, Minamitsumori, Nishinari-ku, Osaka 557-0063 JAPAN
Phone: +81(6)6659-8201 Fax: +81(6)6659-8510 E-mail: info@m-system.co.jp
EM-5504 Rev.3 P. 3 / 3
OUTPUT RANGING
The internal DIP switch setting is required to select output
types before setting a precise output range using PC Con-
figurator Software (model: W2CFG).
For detailed information on the PC configuration, refer to
the W2CFG users manual.
Table 1. DIP switch setting: Output 1 type
OUTPUT 1 TYPE
SW1-1 SW1-2 SW1-3 SW1-4
0 – 20 mA DC OFF OFF ON OFF
-10 – +10 V DC OFF ON OFF ON
-5 – +5 V DC ON OFF OFF ON
Table 2. DIP switch setting: Output 2 type
OUTPUT 2 TYPE
SW2-1 SW2-2 SW2-3 SW2-4
0 – 20 mA DC OFF OFF ON OFF
-10 – +10 V DC OFF ON OFF ON
-5 – +5 V DC ON OFF OFF ON
CHECKING
1) Terminal wiring: Check that all cables are correctly con-
nected according to the connection diagram.
2) Check DIP switch setting.
3) Power input voltage: Check voltage across the terminal
10 – 11 with a multimeter.
4) Input: Check that the input signal is within 0 – 100% of
the full-scale.
If the potentiometer wires are broken, the output goes
over 100% (below 0% with downscale) due to burnout
function. Confirm the status indicator LED pattern and
check leadwires in such a case.
5) Output: Check that the load resistance meets the de-
scribed specifications.
6) LED: Confirm that the LEDs indicate the normal operat-
ing mode.
STATUS INDICATOR LED
Combinations of the three front LEDs (LD1, LD2, LD3) indicate the transmitter’s operating status by different blinking pat-
terns.
Examples are shown below.
LD1
LD2
LD3
A
LD1
LD2
LD3
G
LD1
LD2
LD3
R
NORMAL OPERATION (RUN) MODE
ERROR MODE
Parameter Error
Error occurred when reading parameters from the
internal memory.
LD1
LD2
LD3
A
A
GOverrange Input
The input is below -15% or above 115%.
LD1
LD2
LD3
R
G
GG A
Burnout
PC Configuration RUN Mode
The transmitter is configured via PC and
is in normal operating conditions.
AD Conversion Error
Internal AD conversion error.
*1. LD1 may be one of the
LD1
LD2
LD3
A
GOutput Limit
The output is at the upper or the lower limit.
Amber LED
Green LED
Red LED
OFF
ON
Blink
A
G
R
*1
MAINTENANCE
Regular calibration procedure is explained below:
■CALIBRATION
Warm up the unit for at least 10 minutes. Apply 0%, 25%,
50%, 75% and 100% input signal. Check that the output
signal for the respective input signal remains within accu-
racy described in the data sheet. When the output is out of
tolerance, recalibrate the unit using the PC Configurator
Software (model: W2CFG).
LIGHTNING SURGE PROTECTION
M-System offers a series of lightning surge protector for
protection against induced lightning surges. Please contact
M-System to choose appropriate models.

Other M-system Transmitter manuals

M-system B3VS/2 User manual

M-system

M-system B3VS/2 User manual

M-system 99SVA User manual

M-system

M-system 99SVA User manual

M-system MXS User manual

M-system

M-system MXS User manual

M-system LINEARIZER JFX User manual

M-system

M-system LINEARIZER JFX User manual

M-system 10VS User manual

M-system

M-system 10VS User manual

M-system Mini-M M2VS User manual

M-system

M-system Mini-M M2VS User manual

M-system W2RS User manual

M-system

M-system W2RS User manual

M-system 6BLC User manual

M-system

M-system 6BLC User manual

M-system W5 Series User manual

M-system

M-system W5 Series User manual

M-system M5VSH User manual

M-system

M-system M5VSH User manual

M-system M6SPA User manual

M-system

M-system M6SPA User manual

M-system F2TS User manual

M-system

M-system F2TS User manual

M-system M3LR User manual

M-system

M-system M3LR User manual

M-system M3LM User manual

M-system

M-system M3LM User manual

M-system 10JPA User manual

M-system

M-system 10JPA User manual

M-system W2TS User manual

M-system

M-system W2TS User manual

M-system Mini-M M2XT2 User manual

M-system

M-system Mini-M M2XT2 User manual

M-system M5VS Series User manual

M-system

M-system M5VS Series User manual

M-system M2LR User manual

M-system

M-system M2LR User manual

M-system M1EXS-2 User manual

M-system

M-system M1EXS-2 User manual

M-system M3LLC User manual

M-system

M-system M3LLC User manual

M-system Mini-M M2TT User manual

M-system

M-system Mini-M M2TT User manual

M-system W2CA User manual

M-system

M-system W2CA User manual

M-system M5XV User manual

M-system

M-system M5XV User manual

Popular Transmitter manuals by other brands

Becker Centronic VarioControl VC421 Assembly and operating instructions

Becker

Becker Centronic VarioControl VC421 Assembly and operating instructions

RKI Instruments 65-2670-CL2-04 Operator's manual

RKI Instruments

RKI Instruments 65-2670-CL2-04 Operator's manual

Draper 503020 brochure

Draper

Draper 503020 brochure

Marmitek MicroModule TMD4 X-10 user manual

Marmitek

Marmitek MicroModule TMD4 X-10 user manual

Vaisala Indigo 201 quick guide

Vaisala

Vaisala Indigo 201 quick guide

Valmet Valmet MCA Installation & owner's manual

Valmet

Valmet Valmet MCA Installation & owner's manual

LRS T7400A user manual

LRS

LRS T7400A user manual

Rollei Profi U7 instructions

Rollei

Rollei Profi U7 instructions

Jensen AVX1B4S Programming guide

Jensen

Jensen AVX1B4S Programming guide

The box RA12 owner's manual

The box

The box RA12 owner's manual

Niko 05-311 manual

Niko

Niko 05-311 manual

MTT MS3101 user manual

MTT

MTT MS3101 user manual

Genie HDUBARTK-T user manual

Genie

Genie HDUBARTK-T user manual

Emerson Micro Motion 5700 Configuration and Use Manual

Emerson

Emerson Micro Motion 5700 Configuration and Use Manual

Akerstroms REMOTUS MC8318 DRIVING INSTRUCTION

Akerstroms

Akerstroms REMOTUS MC8318 DRIVING INSTRUCTION

Sanyo POA-HDTM01 owner's manual

Sanyo

Sanyo POA-HDTM01 owner's manual

Evikon E2608-CH4 user manual

Evikon

Evikon E2608-CH4 user manual

Bellman & Symfon BE1490 user guide

Bellman & Symfon

Bellman & Symfon BE1490 user guide

manuals.online logo
manuals.online logoBrands
  • About & Mission
  • Contact us
  • Privacy Policy
  • Terms and Conditions

Copyright 2025 Manuals.Online. All Rights Reserved.