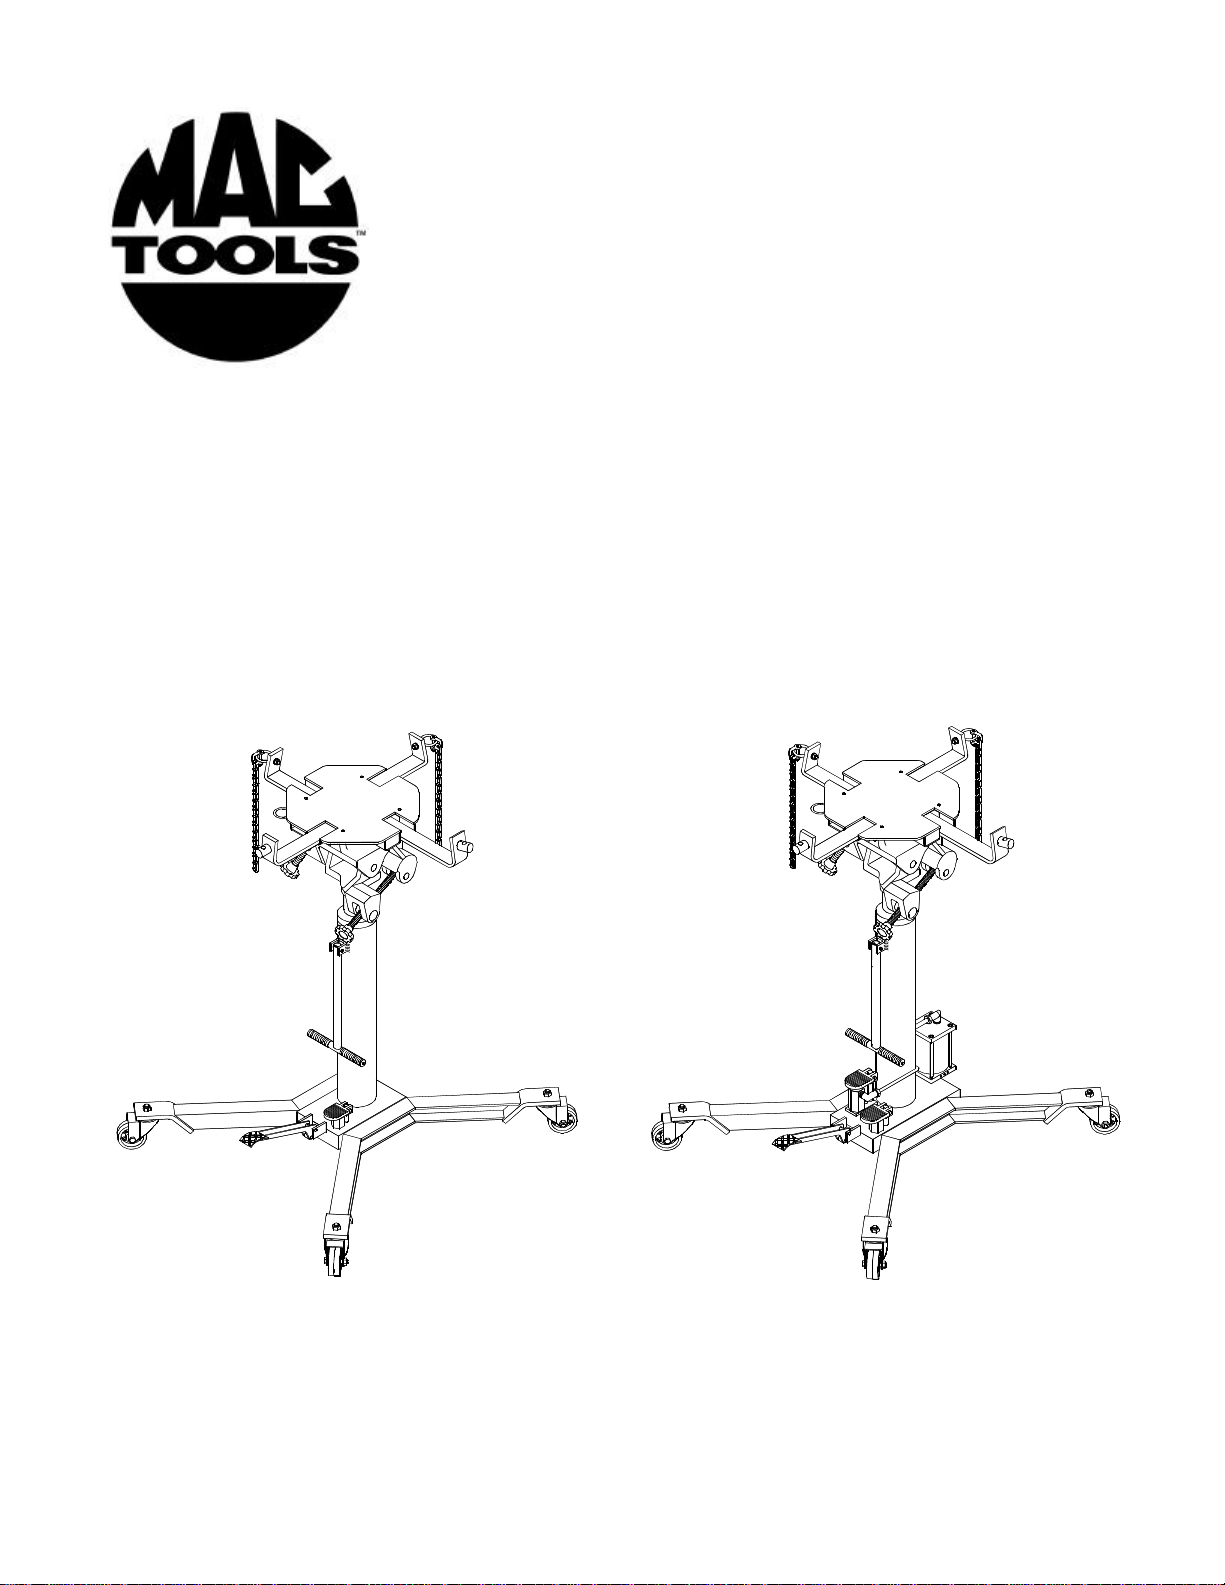
ASSEMBLY
(Refertofigure 1& 2)
1. Three major parts should be included in package:
(a) Hydraulic unit with pumping mechanism ( with
air motor equipped for Model JTA1000),
(b) Saddle unit, and
(c) 2 pieces of base half with bolts and washers.
2. Attach either one of the two base halves to the base
of the hydraulic unit, then secure using allen head
bolts and washers provided. Then apply the same
procedure to the other base half. Use torque wrench
to tighten to 30 lb.ft.. Do not overtighten.
3. Position the saddle unit above the ram piston, place
the saddle socket onto the ram piston. Secure using
the set screw.
4
BEFORE USE
1. Inspect jack before each use. Do not use if bent,
brokenorcrackedcomponentsarenoted.Ensurethat
castersmovefreely. Check for and tighten any loose
assemblies.
2. Verify that the product and the application are
compatible.
3. Press the release valve, ensure that saddle is fully
lowered.Removeshippingscrewandreplacewithvent
screw.(shippingscrew ison topof the oilfiller screw)
4. Ensure oil level is just below the rim of the oil filler
screwhole.
AirActuated Jacksonly (JTA1000)
1.Poura teaspoonof goodqualityair tool lubricantinto
the air supply inlet (See Figure 2). Connect to air
supplyandoperate for3 secondsto evenlydistribute
lubricant.
2. Air actuated product is fitted to accept the popular
1/4"NPTairnipple.Wheninstallingairnipple,ensure
thatthreadtapeorcompoundisusedonconnections.
Do not allow compound to enter the air supply inlet
orifice. Application of thread tape is acceptable, but
ensure that it is not applied beyond the first machine
thread.
OPERATION
Raise saddle:
Caution! For model JTA1000, do not operate the jack
bypumping thelift pedaland airpumppedalatthesame
time.
1. Pump foot pedal or press air pump pedal (Model
JTA1000)until saddlereachesdesiredposition.
2.Follow vehiclemanufacturer'srecommended
proceduresfor removingthe loadas outlinedin
vehicleservice manualor repairguide.
3.Secureload withprovidedchains. Ensureload's
center of gravity is centered on the saddle and load
isstablebefore movingjack.
Lower saddle:
Important! Be sure all tools and personnel are clear
beforelowering load.
Slowly, gently apply downward pressure to the release
valvepedal.
• Study, understand, and follow all printed materials
providedwith/on thisproduct beforeuse.
• Do not exceed rated capacity.
• Use only on hard, level surfaces capable of
supporting rated capacity loads.
• Use of this jack is limited to the removal,
installationandtransportation oftransmissions,
transfer cases and transaxles. Do not use a
transmission jack to tilt or support a vehicle.
• Ensure that center gravity of load is centered on
the saddle.
• Do not exceed 100tilt angle of the saddle
assembly in all directions.
• Adequately support the vehicle before starting
repairs.
• Use only chains provided.
• If loaded jack must be moved, make sure that the
load is secured, stable and in lowest position.
• This is a lifting and lowering device only.
• Transferload immediatelyto appropriatesupport
devicefor serviceorrepair.
• No alterations shall be made to this product.
• Failure to heed these markings may result in
personalinjuryand/or propertydamage.
!WARNING
Toavoid crushingand related
injuries:
NEVERworkon, underor
arounda loadsupportedonly
by a jack. Immediately
transfer the load to an
appropriatework station.
!WARNING