manuals.online logo
Brands
  1. Home
  2. •
  3. Brands
  4. •
  5. MadgeTech
  6. •
  7. Data Logger
  8. •
  9. MadgeTech RTDTemp101A User manual

MadgeTech RTDTemp101A User manual

RTDTemp101A
RTD-Based Temperature
Data Logger
PRODUCT
USER GUIDE
To view the full MadgeTech product line,
visit our website at www.loggershop.co.uk
TABLE OF CONTENTS
2Product Overview
2Installation Guide
2Wiring the Data Logger
3Device Operation
4Device Maintenance
4Need Help?
Product User Guide | 2
RTDTemp101A
PRODUCT USER GUIDE
Product Overview
Don’t be fooled by the small size, the RTDTemp101A
temperature data logger offers a wealth of features with
a compact form factor about the size of a matchbox.
When used with an external RTD probe, this data logger
measures temperatures from -200 °C to 850 °C (-328 °F to
+1562 °F).
The low power design of this data logger provides a
battery life of up to 10 years but still delivers ultra-fast
download speeds. The RTDTemp101A can store over
a million readings and offers a software configurable
memory wrap option. In addition to having a pushbutton
start stop, the device also can be programmed to a delay
start up to 18 months in advance.
Installation Guide
Installing the Interface Cable
IFC200 (sold separately) — Insert the device into a USB
port. The drivers will install automatically.
Installing the Software
The Software can be downloaded from the MadgeTech
website at madgetech.com. Follow the instructions
provided in the Installation Wizard. Compatible with
Standard Software version 2.03.06 or later and Secure
Software version 4.1.3.0 or later.
KEY
1 - Ref +
2 - Measurement (-) Input
3 - Measurement (+) Input
4 - Excitation Current Out (+)
1 - Black or Short to 2
2 - Black
3 - Red
4 - Red or Short to 3
1
2
3
4
1
2
3
4
Wiring the Data Logger
Wiring Options
For 4-wire RTD probes, connect the four lead wires to your RTD logger as shown in
the figure.
For 3-wire RTD probes, short inputs 3 and 4 together, then connect the lead wires
to inputs 1, 2 and 3.
For 2-wire RTD probes, short inputs 3 and 4 together and inputs 1 and 2 together,
then connect the RTD lead wires to inputs 2 and 3.
Warning: Note the polarity instructions. Do not attach wires to the wrong terminals.
100 Ω, 2 or 4 wire RTD probes are recommended for the most accurate
performance. Most 100 Ω, 3 wire RTD probes will work, but MadgeTech cannot
guarantee the accuracy. To determine whether or not the 3-wire RTD probe will
work, the resistance between the two same colored wires should be less than 1 Ω.
Note: Please contact the manufacturer of the RTD probe for questions on the resistance
Product User Guide | 3
RTDTemp101A
PRODUCT USER GUIDE
Alarm Settings
To change the settings for the alarm:
1. Select Alarm Settings from the Device Menu in the
MadgeTech Software. A window will appear allowing to
set the high and low alarms and warning alarms.
2. Press Change to edit the values.
3. Check Enable Alarm Settings to enable the feature
and check each high and low, warn and alarm box
to activate it. The values can be entered in the field
manually or by using the scroll bars.
4. Click Save to save the changes. To clear an active
alarm or warn, press the Clear Alarm or Clear Warn
button.
5. To set an alarm delay, enter the duration of time into
the Alarm Delay box in which the readings can be
outside of the alarm parameters.
Trigger Settings
The device can be programmed to only record based off
user configured trigger settings.
1. In the Connected Devices panel, click the device
desired.
2. On the Device Tab, in the Information Group, click
Properties. Users can also right-click the device and
select Properties in the context menu.
3. Select Trigger Settings from the Device Menu: Start
Device or Identify Device and Read Status.
Note: Trigger formats are available in Window and Two Point (bi-level)
mode. Window allows for one range of temperature monitoring and two
point mode allows for two ranges of temperature monitoring.
Set Password
To password protect the device so that others cannot
start, stop or reset the device:
1. In the Connected Devices panel, click the device desired.
2. On the Device Tab, in the Information Group, click
Properties. Or, right-click the device and select
Properties in the context menu.
3. On the General Tab, click Set Password.
4. Enter and confirm the password in the box that
appears, then select OK.
Device Operation
Connecting and Starting the Data Logger
1. Once the software is installed and running, plug the
interface cable into the data logger.
2. Connect the USB end of the interface cable into an
open USB port on the computer.
3. The device will appear in the Connected Devices list.
Highlight the desired data logger.
4. For most applications, select Custom Start from
the menu bar and choose the desired start method,
reading rate and other parameters appropriate for the
data logging application and click Start.
•Quick Start applies the most recent custom start
options
•Batch Start is used for managing multiple loggers
at once
•Real Time Start stores the dataset as it records
while connected to the logger
5. The status of the device will change to Running,
Waiting to Start or Waiting to Manual Start,
depending upon your start method.
6. Disconnect the data logger from the interface cable
and place it in the environment to measure.
Note: The device will stop recording data when the end of memory
is reached or the device is stopped. At this point the device cannot be
restarted until it has been re-armed by the computer.
Downloading Data from a Data Logger
1. Connect the logger to the interface cable.
2. Highlight the data logger in the Connected Devices list.
Click Stop on the menu bar.
3. Once the data logger is stopped, with the logger
highlighted, click Download. You will be prompted to
name your report.
4. Downloading will offload and save all the recorded
data to the PC.
PRODUCT USER GUIDE
RTDTemp101A
DOC-1216035-00 | REV 11 2020.05.27
NEED HELP?
Product Support & Troubleshooting:
• Visit our Resources online at madgetech.com/resources.
• Contact our friendly Customer Support Team at 01929 459 459 or [email protected]
MadgeTech 4 Software Support:
• Refer to the built-in help section of the MadgeTech 4 Software.
• Download the MadgeTech 4 Software Manual at madgetech.com.
• Contact our friendly Customer Support Team at 01929 459 459 or [email protected]
LED Indicators
Green LED blinks: 10 seconds to indicate
logging and 15 seconds to indicate delay
start mode.
Red LED blinks: 10 seconds to indicate
low battery and/or memory and 1 second
to indicate an alarm condition.
Multiple Start/Stop Mode Activation
• To start device: Press and hold the pushbutton for
5 seconds, the green LED will flash during this time. The
device has started logging.
• To stop the device: Press and hold the pushbutton for
5 seconds, the red LED will flash during the this time.
The device has stopped logging.
Device Maintenance
Battery Replacement
Materials: Small Phillips Head Screwdriver and a
Replacement Battery (LTC-7PN)
1. Puncture the center of the back label with the screw
driver and unscrew the enclosure.
2. Remove the battery by pulling it perpendicular to the
circuit board.
3. Insert the new battery into the terminals and verify it
is secure.
4. Screw the enclosure back together securely.
Note: Be sure not to over tighten the screws or strip the threads.
Recalibration
Recalibration is recommended annually. To send
devices back for calibration, visit [email protected] or
call 01929 459 459.

Other MadgeTech Data Logger manuals

MadgeTech OctProcessV2 Specification sheet

MadgeTech

MadgeTech OctProcessV2 Specification sheet

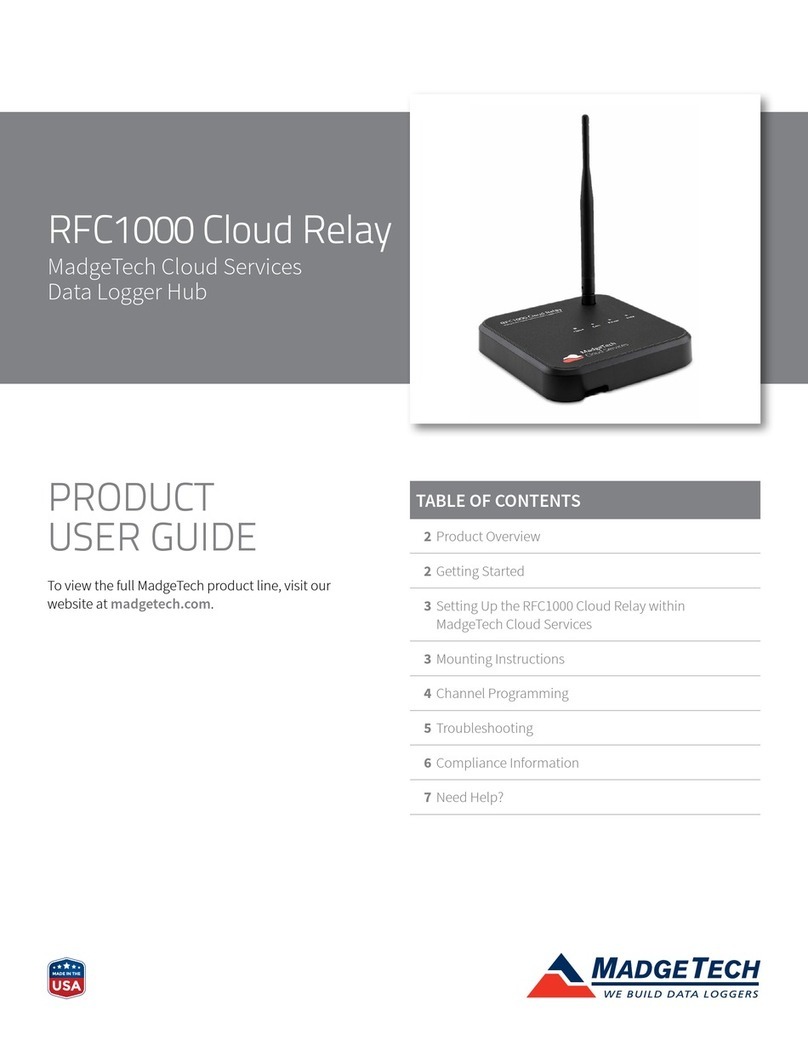
MadgeTech RFC1000 User manual

MadgeTech

MadgeTech RFC1000 User manual

MadgeTech Process101A User manual

MadgeTech

MadgeTech Process101A User manual

MadgeTech Volt101A User manual

MadgeTech

MadgeTech Volt101A User manual

MadgeTech QuadVolt User manual

MadgeTech

MadgeTech QuadVolt User manual

MadgeTech PRTemp1000 Specification sheet

MadgeTech

MadgeTech PRTemp1000 Specification sheet

MadgeTech PR140 Specification sheet

MadgeTech

MadgeTech PR140 Specification sheet

MadgeTech UltraShock Series User manual

MadgeTech

MadgeTech UltraShock Series User manual

MadgeTech RHTemp1000IS-KR Specification sheet

MadgeTech

MadgeTech RHTemp1000IS-KR Specification sheet

MadgeTech X Series Specification sheet

MadgeTech

MadgeTech X Series Specification sheet

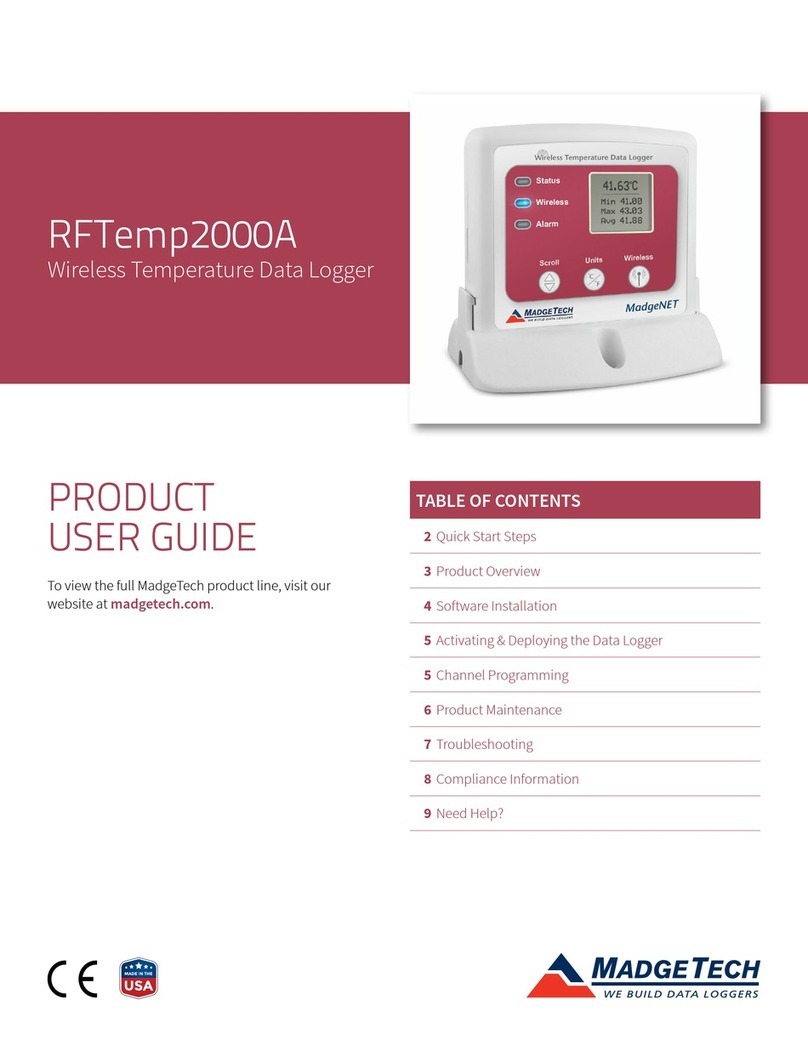
MadgeTech RHTemp2000 User manual

MadgeTech

MadgeTech RHTemp2000 User manual

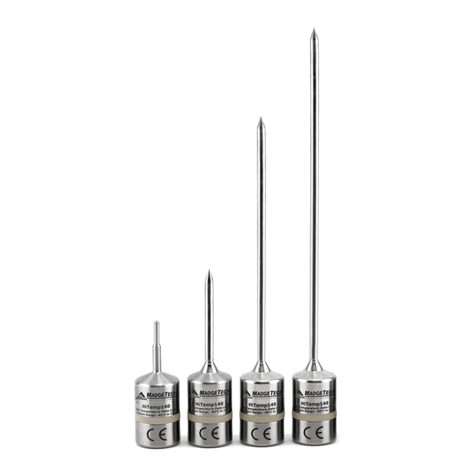
MadgeTech HiTemp140-5.25-TD Specification sheet

MadgeTech

MadgeTech HiTemp140-5.25-TD Specification sheet

MadgeTech RHTemp101 User manual

MadgeTech

MadgeTech RHTemp101 User manual

MadgeTech Shock101-5-EB Specification sheet

MadgeTech

MadgeTech Shock101-5-EB Specification sheet

MadgeTech TSR101 Series User manual

MadgeTech

MadgeTech TSR101 Series User manual

MadgeTech RHTEMP1000IS Specification sheet

MadgeTech

MadgeTech RHTEMP1000IS Specification sheet

MadgeTech RFOT Specification sheet

MadgeTech

MadgeTech RFOT Specification sheet

MadgeTech TC101A User manual

MadgeTech

MadgeTech TC101A User manual

MadgeTech RFRTDTemp2000A Specification sheet

MadgeTech

MadgeTech RFRTDTemp2000A Specification sheet

MadgeTech VFC2000 Specification sheet

MadgeTech

MadgeTech VFC2000 Specification sheet

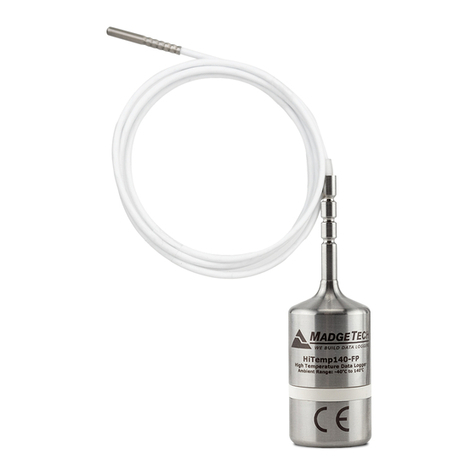
MadgeTech HiTemp140-M12 Specification sheet

MadgeTech

MadgeTech HiTemp140-M12 Specification sheet

MadgeTech HiTemp140-5.25 Specification sheet

MadgeTech

MadgeTech HiTemp140-5.25 Specification sheet

MadgeTech EggTemp-RH Specification sheet

MadgeTech

MadgeTech EggTemp-RH Specification sheet

MadgeTech ThermoVault Specification sheet

MadgeTech

MadgeTech ThermoVault Specification sheet

Popular Data Logger manuals by other brands

Senonics Minnow 1.0TH user guide

Senonics

Senonics Minnow 1.0TH user guide

Hioki 3645-20 instruction manual

Hioki

Hioki 3645-20 instruction manual

WinSystems PX1-I440-ADC product manual

WinSystems

WinSystems PX1-I440-ADC product manual

INTEGRA Merering AMBUS Link Mounting and operating instructions

INTEGRA Merering

INTEGRA Merering AMBUS Link Mounting and operating instructions

Ebro EBI 30-pH user manual

Ebro

Ebro EBI 30-pH user manual

Senonics Minnow 2.0TD user guide

Senonics

Senonics Minnow 2.0TD user guide

PRO TUNE MTD 2.4 product manual

PRO TUNE

PRO TUNE MTD 2.4 product manual

Geokon GK-404 instruction manual

Geokon

Geokon GK-404 instruction manual

Comet System S3120E instruction manual

Comet System

Comet System S3120E instruction manual

Ebro EBI 10 Series operating instructions

Ebro

Ebro EBI 10 Series operating instructions

GNE Beehive user manual

GNE

GNE Beehive user manual

Digital Loggers 8-Channel USB Logger user guide

Digital Loggers

Digital Loggers 8-Channel USB Logger user guide

Speedata KT40Q Faq

Speedata

Speedata KT40Q Faq

Aim MyChron 4 Technical documentation

Aim

Aim MyChron 4 Technical documentation

Davis Instruments Perception II Getting started guide

Davis Instruments

Davis Instruments Perception II Getting started guide

Datafox EVO 3.5 Universal manual

Datafox

Datafox EVO 3.5 Universal manual

Tinytag TGRF-4021 user manual

Tinytag

Tinytag TGRF-4021 user manual

mIoT Captis Metrum installation guide

mIoT

mIoT Captis Metrum installation guide

manuals.online logo
manuals.online logoBrands
  • About & Mission
  • Contact us
  • Privacy Policy
  • Terms and Conditions

Copyright 2025 Manuals.Online. All Rights Reserved.