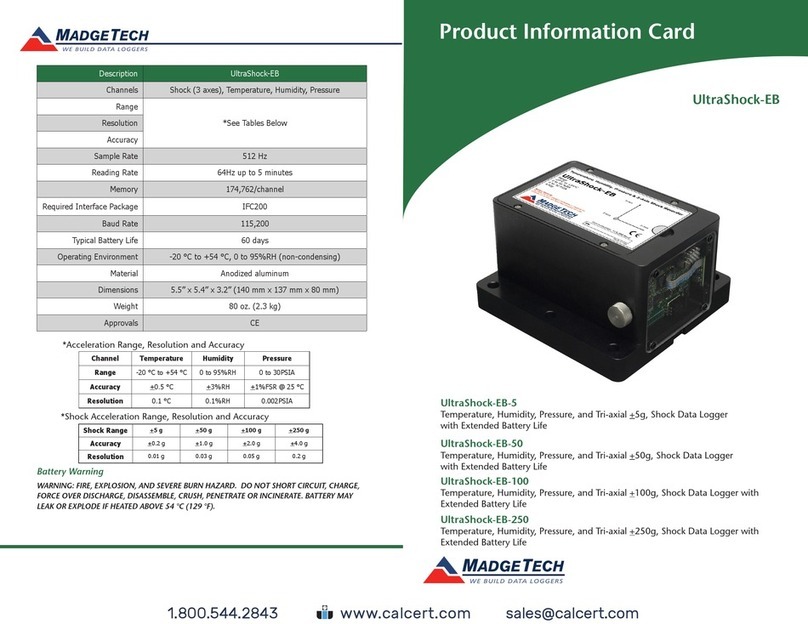
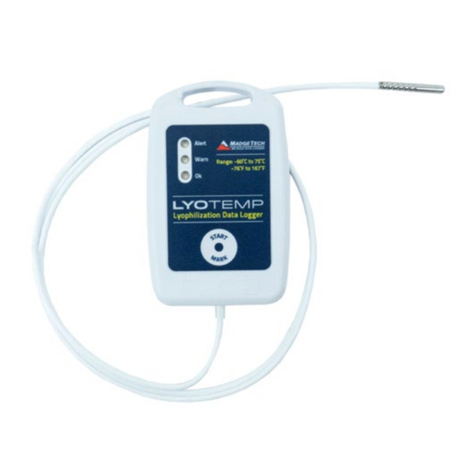
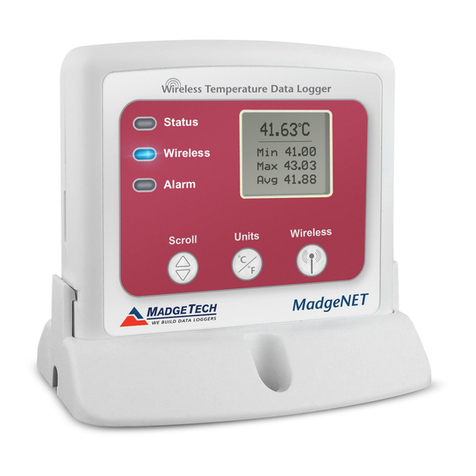
manuals.online logo
Brands
  1. Home
  2. •
  3. Brands
  4. •
  5. MadgeTech
  6. •
  7. Data Logger
  8. •
  9. MadgeTech Temp101 User manual

MadgeTech Temp101 User manual

MadgeTech, Inc.
PO Box 50 lWarner, NH 03278
Phone 603.456.2011 lFax 603.456.2012
www.madgetech.com l[email protected]
Red 485
Dark Blue Pantone 289
Light Blue 58% of Pantone 289
REV F 2009.04.30
To view the full MadgeTech product line,
visit our website at www.madgetech.com.
Temp110
Miniature Temperature Recorder with 10 Year Battery Life
Red 485
Dark Blue Pantone 289
Light Blue 58% of Pantone 289
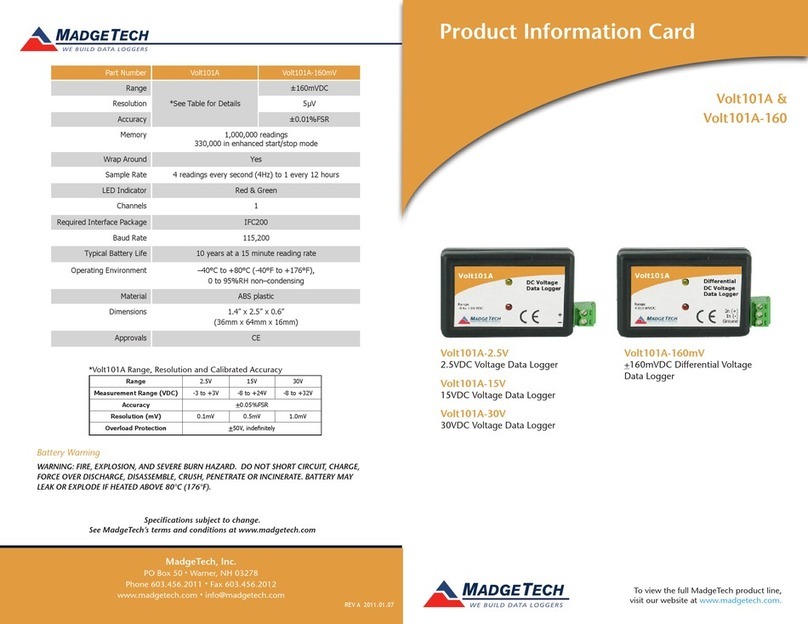
Product Information Card
Temp100, Temp101, Temp110 and
TempRetriever
Temp101
Miniature Temperature Recorder
Temp100
Miniature Temperature Recorder with PushButton Start/Stop
TempRetriever
Miniature Temperature Recorder with PushButton Start/Stop
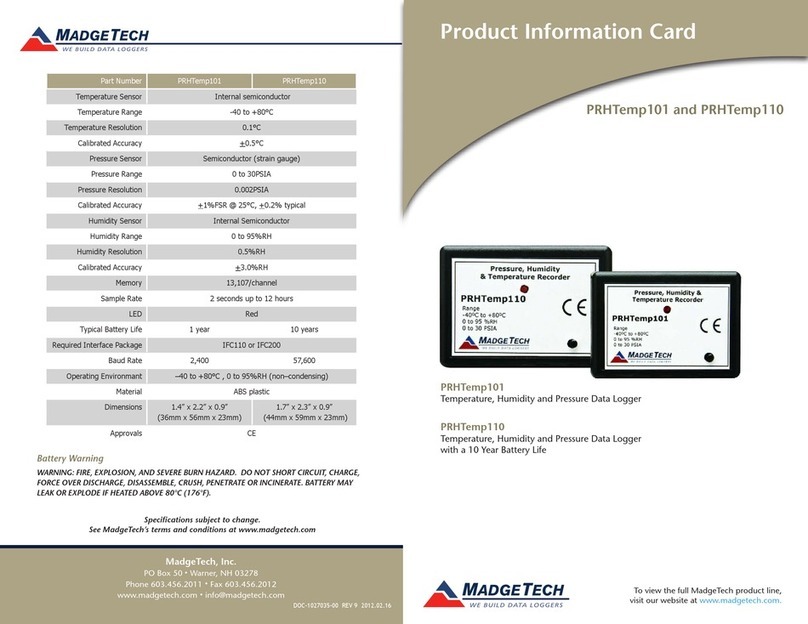
Part Number Temp100 Temp101 Temp110 TempRetriever
Sensor Internal semiconductor
Range –40 to +80°C
Resolution 0.1°C
Accuracy +0.5°C (0 to +50°C)
Memory 32,767 32,767 32,767 16,383
Sample Rate 2 seconds up to
12 hours
2 seconds up to
12 hours
2 seconds up to
12 hours
5 seconds up to
30 minutes
LED Indicator Red & Green Red Red Red & Green
Pushbutton Start Yes No No Yes
Alarm Yes Yes No Yes
Req. Interface Package IFC110 or IFC200
Baud Rate 2,400 2,400 57,600 38,400
Battery Life 1 year 1 year 10 years 1 year
Operating Environment –40 to +80°C, 0 to 95%RH non–condensing
Material ABS plastic
Dimensions 1.4” x 2.2” x 0.6”
(36mm x 56mm x
16mm)
1.4” x 2.2” x 0.6”
(36mm x 56mm x
16mm)
1.7” x 2.3” x 0.8”
(44mm x 59mm x
21mm)
1.4” x 2.2” x 0.6”
(36mm x 56mm x
16mm)
Approvals CE
Product Quick Reference Card
Specifications subject to change.
See MadgeTech’s terms and conditions at www.madgetech.com
Device Maintenance
Battery Replacement
Materials: Small Phillips Head Screwdriver and LTC-7PN battery
Temp101 and Temp110:
- Puncture the center of the back label with the screw driver
and unscrew the enclosure.
- Remove the battery by pulling it perpendicular to the board.
- Insert the new battery into the terminals and verify it is secure.
- Screw the enclosure back together securely.
Temp100 and TempRetriever:
- Puncture the center of the back label with the screw driver
and unscrew the enclosure.
- Use a small non-metallic device to push the coin-cell battery
out of its holder.
- Hold down the pushbutton in the middle of the circuit board
and insert the new battery into the holder.
- Release the pushbutton and watch to verify that the LED’s
blink. (If they do not, then you may have inserted the battery
upside down. Remove the battery and try again.)
- Replace the circuit board in the enclosure.
- Screw the enclosure back together securely.
Battery Warning
WARNING: FIRE, EXPLOSION, AND SEVERE BURN HAZARD. DO NOT
SHORT CIRCUIT, CHARGE, FORCE OVER DISCHARGE, DISASSEMBLE,
CRUSH, PENETRATE OR INCINERATE. BATTERY MAY LEAK OR
EXPLODE IF HEATED ABOVE 80°C (176°F).
Recalibration
Standard calibration is one point at 25°C for all 4 devices.
Pricing:
Recalibration traceable to NIST $60.00
Recalibration $40.00
Additional:
As Found Data $15.00 per parameter/channel
Verification Point $15.00 per point
To send the devices back, visit www.madgetech.com, select
Services then RMA Process.
- Gently pry the two halves of the enclosure apart.
- Remove the circuit board.
- Use a small non-metallic device to push the coin-cell battery out of its
holder.
- Hold down the pushbutton in the middle of the circuit board and insert
the new battery into the holder.
- Release the pushbutton and watch to verify that the LED’s blink. (If they
do not, then you may have inserted the battery upside down. Remove
the battery and try again.)
- Replace the circuit board in the enclosure.
- Press the two halves of the enclosure back together.
Temp100, Temp101, Temp110 and TempRetriever Product Quick Reference Card
Product Notes
Manual Start
When the Manual Start method is selected, the data logger
will be armed, but not recording. To start the device, hold the
push button down until both the green and red LEDs flash
momentarily.
LEDs
Once started, the LED will flash at the selected reading rate to
indicate that the device is running. The LED will flash in one
second intervals if there is an alarm condition.
If the device has two LEDs, the green LED will blink at the
specified reading rate. The red LED will blink if the alarm has
been breeched.
Alarm Settings
To change the settings for the temperature alarm;
- Select Alarm Settings from the Device menu in the MadgeTech
software. A window will appear allowing the customer to set the
high and low temperature alarms.
- Press Change to edit the values.
- Check Enable Alarm Settings to enable the feature. The values
can be entered in the field manually or by using the scroll bars.
- Click Save to save the changes. To clean an active alarm, press
Clear Alarm.
Installation Guide
Installing the Interface cable
- IFC200, IFC202 or IFC300
Refer to the “Quick Start Guide” included in the package.
- IFC110, IFC102 or IFC103
Plug the serial cable into the port and verify it is secure.
- USB-1 or USB-101
Install the USB drivers from the CD provided in the kit, than
plug the USB cable into the computer and the serial cable into
the serial port.
Installing the software
Insert the Software CD in the CD-ROM Drive. If the autorun
does not appear, locate the drive on the computer and double
click on Autorun.exe. Follow the instructions provided in the
Wizard.
Connecting the data logger
- Once the software is installed and running, plug the interface
cable into the data logger.
- Click the Communication Menu, then Auto Configure Port.
- After a moment, a box similar to the following will appear;
- Click OK. The Device Status box will appear. Click OK.
- At this point, communications have been configured for your
logger. These settings can be found under the Communication
Menu.
Note: For additional installation instructions refer to your “Data
Logger & Software Operating Manual”.
Device Operation
Starting the data logger
- Click Device Menu then
Start Device.
- Choose the desired start
method.
- Choose the start parameters
by selecting a Reading Rate
suitable for your application.
- Enter in any other desired
parameters and click Start.
- A box will appear stating the
data logger has been started.
Click OK.
- Disconnect the data logger from the interface cable and
place it in the environment to measure.
Note: The device will stop recording data when the end of
memory is reached or the device is stopped. At this point the
device cannot be restarted until it has been re-armed by the
computer.
Downloading data from a data logger
- Connect the data logger to the interface cable.
- Click the Device Menu then Read Device Data. This will
offload all recorded data onto the PC.
Technical Support
Visit www.madgetech.com, or call (603) 456-2011.
Technical support is also available by e-mailing
[email protected]
Additional product information is available by e-mailing
[email protected].

This manual suits for next models

3

Other MadgeTech Data Logger manuals

MadgeTech MicroTemp100 Specification sheet

MadgeTech

MadgeTech MicroTemp100 Specification sheet

MadgeTech ThermoVault Max Specification sheet

MadgeTech

MadgeTech ThermoVault Max Specification sheet

MadgeTech RFC1000 User manual

MadgeTech

MadgeTech RFC1000 User manual

MadgeTech Volt101A-30V Specification sheet

MadgeTech

MadgeTech Volt101A-30V Specification sheet

MadgeTech PR2000 Specification sheet

MadgeTech

MadgeTech PR2000 Specification sheet

MadgeTech MadgeNet RFRHTemp2000A Specification sheet

MadgeTech

MadgeTech MadgeNet RFRHTemp2000A Specification sheet

MadgeTech UltraShock Series User manual

MadgeTech

MadgeTech UltraShock Series User manual

MadgeTech RFCO2RHTemp2000A Specification sheet

MadgeTech

MadgeTech RFCO2RHTemp2000A Specification sheet

MadgeTech Temp1000 User manual

MadgeTech

MadgeTech Temp1000 User manual

MadgeTech HiTemp140-FP Specification sheet

MadgeTech

MadgeTech HiTemp140-FP Specification sheet

MadgeTech Event101A User manual

MadgeTech

MadgeTech Event101A User manual

MadgeTech HiTemp140-5.25 Specification sheet

MadgeTech

MadgeTech HiTemp140-5.25 Specification sheet

MadgeTech RTDTemp2000 User manual

MadgeTech

MadgeTech RTDTemp2000 User manual

MadgeTech Temp1000IS Specification sheet

MadgeTech

MadgeTech Temp1000IS Specification sheet

MadgeTech OctVolt Specification sheet

MadgeTech

MadgeTech OctVolt Specification sheet

MadgeTech RFRTDTemp2000A Specification sheet

MadgeTech

MadgeTech RFRTDTemp2000A Specification sheet

MadgeTech RTDTempX Series Specification sheet

MadgeTech

MadgeTech RTDTempX Series Specification sheet

MadgeTech RTDTemp101A User manual

MadgeTech

MadgeTech RTDTemp101A User manual

MadgeTech HiTemp140-M12 Specification sheet

MadgeTech

MadgeTech HiTemp140-M12 Specification sheet

MadgeTech TC101A User manual

MadgeTech

MadgeTech TC101A User manual

MadgeTech QuadRTD User manual

MadgeTech

MadgeTech QuadRTD User manual

MadgeTech Volt101A-15V User manual

MadgeTech

MadgeTech Volt101A-15V User manual

MadgeTech Volt101A User manual

MadgeTech

MadgeTech Volt101A User manual

MadgeTech HITEMP140-PT Specification sheet

MadgeTech

MadgeTech HITEMP140-PT Specification sheet

Popular Data Logger manuals by other brands

Hobo U30 quick start guide

Hobo

Hobo U30 quick start guide

Onset Hobo UX90-001 Series manual

Onset

Onset Hobo UX90-001 Series manual

Dickson SP125 manual

Dickson

Dickson SP125 manual

Elitech RCW-400A user manual

Elitech

Elitech RCW-400A user manual

PIKOSYS PIKOLOAD Guideline Installation

PIKOSYS

PIKOSYS PIKOLOAD Guideline Installation

VOLTCRAFT DL-161S operating instructions

VOLTCRAFT

VOLTCRAFT DL-161S operating instructions

Huato HE173 Operation manual

Huato

Huato HE173 Operation manual

Mikster Loggicar-E operating manual

Mikster

Mikster Loggicar-E operating manual

Comet U0110G user guide

Comet

Comet U0110G user guide

Measurement Computing USB-525 quick start

Measurement Computing

Measurement Computing USB-525 quick start

Geosense Geologger Linx quick guide

Geosense

Geosense Geologger Linx quick guide

beadedstream D605 Installation & quick start guide

beadedstream

beadedstream D605 Installation & quick start guide

Microtronics myDatalogMUC user manual

Microtronics

Microtronics myDatalogMUC user manual

DeltaTRAK FlashLink 40528 quick start guide

DeltaTRAK

DeltaTRAK FlashLink 40528 quick start guide

Opticon PX-20 Specification manual

Opticon

Opticon PX-20 Specification manual

MicroStrain WSDA-ETH quick start guide

MicroStrain

MicroStrain WSDA-ETH quick start guide

Toyo SYNESIS Portable quick start guide

Toyo

Toyo SYNESIS Portable quick start guide

Rotronic TL-CC1 quick start guide

Rotronic

Rotronic TL-CC1 quick start guide

manuals.online logo
manuals.online logoBrands
  • About & Mission
  • Contact us
  • Privacy Policy
  • Terms and Conditions

Copyright 2025 Manuals.Online. All Rights Reserved.