ASSEMBLY INSTRUCTIONS
MAGNUM INDUSTRIAL MI-91520 DELUXE 14” BAND SAW
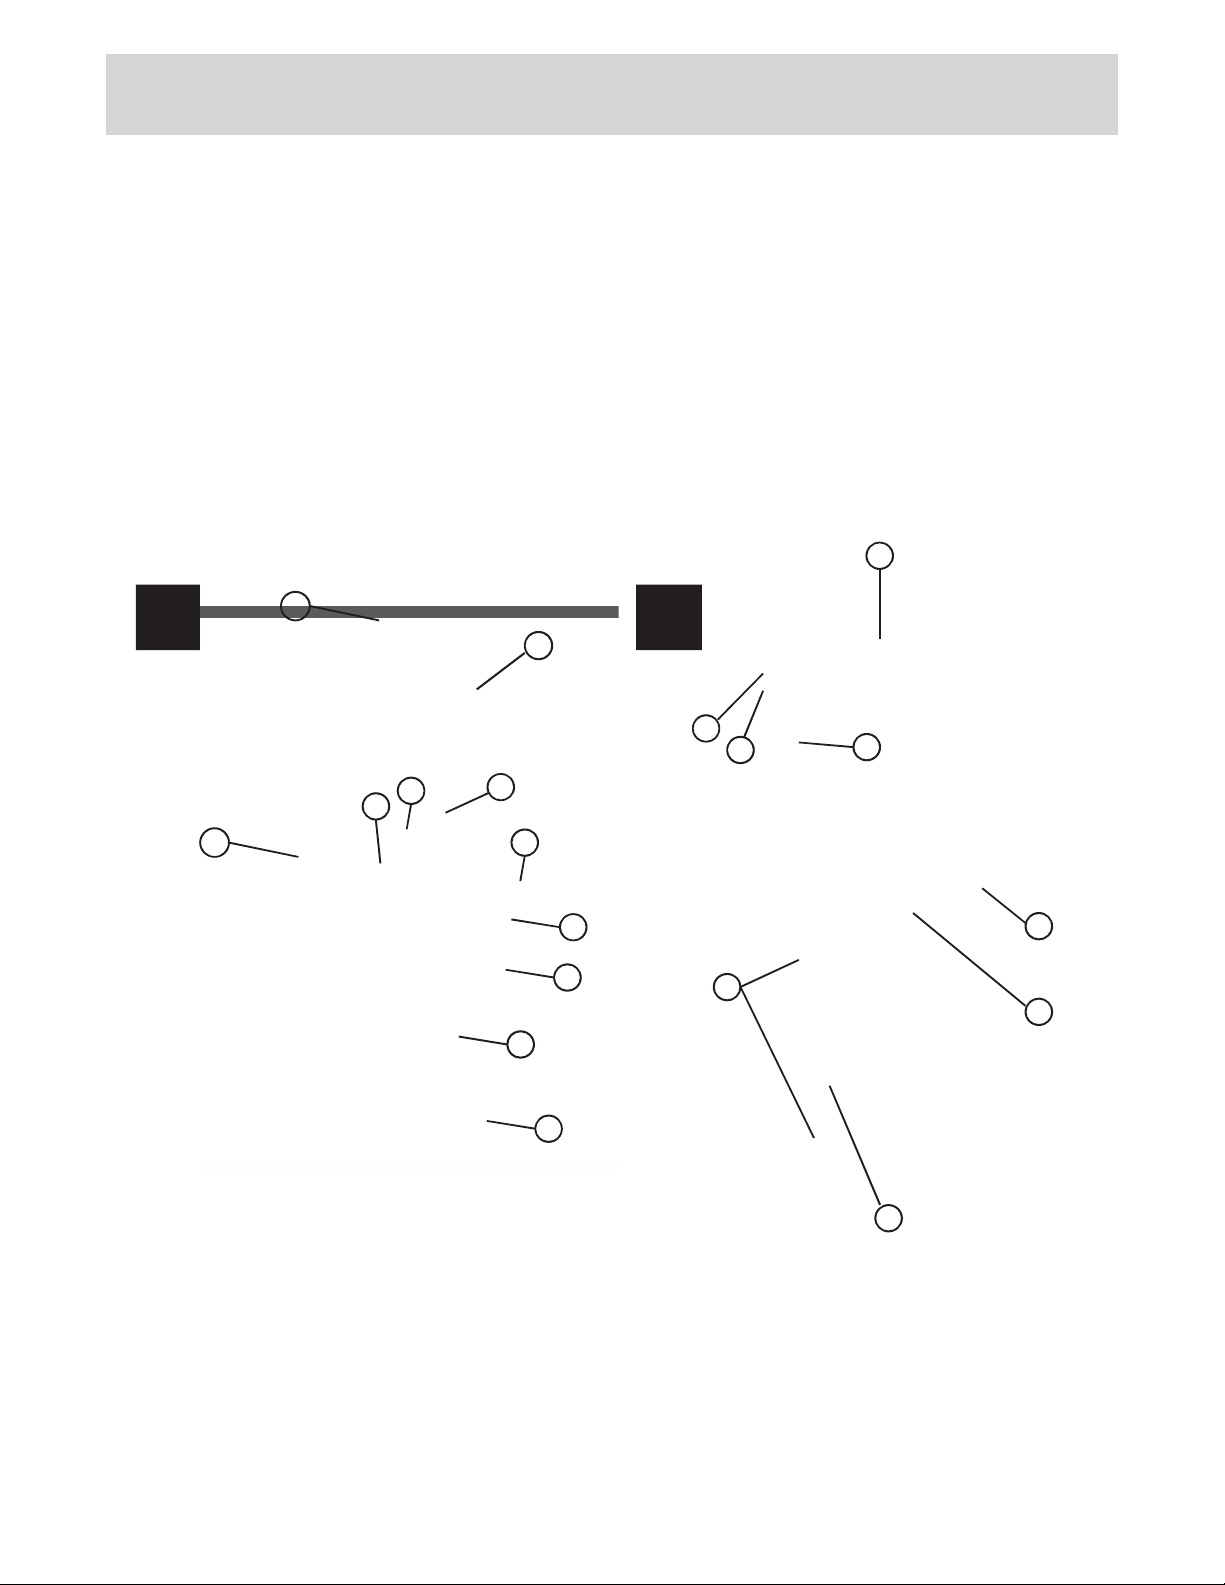
INSTALLING THE FENCE ASSEMBLY
The MI-91520 is equipped with a deluxe T-fence
and guide rail system. Follow all assembly and
adjustment instructions
INSTALLATION OF THE FRONT AND REAR
MOUNTING BRACKETS TO THE BANDSAW’S
TABLE on page 18~23
INSTALLING THE FENCE ASSEMBLY
This band saw is equipped with a foot brake locat-
ed at the bottom of the machine. The foot brake
allows for immediate immobilization of the blade
1. Open the lower wheel cover door.
2. Attach the foot brake to the FOOT BRAKE
MOUNTING BAR (Q) using the two supplied CAP
SCREWS AND LOCK WASHERS (R), in the as-
sembly order shown in Figure 20.
3. Firmly tighten with the supplied 8 mm Allen key.
The foot brake is not designed to function as the
primary stop mechanism of this saw. The foot
brake should be used for emergency situations or
any time it is necessary to immobilize the blade
quicker than normal. Under normal working condi-
tions the red stop button should be used as the
primary stop mechanism. Continuously using the
foot brake as the primary stop mechanism can
lead to premature wear of the brake and may
cause damage to the motor.
WARNING!
This tool is for indoor use only. Do not
expose to rain or use in wet or damp
locations.
EMERGENCY FOOT PEDAL STOP
MAY NEED TO BE ADJUSTED MACHINE
WILL NOT START IF THE LIMIT SWITCH
IS ACTIVATED
WARNING!
Do not operate the unit with a damaged
power cord or plug.
18
19
20
FIGURE 18: FENCE INSTALLATION
FIGURE 19: FOOT BRAKE LOCATION
FIGURE 20: FOOT BRAKE INSTALLATION