manuals.online logo
Brands
  1. Home
  2. •
  3. Brands
  4. •
  5. Majestic
  6. •
  7. Bathroom Fixture
  8. •
  9. Majestic Portofino User manual

Majestic Portofino User manual

Other manuals for Portofino

1

Other Majestic Bathroom Fixture manuals

Majestic Monaco User manual

Majestic

Majestic Monaco User manual

Majestic Como vJUN19 User manual

Majestic

Majestic Como vJUN19 User manual

Majestic Napoli User manual

Majestic

Majestic Napoli User manual

Majestic Archangel User manual

Majestic

Majestic Archangel User manual

Majestic Oslo User manual

Majestic

Majestic Oslo User manual

Majestic vJUN17 User manual

Majestic

Majestic vJUN17 User manual

Majestic Cadiz User manual

Majestic

Majestic Cadiz User manual

Popular Bathroom Fixture manuals by other brands

Kohler Mira Sport Max J03G Installation and user guide

Kohler

Kohler Mira Sport Max J03G Installation and user guide

Moen 186117 Series installation guide

Moen

Moen 186117 Series installation guide

Hans Grohe Raindance Showerpipe 27235000 Instructions for use/assembly instructions

Hans Grohe

Hans Grohe Raindance Showerpipe 27235000 Instructions for use/assembly instructions

Signature Hardware ROUND SWIVEL BODY SPRAY 948942 Install

Signature Hardware

Signature Hardware ROUND SWIVEL BODY SPRAY 948942 Install

fine fixtures AC3TH installation manual

fine fixtures

fine fixtures AC3TH installation manual

LIXIL HP50 Series quick start guide

LIXIL

LIXIL HP50 Series quick start guide

KOLO ATOL PLUS installation manual

KOLO

KOLO ATOL PLUS installation manual

Hans Grohe PuraVida 15073000 Instructions for use/assembly instructions

Hans Grohe

Hans Grohe PuraVida 15073000 Instructions for use/assembly instructions

Toto TS111B8 Installation and owner's manual

Toto

Toto TS111B8 Installation and owner's manual

Kohler K-1158-H2 Homeowner's guide

Kohler

Kohler K-1158-H2 Homeowner's guide

Coram Showers OFFSET QUADRANT manual

Coram Showers

Coram Showers OFFSET QUADRANT manual

baliv DU-2010 manual

baliv

baliv DU-2010 manual

odass OD-1710 instruction manual

odass

odass OD-1710 instruction manual

Oxygenics Evolution Easy installation instructions

Oxygenics

Oxygenics Evolution Easy installation instructions

Bradley Express SS Series installation instructions

Bradley

Bradley Express SS Series installation instructions

Helvex TH-974 installation guide

Helvex

Helvex TH-974 installation guide

DURAVIT C.1 C15240 0090 Instructions for mounting and use

DURAVIT

DURAVIT C.1 C15240 0090 Instructions for mounting and use

Sunshower PURE SOLO manual

Sunshower

Sunshower PURE SOLO manual

manuals.online logo
manuals.online logoBrands
  • About & Mission
  • Contact us
  • Privacy Policy
  • Terms and Conditions

Copyright 2025 Manuals.Online. All Rights Reserved.

majestic
installation guide
—
portofino case 1corner enclosure
for units with 24mm wall
and floor surface profiles,
without an underframe
The Majestic Shower Company Limited
One North Place, Edinburgh Way, Harlow Essex
CM20 2SL England,
Telephone +44 (0) 8448 001 500
Facsimile +44 (0) 1279 635 074
info@majesticshowers.com www.majesticshowers.com
These Instructions are for a left and right
handed unit. The diagrams show a left handed
unit. You will have to determine which hand of
unit you have before work commences.
The Majestic Shower Company Limited
One North Place, Edinburgh Way, Harlow Essex
CM20 2SL England,
Telephone +44 (0) 8448 001 500
Facsimile +44 (0) 1279 635 074
info@majesticshowers.com www.majesticshowers.com
Portofino Corner Enclosure
THIS BOX SHOULD CONTAIN THE FOLLOWING:
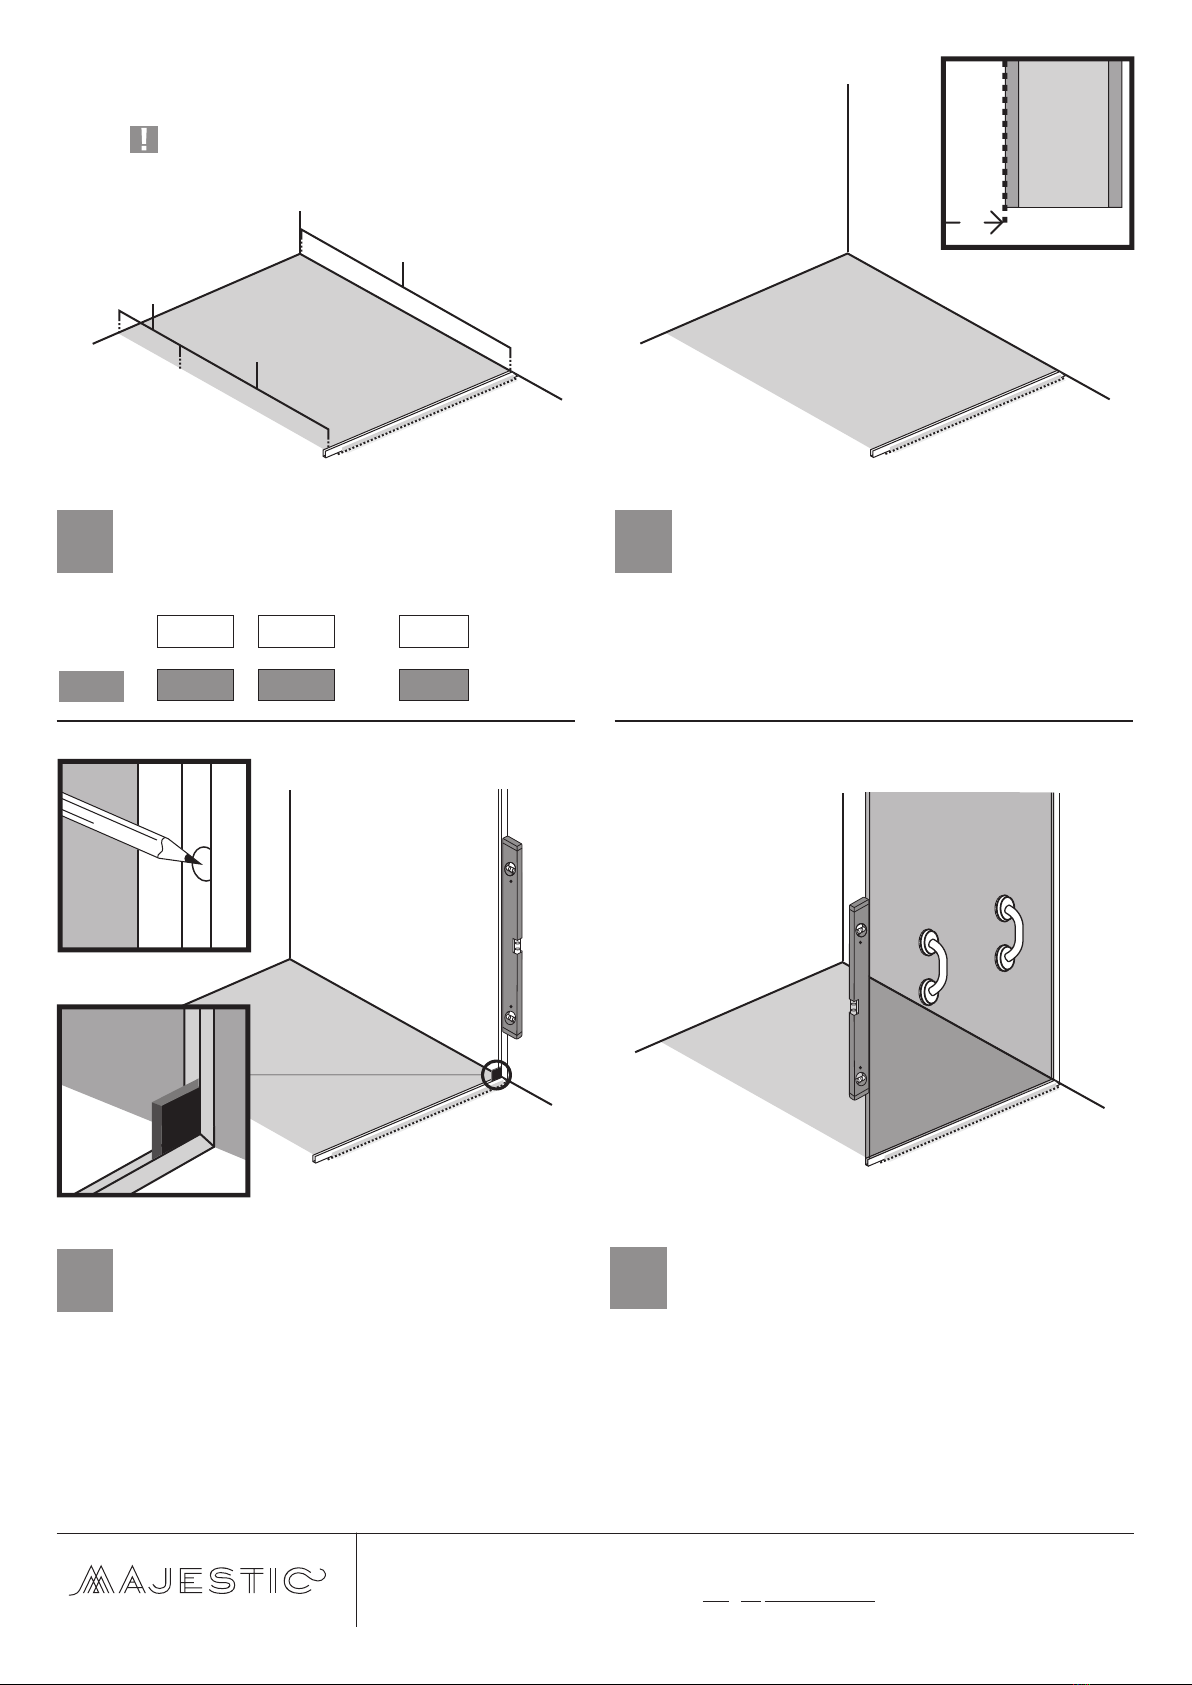
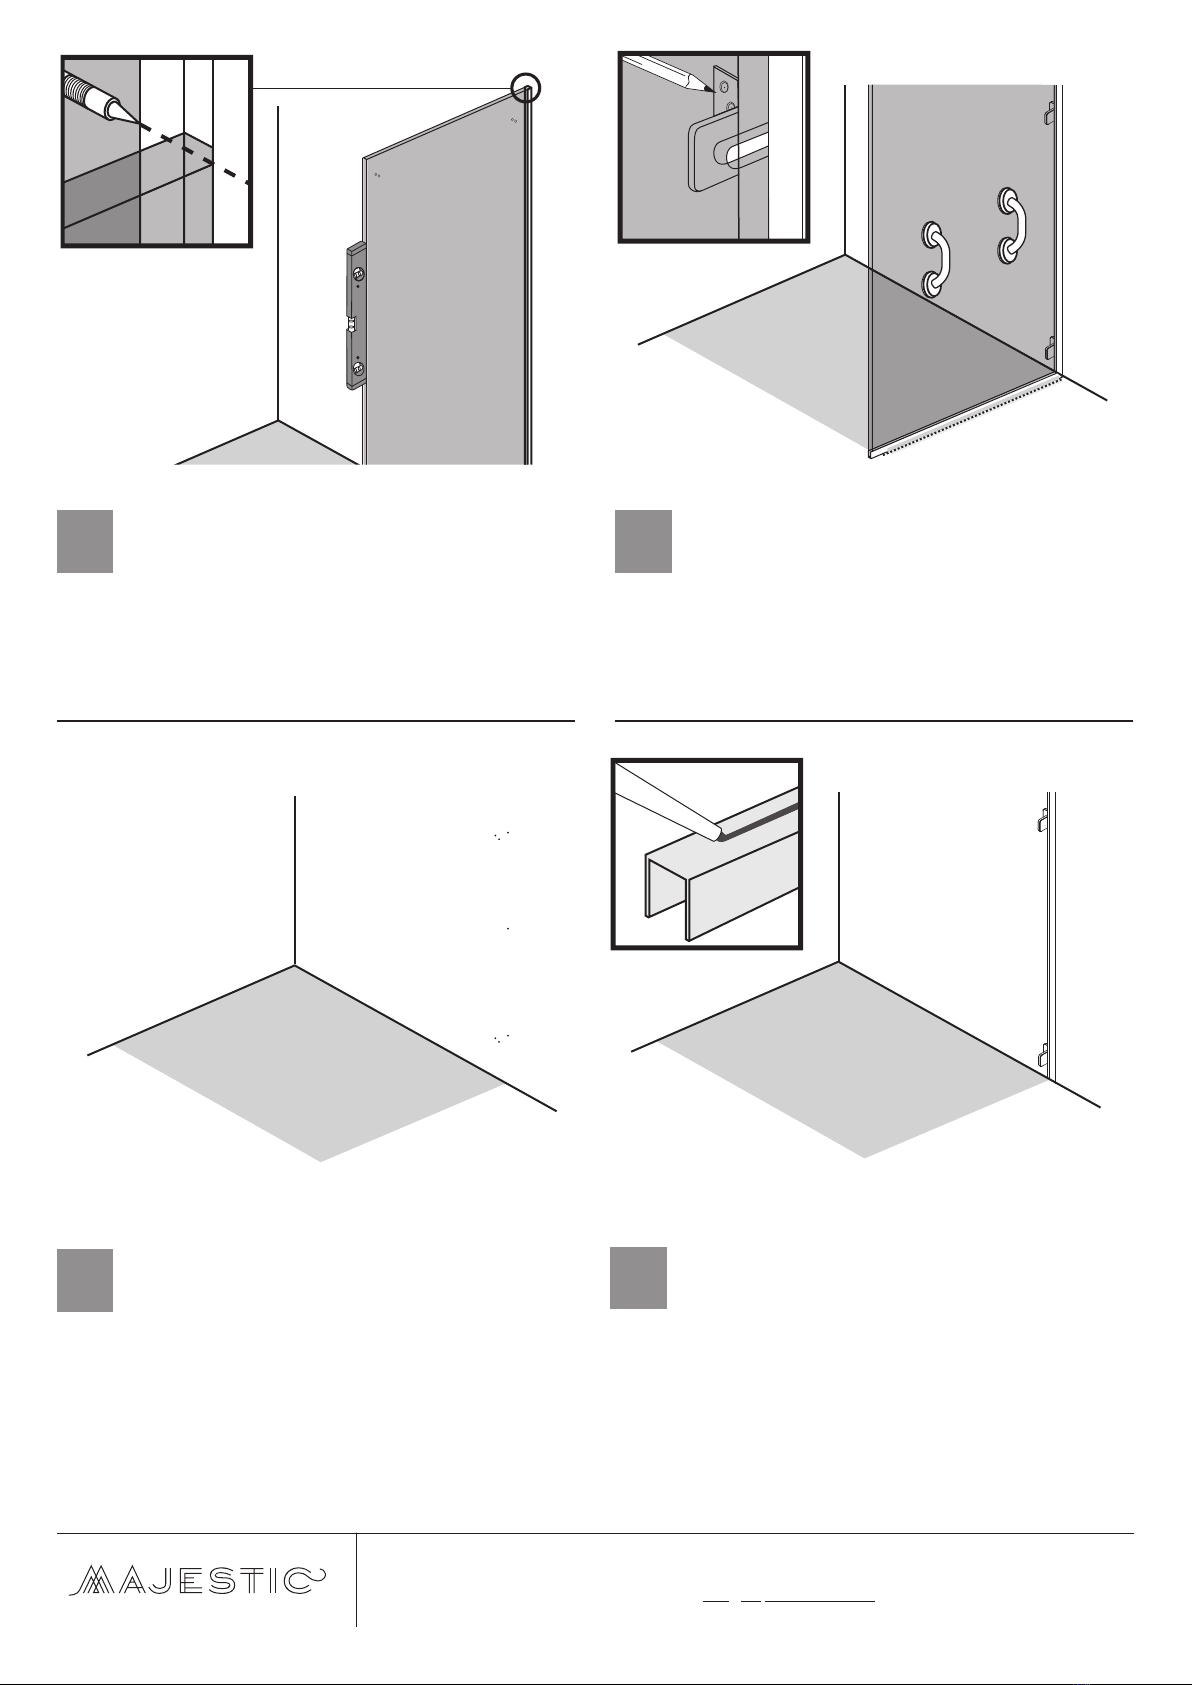
Vertical wall profile x2
Horizontal Floor Profile x2
Black rubber strips x2
1xrecapsmm01
Glass door panel x1
Glass in-line panel x1
Glass return panel x1
Glass-to-glass hinges x2
Glass-to-wall brackets x4
(inc. Rawl plugs, screws, screw covers)
2mm Allen key x1
4mm Allen key x1
Door mounting blocks x2
1936 door-to-glass seal x1
1956 glass-to-door seal x1
1915 Under-door seal x1
Door handle set x1
TOOLS REQUIRED:
2x suction glass lifters
Spirit Level
Setsquare
Power drill/driver
Hacksaw
Junior Hacksaw
Fine tooth file
Sealant gun
High-quality silicone
Pencil
Metal Scriber
Masking tape
Measuring tape
IMPORTANT:
Please check the glass and all components thoroughly
before installation; if any of the parts have been supplied
incorrectly or are damaged, contact Majestic immediately.
Any faults with the product found after installation cannot
be rectified and Majestic will not be held responsible for
re-installation of faulty or marked goods.
Unwrap all parts carefully to avoid damaging the chrome
fittings!
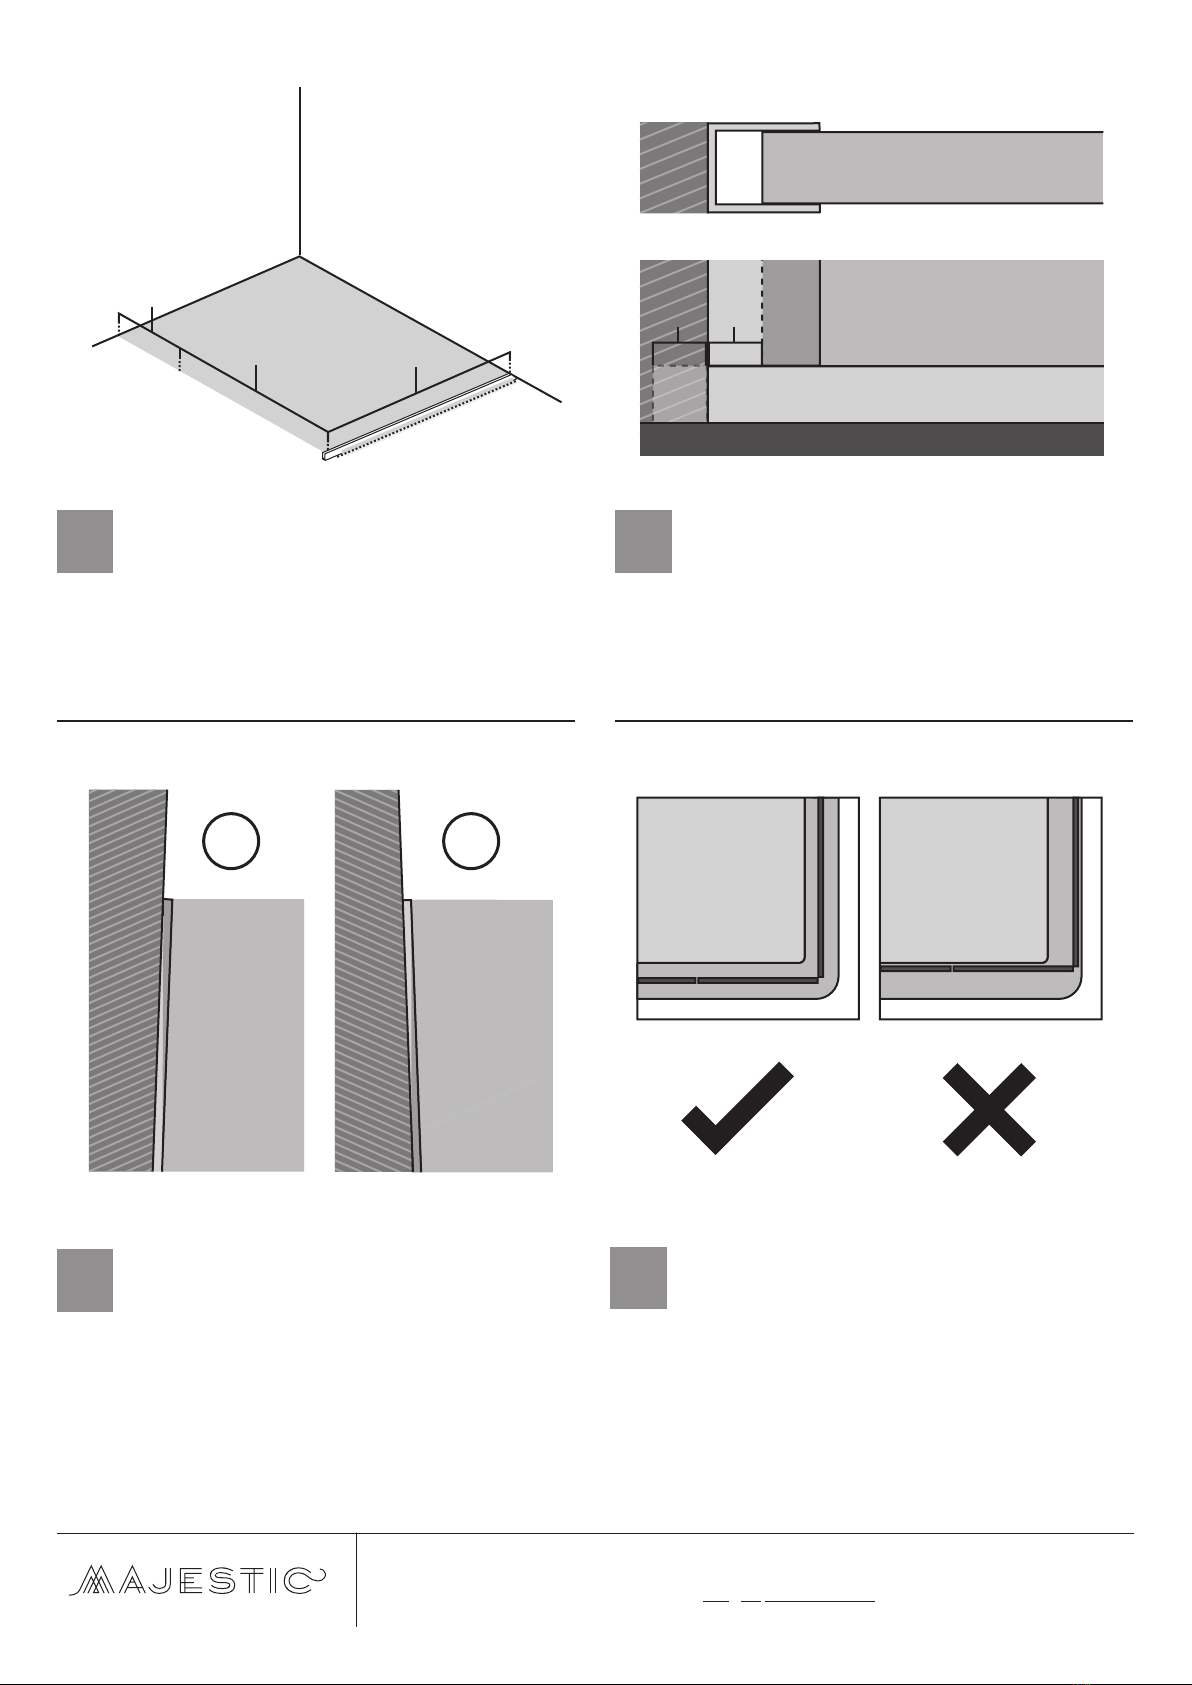
This unit must be fitted on a level surface, unless the glass
has been cut to suit any slope in the floor.
Whether fitting to a tiled floor or tray, ensure the area is
degreased, dust free and level.
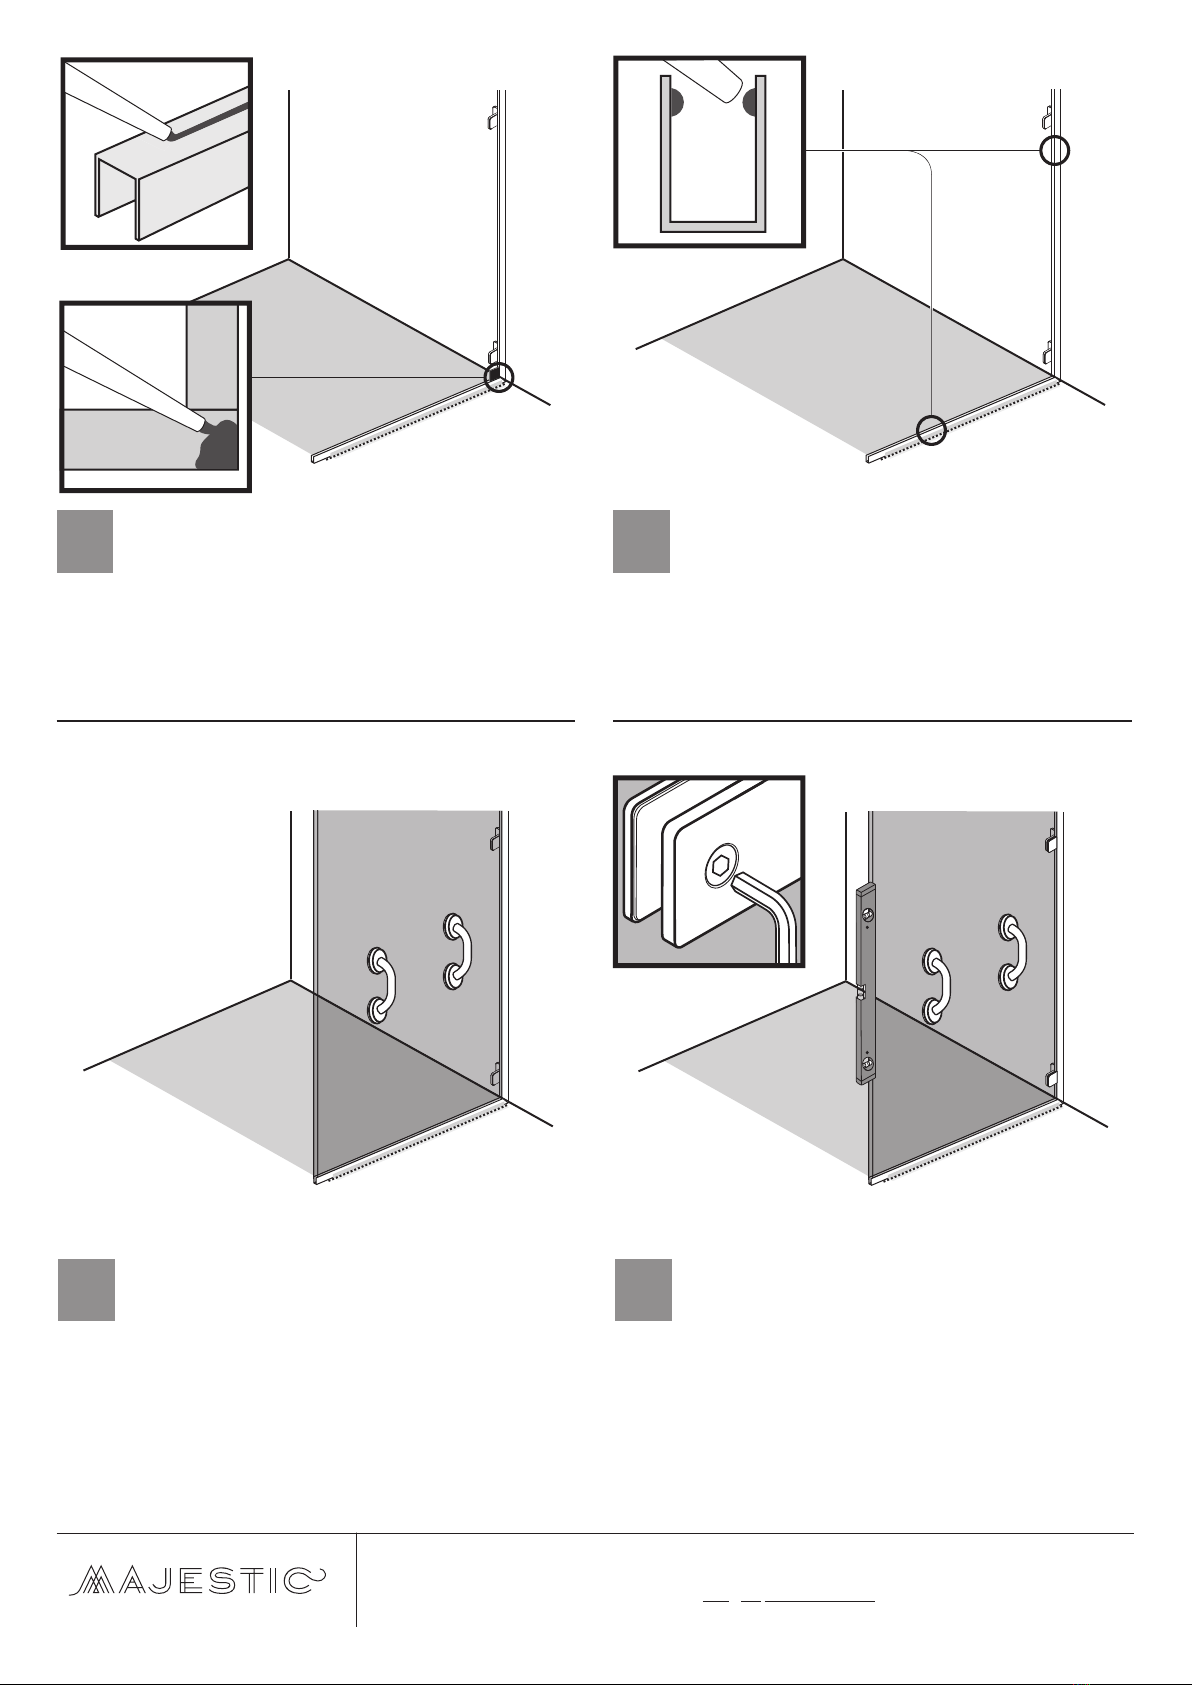
Do not place the glass panels on hard surfaces! Cover any
hard surfaces you are working on with a cushioned
material, to help prevent the glass from shattering on
contact.
Before commencing the installation, please familiarise
yourself with the glass-handling guide attached to the
glass panels. Where appropriate, the top end of the glass
panels will be indicated.
If you have purchased anti-calcium glass, the treated side
of the glass will be indicated and should always face
towards the inside (wet side) of the shower enclosure.
Certain sections of the installation of this shower enclosure
require two people.
The Majestic Shower Company Limited
One North Place, Edinburgh Way, Harlow Essex
CM20 2SL England,
Telephone +44 (0) 8448 001 500
Facsimile +44 (0) 1279 635 074
info@majesticshowers.com www.majesticshowers.com
AB
C
AB
C
3
Before cutting the horizontal profiles, you will also have to
consider whether the walls that the panels will be fixed to are
leaning in or out.
A: If wall leans in at top: leave extra length on the profile; cut
off less than 9mm.
B: If wall leans out at the top;the profile needs to be shorter;
cut off more than 9mm.
4
If the unit is being installed on a tray the position of the profiles
in relation to the lip of the tray must also be considered. Ideally
the outer edge of the profiles should sit 10mm back from the
front edge of the tray.
1
Before setting out the front in-line panel you will have to
determine how much you will need to cut off the front in-line
panel A and horizontal return profile. If you cut off 9mm from the
square end of the profiles then the glass panels will sit in the
centre of the vertical wall profile adjustment.
2
If you cut 9mm off the square end of the profiles, then the
glass panels will sit in the centre of the vertical wall profile
adjustment. Before cutting the horizontal profiles make sure
the front glass in-line panel and return panel will fit into their
floor profiles after you have cut off the amount. The horizontal
profiles are mitred as a guide but supplied at maximum
adjustment length.
It is likely you will have to cut them down.
(In-line profile)
(Door panel) (Return profile)
(In-line profile A)
(Door panel B)
(C)
(5 mm) (5 mm)
Floor
Floor profile
Profile
Wall Glass
The Majestic Shower Company Limited
One North Place, Edinburgh Way, Harlow Essex
CM20 2SL England,
Telephone +44 (0) 8448 001 500
Facsimile +44 (0) 1279 635 074
info@majesticshowers.com www.majesticshowers.com
(In-line profile)
(Door panel) (Return profile)
(In-line profile A)
(Door panel B)
(C)
(5 mm) (5 mm)
Floor
Floor profile
ProfileWall Glass
7
Insert the 10mm spacer into the horizontal return profile, and
use it to align the vertical wall profile. Push the mitred ends
together, and use a spirit level to ensure the wall profile is plumb
vertical.
Mark the screw holes; remove the vertical wall profile. Drill
4.5mm holes; insert Rawl plugs.
8
Reposition the vertical wall profile, and insert the top and bottom
screws to hold it place. Insert a rubber strip into the horizontal
return profile. Using the suction glass lifters, lift the glass return
panel into the profile.
Make sure the return panel is plumb vertical; pack it up with 3”
rubber strips if necessary, taking note of their positions. Do not
use more than three strips of rubber under the panel.
(In-line profile A)
(Door panel B)
(C)
C
5
Measure the width of the in-line profile A and the width of the
glass door panel B in mm and write the results into the boxes
below. Use the formula A + B + 8 to calculate C. 6
Make a mark on the floor Cmm along the wall. Place the inside
of the horizontal return profile outside the mark, perpendicular
to the wall. Ensure the mitred end is pushed into the corner,
tape the profile into place and mark its position.
At this point, double check the measurements of the door and
in-line panel to make sure the gap is correct at the front of
the unit.
(In-line profile A)
(Door panel B)
(C)
C
Example
+ + 8 =
+ + 8 =
400 400 808
ABD
When you have determined how much to cut off each floor
profile, trim the square end and file smooth.
When measuring the cut profiles, always measure
from the mitre tip to the square ends.
The Majestic Shower Company Limited
One North Place, Edinburgh Way, Harlow Essex
CM20 2SL England,
Telephone +44 (0) 8448 001 500
Facsimile +44 (0) 1279 635 074
info@majesticshowers.com www.majesticshowers.com
(In-line profile A)
(Door panel B)
(C)
(In-line profile A)
(Door panel B)
(C)
1 1
Put the brackets to one side and use the suction glass lifters
to remove the glass return panel. Remove the horizontal return
profile; unscrew and remove the vertical wall profile.
Drill 7mm holes where marked on the wall; insert Rawl plugs.
Cut the vertical wall profile at the mark made earlier; file
smooth.
12
Run a bead of silicone along the wall side of the vertical wall
profile, and screw it tightly into place. Loosely screw the glass-
to-wall brackets to the wall.
9
Using a metal scriber, mark the vertical profile profile at the end
of the glass. The glass return panel can be moved backwards or
forwards in the return profile, but the glass must be inside the
vertical wall profile by at least 5mm along its entire height.
10
The end of the glass needs to be flush with the end of the
floor profile at the bottom, you may need to shorten the
bottom profile.
Disassemble two glass-to-wall brackets, being careful not to
damage the faceplates. With the clear plastic gaskets inserted
and wall screw plates facing inwards, align the brackets
centrally to the holes in the glass return panel; hold them in
place and mark the screw holes.
The Majestic Shower Company Limited
One North Place, Edinburgh Way, Harlow Essex
CM20 2SL England,
Telephone +44 (0) 8448 001 500
Facsimile +44 (0) 1279 635 074
info@majesticshowers.com www.majesticshowers.com
x
x
13
Run a bead of silicone along the base of the horizontal return
profile, and reposition it on the tray or floor where marked; use
the 10mm spacer to ensure it is aligned with the vertical wall
profile and push the mitred ends together; tape into position.
Remove the 10mm spacer and apply a small amount of silicone
into the corner joint. Reinsert the noted rubber strips into the
horizontal return profile.
14
As shown, run beads of silicone along the inside of the vertical
wall profile and the horizontal return profile.
15
Using the suction glass lifters, replace the glass return panel into
the silicone-lined profiles. Make sure it is level with the open end
of the profile. 16
Loosely fix the faceplates to the glass-to-wall brackets
through the holes in the glass return panel; fully tighten the
wall screws.
Ensure the glass return panel is plumb vertical, then fully
tighten the glass-to-wall bracket faceplates.
The Majestic Shower Company Limited
One North Place, Edinburgh Way, Harlow Essex
CM20 2SL England,
Telephone +44 (0) 8448 001 500
Facsimile +44 (0) 1279 635 074
info@majesticshowers.com www.majesticshowers.com
x
x
18 Insert the 10mm spacer into the horizontal inline profile, and use
it to align the second vertical wall profile. Push the mitred ends
together, and use a spirit level to ensure the wall profile is plumb
vertical.
Mark the screw holes; remove the vertical wall profile. Drill
4.5mm holes; insert Rawl plugs.
x
x
17
Measure the length of the outside of the horizontal return profile
Xmm, and make a mark at this point on the opposite wall. Place
the outside of the horizontal inline profile inside the mark,
perpendicular to the wall. Ensure the mitred end is pushed into
the corner, tape the profile into place and mark its position.
Double check that the out side of the in-line profile
aligns with the end of the glass return panel.
19 Reposition the vertical wall profile, and insert the top and
bottom screws to hold it place. Insert a rubber strip into the
horizontal inline profile. Using the suction glass lifters, lift the
glass inline panel into the profile.
Make sure the glass inline panel is plumb vertical and level with
the return panel; pack it up with 3” rubber strips if necessary,
taking note of their positions. Do not use more than three strips
of rubber under the panel.
x
x
20
Disassemble the remaining two glass-to-wall brackets, being
careful not to damage the faceplates. With the clear plastic gaskets
inserted and wall screw plates facing inwards, align the brackets
centrally to the holes in the glass return panel; hold them in place
and mark the screw holes.
The Majestic Shower Company Limited
One North Place, Edinburgh Way, Harlow Essex
CM20 2SL England,
Telephone +44 (0) 8448 001 500
Facsimile +44 (0) 1279 635 074
info@majesticshowers.com www.majesticshowers.com
Fixed Panel
Hinge packer
21
Put the brackets to one side and use the suction glass lifters to
remove the glass inline panel. Remove the horizontal inline
profile; unscrew and remove the vertical wall profile. Drill 7mm
holes where marked on the wall; insert Rawl plugs.
Fixed Panel
Hinge packer
22
x
x
x
x
23
Run a bead of silicone along the base of the horizontal inline
profile, and reposition it on the tray or floor where marked; use
the 10mm spacer to ensure it is aligned with the vertical wall
profile and push the mitred ends together; tape into position.
Remove the 10mm spacer and apply a small amount of silicone
into the corner joint. Reinsert the noted rubber strips into the
horizontal inline profile.
24
As shown, run beads of silicone along the inside of the vertical
wall profile and the horizontal inline profile only.
Run a bead of silicone along the wall side of the vertical wall
profile, and screw it tightly into place. Loosely screw the glass-
to-wall brackets to the wall.
The Majestic Shower Company Limited
One North Place, Edinburgh Way, Harlow Essex
CM20 2SL England,
Telephone +44 (0) 8448 001 500
Facsimile +44 (0) 1279 635 074
info@majesticshowers.com www.majesticshowers.com
Fixed Panel
Hinge packer
25
Using glass lifters, replace the glass in-line panel into the silicone
lined profile and make sure the end of the glass panel is in line
with the open end of the profile.
1
Door Panel Fixed Panel
90° 90°
Hinge
packer
Hinge
packer
26
Loosely fix the faceplates to the glass-to-wall brackets through the
holes in the glass inline panel; fully tighten the wall screws.
Ensure the glass inline panel is plumb vertical and level with the
return panel, then fully tighten the glass-to-wall bracket faceplates.
Fixed Panel
Hinge packer
27
To protect the return panel from being
damaged you can slide the vertical 1956 (1)
seal onto its exposed vertical edge; cut the
seal to size.
Fixed Panel
Hinge packer
28
Insert a black rubber hinge packer into the inline panel hinge
slots, as shown. Disassemble the hinges, being careful not to
damage the polished surfaces. Place the hinges and faceplates
either side of the hinge slots in the glass inline panel, with
gaskets inserted and Allen bolts facing inwards; loosely screw
the hinges and faceplates together.
Check they are 90° with the glass using a set square.