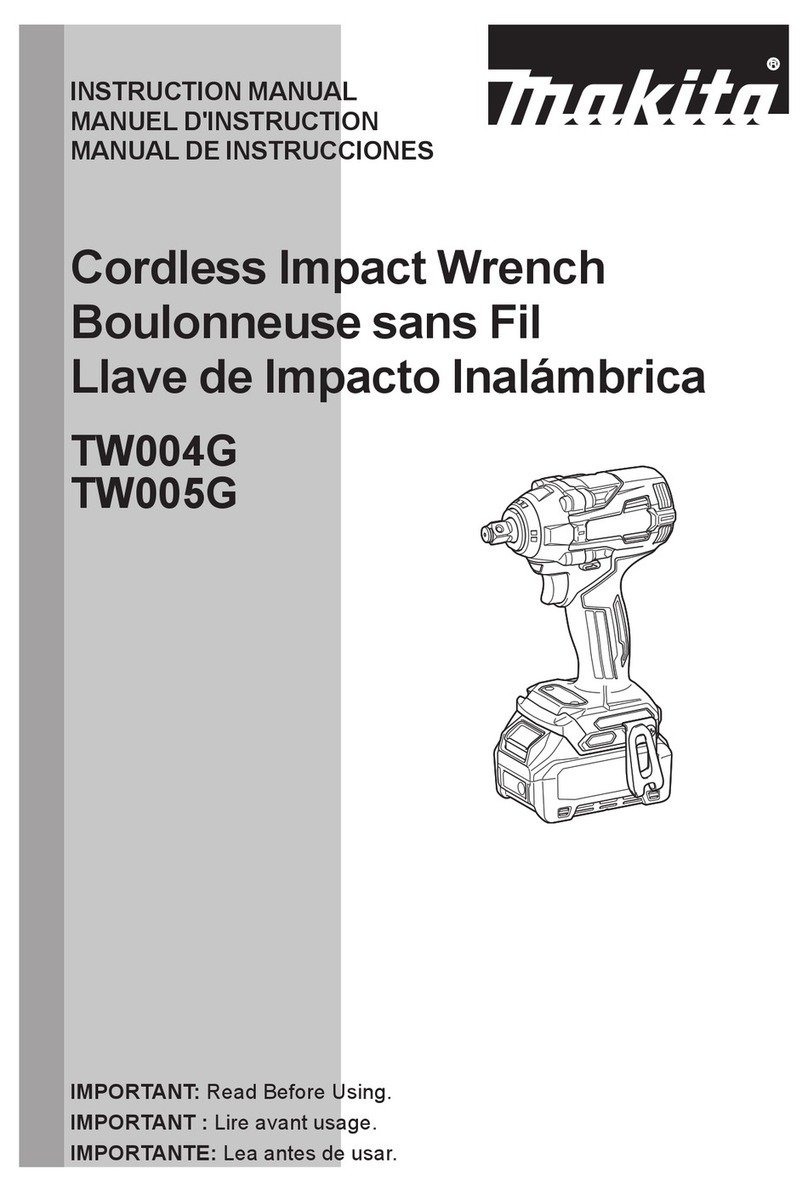
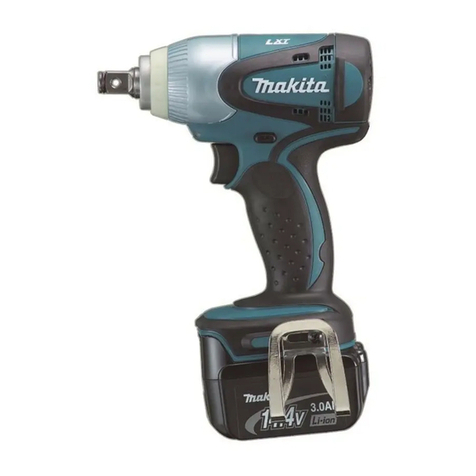
Makita BTW110 Manual

Models No.
Description
PRODUCT
T
ECHNICAL INFORMATION
P 1/12
BTW110, BTW130
BTW110
Cordless Impact Wrench
CONCEPT AND MAIN APPLICATIONS
Dimensions: mm (")
Width (W)
Height (H)
Length (L) 155 (6-1/8) 166 (6-1/2)
79 (3-1/8)
233 (9-1/8)
Models BTW110 and BTW130 are powerful but compact and lightweight
cordless impact wrenches powered by 14.4V/ 3.0Ah Li-ion battery.
They have been developed to meet the tough fastening applications in
assembling lines.
Other features are as follows:
Automatic motor stop
Short-stroke switch
LED Job Light with Afterglow function
These products are available in the following variations:
Specification
Standard equipment
Optional accessories
Note: The standard equipment for the tool shown above may differ by country.
Protector for body (Russia only) ................................... 1
Battery
No load speed: min.-1=rpm
Impacts per min.: min.-1=ipm
Max. fastening torque*: N.m (in.lbs)
Charging time: min.
Rotation reversing facility
High tensile bolt
Standard bolt
Net weight [with BL1430A]: kg (lbs)
LED job light
Capacity: Ah
Cell
Voltage: V 14.4
0 - 2,300
0 - 3,200
130 (1,150)110 (970)
Square Driving shank
Yes
Capacity M6 - M12 (1/4 - 1/2)
M8 - M16 (5/16 - 5/8)
Yes
1.5 (3.3)1.4 (3.1)
3.0
Li-ion
235
approx. 22 with DC18RA
Automatic motor stop Yes
9.5mm (3/8") 12.7mm (1/2")
Protector for body
Battery protector
Pin
O ring
Sockets
Universal joint (12.7mm square drive)
Extension bar (12.7mm square drive)
Bit adapter assembly (12.7mm square drive)
Max output (W)
*When fastening a M14 high tension (strength class: 10.9) bolt for three seconds
W
L
H
BTW110
All countries
All countries
Offered to
BTW110Z No No
Model No. type quantity Charger
No
Battery
No
Plastic
carrying case
No
BTW130Z No No
Makita blue
Housing
color
Square
drive size(mm)
Makita blue
9.5
12.7No NoNo
Battery
All models also include the accessories listed below in "Standard equipment".
Li-ion Battery 1830A
Fast charger DC18RA
Charger DC24SA (for North America only)
Charger DC24SC (for all countries except North America)
BTW130
BTW110 BTW130
P 2/12
Repair
CAUTION: Remove the battery and the socket bit from the machine for safety before repair/
maintenance in accordance with the instruction manual!
[1] NECESSARY REPAIRING TOOLS
[2] LUBRICATIONS
Apply Makita grease N. No.2 to the portions designated with the black triangle and Makita grease FA No.2 to the portions
designated with gray triangle to protect parts and product from unusual abrasion.
Description
Vise plate Disassembling of Hammer case
Disassembling of Hammer case
Assembling of Ring spring 8 to Anvil for BTW110 only
Disassembling of Hammer
Code No.
1R041
Retaining ring pliers ST-2 Disassembling of Ring spring 8 for BTW110 only1R004
1R045 Gear extractor (large)
Center attachment for 1R045
Torque wrench shaft
Ratchet head for 1R223
Socket adapter
Socket 30 -78
Socket 32 -50
(one pc.: BTW110 / two pcs.: BTW130)
Screwdriver magnetizer
1R346
1R223
1R224
1R222
1R288
134847-1
134848-9
Use for
Remove Steel balls
Fig. 1
Item No. Description
Hammer
15
18
20
24
26
27
24
Compression spring 25
Flat washer 24
Cup washer 14
Flat washer 12
Spur gear 22
Anvil
Steel ball 3.5 (24 pcs.)
Steel ball 5.6 (2 pcs.)
Hammer Case Complete Inside of Sleeve 14/ 18 which touches 18
Hole into which 26 Spindle top is inserted
Hole into which Armatuere’s drive end is inserted
to engage Spur gear 22.
Whole portion
Whole portion
whole portion
Portion to lubricate
15
18
20
24
26 Spindle
Sleeve 14 for BTW110 / Sleeve 18 for BTW130
27 Pin 5
Lubricant Amount
a little
a little
2g
Makita grease FA. No.2
Makita grease N. No.2
Makita grease N No. 2
Makita grease FA. No.2

P 3/12
Repair
[3] DISASSEMBLY/ASSEMBLY
[3]-1. Hammer Case Section
DISASSEMBLING
Carbon brush
Torsion spring
1. Shift the torsion spring from
the top of Carbon brush to
make Carbon brush free from
the pressure of Torsion spring.
Bind PT3x16
Tapping screw
(2 pcs.)
1. Remove Bumper.
Rear cover
Bumper
Brush holder complete
Housing Set (L) Housing Set (R)
Fig. 2
Fig. 3
2. Remove Rear cover and
PT3x16 Tapping screw (2pcs.).
Bind PT3x16
Tapping screw
(8 pcs.)
2. Disconnect carbon brush from the commutator by pulling
toward the direction designated with arrow.
(1) Separate Hammer case section as illustrated in Figs. 2 and 3.
Motor section
Remove Housing set (R) from Housing set (L)
by removing Bind PT3x16 Tapping screw (8pcs.).
And then, take out Hammer case section together
with Motor section.
Hammer case section
Hammer case complete
Hammer
case section
Motor section
Bearing box complete
Pull off Hammer case section from Motor section
by hand.
If it is difficult to pull off by hand, remove Hammer
case section by striking Bearing box complete with
plastic hammer.

P 4/12
Repair
Fig. 4
Fig. 5
Bearing box complete
Hammer case complete
Hammer section
Internal gear 51
O ring 40
Bearing box complete
Socket 32-50
(134848-9 )
Fit either of the above
Sockets into the
hexagonal portion.
For BTW110: Socket 30-78 (134847-1)
For BTW130: Socket 32-50 (134848-9)
1R223
1R041
Vise
Hammer case complete
1R224
[3] DISASSEMBLY/ASSEMBLY
[3]-1. Hammer Case Section (cont.)
DISASSEMBLING
(2) Remove Hammer case section using 134848-9, 134847-1, 1R223 with 1R224, 1R041 and vise as illustrated in Fig. 4.
(3) Hammer case section can be removed. (Fig. 5)
Turn 1R223 clockwise.
Fit the hexagonal
portion into 134848-9.

P 5/12
Repair
ASSEMBLING
Socket 32-50
(134848-9)
Fig. 6
Fig. 8 Fig. 9
Fig. 7
134848-9
1R223
[3] DISASSEMBLY/ASSEMBLY
[3]-1. Hammer Case Section
groove of Bearing box complete
Bearing box
complete
(1) Assemble Hammer case section in the order of Fig. 6 to 9.
(2) Do the reverse of the disassembling steps. Refer to Fig. 3 to 2.
1. Put O ring 40 into the groove of Bearing box
complete.
Hammer section
Hammer case
complete
Spur gear 22
Internal gear 51
stopper portion
Bottom View of
Hammer case Complete
Hammer case
complete
2. Align the stopper portion with
either of protrusion of Internal
gear 51 and put Hammer case
complete to Bearing box
complete.
stopper portion
1. While engaging Spur gear
22 with Internal gear 51,
set Hammer section in place.
protrusion of Internal gear 51
Turn 1R223 counterclockwise.
Note: The fastening torque has to be 30 - 40 N.m.
1R224
Hammer case complete
Bearing box complete
1R041
2. Put the inner ring portion
of Internal gear 51 on
O ring 40 in Bearing box
complete.
For BTW110: Socket 30-78 (134847-1)
For BTW130: Socket 32-50 (134848-9)

P 6/12
Repair
[3] DISASSEMBLY/ASSEMBLY
[3]-2. Bit Holder Section and Anvil of BTW110
DISASSEMBLING
ASSEMBLING
Remove Ring spring 8 and O ring 5 from Anvil as illustrated in Fig. 10.
When using the removed Ring spring 8 again, correct it in the following manner. (Figs. 11 and 12)
Fig. 10
Fig. 11 Fig. 12
Remove Ring spring 8 with
1R004.
And remove O ring 5 which
is put under Ring spring 8.
Ring spring 8
Note: The removed Ring spring 8 is deformed in this step.
It is recommended to use the new Ring spring.
However, in case the Ring spring has to be reused,
refer to Figs. 11 and 12.
Insert 1R222 on Anvil to which the
Ring spring 8 is set.
Ring spring 8 can be fit into the groove
on Anvil.
O ring 5
Anvil
8mm
1.15mm
1R237
Set ring spring 9 to 1R237 which is
used as a Jig and correct the deformed
Ring spring 8 with pliers as illustrated
in Fig. S.
10.0mm
7.7mm
The dimensions as it was
of Ring spring 8
Fig. S
Ring spring 8
Anvil
1R222
Ring spring 8

P 7/12
Repair
[3] DISASSEMBLY/ASSEMBLY
[3]-3. Hammer Section
DISASSEMBLING
(1) Disassemble Hammering mechanism from Hammer case complete. See Fig. 2 to 5.
(2) The removed Hammer section are disassembled as illustrated in Fig. 13 to 16.
1. Press down Hammer using 1R045 to align
the opening for Steel ball insertion with
the top of cam grooving on Spindle.
And then, remove Steel ball 5.6 from Spindle.
2. Hold Hammer section as illustrated in Fig. R and release
it from the gear extractor.
Hammer
Spindle
Top of
Cam groove
on Spindle
Opening for
Steel ball
insertion
Steel ball 5.6
(2pcs.)
Fig. R Fig. F
Flat washer 12
Pin 5
Spindle Spur gear 22
Hammer
Flat washer 24
Compression
spring 25
Cup washer 14
Steel ball 3.5
(24 pcs.)
Spindle section
Hammer section can be disassembled as illustrated above.
Flat washer 24 and Steel balls 3.5 can
be removed from Hammer.
Hammer
Fig. 13 Fig. 14
Fig. 15 Fig. 16
Note: Do not hold gear extractor as illustrated in Fig. F
when releasing Hammer section from the Gear extractor.
Failure to follow this instruction could cause Steel balls
to get out of hammer.

P 8/12
Repair
[3] DISASSEMBLY/ASSEMBLY
[3]-3. Hammer Section (cont.)
DISASSEMBLING
Yoke unit
Armature
Brush holder complete
ASSEMBLING
ASSEMBLING
Put 24 pcs. of Steel balls 3.5 into Hammer as illustrated in Fig. 17. And do the reverse of the disassembling steps.
Refer to Fig. 16 to 13.
Hammer viewed from Spindle insertion side
Fig. 17
Fig. 18 Fig. 19
Fig. 20 Fig. 21
[3]-4. Motor Section
(1) Disassemble as illustrated in Figs. 2 and 3.
(2) Motor section can be disassembled as illustrated in Figs. 18 and 19.
Yoke unit
Pull off Armature together
with Yoke unit from Brush
holder complete.
Armature
Put the motor section on a work bench so that
the drive end of the armature touches the work
bench.
Then separate yoke unit from armature by
pressing it down towards the work bench.
Steel ball 3.5 (24 pcs.)
Your fingers will be pinched
and injured.
[Wrong][Correct] [Wrong][Correct]
Notch
(1) Assemble Armature to Yoke unit. Refer to Figs. 20 and 21.
Yoke unit has to be assembled to
Armature so that the notch of Yoke unit
is located on the drive-end of Armature.
Do not hold Armature core as illustrated to right, or your fingers will
be pinched between Yoke unit and fan of Armature which is violently
pulled toward Yoke unit.
Be sure to hold the commutator portion as illustrated to left.
Space equivalent to one Steel ball

P 9/12
Repair
[3] DISASSEMBLY/ASSEMBLY
[3]-4. Motor Section (cont.)
ASSEMBLING
ASSEMBLING
Hammer case complete
Bearing box complete
Engage the drive-end of Armature with spur gear 22
in Hammer case complete.
Drive-end of Armature
protrusion for
fitting to Notch
When setting Motor section to Housing set (L), fit the notch on Yoke unit
to the protrusion of Housing set (L).
(2) Assemble Armature to Brush holder complete. Refer to Fig. 18.
(3) Insert drive-end of Armature into Bearing box complete as illustrated in Fig. 22.
Fig. 22
Fig. 23
Fig. 24
[3]-5. Assembling of Inner Parts to Housing Set (L)
Housing set (L)
Assemble the inner parts (Brush holder complete, Yoke unit, Armature, Hammer case complete) to Housing set (L) at a time.
Refer to Figs. 23 and 24.
notch
rib
Fit Yoke unit’s edge
to rib on the Hammer
case side.
rib
Yoke unit
Yoke unit Hammer case
complete
The flat portion of Brush holder complete
must be at 90 degrees to the edge surface
of Housing set (L).
Housing set (L)
Flat portion of
Brush holder complete 90 degrees
Brush holder complete
Switch
Assemble Hammer case complete,
facing its Stopper portion to Switch.

P 10/12
Repair
[3] DISASSEMBLY/ASSEMBLY
[3]-5 F/R Change Lever
ASSEMBLING
Do not forget to mount F/R change lever to Switch. Assemble them as illustrated in Fig. 25.
Fit the protrusion of Switch to the notch of F/R change lever.
protrusion of Switch
notch of F/R change lever
F/R change lever
Switch
Fig. 25

LED
Light circuit
Brush holder complete
Connector
Terminal
A
.
Switch
Circuit diagram
Wiring diagram
P 11/12
Fig. D-1
Color index of lead wire’s sheath
Fig. D-2
Route Lead wire of Carbon
brush trough this outside slot
in Brush holder.
Tail of Torsion spring.
Lead wire routed wrong
may interfere the tail of
Torsion spring.
Tail of Torsion spring.
Lead wire correctly routed
Torsion spring.
Black
Red
Orange
Blue
Yellow
[1] Lead Wire of Carbon Brush
As illustrated to left in Fig. D-2, put each Carbon brush into
Brush holder so that its lead wire is placed outside.
(Illustrations in Fig. D-2 are the Carbon brus section viewed from A.)
[Correct] [Wrong]

Switch
Brush holder complete
lead wire holder
Lead wire holder
Do not cross the lead wires of LED here.
Make sure that the lead wires of
LED are tight here.
LED
pin
boss
Connector
Light circuit
LED
Connector (large)
Connector (small)
Light circuit
rib Terminal side
Switch side
Pin
lead wire holder
Terminal
Wiring diagram
[2] Wiring in Housing
P 12/12
Fig. D-3
[2] -1. Lead Wires of LED
[2] -2. Other Lead Wires
As illustrated below, fix the two lead wires (red and black) of LED
with lead wire holder, and route them between the pin and the boss.
Fit the corner of LED in this
corresponding corner of Housing (L).
Assemble each connecting
terminal to Switch at approx.
20 degrees to the vertical.
Fix the lead wires connected
to each Connector with these
lead wire holders,.
Put the following lead wires
between the rib and Light circuit.
* Lead wires (red and black) from
Terminal to Connector (small)
* Lead wire (blue) from Switch
to Connector (small)
The lead wire (blue) from
Connector to Switch has to
be routed indide of this pin.
Put Light circuit in place
so that the orange lead wire
faces toward the Terminal side.
Lead wire
(orange)
20 degrees
This manual suits for next models
1
Table of contents
Other Makita Power Tools manuals

Makita
Makita HK1820 User manual

Makita
Makita JS1602 User manual

Makita
Makita HR2630 User manual

Makita
Makita DTW251RMJ User manual

Makita
Makita XWT12RB User manual

Makita
Makita DUX60 User manual

Makita
Makita ST113D User manual

Makita
Makita DMP181ZX User manual

Makita
Makita DJN161 User manual

Makita
Makita DF330D User manual

Makita
Makita DUP361 User manual

Makita
Makita HR3540C User manual

Makita
Makita HM0860C User manual

Makita
Makita BJN160 User manual

Makita
Makita 4323 User manual

Makita
Makita AN453 User manual

Makita
Makita HR001G User manual

Makita
Makita XWT01Z User manual

Makita
Makita DTW1001 User manual

Makita
Makita DHG181RT User manual