manuals.online logo
Brands
  1. Home
  2. •
  3. Brands
  4. •
  5. Makita
  6. •
  7. Power Tools
  8. •
  9. Makita HM1140C User manual

Makita HM1140C User manual

Other manuals for HM1140C

5

Other Makita Power Tools manuals

Makita DCO140 User manual

Makita

Makita DCO140 User manual

Makita 3612 User manual

Makita

Makita 3612 User manual

Makita DJS130 User manual

Makita

Makita DJS130 User manual

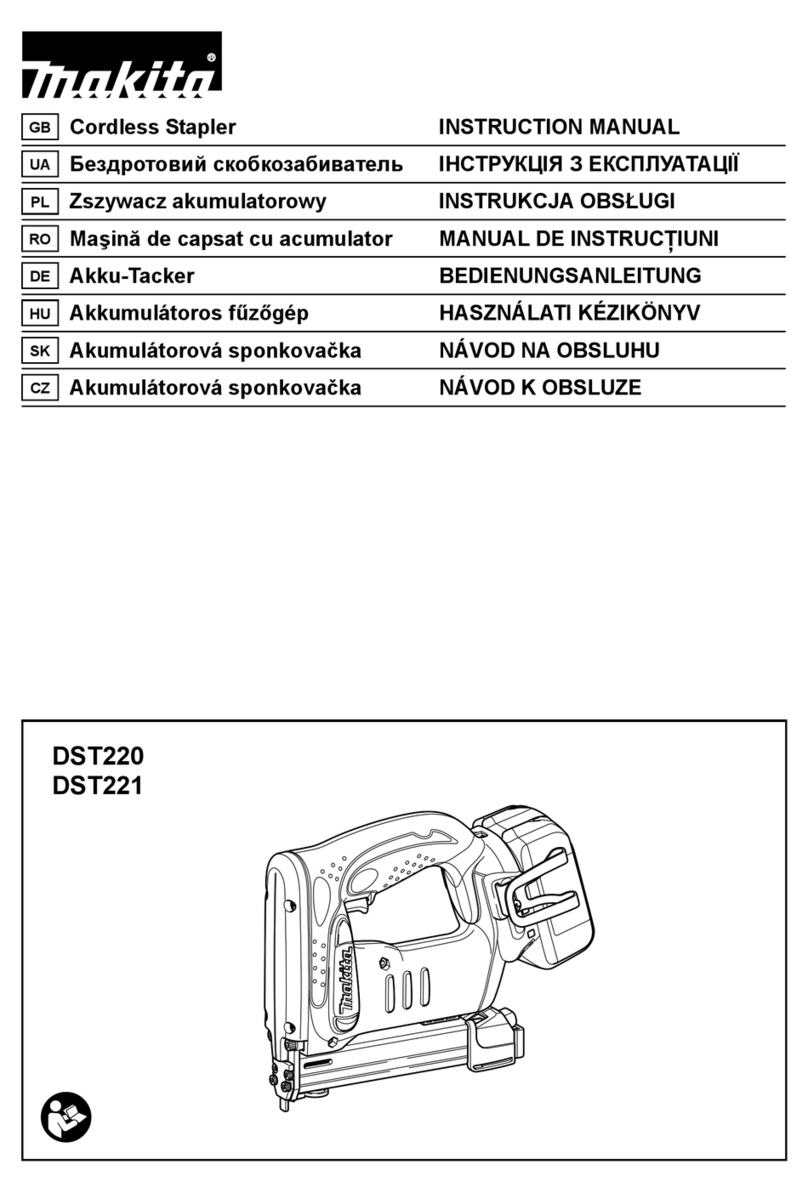
Makita DST220 User manual

Makita

Makita DST220 User manual

Makita DTW190RTJ User manual

Makita

Makita DTW190RTJ User manual

Makita DCG180RY User manual

Makita

Makita DCG180RY User manual

Makita M193 User manual

Makita

Makita M193 User manual

Makita 3612BR User manual

Makita

Makita 3612BR User manual

Makita UT1305 User manual

Makita

Makita UT1305 User manual

Makita BHP343 User manual

Makita

Makita BHP343 User manual

Makita 6922NB User manual

Makita

Makita 6922NB User manual

Makita KP001G User manual

Makita

Makita KP001G User manual

Makita DJS161 User manual

Makita

Makita DJS161 User manual

Makita TM30D Manual

Makita

Makita TM30D Manual

Makita DTWA070 User manual

Makita

Makita DTWA070 User manual

Makita DTW190 User manual

Makita

Makita DTW190 User manual

Makita DWT310 User manual

Makita

Makita DWT310 User manual

Makita BST220 User manual

Makita

Makita BST220 User manual

Makita HM0860C User manual

Makita

Makita HM0860C User manual

Makita BSS501 User manual

Makita

Makita BSS501 User manual

Makita DCG180ZX User manual

Makita

Makita DCG180ZX User manual

Makita HG6030 User manual

Makita

Makita HG6030 User manual

Makita DJN160 User manual

Makita

Makita DJN160 User manual

Makita 5630DWA User manual

Makita

Makita 5630DWA User manual

Popular Power Tools manuals by other brands

ISLAND HOPPER Power Egg HT-309 operating instructions

ISLAND HOPPER

ISLAND HOPPER Power Egg HT-309 operating instructions

Sioux Tools SSR6P25 Instructions-parts list

Sioux Tools

Sioux Tools SSR6P25 Instructions-parts list

ABB Smart Tool + quick start guide

ABB

ABB Smart Tool + quick start guide

Baumr-AG BMJK-24S user manual

Baumr-AG

Baumr-AG BMJK-24S user manual

Bosch Professional GST 18 V-LI S Original instructions

Bosch

Bosch Professional GST 18 V-LI S Original instructions

Ronix RA-2702 quick start guide

Ronix

Ronix RA-2702 quick start guide

Nordson ProBlue user guide

Nordson

Nordson ProBlue user guide

aoyue int6028 instruction manual

aoyue

aoyue int6028 instruction manual

Hitachi CJ 65VA2 Instruction manual and safety instructions

Hitachi

Hitachi CJ 65VA2 Instruction manual and safety instructions

Kurtz Ersa Ersa X-TOOL VARIO operating instructions

Kurtz Ersa

Kurtz Ersa Ersa X-TOOL VARIO operating instructions

SCHUNK KSO 65 Installation and operating instruction

SCHUNK

SCHUNK KSO 65 Installation and operating instruction

Harken LokHead 500 user manual

Harken

Harken LokHead 500 user manual

Senco DuraSpin ExTPro installation instructions

Senco

Senco DuraSpin ExTPro installation instructions

Ferm JSM1020 Original instructions

Ferm

Ferm JSM1020 Original instructions

Milwaukee M12 FUEL 2559-20 Operator's manual

Milwaukee

Milwaukee M12 FUEL 2559-20 Operator's manual

EINHELL BT-CD 12/2 operating instructions

EINHELL

EINHELL BT-CD 12/2 operating instructions

Evolution HDG200 instruction manual

Evolution

Evolution HDG200 instruction manual

National Flooring Equipment 7700 Service manual

National Flooring Equipment

National Flooring Equipment 7700 Service manual

manuals.online logo
manuals.online logoBrands
  • About & Mission
  • Contact us
  • Privacy Policy
  • Terms and Conditions

Copyright 2025 Manuals.Online. All Rights Reserved.

Demolition
Hammer
Blows
per
minute
1,300
-
2,650
~
~-
MODEL
HMll40C
Overall length Net weight
517
mm
120-1
1/32”)
6.3
kg
(13.9
Ibs)
INSTRUCTION MANUAL
DOUBLE
INSULATION
GENERAL SAFETY RULES
(For
All
Tools)
WARNING! Read and understand
all
instructions.
Failure
to
follow all instructions listed below, may result
in
electric
shock, fire and/or serious personal injury.
SAVE THESE INSTRUCTIONS
READ ALL INSTRUCTIONS.
WORK
AREA
1.
Keep your work area cleanand well
lit.
Cluttered benches and dark areas invite
accidents.
2.
Do
not operate power tools
in
explosiveatmospheres, such as
in
the presence
of flammable liquids, gases, or dust. Power tools create sparks which may
ignite the dust or fumes.
3.
Keep bystanders, children, and visitors away while operating a power tool.
Distractions can cause you to lose control.
ELECTRICAL
SAFETY
4.
Double Insulatedtools areequipped with a polarized plug (onebladeiswider
than the other.) This plug will
fit
in a polarized outlet only one way.
If
the
plug does not
fit
fully in the outlet, reverse the plug. If
it
still does not
fit,
contact a qualified electrician to install a polarized outlet.
Do
not change
the plug
in
any way. Double insulation eliminates the need for the three
wire grounded power cord and grounded power supply system.
5.
Avoid bodycontactwith grounded surfaces such as pipes, radiators, ranges
and refrigerators. There is an increased risk
of
electric shock if your body is
grounded.
6.
Do
notexpose power tools torainor wet conditions. Water entering a power
tool
will
increase the risk
of
electric shock.
7.
Do
not abuse
the
cord. Never use the cordtocarry the tools or pullthe plug
from an outlet. Keep cord away from heat, oil, sharp edges or movingparts.
Replace damaged cords immediately. Damaged cords increase the risk of
electric shock.
8.
When operating a power tool outside, use an outdoor extension cord marked
"W-A" or "W." These cords are rated for outdoor use and reduce the risk
of
electric shock.
PERSONAL
SAFETY
9.
Stay alert, watch what you are doing and usecommonsensewhenoperating
a power tool.
Do
not use tool while tired or under the influence of drugs,
alcohol, or medication.
A
moment of inattention while operating power tools
may result in serious personal injury.
IO.
Dressproperly.
Do
notwear loose clothingorjewelry. Contain longhair. Keep
your hair, clothing, andglovesaway from moving parts. Looseclothes, jewelry
or long hair can be caught in moving parts.
2
11.
Avoid accidental starting. Be sure switch is off before plugging in. Carrying
tools with your finger
on
the switch or plugging in tools that have
the
switch
on invites accidents.
12.
Remove adjusting keys or wrenches before turning the tool on. A wrench
or
a
key that is left attachedto
a
rotating part
of
the tool may resultin personal
injury.
13.
Do
notoverreach.Keepproperfooting and balanceat alltimes. Proper footing
and balance enables better control
of
the tool in unexpected situations.
14.
Use safety equipment. Always wear eye protection. Dust mask, non-skid
safety shoes, hard hat, or hearing protection must be used for appropriate
conditions.
TOOL
USE
AND
CARE
15. Use clamps or other practical way
to
secure and support the workpiece to
astable platform. Holdingthe work by hand or against your body is unstable
and may lead to
loss
of
control.
16. Do notforce tool. Use the correct tool for your application. The correct tool
will do the job better and safer
at
the
rate
for
which
it
is designed.
17.
Do
not use tool
if
switch does not turn
it
on or off. Any tool that cannot
be controlled with the switch is dangerous and must be repaired.
18.
Disconnect the plugfrom
the
power source before making any adjustments,
changing accessories, or storing the tool. Such preventive safety measures
reduce the risk
of
starting the tool accidentally.
19.
Store idle tools out of reach of children and other untrained persons.
Tools
are dangerous in the hands of untrained users.
20.
Maintain tools with care. Keep cutting tools sharp and clean. Properly
maintainedtools, with sharp cutting edges are less likely to bindand are easier
to control.
21. Check for misalignment or binding of moving parts, breakage of parts, and
any other condition that may affect the tools operation. If damaged, have
the tool serviced before using. Many accidents
are
caused by poorly main-
tained tools.
22. Use only accessories that are recommended by the manufacturer for your
model. Accessories that may be suitablefor one tool, may become hazardous
when used on another tool.
S
ERVlC
E
23.
Tool
service must be performed only by qualified repair personnel. Service
or maintenance performed by unqualified personnel could result in
a
risk
of
injury.
24. When servicing a tool, use only identical replacement parts. Follow instruc-
tions
in
the Maintenance section of this manual. Use of unauthorized parts
or failure to follow MaintenanceInstructions may create
a
risk of electric shock
or injury.
3
Specific Safety Rules
1.
Hold tools by insulated gripping surfaces when performing an operation
where the cuttingtool may contact hidden wiring or itsown cord. Contact
witha ''live" wire
will
make exposed metal parts
of
thetool "live" and shock
the operator.
2.
Wear ear protectors when using the tool for extended periods. Prolonged
exposure to high intensity noise can cause hearing
loss.
3.
Wear a hard hat (safety helmet), safety glasses and/or face shield.
It
isalso
highly recommendedthat you wear a dust mask, ear protectors and thickly
padded gloves.
4.
Be sure the bit is secured in place before operation.
5.
Under normal operation, the toolis designedtoproduce vibration. The screws
can come loose easily, causing a breakdown or accident. Check tightness
of screws carefully before operation.
6.
In
cold weather or when the tool has not been used for a longtime, let the
tool warm up for a while by operating
it
under no load. This
will
loosen up
the lubrication. Without proper warm-up, hammering operation is difficult.
Be sure no one is below when using the tool
in
high locations.
7.
Always be sure you have a firm footing.
8.
Hold
the tool firmly with both hands.
9.
Keep hands away from moving parts.
10.
Do
not leave the tool running. Operate the tool only when hand-held.
11.
Do
not point the tool at any one
in
the area when operating. The
bit
could
12.
Do
not touch the bit or parts close to the bit immediately after operation;
fly out and injure someone seriously.
they may be extremely hot and could burn your skin.
SAVE THESE INSTRUCTIONS.
4
SYMBOLS
The followings show the symbols used for tool.
.................................
amperes
.................................
hem
.................................
kilograms
.....................
hours
.................................
minutes
.................................
seconds
.................................
alternating current
...
......
direct current
...
no
load speed
.................................
alternating or direct current
.....
....
.....
Class
II
Construction
......
splash-proofconstruction
.................................
watertight construction
................................
revolutions or reciprocation per minute
U
.................................
number of blow
5
Installing
or
removingbit
CAUTION:
Always be sure that the tool is switched off and unplugged before installing or removing
Bit
shank
the bit.
This tool accepts 314" Hexagonal and
21/32" round shank bits. Clean the bit
shank and apply the bit grease provided to
it before installingthe bit.
Bit
grease
Pullthe tool holder cover down
all
theway.
With the cut in the bit shank aligned with the notch in the tool holder cap, insert the bit
intothe tool holder.
Release the tool holder cover. Itwill return automatically to its original positionto secure
the bit.
After installing, always make sure that the bit
is
securely held in place
by
trying to pull it
out.
A-
To
removethe bit, pullthe tool holder cover down all the way and pull the bit out.
6
Bit angle
The
bit
can be secured at
12
different angles.
To
change the
bit
angle,
slide
the change
ring forward, then turn the change ringto changethe bit angle.At the desired angle, slide
the changering back to the originalposition. Then turn the change ring slightly
so
that the
bit will be secured in place witha little click
To
start the tool, push the
"ON
I"
buttonon
the left side of the tool. To stop the tool,
pushthe
"OFF
0"
button on the right side of
the tool.
I
Change
ring
"ON
I"
Side handle (auxiliary handle)
The side handle can be swung
360'
on the
vertical and securedat any desired position.
It also secures
at
eight different positions
back and forth on the horizontal. Just
loosenthe clamp nut to swing the side han-
dle to
a
desired position. Then tighten the
clamp nut securely.
Switch action
CAUTION:
Before plugging in the tool, always check to
see
that the tool
is
switched
off.
7
Speed
change
The blows per minute can be adjusted between
1,300
and
2,650
BPM
just by turning the
adjustingdial. This can be done even while the tool is running.The dial is marked
1
(lowest
speed)to
5
(fullspeed). Referto the table below for the relationshipbetween the number
settingson the adjustingdial and the blows per minute.
Number
on adjustingdial
5
Blows
per
minute
2.650
4
3
2
2,350
1,950
1.550
Chipping/Scaling/Demolition
Hold the tool firmly with both hands. Turn
the toolon and apply slight pressure on the
tool
so
that the toolwill not bouncearound,
uncontrolled.Pressingvery hardon the tool
will not increasethe efficiency.
1
Adjusting dial
1,300
8
MAINTENANCE
CAUTl
ON
:
Always be sure that the tool is switched off and unplugged before attempting to perform
inspection or maintenance.
Replacingcarbonbrushes
When the resin insulating tip inside the car-
bon brush is exposed to contact the com-
mutator, it will automatically shut
off
the
motor.
When this occurs, both carbon brushes
should be replaced
at
the same time. Use
only identical carbon brushes.
Loosen the screws which secure the rear
cover.
Pry
up the rear cover with
a
screw-
driver and remove it.
Use
a
screwdriver
to
remove the brush
holder caps. Take out the worn carbon
brushes, insert the new ones and secure
the brush holder caps.
Insulating
tip
>r--
!I
Commutator
/T
/I
Carbon brush
9
Lubrication
This tool requires no hourly or daily lubrication because it has
a
grease-packedlubrication
system. It should be relubricated after every
6
months of operation. Send the complete
tool
to
MakitaAuthorized or FactoryServiceCenterfor this lubricationservice. However, if
circumstancesrequirethat you should lubricate it by yourself, proceedas follows.
Run the
tool
for several minutes to warm it up. Switch off and unplug the tool. Remove
the crank cap using
a
socket wrench. Rest the tool on the table with the bit end pointing
upwards. This will allow the old grease to collect inside the crank housing. Wipe out the
old grease insideand replacewith
a
fresh grease
(30
9).Use only Makitagenuine hammer
grease (optionalaccessory).Fillingwith morethan the specified amountof grease (approx.
30
g)can cause faulty hammeringaction or tool failure.
Fill
only with the specified amount
of grease. Reinstallthe crank cap and tighten with the socket wrench.
Do
not tighten the
crank cap excessively.It is madeof resinand is subject to breakage.
To maintain product SAFETY and RELIABILITY, repairs, any other maintenance or adjust-
ment should be performedby MakitaAuthorizedor FactoryServiceCenters, always using
Makita replacementparts.
10