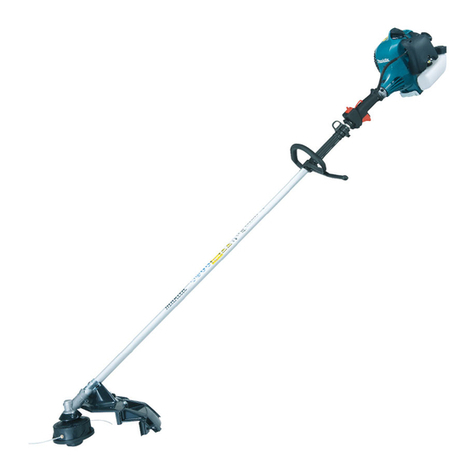
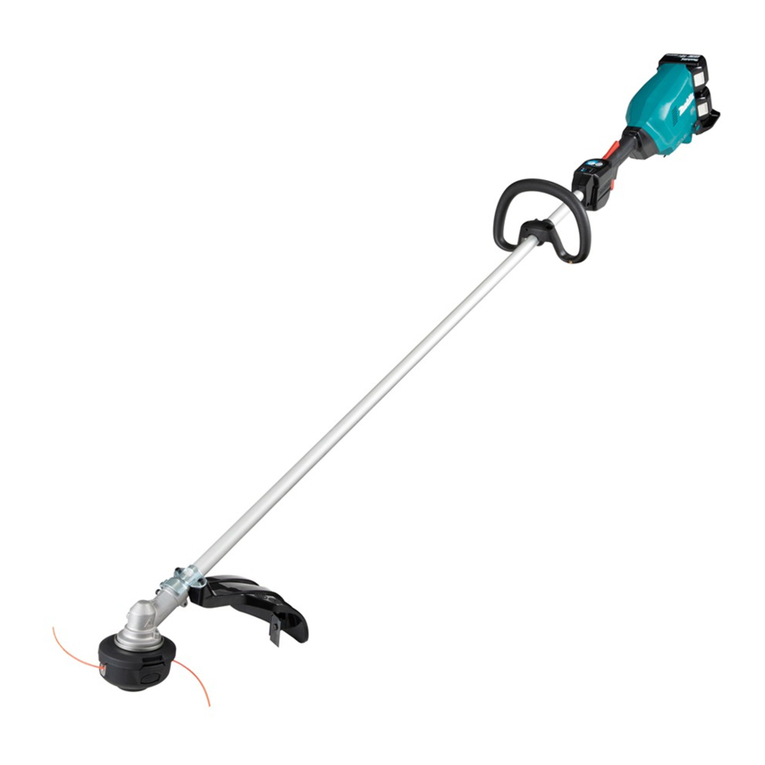
Makita UML2OOD User manual

n
Battery Cartridge 7000
120
mm
(4-3/4")
MODEL UMl2OOD
120
mm
(4-314")
MODEL
UMlZOODW
With Fast Charger
Model DC7100 Fast charger
INSTRUCTION MANUAL
input
Charging
time
Voltage
SPEC
I
F
I
CAT
I
0
N
S
Dimensions Net
IL
XW
x
HI
weight
output
Model UM1200D
Effective cutting width
I
No load speed
I
Dimensions
IL
x
W
x
H)
I
Net weight
1
1
kg
12
2
lbsl
1
361
mm
x
126
mm
x
773
mm
I14 114"
x
5"
x
30 318")
120
mm
14 314
'I
1
13,000
Rimin
A.C. only
145
mm
x
80
mm
x
61
mm
0.7
kg
""
1
lHr
)50Hz-60Hz
1
P:V
1
I5
314"
x
3-118"
x
2-318")
1
11
5lbsl
*
Manufacturer
reserves
the
right
to change
specifications
without
notice.
*
Note:
Specifications
may
differ
from
country
to
country.

IMPORTANT
SAFETY INSTRUCTIONS
(For
All Tools)
WARNING:
WHEN USING ELECTRICTOOLS, BASIC SAFE-
TY PRECAUTIONS SHOULD ALWAYS BE FOLLOWED TO
SONAL INJURY, INCLUDING THE FOLLOWING:
REDUCE THE
RISK
OF FIRE, ELECTRIC SHOCK, AND PER-
READ ALL INSTRUCTIONS.
1.
Be aware that this appliance is always in an operating condition, because
it
does not have to be plugged into an electrical outlet.
2.
Avoid Dangerous Environment
-
Don't use or leave appliances in damp
or wet locations.
3.
Don't Use
In
Rain.
4.
Keep Children and Pets Away
-
All visitors should be kept at a distance
from work area.
5.
Dress Properly
-
Do notwear looseclothingorjewelry. They can be caught
in moving parts. Use of rubber gloves and substantial footwear is recom-
mended when working outdoors. Do not wear slippers, sandals, etc.
6.
Use Right Appliance
-
Do
not use appliance for any job except that for
which
it
is intended.
7.
Avoid Unintentional Starting
-
Don't carry appliance with finger on switch.
Be sure switch is off when inserting battery cartridge into the appliance.
8.
Don't grasp the exposed cutting blades or cutting edges when picking up
or holding the appliance.
9.
Don't Force Appliance
-
It
will do the job better and with less likelihood
of a risk of injury at the rate for which
it
was designed.
IO.
Don't Overreach
-
Keep proper footing and balance at all times.
11.
Store Idle Appliances Indoors
-
When not in use, appliances should be
stored indoors
in
dry, high or locked-up place
-
out of reach of children.
12.
Maintain Appliance With Care
-
Keep cutting edge sharp and clean for
best performance and to reduce the risk of injury. Follow instructions for
lubricating and changing accessories.
2
IMPORTANT SAFETY INSTRUCTIONS
Length of Cord (Feet)
AWG Size of Cord
I.
SAVE
THESE
INSTRUCTIONS
-
This
manual
25 50 100 150
18 18 18 16
9.
Do
not operate charger with damaged cord or plug
-
replace them im-
mediately.
IO.
Donotoperate charger if
it
has receiveda sharp blow, beendropped, or other-
wise damaged
in
any way; take
it
to a qualified serviceman.
11.
Do not disassemble charger or battery cartridge; take
it
to a qualified
serviceman when service
or
repair is required. Incorrect reassembly may
result
in
a risk of electric shock or fire.
12.
To reduce risk of electric shock, unplugcharger from outlet before attempt-
ingany maintenance or cleaning. Turningoff controls will notreduce this risk.
3

ADDITIONAL SAFETY RULES
FOR CHARGER
&
BATTERY CARTRIDGE
1.
Do
not charge Battery Cartridge when temperature is BELOW 10°C (5OOF)
2.
Do
not attempt tousea step-up transformer, an enginegenerator or DC power
3.
Do
not allow anything to cover or clog the charger vents.
4.
Do
not short the battery cartridge:
or ABOVE 4OoC (104OF).
receptacle.
(1
1
Do
not touch the terminals with any conductive material.
(2)
Avoidstoring battery cartridge ina container withother metalobjects such
(3)
Do
not expose battery cartridge to water or rain.
as nails, coins, etc.
A battery short can cause a largecurrentflow, overheating, possible burns
and even a breakdown.
5.
Do
not store the tool and Battery Cartridge in locations where the tempera-
6.
Do
not incinerate the Battery Cartridge even if
it
is severely damaged or is
ture may reach or exceed 5OoC (122OF).
completely worn out. The battery cartridge can explode in a fire.
ADDITIONAL SAFETY RULES
FOR CORDLESS GRASS
TRIMMER
1. Keep guards in place and
in
working order.
2.
Keep hands and feet away from cutting area. The blade coasts for several
seconds after the tool has been turned off.
3.
Always use eye protection.
4.
This tool is for cutting grass or weeds only.
Do
not use
it
for other purposes.
5.
To
prevent personal injury or damagetothe tool, removerocks, wire and large
6.
Stop the tool immediately
if
you notice anything abnormal.
If
you find cracks
sticks from the work area before cutting.
or damage
in
the blade, replace
it
immediately.
SAVE THESE INSTRUCTIONS.
4

ASSEMBLY
CAUTION
:
Always be sure that the battery cartridge
is
I
0
Remove the wing bolt from the motor
housing. Insert the shaft into the motor
housing, align the hole in the shaft with
the hole in the motor housing. Replace
the wing bolt and tighten
it
securely.
.Remove the wing bolt from the grip.
Insert the shaft into the grip, align the
hole in the shaft with the hole in the
grip. Replace the wing bolt and tighten
it
securely.
.Slide the guard ring on the safety guard
into the position shown in the figure and
push the safety guard into the slot in the
motor housing.
removed beforeassembling the trimmer.
f
I
/
Wing
bolt
Fig.
1
I
I
/
Safety
guard
I
I
I
I
Fig.
3
5

Installing or removing battery cartridge
0
Always switch off the tool before insertion or removal of the battery cartridge.
.To remove the battery cartridge, pull out
the
set
plate on the bottom of the tool
and grasp both sides of the cartridge
while withdrawing
it
from the barrel.
.To insert the battery cartridge, align the
tongue on the battery cartridge with the
groove in the housing and slip
it
into
place. Snap the
set
plate back intoplace.
Be sure to close the
set
plate fully before
usingthe tool.
0
Do
notuse force when insertingthe battery cartridge.
Ifthe cartridge does notslide ineasily,
it
is
notbeing insertedcorrectly.
Charging
.Plug the
fast
charger into your power
source. Insert the battery cartridge
so
that the plus and minus terminals on the
battery cartridge are on the same sides
as
their respective markings on the fast
charger. insert cartridge fully into the
port
so
that
it
rests on the charger port
floor.
Fig.
1
CAUTION
:
.Your new battery cartridge
is
notcharged. You will need tocharge
it
before use.
0
If you try to charge
a
cartridge from
a
just-operatedtool, sometimesthe charginglight
will not come on after you insert
a
cartridge from
a
just operatedtool.
Let
the cartridge
cool off for
a
while. Then re-insert
it
and try tocharge
it
once more.
0
If youwish tocharge two battery cartridges, allow
15
minutes betweenchargings on the
fast charger.
6

Installing or removing blade
CAUTION
:
Always be sure that the battery cartridge
is
removedbefore installingor removingblade.
0
Insert the blade into the groove in the
blade holder untilthe blade
is
held by the
two
protrusionson the blade holder.
Fig.
7
CAUTION
:
Always be sure that the blade
is
installed properly beforeoperation.
0
To
the
the
remove the blade, bend both ends of
blade up until
it
will slip
up
and over
protrusions.Then pull the blade out.
CAUTION
:
Replace the used blade before
it
is
worn
down too far, or you will have difficulty
in bending the ends up to remove
it.
If
this happens, insert
a
new blade between
the used blade and the blade holder, hold
the both blades and pull them out.
Fig.
8

Switch action
.To prevent the trigger from being acci-
dentally pulled,
a
lock-off lever
is
pro-
vided
as
a
safety feature.
To start the tool, slide the lock-out lever
in the direction of the arrow and pull the
trigger.
Release
the trigger tostop.
Lock-off
lever
CAUTION
:
Before insertingthe battery cartridge into
the tool, always check to
see
that the
trigger switch actuates properly and re-
turns to the
"OFF"
position when re-
leased.
Fig.
10
Operation
.Hold the tool firmly without the blade
making any contact. Then turn the tool
on and gently move the tool back and
forth in the area to be cut, keeping the
blade parallel with the ground and
at
the
desired cutting height. When cutting
tall
grass or heavy weeds, proceed slowly. If
you
attempt to cut too much
at
a
time,
the blade may
get
tangled with weeds,
causing the motor to stop. When this
happens, turn the tool off immediately
and remove the grass or weeds from the
blade.Then resume operation.
Fig.
11
When cutting grass or weeds adjacent to
walls, curbing, etc., move the tool slowly
and smoothly along the curb with the tip
of the blade contacting the curb very
lightly. This may cause the curb to be
scratchedslightly or may cause premature
blade wear. However,
the
tool itself will
not be adversely affected.
YY
Blade
I/
I
.
//
II
/
/
Ground'
/
/
Fig.
1:
8

CAUTION
:
Forcingthe tool may shortenthe operating time per battery charge.
If the tool
is
operatedcontinuously until the battery cartridge has discharged, allow the
tool to rest for
15
minutes before proceedingwith
a
fresh battery.
NOTE
:
You can expect upto
35
minutes running time on
a
single charge.
MA1NTENANCE
CAUTION
:
Always be sure that the tool
is
switched off and the battery cartridge
is
removed before
attempting to perform inspection.or maintenance.
Cleaning blade and blade holder
*After operation, clean off the blade and
the blade holder with
a
soft brush. Failure
to clean off the blade holder may cause
difficulty ininstallingthe blade.
To maintain product SAFETY and RELIABILITY, repairs, any other maintenance of
adjustment should be performed by Makita Authorized or Factory Service Centers,
always using Makita replacement parts.
9

ACCESSORIES
CAUTION
:
These accessories or attachments are recommended for use with your Makita tool specified in this
manual. The use
of
any other accessories or attachments might present
a
risk of injury to persons.
The accessoriesor attachments should be used only inthe proper and intended manner.
0
Makita Battery cartridge 7000
Part No. 632003-2
0
Blade
(20per pkg.)
Part No. 792374-0
0
Fastcharger (Model DC7100)
0
Battery holster
Holster holds extra battery.
Part No.823033-3C
0
12
V
Fast charger
Model DC7012
10

Sep.-12-'85
EN
I
120
mm
(4-3/4")
CORDLESS GRASS TRIMMER
Model
UM1200D
@--
Note: The switch and other part configurations
may differ from country to country.
11

MODEL
UM1200D
,,!&
DESCRIPTION
1 1 Compression Spring
3
2 1
Lock
off
Lever
3
1 Grip
R
4
1 Swwh
5
1 Switch
Lever
6
1 Grip
L
I
1
Wing
Bolt M4x30
8
1
Name Plate
9
1 Set Plate
10
1
Battery
Holder
Sep.-
12-’85
EN
,&
DESCRIPTION
11 1
12 1
13 1
14
1
15 1
16 1
17 1
18 8
19
1
Pipe 18 lShaft1
Motor
Housing
R
Motor
Motor
Housing
L
Wing
Bolt M4x30
Blade
Holder
Safety
Guard
Tapping
Screw
3x20
Tube
4
Guard
Ring1
MAKITA
LIMITED
ONE
YEAR WARRANTY
Warranty
Policy
Every Makita
tool
is thoroughly inspected and tested before leaving the factory.
It
is warranted
to
be free of defects from workmanship and materials for the period of ONE YEAR from the date of
original purchase. Should any trouble develop during this one-year period, return the COMPLETE
tool,
freight prepaid,
to
one
of
Makita’s Factory or Authorized Service Centers. If inspection shows
the trouble is caused by defective workmanship or material, Makita will repair (or at our option,
replace) without charge.
This Warranty does not apply where:
e
repairs have been made or attempted by others:
8
repairs are required because of normal wear and tear:
8
The
tool
has been abused, misused or improperly maintained;
e
alterations have been made tothe
tool.
IN NO EVENT SHALL MAKITA BE LIABLE FOR ANY INDIRECT, INCIDENTAL OR CON-
SEQUENTIAL DAMAGES FROM THE SALE OR USE OFTHE PRODUCT. THIS DISCLAIMER
APPLIES BOTH DURING AND AFTER THE TERM OFTHIS WARRANTY.
MAKITA DISCLAIMS LIABILITY FOR ANY IMPLIED WARRANTIES, INCLUDING IMPLIED
WARRANTIES OF “MERCHANTABILITY” AND “FITNESS FOR A SPECIFIC PURPOSE,”
AFTER THE ONE-YEAR TERM OFTHISWARRANTY.
This Warranty gives you specific legal rights, and you may also have other rights which vary from
state to state. Some states do not allow the exclusion or limitation of incidental or consequential
damages,
so
the above limitation or exclusion may not apply
to
you. Some states do not allow
limitation on how long an implied warranty lasts,
so
the above limitation may not apply
to
you.
maKitaFIArtkrr
-
wu.nub,u.
11-8,3-chome,Sumiyorhi-eho,
Anjo,
Aichi
446,
Japan
883560A067
PRINTED
IN
JAPAN
1987-6-N
This manual suits for next models
1
Table of contents
Other Makita Trimmer manuals

Makita
Makita DUR187URF User manual

Makita
Makita DUR142L User manual

Makita
Makita ER2650LH User guide

Makita
Makita 3709 User manual

Makita
Makita XRU07 User manual

Makita
Makita UR012G User manual

Makita
Makita 3711 User manual

Makita
Makita RT0700C User manual

Makita
Makita GHU01 User manual

Makita
Makita DUR365U User manual

Makita
Makita DUR365U User manual

Makita
Makita UR101C User manual

Makita
Makita DUH604S User manual

Makita
Makita UR101C User manual

Makita
Makita RT0702C User manual

Makita
Makita M3702 User manual

Makita
Makita EE400MP User manual

Makita
Makita DUR194 User manual

Makita
Makita UH200D User manual

Makita
Makita XRU09PT User manual