manuals.online logo
Brands
  1. Home
  2. •
  3. Brands
  4. •
  5. Manhattan Comfort
  6. •
  7. Indoor Furnishing
  8. •
  9. Manhattan Comfort Eiffel 35.43 Tall Cabinet User manual

Manhattan Comfort Eiffel 35.43 Tall Cabinet User manual

Ed. 001, 2022/06 - Manhattan Comfort.
888-230-2225
help@manhattancomfort.com
Model # 250BMC6, 250BMC8, 250BMC83, 250BMC84, 250BMC85
15
lb
33
lb
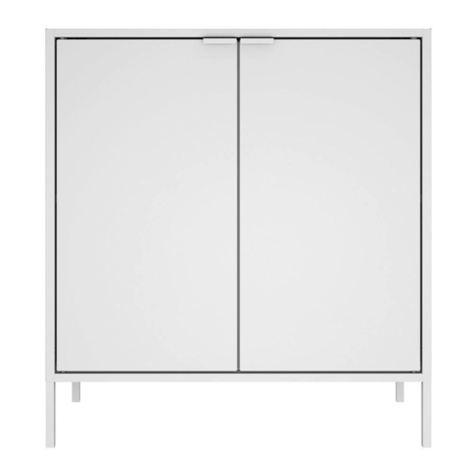
Eiffel 35.43 Tall Cabinet
2 Doors Tall Cabinet / Armoire haute 2 portes
The indicated values consider static weights and evenly distributed over the parts.
Les valeurs indiquées tiennent compte des poids statiques et uniformément répartis sur les pièces.
18
lb
15
lb
20
lb
3
lb
n.° ID
2
01
02
03
04
05
1
2
2
06 2
07 1
01
INCLUDED IN THE PACKAGE / INCLUS DANS LE PACKAGE
Parts identification (Description) / Identification des pièces (Description) Quantity / Quantité
Fixed Shelf / Étagère fixe
Side Panel / Panneau latéral
Door / Porte
REAR VIEW / VUE ARRIÈRE
FRONT VIEW / VUE DE FACE
FINAL APPEARANCE / APPARENCE FINALE
01
02
07
01
03
02
03
04
06
06
Plastic "H" Profile 1800mm / Profilé en "H" en plastique 1800mm
Top Panel and Base / Panneau du haut et Base
Back Panel / Panneau arrière
2
2
Removable Shelf / Étagère amovible
08 1
Metal Key Holder / Porte-clés en métal
02
05
05
08
04
3
12x
A12x
B4x
C
!
IMPORTANT! Two people are recommended to assemble and install this product.
It is recommended to fix the cabinet on the wall with the anti-tipping bracket, to prevent accidental falls and damage.
IMPORTANT! Deux personnes sont recommandées pour assembler et installer ce produit.
Il est recommandé de fixer l'armoire au mur avec le support anti-basculement, pour éviter les chutes accidentelles et les dommages.
INCLUDED IN THE HARDWARE / INCLUS DANS LE MATÉRIEL
Simple hammer.
Marteau simple.
Manual screwdriver.
Tournevis manuel.
Electric drill and electric
screwdriver with drill
bit Ø10mm and
phillips tips.
Perceuse électrique
et tournevis électrique
avec foret Ø10mm pouce
et pointes phillips.
TOOLS NEEDED / OUTILS NÉCESSAIRES
Level indicator.
Indicateur de niveau.
62x
D4x
E8x
F
8x
G62x
H2x
I
4x
J1x
K1x
L
1x
M
4
• Connect the Top Panel and Base (03) to
the Side Panels (02) with dowels (A) and
bolts (B).
Connectez les Panneau du haut et Base (03)
sur les Panneaux latéraux (02) des chevilles (A)
et des vis (B).
• Insert the plastic bushing and leveling base (E)
into the indicated holes under the Base (03), as
shown in the DETAIL 1.
Insérez la douille en plastique et la base de
nivellement (E) dans les trous indiqués sous
la Base (03), commé ilustré au DÉTAIL 1.
STEP 2 / ÉTAPE 2
STEP 1 / ÉTAPE 1
DETAIL 1 / DÉTAIL 1
!
• Connect the Shelf (01) to the Side Panels (02)
with dowels (A) and bolts (B).
At the end of the fixing, apply the adhesive
covers (C) on bolts (B).
Connectez l'Étagère (01) sur les Panneaux
latéraux (02) des chevilles (A) et des vis (B).
A la fin de la fixation, appliquez les couvercles
adhésifs (C) sur les vis (B).
02
01
03
03
02
01
02
03
02
02
Installing the Shelves (05):
• Insert the metal brackets (F) into the holes in
the Side Panels (02) and install the Shelves (05)
over them.
• If you prefer, fix the Shelves (05) on the metal
brackets (F) applying the bolts (H), as shown in
the DETAIL 2.
Installation des Étagères (05):
• Insérez les supports métalliques (F) dans les
trous des Panneaux latéraux (02) et installez
les Étagères (05) dessus.
• Si vous préférez, fixez les Étagères (05) sur les
supports métaliques (F) en appliquant les vis (H),
comme indiqué dans le DÉTAIL 2.
STEP 4 / ÉTAPE 4
STEP 3 / ÉTAPE 3
DETAIL 2 / DÉTAIL 2
!
Fixing the Back Panels (04):
• Fix the Back Panels (04) by fitting the plastic profile (07) at
the junction between the two parts and applying the nails (D)
in the indicated positions.
Fixation des Panneaux arrière (04):
• Fixez le Panneaux arrière (04) en insérant le Profilé en
plastique (07) dans la couture entre les deux pièces et
en appliquant les clous (D) dans les positions indiquées.
01
02
5
02
05
05
03
03
05
02
07
04
03
02
STEP 6 / ÉTAPE 6
STEP 5 / ÉTAPE 5
6
Fixer and
adjustment bolts.
Vis de fixation
et réglage.
Installing the Doors (06):
• Fix the hinges connectors (G) of the
Doors (06) on the Side Panels (02)
with bolts (H), taking the markings in
these Panels (02) as a reference for
correct positioning. The hinge and its
connector includes two more bolts,
shown in DETAIL 5. Use these fixer
and adjustment bolts to tighten,
adjust and align the doors.
• Fix the metal key holder (08) on one
of the Doors with bolts (H).
Installation des Portes (06):
• Fixez les connecteurs des charnières
(G) des Portes (06) sur les Panneaux
latéraux (02) avec des vis (H), en
prenant les marques comme référence
pour un positionnement correct.
La charnière et son connecteur
comprennent deux autres vis,
illustrées dans le DÉTAIL 5. Utilisez
ces vis de fixation et réglage pour
serrer, régler et aligner les portes.
• Fixez le porte-clés en métal (08) sur
une des Portes, avec des vis (H).
01
06
DETAIL 3 / DÉTAIL 3
Preparing the Doors (06):
• Fix the hinges (G) with bolts (H) in the Doors (06),
as shown in the DETAIL 3.
• Fix the handle (I) in the Doors (06) with bolts (J).
Préparation des Portes (06):
• Fixez les charnières (G) avec les vis (H) dans les
Portes (06), comme indiqué dans le DÉTAIL 3.
• Fixez la poignée (I) dans les Portes (06) avec des
vis (J).
ATTENTION! Before to make the installation, check the conditions of the wall to anchor the cabinet and the existence and position of hydraulic, electrical and gas pipes,
avoiding damage to these structures when drilling the hole for applying the bushing (K) and the bolt (L) to fix the anti-tipping bracket (M).
The bushing (K) supplied with the product is for hollow walls or dry wall type. Check the type of the wall on which the installation will be made and, if necessary, look for more suitable
devices. To mark position and fix the cabinet on the wall, check the level of the entire assembly and the position of the feet in relation to the floor.
ATTENTION! Avant l'installation, vérifiez les conditions du mur pour ancrage de l'armoire, ainsi que l'existence et la position des conduites hydrauliques, électriques et
de gaz, en évitant d'endommager ces structures lors du perçage du trou pour appliquer douille (K) et la vis (L) pour fixer le support anti-basculement (M).
La douille (K) fourni avec le produit est pour mur creux ou cloison sèche. Vérifiez le type du mur et, si nécessaire, prévoir accessoires plus adaptés.
Pour marquer la position et fixer l'armoire au mur, vérifiez le niveau de l'ensemble de l'assemblage et la position des pieds par rapport au étage.
06
Ø10mm hole in the wall.
Trou Ø10mm dans le mur.
Fixing the cabinet on the wall with
the anti-tipping bracket (M):
• Fix the bracket (M) with bolts (H) on
the Top Panel (03), as in DETAIL 4.
• Place the already assembled cabinet in
the desired site for installing and mark
the position of the hole on the wall and,
with a electric drill and drill bit Ø10mm,
make the hole in the wall and apply the
bushing (K), as in the DETAIL 4.
• Apply the bolt (L) to fix the bracket (M)
at the bushing (K) already applied
on the wall, as shown in the DETAIL 4.
Fixation de l'armoire au mur avec
le support anti-basculement (M):
• Fixez le support (M) avec les vis (H)
sur le Panneau du haut (03), comme
dans le DÉTAIL 4.
• Placez l'armoire déjà assemblée dans
l'emplacement souhaité pour l'installation
et marquez la position du trou sur le mur
et, avec une perceuse électrique et un
foret de Ø10mm, faites le trou denas le
mur et appliquez la douille (K), comme
dans le DÉTAIL 4.
• Appliquez la vis (L) pour fixer le support
(M) à la douille (K) déjà appliquée sur le
mur, comme indiqué dans le DÉTAIL 4.
DETAIL 4 / DÉTAIL 4
08
DETAIL 5 / DÉTAIL 5
06
06
02
02
03
03
05
05
03

This manual suits for next models

5

Other Manhattan Comfort Indoor Furnishing manuals
Manhattan Comfort Cooper BE 52 User manual

Manhattan Comfort

Manhattan Comfort Cooper BE 52 User manual

Manhattan Comfort 6GMC User manual

Manhattan Comfort

Manhattan Comfort 6GMC User manual
Manhattan Comfort Libra Long Floating 45.35 Entertainment... User manual

Manhattan Comfort

Manhattan Comfort Libra Long Floating 45.35 Entertainment... User manual
Manhattan Comfort BE 842-06 User manual
Manhattan Comfort

Manhattan Comfort BE 842-06 User manual

Manhattan Comfort Eiffel 253BMC6 User manual

Manhattan Comfort

Manhattan Comfort Eiffel 253BMC6 User manual

Manhattan Comfort 27900 User manual

Manhattan Comfort

Manhattan Comfort 27900 User manual

Manhattan Comfort 4GMCC User manual

Manhattan Comfort

Manhattan Comfort 4GMCC User manual

Manhattan Comfort Mulberry User manual
Manhattan Comfort

Manhattan Comfort Mulberry User manual

Manhattan Comfort Liberty 17.71 User manual

Manhattan Comfort

Manhattan Comfort Liberty 17.71 User manual

Manhattan Comfort Liberty 42.28 User manual
Manhattan Comfort

Manhattan Comfort Liberty 42.28 User manual

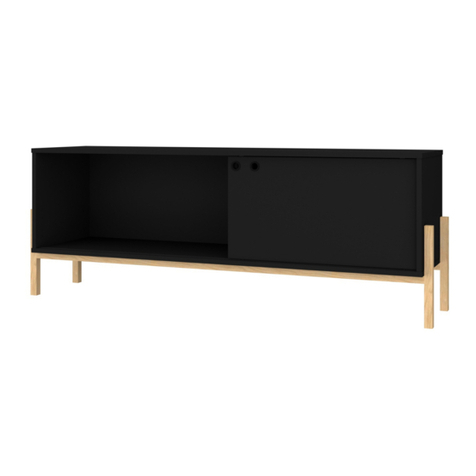
Manhattan Comfort BOWERY 55.12 User manual
Manhattan Comfort

Manhattan Comfort BOWERY 55.12 User manual

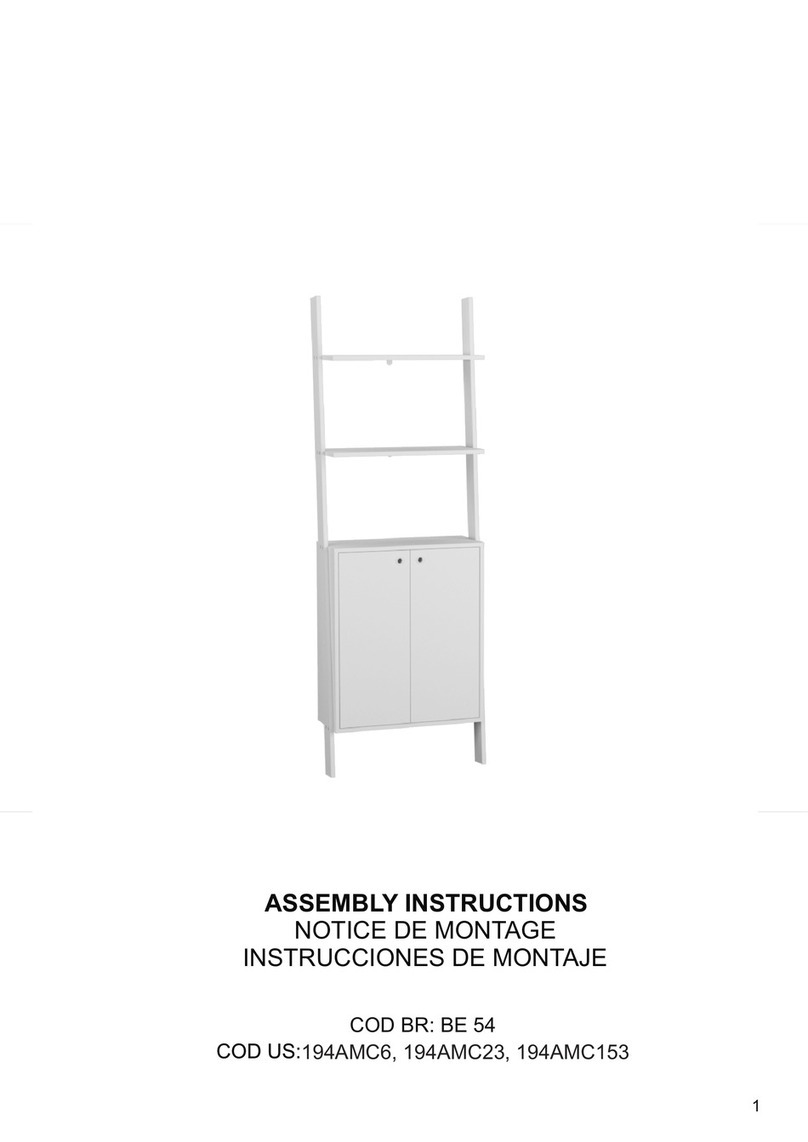
Manhattan Comfort BE 54 User manual

Manhattan Comfort

Manhattan Comfort BE 54 User manual
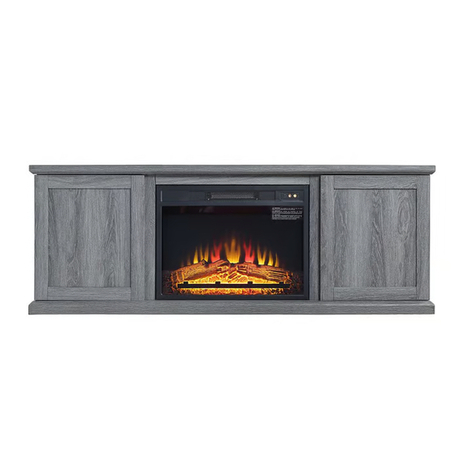
Manhattan Comfort Franklin FP3 User manual

Manhattan Comfort

Manhattan Comfort Franklin FP3 User manual

Manhattan Comfort BH 04 User manual

Manhattan Comfort

Manhattan Comfort BH 04 User manual

Manhattan Comfort Baxter 62.99 User manual
Manhattan Comfort

Manhattan Comfort Baxter 62.99 User manual

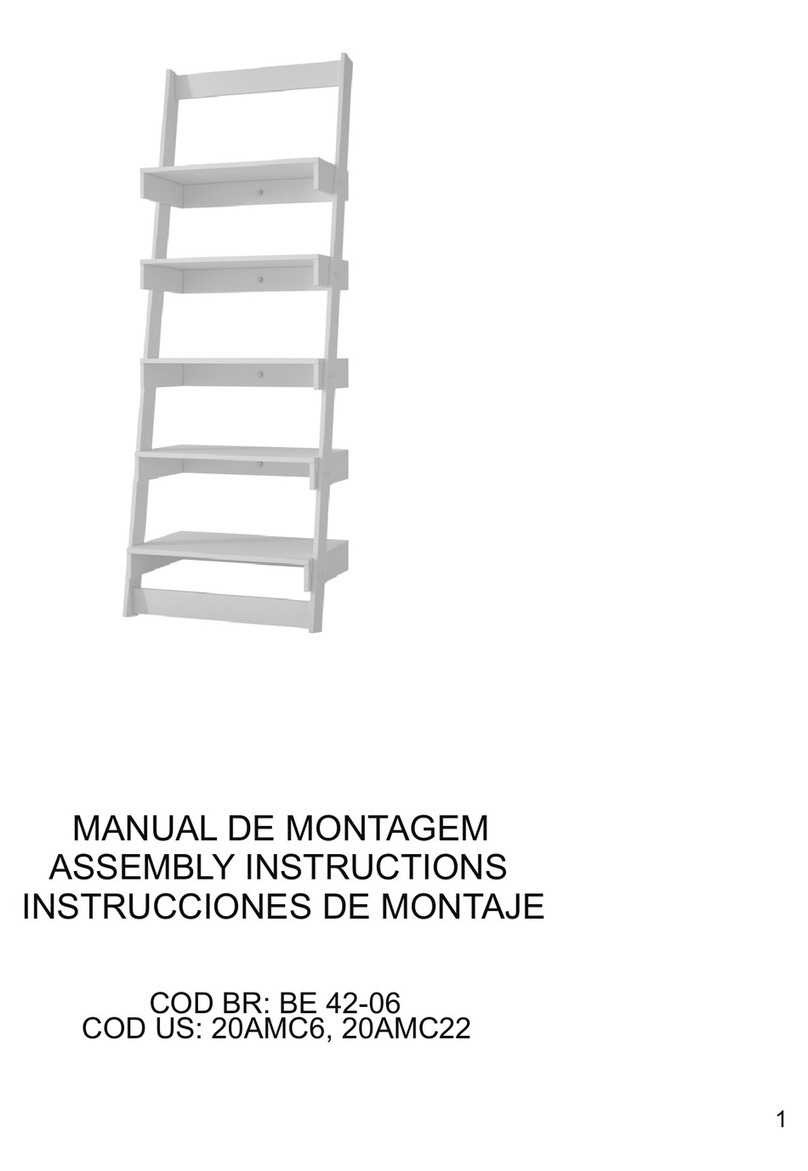
Manhattan Comfort BE 42-06 User manual
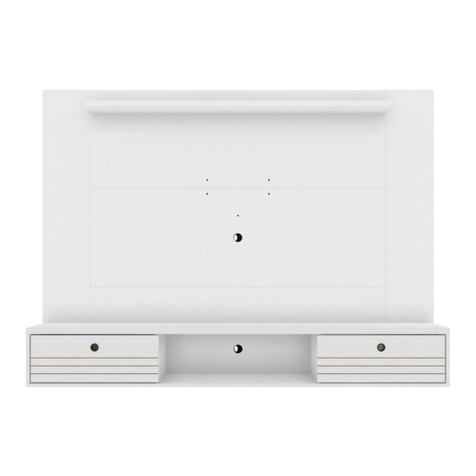
Manhattan Comfort

Manhattan Comfort BE 42-06 User manual

Manhattan Comfort Liberty 235BMC6 User manual

Manhattan Comfort

Manhattan Comfort Liberty 235BMC6 User manual

Manhattan Comfort Hampton User manual

Manhattan Comfort

Manhattan Comfort Hampton User manual

Manhattan Comfort Eldridge Wardrobe User manual
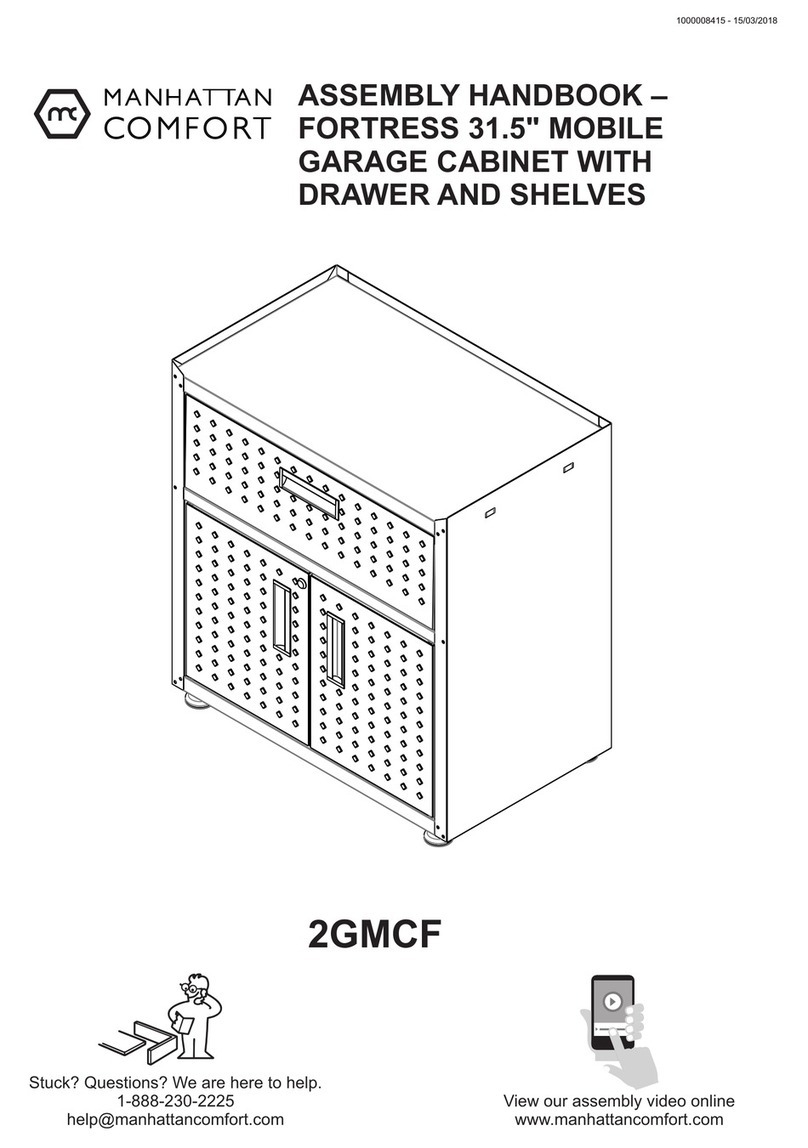
Manhattan Comfort

Manhattan Comfort Eldridge Wardrobe User manual

Manhattan Comfort 2GMCF User manual

Manhattan Comfort

Manhattan Comfort 2GMCF User manual

Manhattan Comfort 11GMC1 User manual

Manhattan Comfort

Manhattan Comfort 11GMC1 User manual

Manhattan Comfort Bradley 229BMC6 User manual

Manhattan Comfort

Manhattan Comfort Bradley 229BMC6 User manual

Manhattan Comfort Amsterdam BPP 05-205 User manual

Manhattan Comfort

Manhattan Comfort Amsterdam BPP 05-205 User manual

Manhattan Comfort Tribeca TV Stand 35.43 User manual

Manhattan Comfort

Manhattan Comfort Tribeca TV Stand 35.43 User manual

Popular Indoor Furnishing manuals by other brands
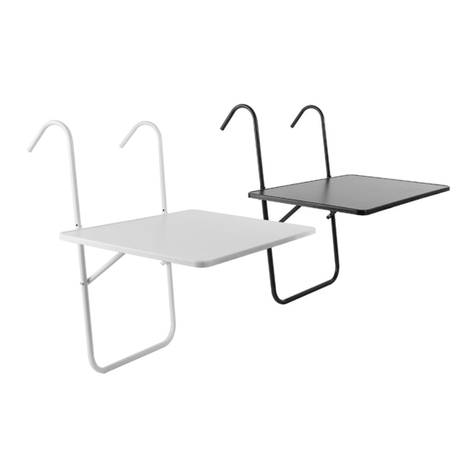
FLORABEST 311052 Instructions for use

FLORABEST

FLORABEST 311052 Instructions for use
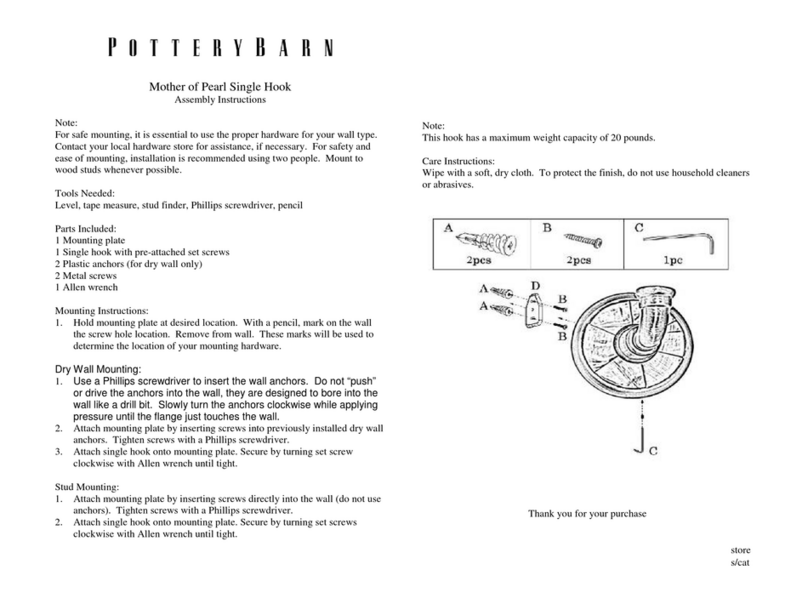
PotteryBarn Mother of Pearl Single Hook Assembly instructions
PotteryBarn

PotteryBarn Mother of Pearl Single Hook Assembly instructions

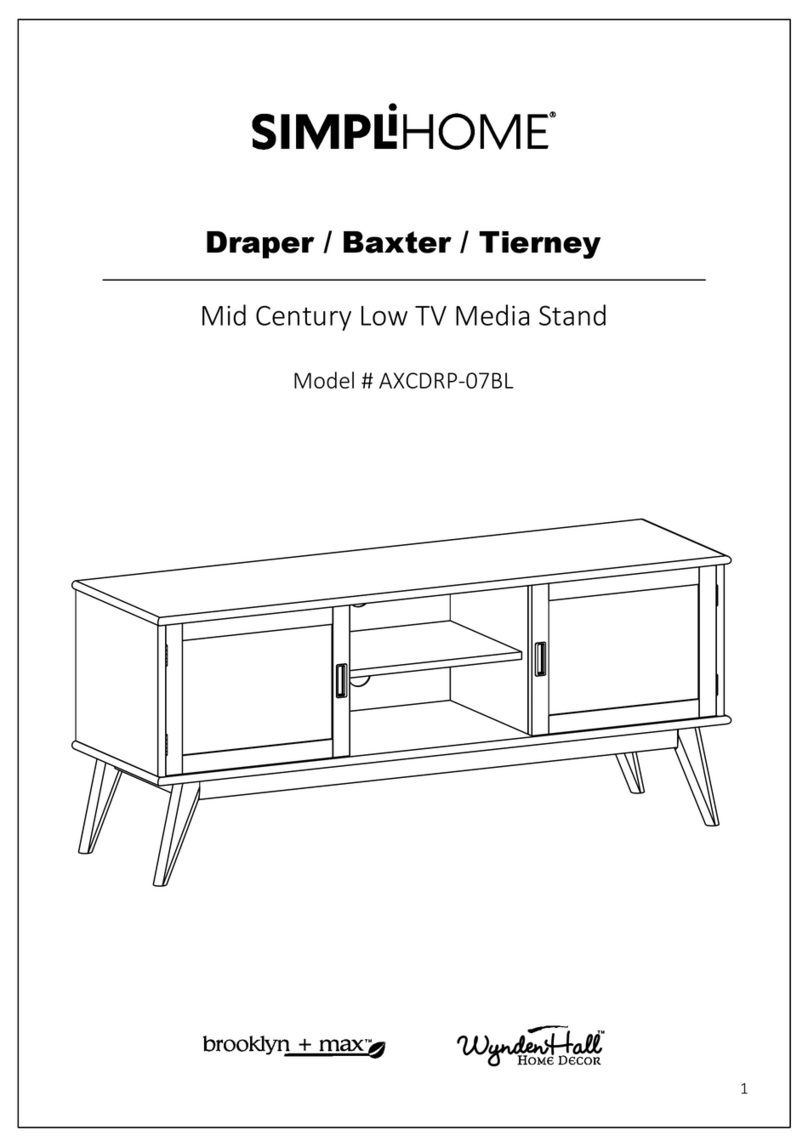
Simpli Home brooklyn+max WyndenHall AXCDRP-07BL quick start guide
Simpli Home

Simpli Home brooklyn+max WyndenHall AXCDRP-07BL quick start guide

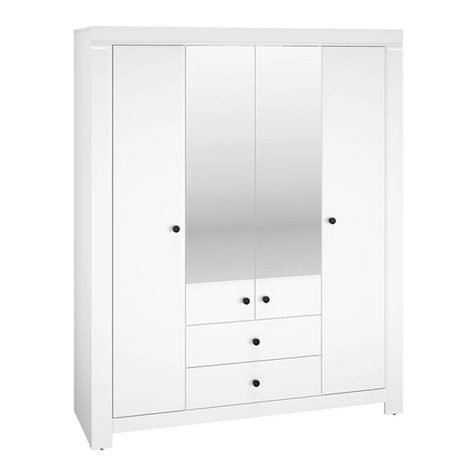
mlmeble LAHTI 02 Assembling Instruction
mlmeble

mlmeble LAHTI 02 Assembling Instruction

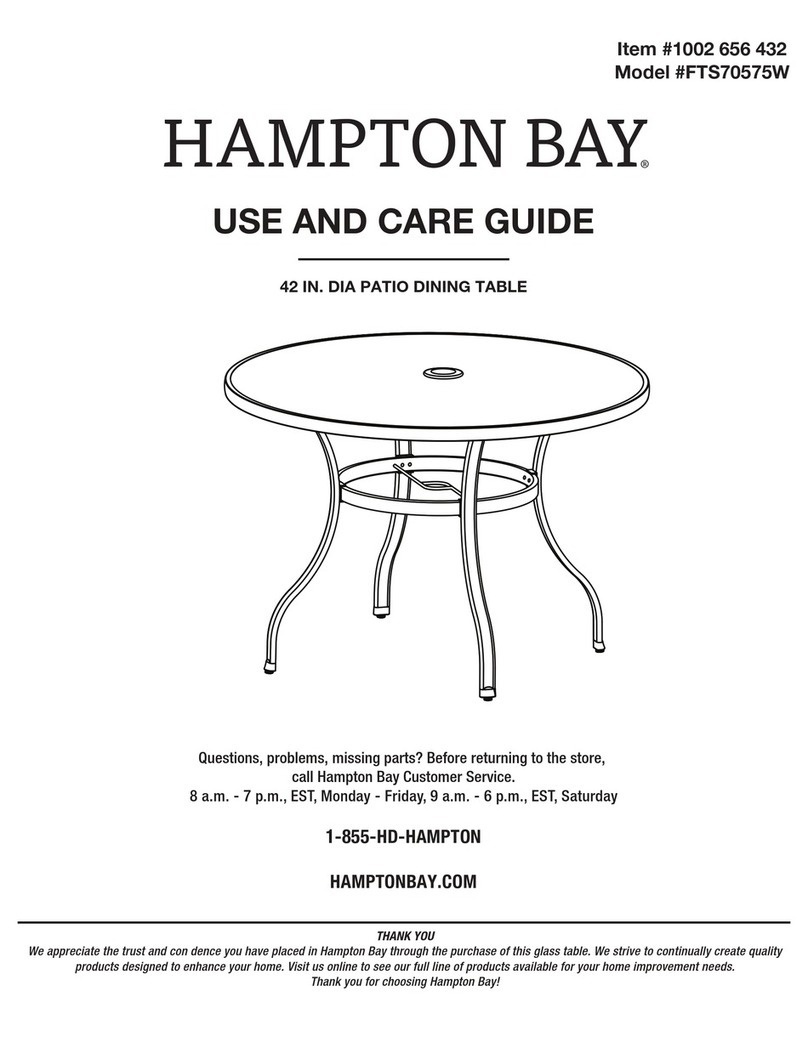
HAMPTON BAY FTS70575W Use and care guide
HAMPTON BAY

HAMPTON BAY FTS70575W Use and care guide

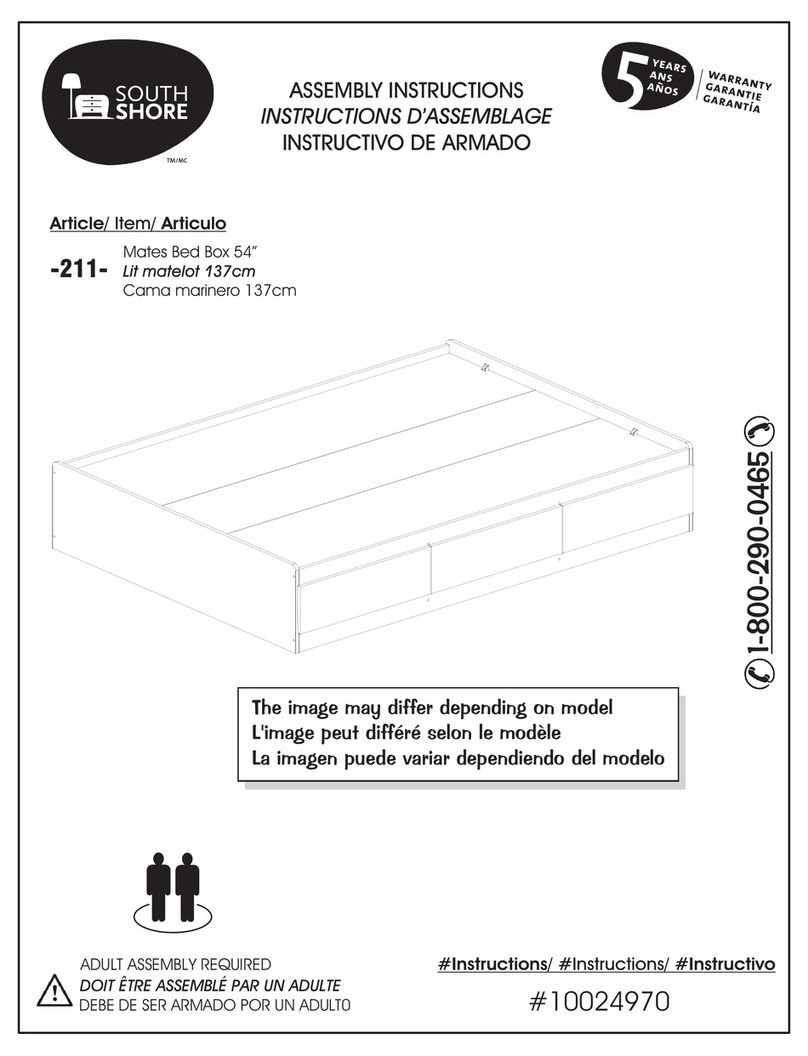
SouthShore 211 Assembly instructions

SouthShore

SouthShore 211 Assembly instructions
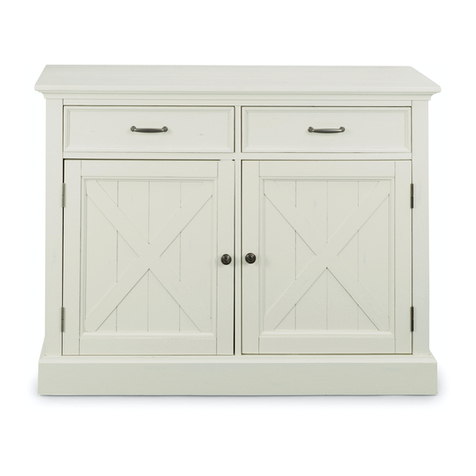
Home Styles 88 5523 61 Assembly instructions
Home Styles

Home Styles 88 5523 61 Assembly instructions

GAMA TNVS822 Assembling Instruction

GAMA

GAMA TNVS822 Assembling Instruction
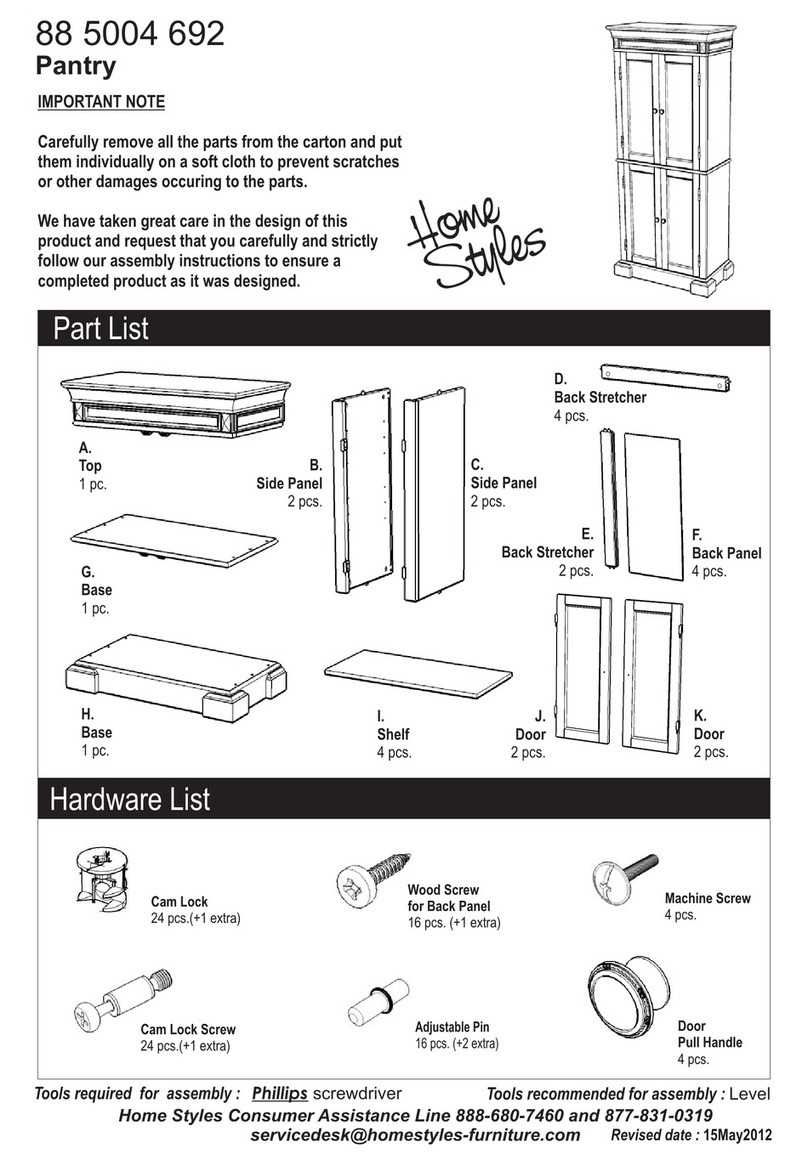
Home Styles 5004 692 Assembly instructions

Home Styles

Home Styles 5004 692 Assembly instructions

Child Craft Universal Select F09428 instructions
Child Craft

Child Craft Universal Select F09428 instructions

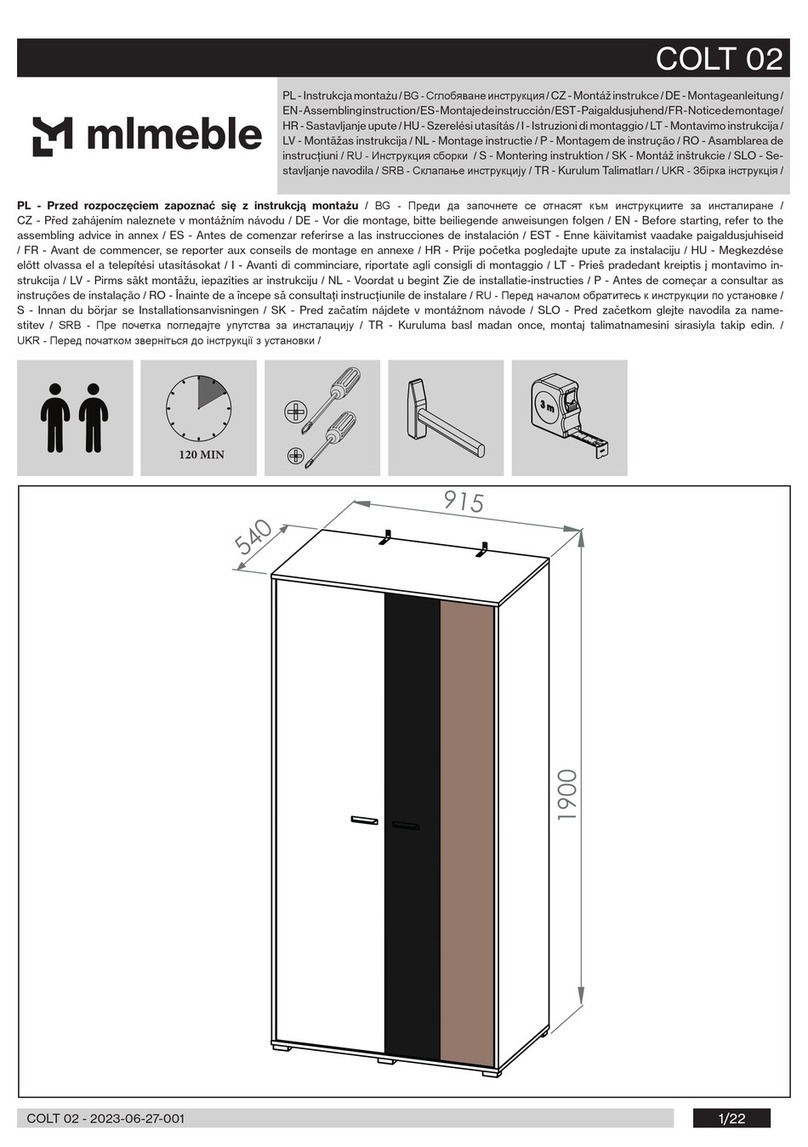
mlmeble COLT 02 Assembling Instruction
mlmeble

mlmeble COLT 02 Assembling Instruction

Simpli Home Brooklyn+Max Baxter AXCBCDRP-04 manual
Simpli Home

Simpli Home Brooklyn+Max Baxter AXCBCDRP-04 manual

WorkPro 1500 Series Assembly instructions and warranty information
WorkPro

WorkPro 1500 Series Assembly instructions and warranty information

Twin Star Home 60BV585 quick start guide

Twin Star Home

Twin Star Home 60BV585 quick start guide

C.R. Plastic Products St. Tropez T37 quick start guide
C.R. Plastic Products

C.R. Plastic Products St. Tropez T37 quick start guide

HOMEDEPOT C-31 Assembly instructions

HOMEDEPOT

HOMEDEPOT C-31 Assembly instructions
NERI & HU 758 Assembly instructions

NERI & HU

NERI & HU 758 Assembly instructions
Simpli Home AXCHOL003-FG manual

Simpli Home

Simpli Home AXCHOL003-FG manual

manuals.online logo
manuals.online logoBrands
  • About & Mission
  • Contact us
  • Privacy Policy
  • Terms and Conditions

Copyright 2025 Manuals.Online. All Rights Reserved.