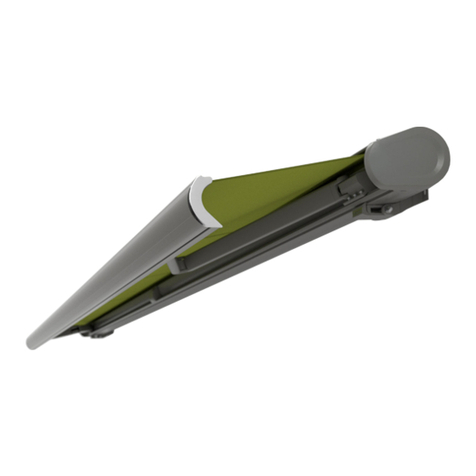
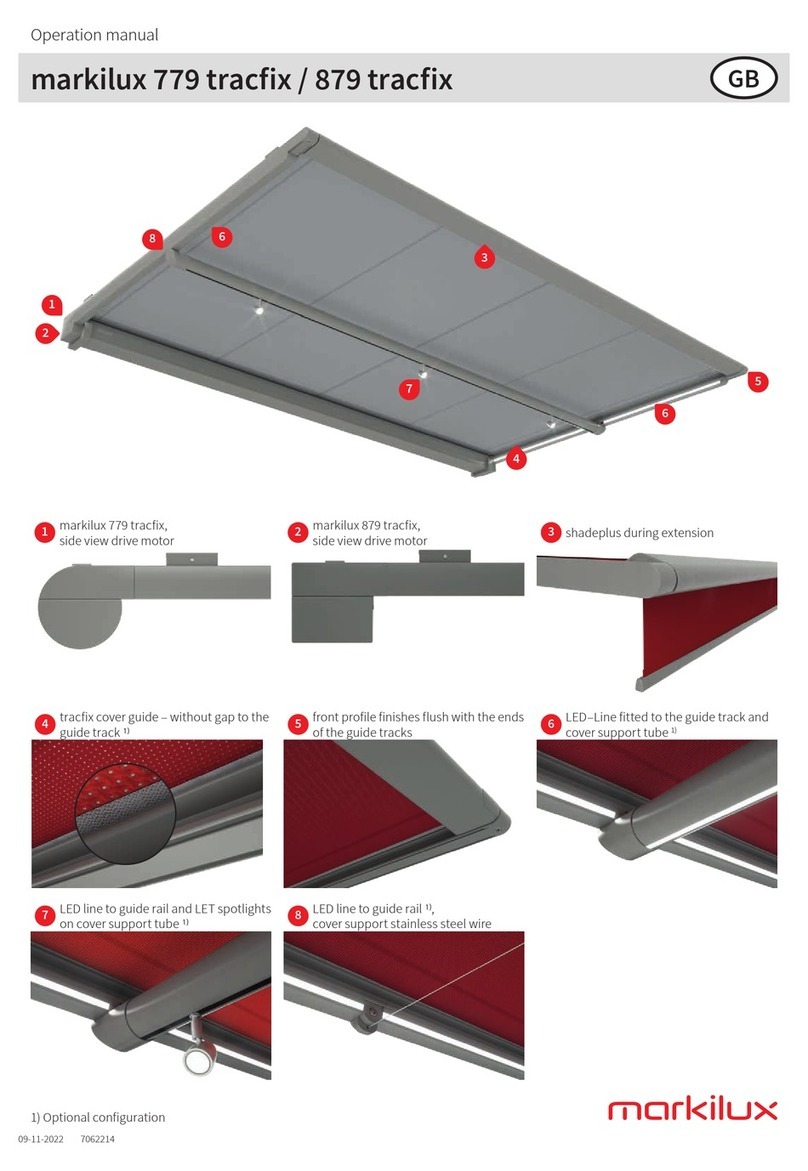
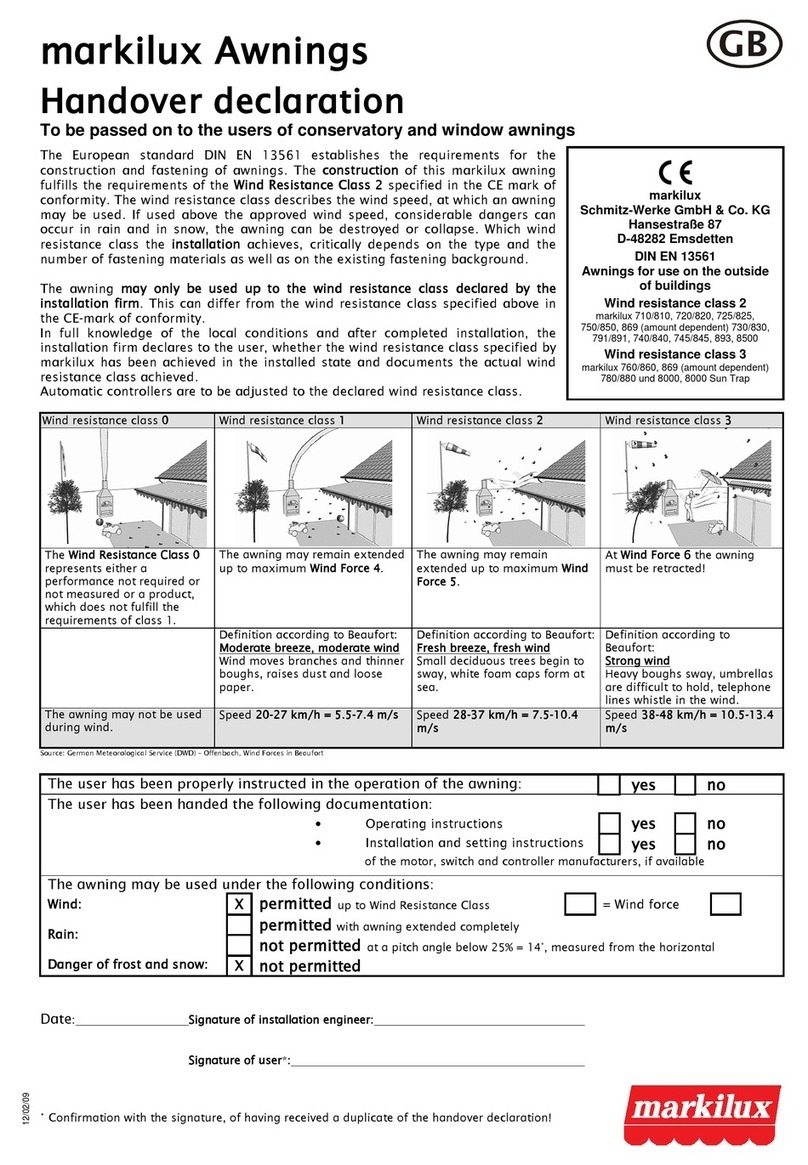
Markilux 790 Quick start guide

7061208
Side awning
markilux-
790
Installation notes
1
19/05/10
These installation instructions are intended for
trained fitters and electricians. They specify how this
awning is to be installed and first operated.
Read them carefully before installing the awning as well
as our general safety instructions.
Check the goods supplied for completeness and
shipping damage before beginning installation.
The sequence of installation and adjustment specified
herein is always to be adhered to.
The side awning is shipped in the following parts.
•Completely assembled cassette in protective foil
•2 holders for cassette wall mounting
•Depending on order: 1 retaining post with base plate,
1 retaining post with ground sleeve or 1 wall holder
1. Fastening means
Overview of dimensions
Tension sectioning fastening means
2.
Recommendations and instructions on
fastening holders in place
This side awning is supplied without assembly screws,
as differing wall materials etc. require differing types of
fastening.
Fastening means must be such as safely distribute the
forces exerted to the object/s used to hold the awning.
Mathematical proof of the tensile forces exerted on the
fastening screws on the basis of 70 N per m² pf awning
fabric is required. .
The fastening means used depends on the material it is
secured to (steel beams, wood, etc.).
Maximum screw sizes for wall holder fastening:
Cheese-head screws M6x...
Cheese-head sheet metal screws 6.3x...
Tensioning plate screws 6.0x
Wood screws 6.0x
Caution
Maximum screw head height is 5.5 mm.

2
3.Installing / hanging up the awning
3.1 Remove the protective covering and check all parts
are present.
3.2 Mark holder site where it is to be attached with drill
holes and then drill. Both holders are to be installed
with a 20 cm gap to the outer edges of the cassette
awning.
Additional brackets may be used.
3.3 Fasten the holders vertically above one another.
They must be mutually aligned. (plumb line).
3.4 Hang the cassette in the holders, position it and
tighten the SW10 securing screws.
3.5 Mark the position of the tension sectioning fastening
means depending on awning extension length and
fasten them in place.
Retaining post with base plate is to be screwed in
horizontally sited on a strong base.
Retaining post with ground sleeve: anchor the sleeve
plumb vertically in concrete, push the sectioning into the
sleeve and then slide the retaining post on. Clamp the
post in place with the hexagonal SW13 screw.
Wall holder: screw the wall plate approximately 985 mm
high on the wall and mount the wall holder using the
cylindrical SW4 screws.
3.6 The handle position can be adjusted with the
clamping screw on the tensioning arm.
3.7 Set its height so that the awning is tensioned dead
straight.
Caution. The clamping screws must be
retightened after adjusting the handle height.
3. Safety note
Caution. Awning under tension. Keep a good hold
of the handle when extending.
4. Important
Hand over the attached Operating Instructions to the
awning user and advise him or her comprehensively
on awning safety and use.
Cap
Retaining
post
Cap
Retaining post
Insertion sec-
tioning
Cover
Ground sleeve
M5x30 cylindrical
screws
Cap
Wall holder
Wall plate
Clamping screws
Grooved
arm
Handle

3
4. mobilfix
779311 = optional
5. mobilfix +
779311 = optional

7061405
markilux Awnings
Important Information
1
20/04/10
1.
Who is allowed to fit markilux Awnings?
The markilux fitting instructions are intended for qualified fitters, who have experienced knowledge in the following fields:
•Work safety, operating safety and regulations for the prevention of accidents
•Handling ladders and scaffolding
•Handling and transport of long, heavy components
•Handling tools and machines
•Attaching fastening materials
•Assessment of the construction material
•ommissioning and operation of the product
If one of these qualifications is lacking, a specialist installation firm must be commissioned.
Electrical work: Electrical installations must be carried by a qualified electrician according to VDE 0100. The installation instructions enclosed with the electrical devices supplied
are to be observed. It is recommended that fitting is performed with at least two persons, for larger awnings with three.
2. Before beginning with the installation, it is to be checked,...
•... whether the fitting fixtures supplied correspond in type and number with the order ,
•... whether the specifications made with the order concerning the fastening background correspond with the actual fastening background at hand (only for folding-arm awn-
ings).
If divergences are determined herewith, which impair safety, then the fitting may not be carried out.
.
Reading and passing on the instructions
The safety and fitting instructions as well as the operating guides are to be read and
observed!
The markilux operating guide, as well as the setting instructions of the motor, switch
and controller manufacturers are to be handed over to the user with a written confirma-
tion and fitted wind class (see handover declaration) He is to be comprehensively
enlightened about the safety and usage information of the awning. With non-observance
and maloperation, the awning can suffer damage and accidents can occur.
4.
Working at greater heights
If the awning unit has to be hoisted to a higher area with the help of ropes, then the awning is
•to be removed from the packaging,
•to be connected with the lifting ropes in such a way, that it cannot fall out,
•to be pulled up evenly in a horizontal position.
The same also applies for the dismantling of the awning.
When working at greater heights, there is a risk of falling. Suitable climbing aids and appropriate fall safety devices are to be utilized.
6.
Partly assembled awnings
With awnings partly assembled at works – e.g. coupled folding-arm awnings without
cover – those parts under spring tension (see illustration: example folding-arm awning)
are to be secured against unintentional opening. These safety devices may only be
removed after the installation is complete.
There is a high risk of injury from the marked awning parts under tension!
7.
Partly assembled awnings
The servo transmission of folding-arm awnings (marked with a sticker) may not be
dismantled, it is under high tension!
If the awning cover or the transmission is to be exchanged, beforehand please request
the guide „What to do when... the servo drive needs to be dismantled?“.
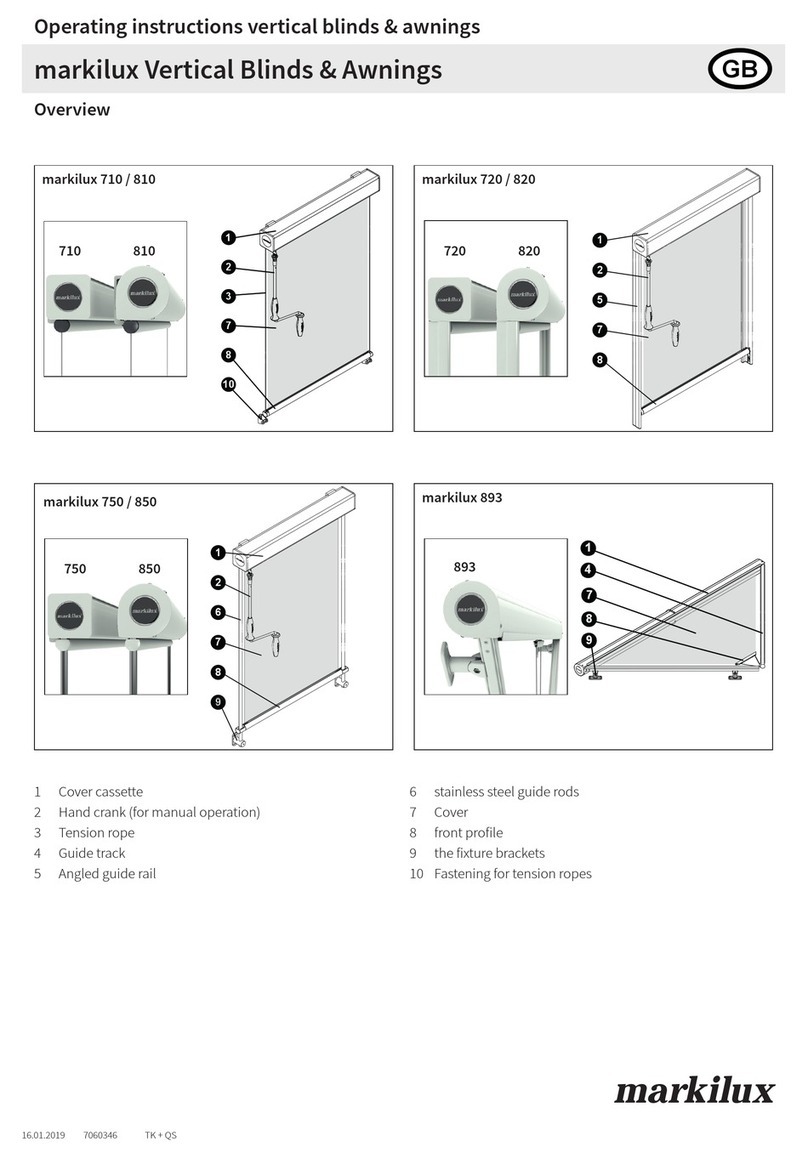
2
8.
Uncontrolled Operation
When working in the range of travel of the awning (see illustration: example folding-
arm awning), automatic control must be switched off. There is a risk of being crushed
and falling down.
In addition, it must be ensured, that the unit cannot be unintentionally operated manu-
ally. For this, the power supply is to be interrupted, e.g. switch off safety switches or
disconnect the connector coupling on the motor. Likewise, with manual operation the
operating crank must be disengaged and safely stored away.
If awnings are operated by several users, a priority switching interlocking device (con-
trolled power interruption from outside) must be installed, which makes any extending
and retracting of the awning impossible.
9.
Proper intended use
Awnings may only be used for the purpose defined in the operating guide. Modifications, such as add-ons
and conversions not intended by the manufacturer, may only be performed with the written consent of the
manufacturer.
Additional loading of the awning due to suspended objects or due to tensioned ropes/cables can lead to
damage or to the collapse of the awning and are therefore not permitted.
The awning may not be subjected to high temperatures, strong vibrations or shaking or strong mechanical
stress.
An accumulation of snow behind the awning is to be prevented by fitting a snow guard (snow fence or
similar).
10.
Crush and Shear Zones
Depending on the type of awning, there exist crush and shear zones, e.g. between drop rod and cassette and between moving
parts. Items of clothing or limbs can be grabbed by the unit and pulled in! (See illustration: example folding-arm awning.)
If an awning is fitted at a height under 2.5 meters above accessible traffic routes, then the awning may only be actuated with a push-
button switch with a view of the moving parts. Electrical controllers, radio-controlled drives with catch switches, stop switches etc. are
in this case not permitted.
Table of contents
Other Markilux Accessories manuals

Markilux
Markilux 710 User manual

Markilux
Markilux pergola 110 User manual

Markilux
Markilux 6000 User manual

Markilux
Markilux Markant User manual

Markilux
Markilux 990 User manual

Markilux
Markilux 990 User manual

Markilux
Markilux 740 User manual

Markilux
Markilux 710 User manual

Markilux
Markilux Syncra uno User manual

Markilux
Markilux 1700 User manual