Markilux markilux pergola User manual

markilux pergola
GB
Operating manual patio awning
17-01-2020 7062196 TK + QS
4
3
5
1
2
5
7
8
Overview
6
8
markilux pergola markilux pergola with lowerable support post
Swivel LED spotlights in the cover
support tube LED line lateral in the guide railsLED line in the cover support tube
Lighting optional:
11
10
12
910
12 11 10
1cover cassette
2guide track
3Front profile
4awning cover
5support post round or angular
6support post round or angular, can be lowered on one side
7Shadeplus, optional
8Post with stabilisation box, optional
9Additional E-Box for LED line lighting in the guide rails (without
cover support tube)
10 LED-line in the guide rails
11 LED line in the cover support tube
12 LED spotlights in the cover support tube

markilux important notes
markilux operating instructions
Page
1 Reading the instructions 7
2 Motor drive 7
3 Operation of the lowerable support post 7
4 markilux pergola with additional shadeplus in projection profile 8
4.1 shadeplus with hand crank operation 8
4.2 shadeplus with motor drive 8
5 markilux pergola with lighting (optional) 9
6 Replacement of a faulty illuminant for lighting 10
6.1 Overview spare parts lighting LED spotlights 10
6.2 LED spotlights in the cover support tube 10
6.3 LED line 10
7 Maintenance and care 11
8 Modification or retrofitting 11
Table of contents

markilux important notes
Important information for the users of markilux awnings
1. Manufacturing number
Every markilux awning was produced individually according to your guidelines and has a fabrication number on it, through which this
product becomes a unique product identifiable at any time.
2. Marking of important safety instructions
With this triangular warning, notes regarding dangers are
marked which can result in bad injuries or even death.
Furthermore it marks important information on the function
of the awning!
5. Wind resistance class
3. Reading of "Important Instructions" and the "Operating Instructions"
4. Proper use of an awning
With this triangular warning, notes are marked which respond
to dangers by electric shock resulting in bad injuries or even
death.
The instructions handed by the authorized markilux specialist must be read before the first awning use. It is important to read all instructions
for the safety of persons. All instructions are to be stored by the customer and have to be handed over to the new owner in case of an
eventual transfer of the awning to Third Parties.
0-14°
The awning is a sun protection construction.
Improper use may lead to significant hazards.
If the awning inclination is less than 25% =
14° measured at the horizontal or the awning
is not extended entirely, then it must not be
burdened by rainwater. If this is the case,
there is a risk of the formation of water
troughs in the awning cover and the awning
may become damaged or even detached
from the wall.
Alterations like rebuilding or enlargements
which are not intended by the manufacturer
may only be carried out with the markilux
manufacturers written approval. Additional
awning burdens by means of object
attachments or or rope wearing can result in
damage or dropping of the awning and are
therefore not allowed.
Wind resistance class 0 1 2 3
Wind speed V (km/h) maximum values < 28 28 38 49
Wind speed V (m/s) maximum values < 7.8 7.8 10.6 13.6
wind resistance class 2
markilux folding-arm awnings: 6000 / 5010 / 3300 / 970 / 990 / 1700 / 1710 /
1600 / 1650 / 930 / 1300 / MX-1 / MX-1 compact / MX-3 / ES-1
markilux 625 (depending on the size) 710 / 810, 720 / 820, 730 / 830, 740 /
840, 750 / 850, 893, 776 (depending on the size),
876 (depending on the size), 779 (depending on the size), 879 (depending
on the size), 8850
wind resistance class 3
markilux 620, 625 (depending on the size),
776 / 776 tracfix (depending on the size),
876 / 876 tracfix (depending on the size),
779 / 779 tracfix (depending on the size),
879 / 879 tracfix (depending on the size), 770, 870, 8800 ,
pergola, pergola compact, markant
The awning meets the requirements of the above stated wind resistance class. Explanation
see "Handover certificate from the specialist dealer". The CE indicates that
correspondence with the requirements of the applicable European directives is proven. The
corresponding declarations of performance and EU declarations of conformity can be
requested through the markilux specialist dealer.

7. Leaves, snow and foreign bodies
9. Motor in the event of a power-cut
6. Use in case of snow, ice, thunderstorm, storm and absence, also with automatic control
8. Obstacles
The awning must not be extended at snowfall or risk of frost. There is risk of the awning to be
damaged or crash down. When a storm or bad weather front is approaching, severe gusts of
wind can occur suddenly to which even an automatic control mechanism cannot react with
suicient speed. An automatic control enhances the awning comfort, but does not excuse
from the duty of care! During absence for longer periods, e.g. holidays or during the night, an
automatic control system does not guarantee an enduringly faultless operation of your
awning.
Attention! It is recommended to retract the awning before freezing wetness starts, at
approaching storm respectively bad weather fronts or at absences. A possibly existing
automatic function is to switch o!
Foliage and other foreign objects located on the awning cover, inside the awning box and in the guidance bars are to remove immediately.
There is risk of the awning to be damaged or crash down. Snow accumulation behind the awning must be avoided by installing a snow guard
(snow fence or similar) or by regularly removing the snow load.
In the awning extension area, no obstacles may be located. There is danger for persons to be
squashed in there. In order to avoid this, a safety distance of at least 50 cm has to be
observed.
A motor-driven awning cannot be retracted without electricity. In very windy areas with frequent power cuts the use of an emergency power
supply should be considered. Otherwise always retract the awning if the power is scheduled to be cut!
Attention! When working in operation radius (e.g. cleaning or service works), make sure the awning to be currentless (e.g. power switch
o, remove plug coupling at drive cable, ...) There is risk of squeezing and falling down.
10. Uncontrolled operation during cleaning and maintenance jobs
There is a risk of crushing body parts and falling. For works on manually operated units the crank should be removed and stored safely. If
awnings are operated by various persons, a locking device switching of prime importance (controlled circuit breakers from outside) must be
actuated, so that every awning retraction and extension is made impossible. Persons not familiar with proper awning use must not operate
them.
1. 2.
min. 50 cm

11. Repair and spare parts
The awning is to check regularly for signs of wear or damage at covering, frame and its fixtures (with electric connection: also the power
supply lines). The durability of the fixtures should be checked on an annual basis by means of a visual inspection or by an annual servicing of
the marklilux specialist dealer. If damages occur, an authorised markilux specialist dealer is to be entrusted with the adjustment. Only spare
parts released by the manufacturer may be used.
Attention! Risk of injury! Please never try to repair disorders on your own! Awnings which need to be fixed must not be used. Talk to
your authorized markilux specialist about a preventive maintenance agreement!
12. Crushing and shearing zones
Attention! Depending on the type of awning there are crush and shear zones, e.g. between front profile and cassette and between
moving parts. Items of clothing or limbs can be grabbed by the unit and pulled in. If the awning is assembled at a height less than 2,5 metres
above accessible traic ways, then the awning may only be actuated by a pushbutton switch which allows viewing the moving parts.
Electric controls, radio-controlled motors with click in-switches are not permitted for such installations.
13. Metallic and pearl glimmer coatings of the awning frame
The look of plastic coatings of metal and plastic parts in metallic and/or pearl glimmer colour vary. These visual dierences concern in
particular the intensity and characteristic of the metallic eect, which may also lead to a change in the perception of the basic shade.
14. Disassembly and disposal
Attention: Risk of injury! When disassembling and disposing of the shading system, the parts under tension (e.g. folding-arms,
counter tension systems or servo gear unit) have to be relaxed completely or secured beforehand. A markilux specialist should be
commissioned for this!
15. Maintenance and care, characteristics cover and awning frame
Whether a cleansing is necessary or not depends strongly on environmental influences (traic, air pollution, industrial gases etc.). Depending
on the degree of pollution, a regular cleansing is recommended.
Attention! Always use an appropriate ascending aid and never rest again or attach to the awning!
15.1 Awning cover in wet condition
If possible, retract the awning when it is dry only! If the awning must be retracted wet, it has to be extended as soon as possible in order to
dry. By the cover permanent weight, a deflection is possible which increases in wet condition. This occurrence does not influence the awning
function and running qualities.

15.2 Cleaning the awning cover
The awning cover is equipped with special impregnation which reduces at every cleansing. For post-impregnation, commercial tent
impregnation can be used. By re-impregnation, no new condition of the cover can be achieved yet.
Remove dust periodically with a so brush in dry condition. Remove leaves, twigs and similar debris immediately. Remove small stains on
the awning cover with commercial, preferably liquid mild detergent added to water (water temperature approx. 30°C, soap solution 5 %).
Rinse thoroughly with water until all traces of the detergent have been removed.
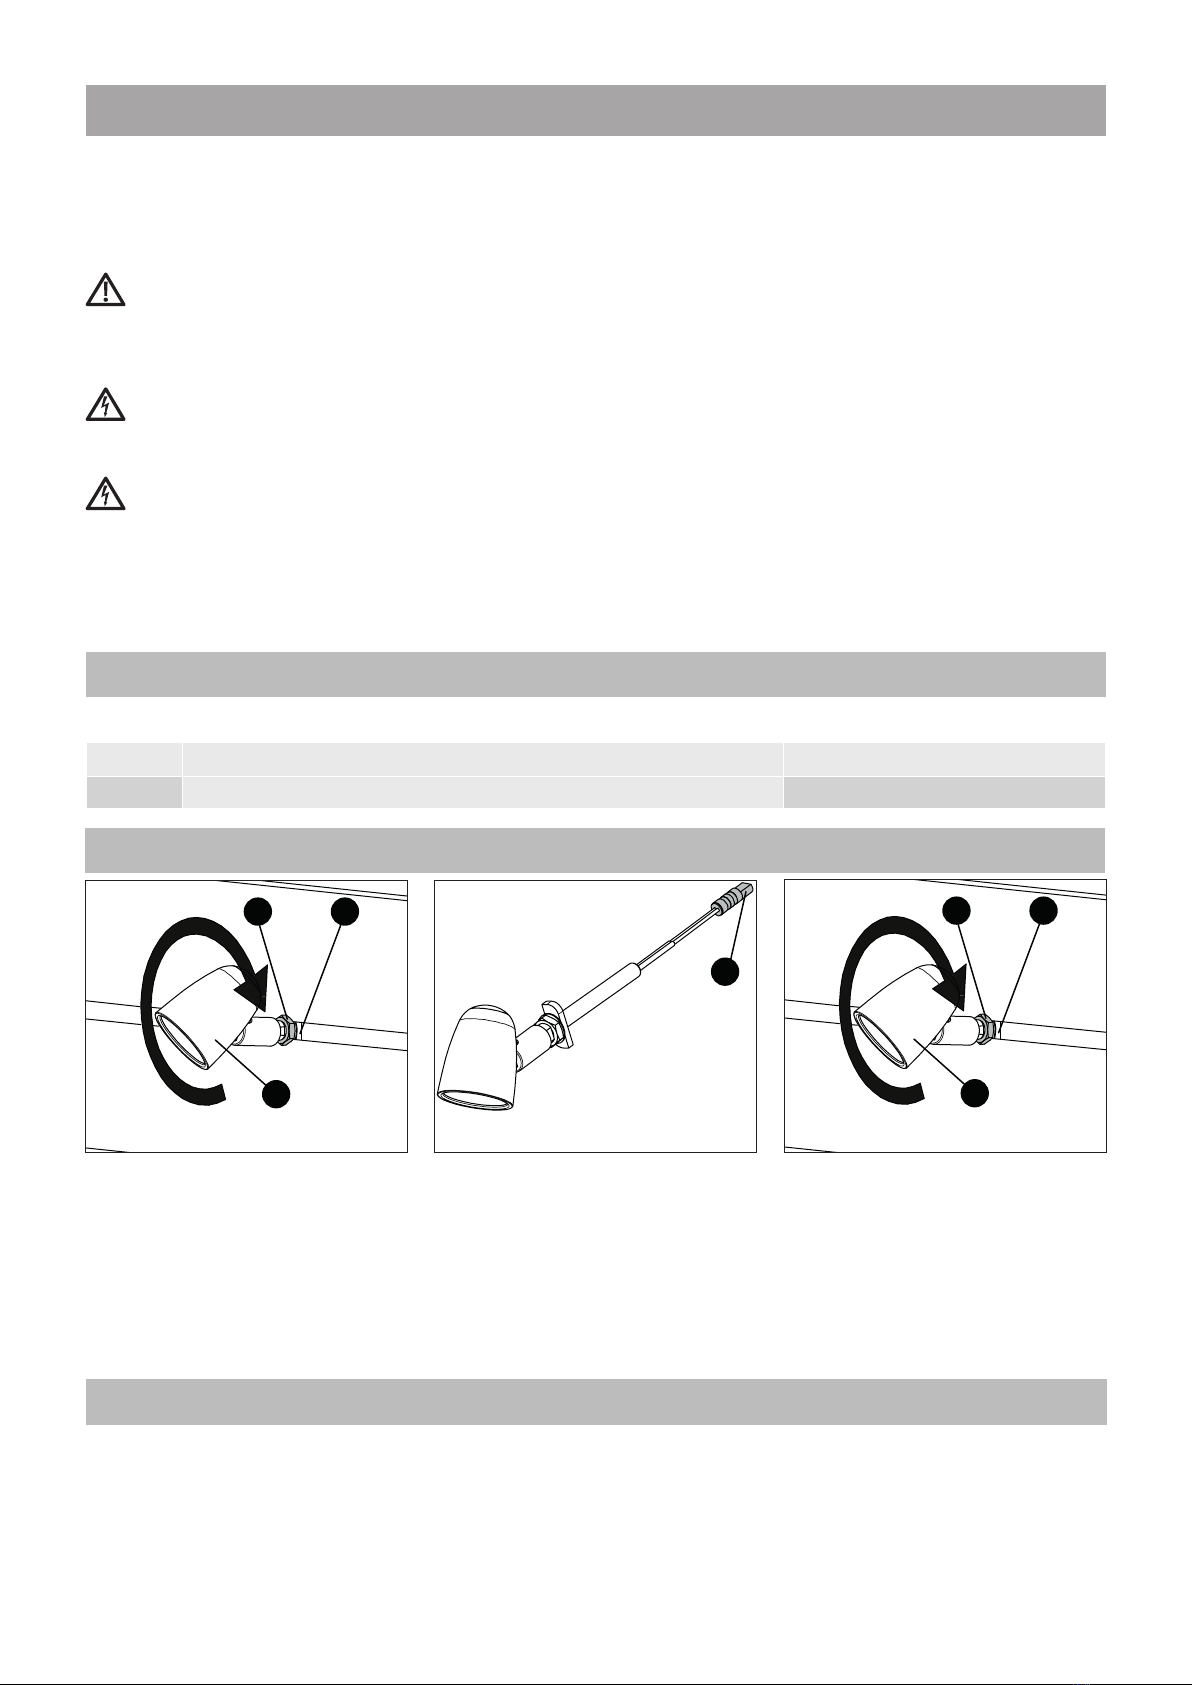
15.3 Cleaning the awning frame
For cleansing of the awning frame, use commercial detergent for sensitive surfaces (pH-value between 5 and 8). Aggressive acids and scraping
materials (like grinding fleece, emery, sand, pumice, etc.) are not allowed because they could alter the surface totally.
15.4 Characteristics resulting from the production and manufacture of awning fabrics
Awning covers are industrially manufactured textile products which serve both a functional and a decorative purpose. Although only
first-class, quality controlled fabric is used in production, there are limits to the degree of perfection that can be achieved. Awning owners
occasionally complain about certain imperfections in the fabric due to lack of knowledge. Defects actually to complain are only those which
influence the cover life span. The following specified imperfections influence the awning cover durability and usage practicality in no way.
• Dogleg and wrinkle creases
At processing, like e.g. trimming, sewing and
winding up of the cover onto the awning
frame, dogleg traces can result which can not
be avoided. Viewed against the light, the user
of the awning has the impression that he
sees dark stripes.
• Chalk and write eect
As with the previously mentioned processes,
the cover may show a light change in colour
(pigment shiing) at folded spots caused by
kinking the fibre.
• Winding folds / waviness
Winding folds/rippling: This occurs due to the
permanent coiling and uncoiling of the cover
on the
roller. This eect can be explained by the
fact, that the material is thicker close to the
seams, coils more loosely between the seams
of the cover. This eect can occur both
directly next to the seam as well as also in the
middle of web.
• Other irregularities
Irregularities caused by the production
process which cannot be avoided, such as
• Knots, thread thickening and thinning,
which can be seen in the cloth as points
of light or as nubs
• Colour deviations in cloths produced in
webs (e.g. in triangular shades)
• Individual thread breakages and
expansions at the seams with resulting
sagging
• Sagging of the cloth due to its own
weight or aer the formation of a "water
sack".
can occur, and are unavoidable in
production.
15.5 Flexing of the awning frame
The profile of the wider systems' awning frame can flex as well because of own weight. This occurrence does not influence the awning
function and running qualities.
16. Tested awning cover
The certificate "STANDARD 100 by OEKO-TEX®“ guarantees that markilux awning covers made from sunsilk snc and sunvas snc do not contain
any harmful dyes or chemicals.
UPF = Ultraviolet Protection Factor
Fabrics made of sunsilk snc and sunvas snc achieve the highest possible solar protection factor for textiles (UPF 50+). An awning fabrics with
an ultraviolet protection factor of 50+ enables you to sit out safely in the sun fiy times longer than you would otherwise be able to do
without suering sunburn, if you were to rely solely on the protection provided by your skin.
Max. duration of sunbathing under your awning = own protection time x 50
Test mark "Selfcleaning inspired by nature"
Awning fabrics made from sunvas snc and sunsilk snc oer a self-cleaning eect in rain
(a minimum of 14° awning pitch is required to ensure water run-o).
17. Legal disclaimer
The graphics and text sections in these instructions have been created with care. No liability can be borne for any errors and their eects. We
reserve the right to undertake technical modifications to the product and to these instructions! The instructions contain copyright-protected
information. All rights reserved! The listed product or trade names are copyright trademarks.

7
markilux.com
STOP
Read the operating instructions and all the documentation pertaining to the product (handover protocol), important guidelines, etc.) carefully
and completely before using the product.
Attention!
Extend the awning by actuating the pushbutton switch for extension /
retraction. With radio-controlled operation, your markilux specialist
must exactly explain the functions on the radio remote control to you,
since, depending on the equipment, he can set these for you
individually.
Here observe the separate operating instructions of the motor and, if
available, the controller manufacturer. The final stop for awning
extension / retraction is limited. The end stop for the extension
direction will be set by your specialist dealer.
mar kilu x
DOWN button
STOP button
Channel selection button
Down button PROG button
(on the reverse of the
handset)
With markilux hand-held remote control (optional):
Protection against overheating:
Multiple extension and retraction of the awning in rapid succession
results in an automatic motor switch-o to preserve it from
overheating. Aer cooling down the motor switches itself on again in
operating readiness.
In a partially extended position and with shallow inclinations (less
than 14°), the danger of water accumulation on the fabric's surface is
greater. The optimum cover tension is achieved when the awning is
extended.
Attention!
Attention! markilux pergola with lowerable support post:
The awning may only be extended or retracted if the projection profile is placed in horizontal position, meaning that the post may not be
lowered. Otherwise the cloth will wind diagonally and become damaged during operation! The final stop for awning extension/retraction is
limited.
In order to improve the drainage of rainwater, one or more support
posts (e.g. with coupled systems) can be lowered on the markilux
pergola with lowerable support post. The height adjustment occurs
directly on the front posts by turning the hand crank.
Attention!
In extended condition, the markilux pergola must always remain
under observance in rain, even with the posts lowered.
2 Motor drive
1 Reading the instructions
3 Operation of the lowerable support post

8
markilux.com
2. Hold the crank rod with one hand on the
upper and one hand on the lower turning
handle. During the operating procedure, pull
the crank slightly towards the operator.
1. Insert the funnel of the crank rod into the
gear adapter and hook in through rotation.
If the gear eyelet is on the right-hand side of
the front profile (as illustrated):
Extension: turn the crank anti-clockwise.
Retraction: turn the crank clockwise.
If the gear eyelet is on the le side, the
directions of rotation are exactly the opposite.
Attention!
During retraction and extension of the awning, the crank rod must be removed from gear eye, as otherwise the cover support tube
and the front profile of the awning will get damaged.
Remove the crank rod from the gear eye aer retraction or extension, and store the crank rod in a safe place. If the crank rod should remain in
the gear eyelet, it must be secured against uncontrolled movements (e.g. in case of wind).
Attention! markilux pergola with lowerable support post:
It is not possible to use the shadeplus if one of the posts has been lowered! It may only be operated when the projection profile is in
horizontal position! Otherwise the cloth will wind diagonally and become damaged during operation!
Direction of rotation at shadeplus retraction:
If the winding direction is wrong, the valance bottom profile will not
close shortly at the front blind.
Tip: if the valance bottom profile does not retract flush into the front
profile, extend the shadeplus cover completely and retract with the
same rotary movement of the crank. Aerwards operate the crank in
the opposite rotating direction when extending and retracting.
4 markilux pergola with additional shadeplus in projection profile
Attention!
Always retract the shadeplus cover first before retracting the entire
awning. If the main motor of the awning is equipped with a controller,
never leave your extended shadeplus cover unattended, because the
awning could retract unintentionally!
When it is windy, please take particular care that the shadeplus
awning-cover with its valance bottom profile does not carry out any
uncontrolled movements. Retract your shadeplus cover immediately
if it gets windy.
4.1 Shadeplus with hand crank operation
4.2 Shadeplus with motor operation

9
markilux.com
Attention - risk of injury!
The LED lights can heat up a lot! The lighting has to be switched o for some some minutes to cool down before you touch the individual
lamps.
Attention: You must never hang any objects or similar in front of the lamps, and it should be ensured that there are no objects
immediately underneath the projection profile both in retracted and in extended state.
Observe in particular the safety clearances in "Important notes".
Attention - danger of fatal injury!: Do not grab or pull the mains leads (230 V) or cables visible at every movement point of the
folding arm! Do not suspend any objects from these mains leads!
The mobility of the mains lead is limited in temperatures below zero. Therefore it has to be ensured, whether the electrician has protected the
connection of your lighting via an RCCB (30mA), so that any eventual cable breakage does not pose any hazard.
Attention: For safety reasons, the electronic transformer switches o automatically at a temperature of 80°C, and switches on again
aer an appropriate cooling down period.
Automatic switcho: Thanks to the integrated timer, the spotlights switch o automatically (io-home control technology: aer 6 hours; RTS
wireless remote control technology: aer 24 hours). The lighting can be reactivated by double-clicking either the switch or the remote
control.
The radiation intensity of these LED lamps is harmless to people and underruns the RG 2 area acc. EN 62471. However, it is
suggested not to look for a long time at the centre of the light source.
5 markilux pergola with lighting (optional)
EU energy label according to EU
directive 874/2012:
Energy eiciency A is very eicient. E is
ineicient. The markilux LED spotlights
and LED line are assigned to energy
eiciency category A.
Swivel LED spotlights in the cover
support tube LED line lateral in the guide railsLED line in the cover support tube
11
10
12
910
12 11 10
11 LED line in the cover support tube
12 LED spotlights in the cover support tube
9Additional E-Box for LED line lighting in the guide tracks
(without cover support tube)
10 LED line in the guide tracks
LED spotlights LED line

10
markilux.com
These instructions for the replacement of defective illuminants at your markilux pergola is to be read and observed.
Exclusively LED lights, which have a very long operating life, are used for the lighting of your markilux pergola.
If the Ambient lighting and LED line is defective, kindly contact your specialist dealer.
If an LED spotlight is defective, you can change it yourself.
Attention: Check the awning regularly for signs of wear and tear at cables and lamps. If damages occur, an authorised markilux
specialist is to be entrusted with the adjustment.
Awnings which need to be fixed must not be used. Only spare parts released by the markilux may be used.
Attention: Electrical installations or repairs are to be carried out in accordance with the installation regulations
DIN VDE 0100 by a qualified electrician only.
Attention: The lighting system must be disconnected from the electricity supply during work on the system (unplug, switch o
fuse). Switch on the illumination only when all cable connections have been established completely.
chapter Lighting type Article no.
6.2 1 piece LED spotlight with plug in projection profile 714881
6 Replacement of a faulty illuminant for lighting
6.1 Overview spare parts lighting LED spotlights
1
2 3
4
714881
1
2 3
1. Loosen the hexagon nut (2) with a
SW 13 spanner. Subsequently, turn
the defective LED spotlight (1) anti-
clockwise by 90° to bring the pincher
carriage (3) in running direction of the
groove and remove.
2. Disconnect the plug (4) of the
defective spot light from the mains and
plug in the new spot light.
Article no. new LED spotlight with plug:
714881
3. Place the new LED spotlight (1) into
the track, turn clockwise by 90° to
hook the clamp plate (3) in the groove.
Subsequently retighten the hexagon
nut (2).
6.2 LED spotlights in the cover support tube
The following replacement parts are available via your markilux specialist dealer:
Repair and maintenance jobs such as the replacement of spare parts, a damaged outer flexible line or other electrical components, must be
carried out exclusively by the specialist dealer.
6.3 LED-line

11
markilux.com
Kindly consult also the information sheet "Important instructions for the users …"
Cleaning the guide rails
In order to eliminate accumulated dirt on the awning frame, only commercially available household detergents for delicate surfaces (pH-
value: between 5 und 8) are to be used. Caustic acids and materials which cause scratches (like fleece containing abrasive material, emery,
sand, pumice etc.) are not allowed, since they could strongly change the surface.
For awnings with a controller, the automatic control is to be switched o beforehand and the wind sensor secured by disconnecting the
power supply!
Attention!
3
1
2
4
3
1
2
Fig. 2: With the tracfix- systemFig. 1: Without the tracfix system
Dirt in the lateral guide tracks (1) and on the rollers of the guide tracks
(3) may lead to the development of noise during retraction and
extension. The development of noise can be avoided through regular
cleaning and polishing of the contact surfaces of rollers (3) and guide
tracks in the track area (2).
Dirt in the lateral guide rails (1) and in the area of the tracfix system (4)
and the rollers of the guide rails (3) may lead to the development of
noise during retraction and extension. The development of noise can
be avoided through regular cleaning and polishing of the track areas
(2/4).
The following modifications and retrofittings can be carried out retrospectively on your awning by your markilux specialist.
• Change of the awning cover
• Installation of a motor
• Retrofitting an automatic control system. In principle a motor drive must be available. Ask your specialist retailer about sun and wind
sensors, remote control etc.
7 Maintenance and care
8 Conversion or retrofitting
Table of contents
Other Markilux Accessories manuals

Markilux
Markilux 990 User manual

Markilux
Markilux 6000 User manual

Markilux
Markilux pergola 110 User manual

Markilux
Markilux 6000 User manual

Markilux
Markilux 790 Quick start guide

Markilux
Markilux Syncra uno User manual

Markilux
Markilux 869 User manual

Markilux
Markilux 710 User manual

Markilux
Markilux 1700 User manual

Markilux
Markilux 779 User manual