7061405
markilux Awnings
Important Information
1
20/04/10
1.
Who is allowed to fit markilux Awnings?
The markilux fitting instructions are intended for qualified fitters, who have experienced knowledge in the following fields:
•Work safety, operating safety and regulations for the prevention of accidents
•Handling ladders and scaffolding
•Handling and transport of long, heavy components
•Handling tools and machines
•Attaching fastening materials
•Assessment of the construction material
•ommissioning and operation of the product
If one of these qualifications is lacking, a specialist installation firm must be commissioned.
Electrical work: Electrical installations must be carried by a qualified electrician according to VDE 0100. The installation instructions enclosed with the electrical devices supplied
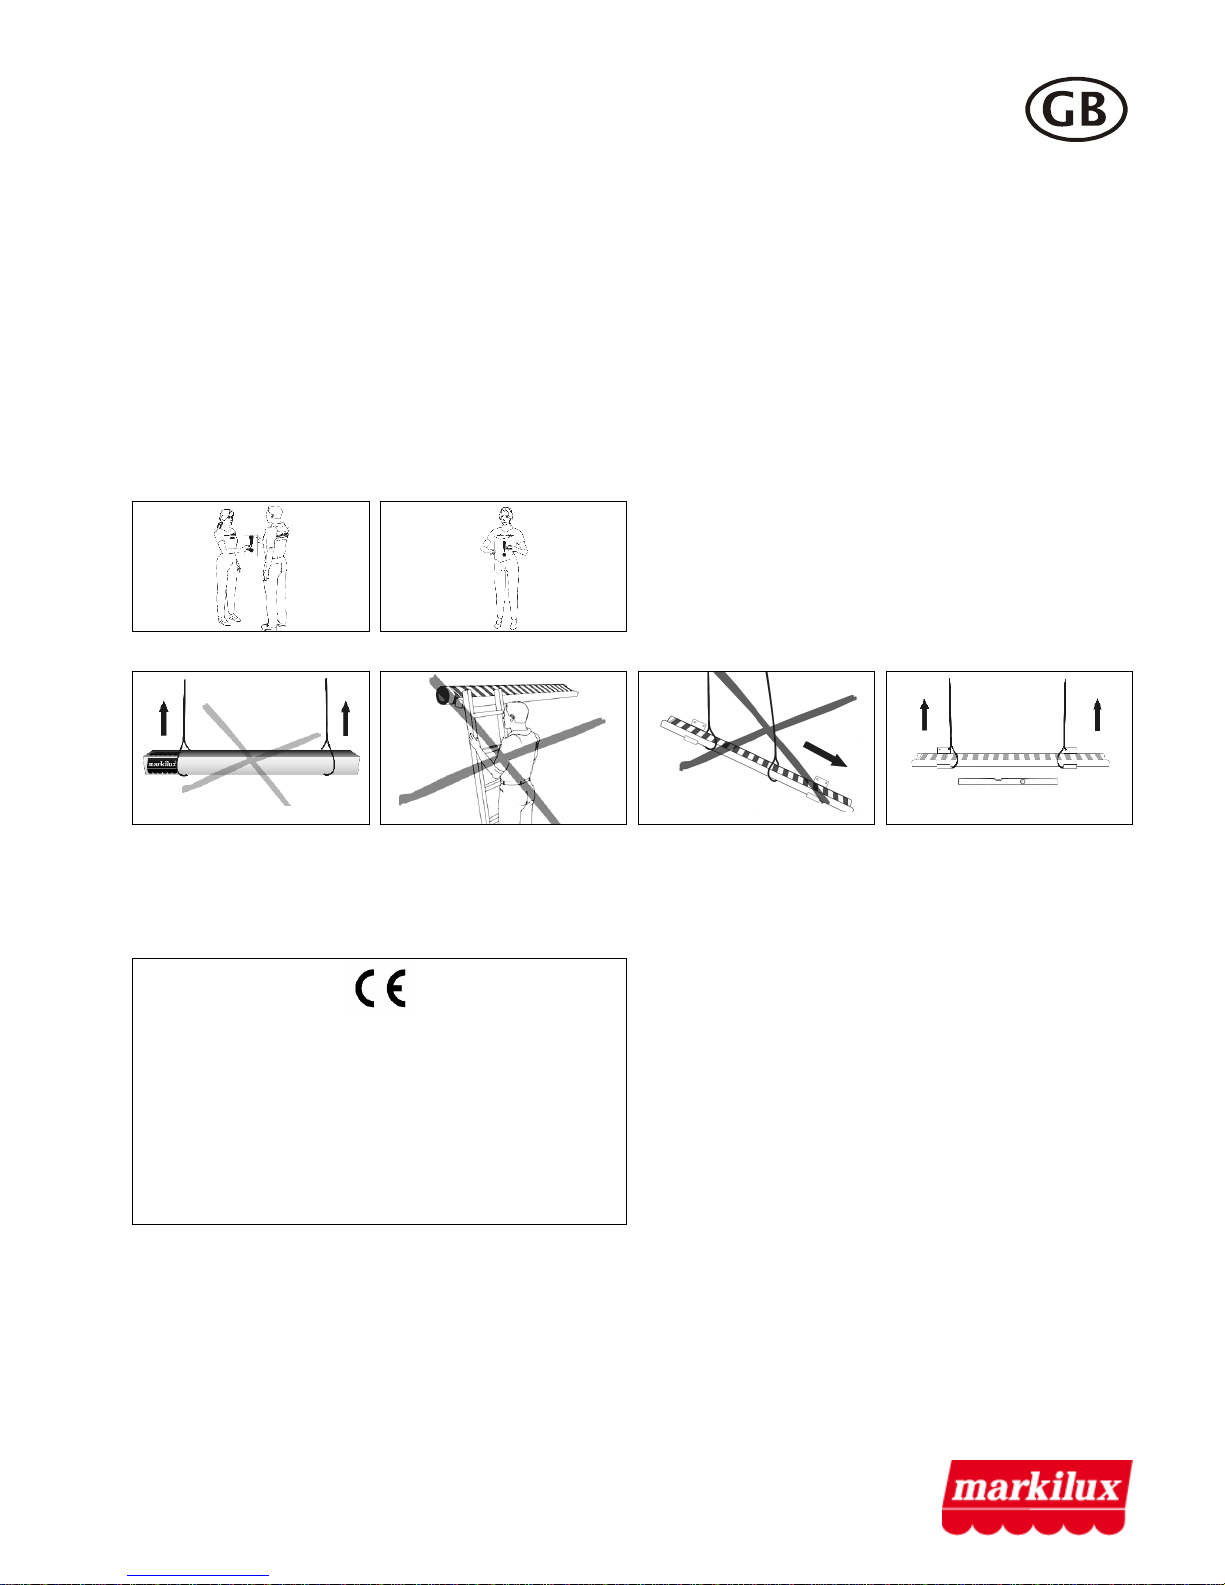
are to be observed. It is recommended that fitting is performed with at least two persons, for larger awnings with three.
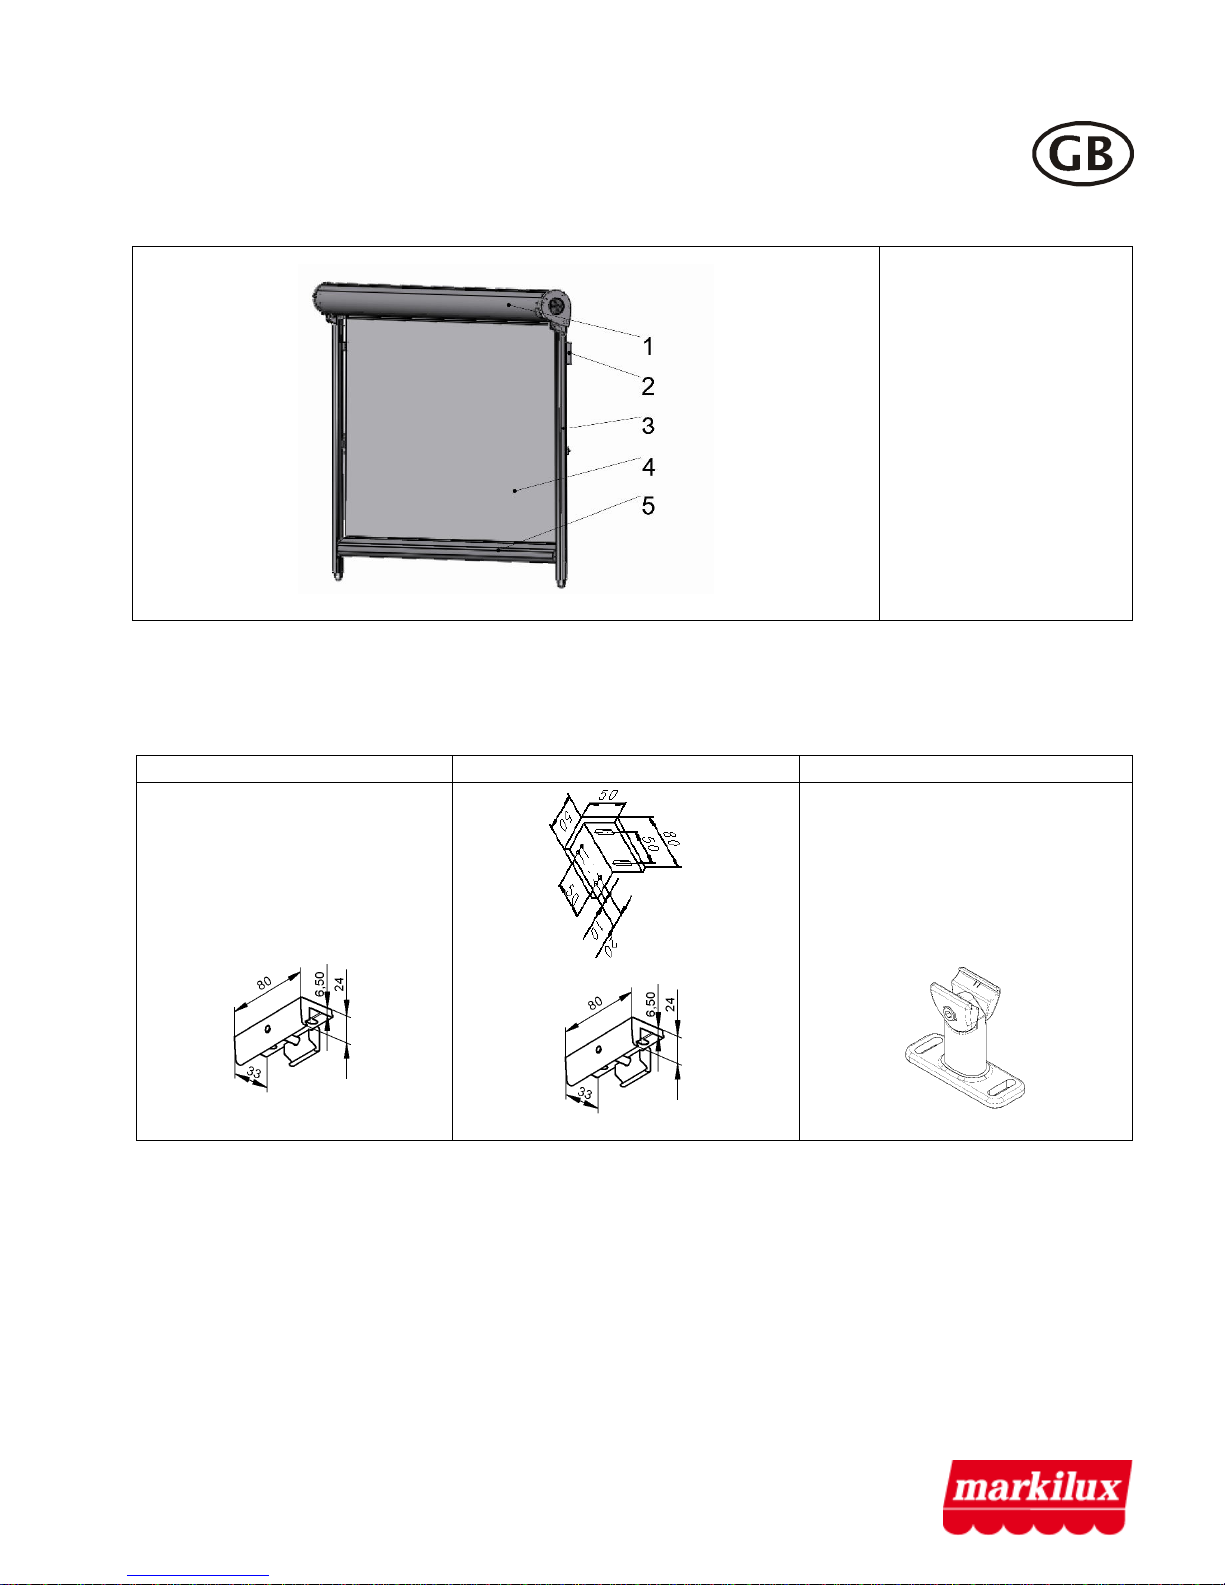
2. Before beginning with the installation, it is to be checked,...
•... whether the fitting fixtures supplied correspond in type and number with the order ,
•... whether the specifications made with the order concerning the fastening background correspond with the actual fastening background at hand (only for folding-arm awn-
ings).
If divergences are determined herewith, which impair safety, then the fitting may not be carried out.
.
Reading and passing on the instructions
The safety and fitting instructions as well as the operating guides are to be read and
observed!
The markilux operating guide, as well as the setting instructions of the motor, switch and
controller manufacturers are to be handed over to the user with a written confirmation
and fitted wind class (see handover declaration) He is to be comprehensively enlightened
about the safety and usage information of the awning. With non-observance and malop-
eration, the awning can suffer damage and accidents can occur.
4.
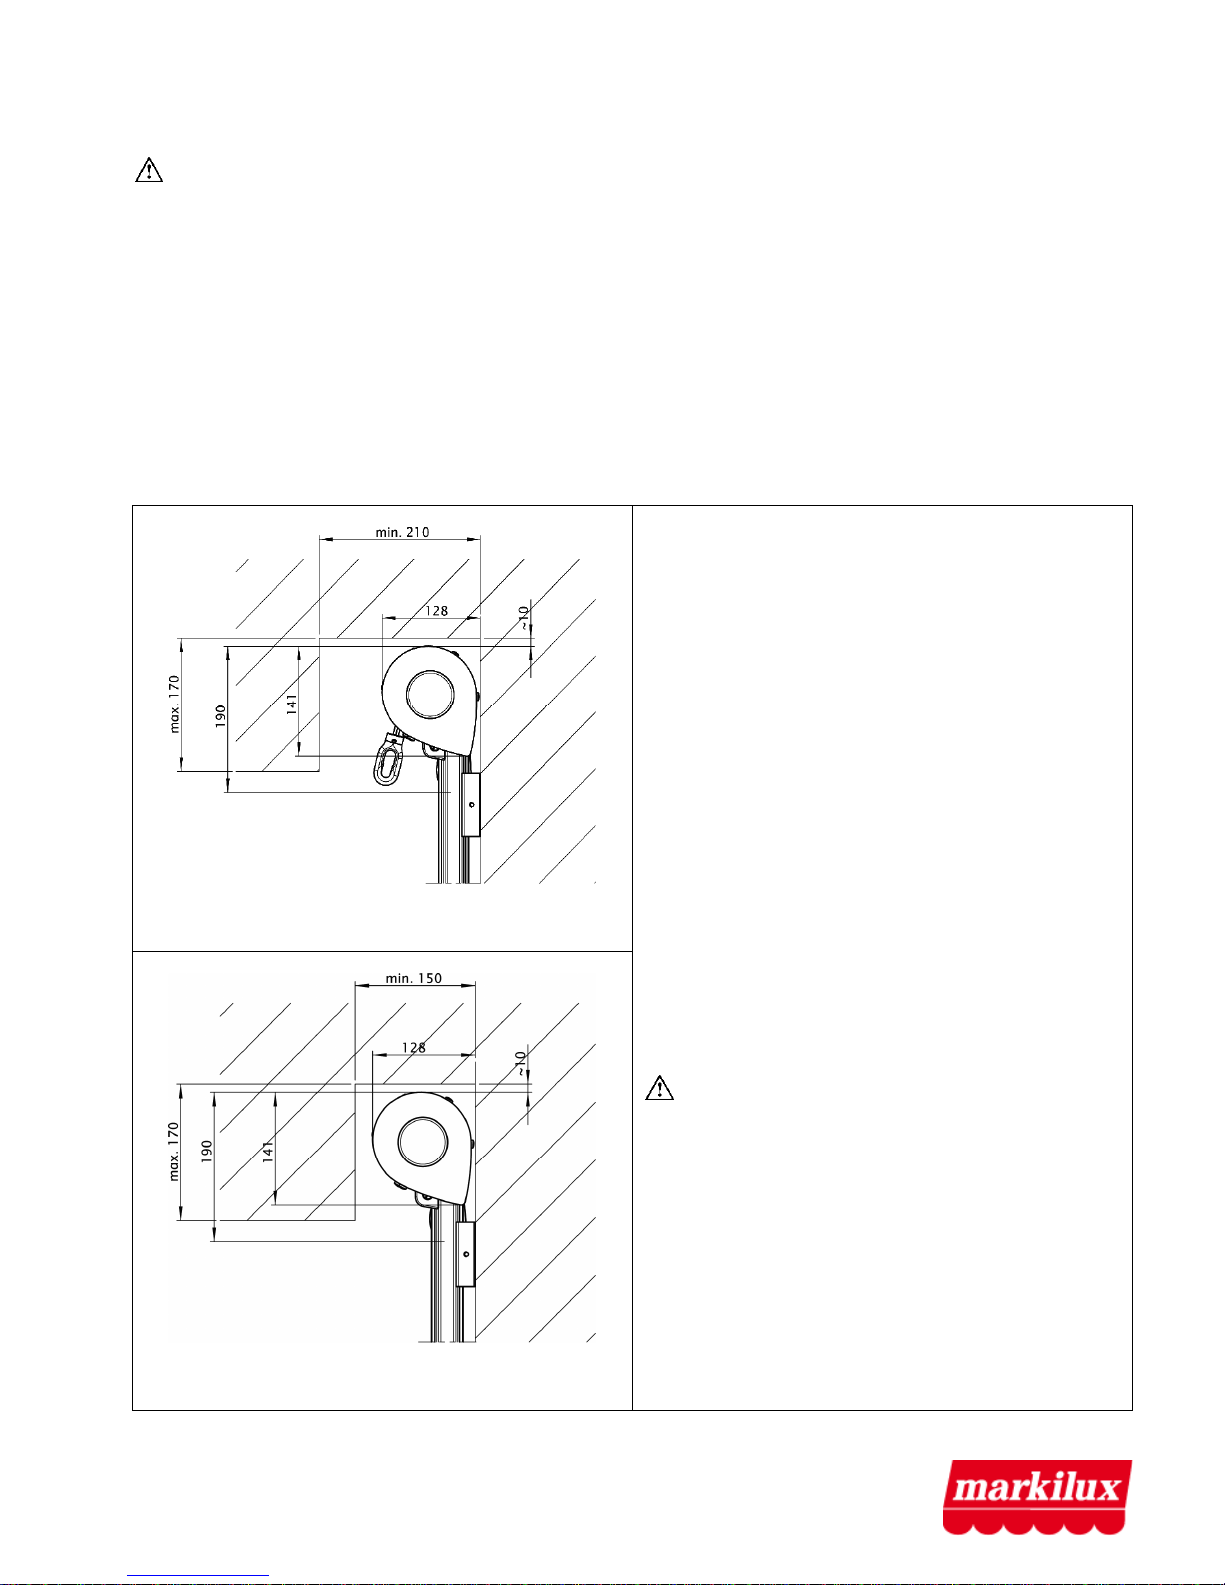
Working at greater heights
If the awning unit has to be hoisted to a higher area with the help of ropes, then the awning is
•to be removed from the packaging,
•to be connected with the lifting ropes in such a way, that it cannot fall out,
•to be pulled up evenly in a horizontal position.
The same also applies for the dismantling of the awning.
When working at greater heights, there is a risk of falling. Suitable climbing aids and appropriate fall safety devices are to be utilized.
5.
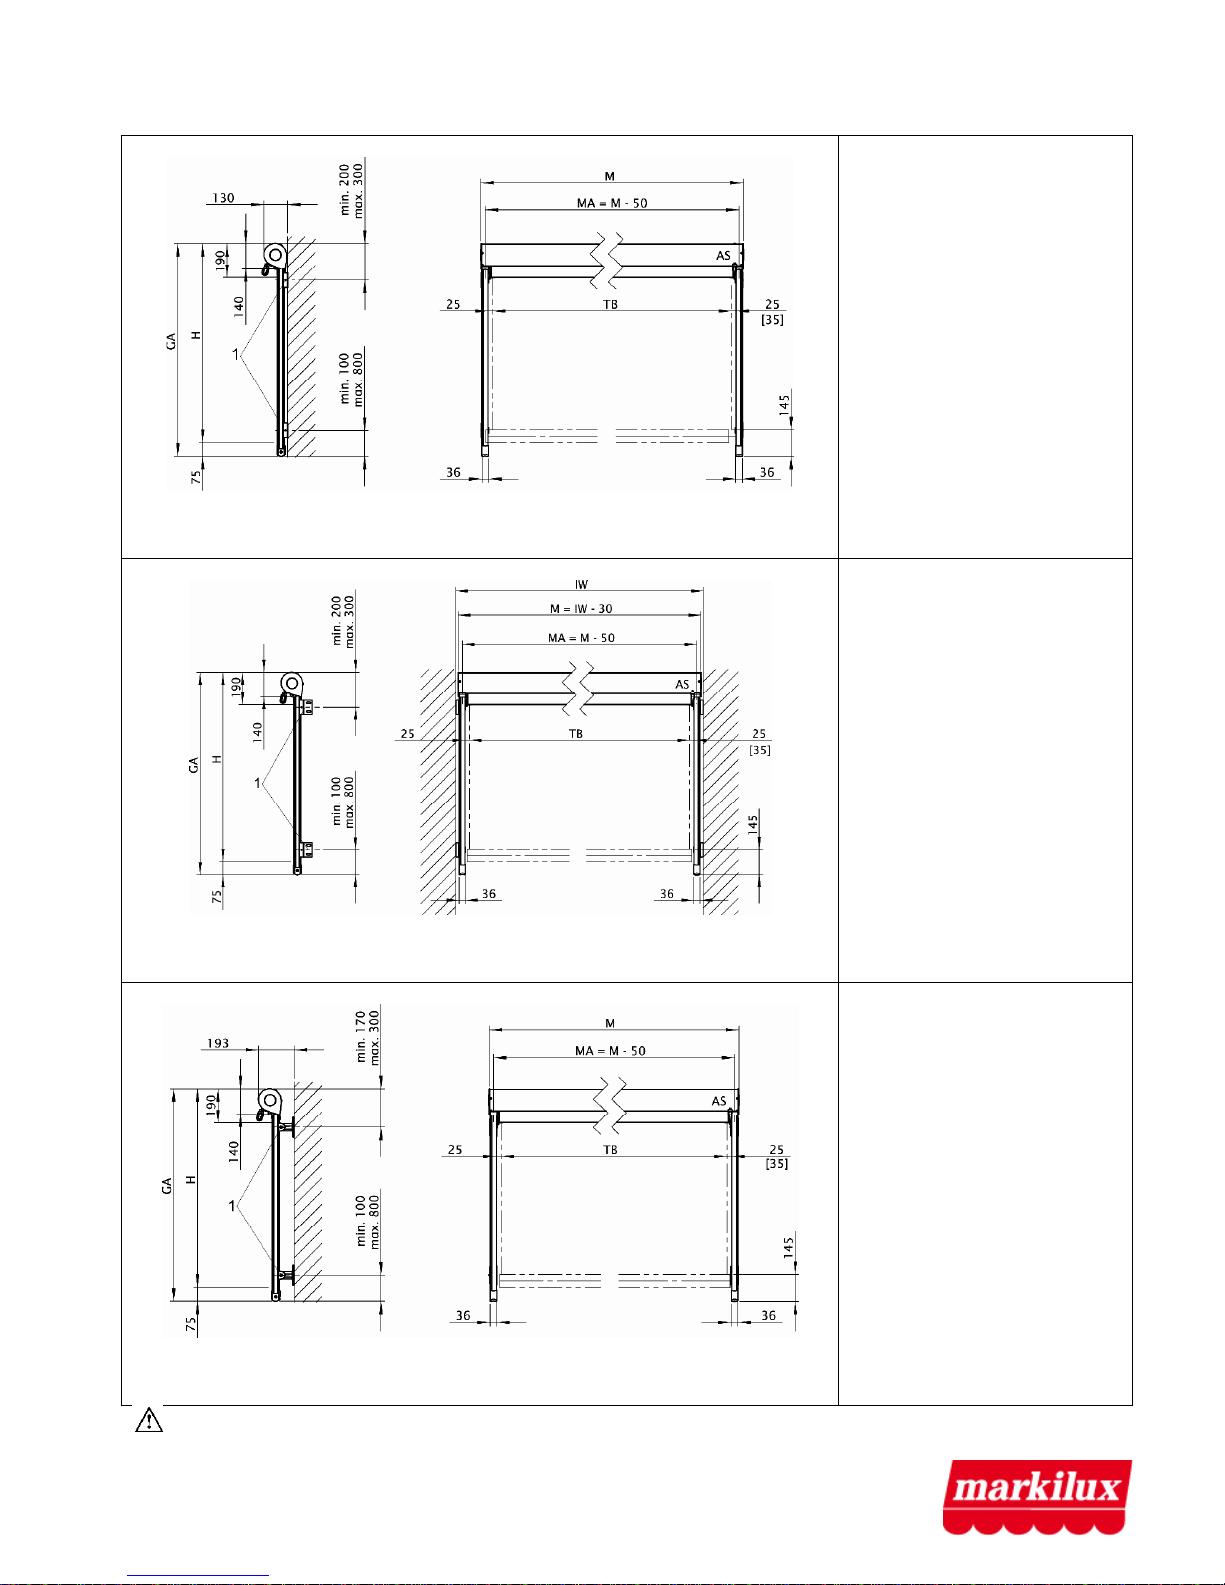
Wind Resistance Class
markilux
Schmitz-Werke GmbH & o. KG
Hansestraße 87
D-48282 Emsdetten
DIN EN 13561
Awnings for use on the outside of buildings
Wind resistance class 2
markilux folding-arm awning,
markilux 710/810, 720/820, 725/825, 750/850, 730/830, 791/891, 740/840,
745/845, 893, 8500, 869 (size-dependent)
Wind resistance class
markilux 760/860,780/880 und 8000, 869 (size-dependent)
pergola 100/200
The awning complies with the requirements of the wind resistance class specified in the
E-conformity symbol (see handover declaration). When fitted, it only complies with these
requirements, if
•the awning has been fitted with the type and number of brackets recommended by
the manufacturer,
•during fitting, the instructions of the fastenings manufacturer of the dowels used
have been observed.
For folding-arm awnings:
the awning has been fitted taking into account the dowel pull-out forces specified by the
manufacturer.