G1
Insert the U-bolt (C) through the pole (H) and cross bars (D).
Secure loosely using nuts(J) and caps(K). Repeat for the other
pole (H) and cross bar (D).
Insert the U-bolt (C) through the pole (H2) and cross bars (D1).
Secure loosely using nuts(J) and caps(K). Repeat for the other
pole (H2) and cross bar (D1).
To connect the roof frame together, spread out the assembled
components from step 1 and 2 (as per figure 3). Locate cross
bars (D & D1) and carefully join them together until you hear
a click. Repeat for all sections of the roof frame.
4.1. Locate brackets B1 & B3 and secure them to pole (H) and
cross bars (D) using bolt (E) and nut (J). Secure loosely
until all bolts are in position. Repeat for the other pole (H).
4.2. Locate brackets B & B2 and secure them to pole (H2) and
cross bars (D1) using bolt (E) and nut (J). Secure loosely
until all bolts are in position. Repeat for the other pole (H2).
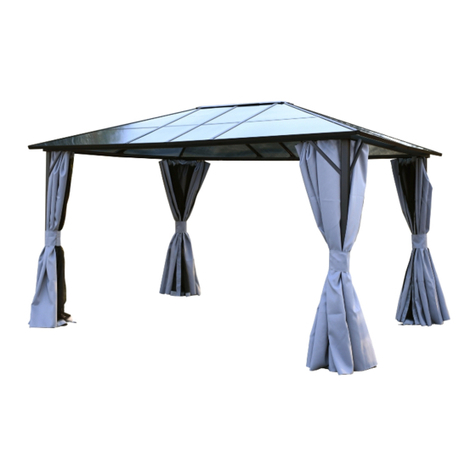
Locate the canopy(M) and secure the corners to the roof frame
using toggles (G1). The edges of the canopy can then be secured
using toggles (G).
Connect the feet(A) to all H1 poles and secure using bolts(F) and
caps (K). With the help of a second person, carefully insert each pole
(H1) into the assembled poles (H & H2) until you hear a click (refer
figure 6). Ensure all nuts are now securely tightened using the
spanner provided. Once you have your gazebo in the desired location
you can secure it by inserting the ground pegs(L) into the 4 feet (A).
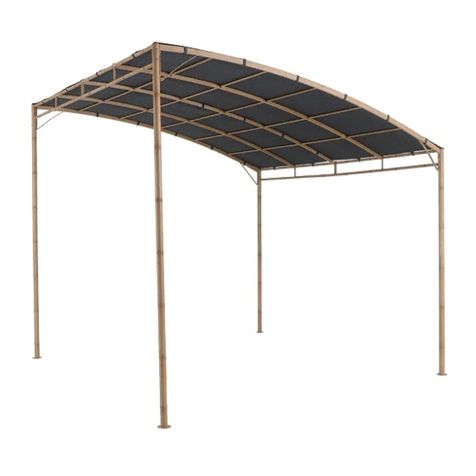
Your gazebo is now ready for use.
KF
Hole downwar ds
Attention! b all downwards
Attention!
ball downwar ds
Attention!
Hole downwar ds
Attention!
1
A


