Fitting the Collar on the Dog
1. Clean and brush the fur. Remove any remaining underfur.
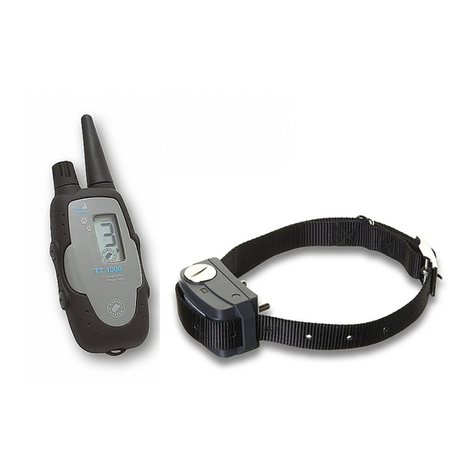
2. Position the Chameleon III B collar receiver under the dog's neck.
3. Adjust the strap properly.
•If the strap is too loose, the contact points will not be in contact with
the dog’s skin and the dog will not feel the stimulations.
•If the strap is too tight, the dog will have difficulty breathing.
4. Use the CMS (Contact Measurement System) to fit the collar as loosely
as possible while ensuring a good contact with the skin.
Checking the Collar Contact
The Chameleon III B collar receiver uses the patented Contact
Measurement System (CMS).
□
A LED on the collar indicates if there is a contact with the dog's skin for
a safe and effective training.
□
The CMS makes it possible to avoid any accidental overstimulation
when there is no direct contact (due to bridging electricity).
□
While the CMS is checking for contact, the LED lights flash quickly and
alternatively.
□
The CMS is active for 2 minutes after switching the collar on.
□
When there is correct contact, one LED blinks twice every 3seconds.
□
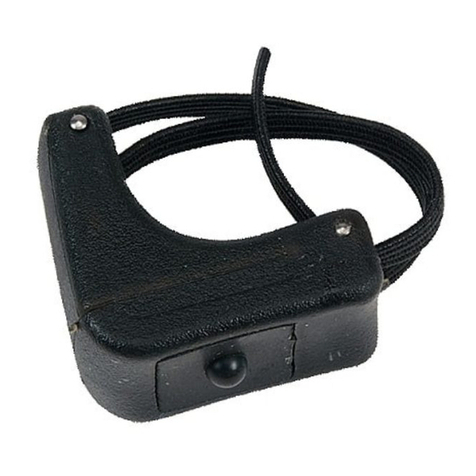
Press on any button on the transmitter or on the FingerKick to stop the
CMS.
10|Chameleon III B Collar Receiver - User Manual - EN - 1.0
Pairing the Collar Receiver with a Transmitter
If your Chameleon III B receiver comes with a transmitter, it is already
paired with it.
You can pair your Chameleon III B receiver with up to 4 transmitters or 4 ID
codes.
1. Position and hold the magnet (standalone or in the transmitter) next to
the ON/ OFF/ synchronizing point of the receiver.
2. Wait until the LEDs blink quickly and simultaneously.
3. Move the magnet away.
4. Within 10seconds, press the simulation button on the transmitter or on
the connected fingerkick.
5. Press the button again to make sure the pairing is done.
6. Press the stimulation button and check that the collar reacts.
Chameleon III B Collar Receiver - User Manual - EN - 1.0|11


