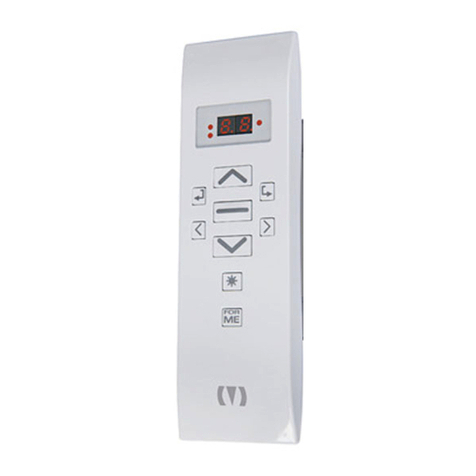
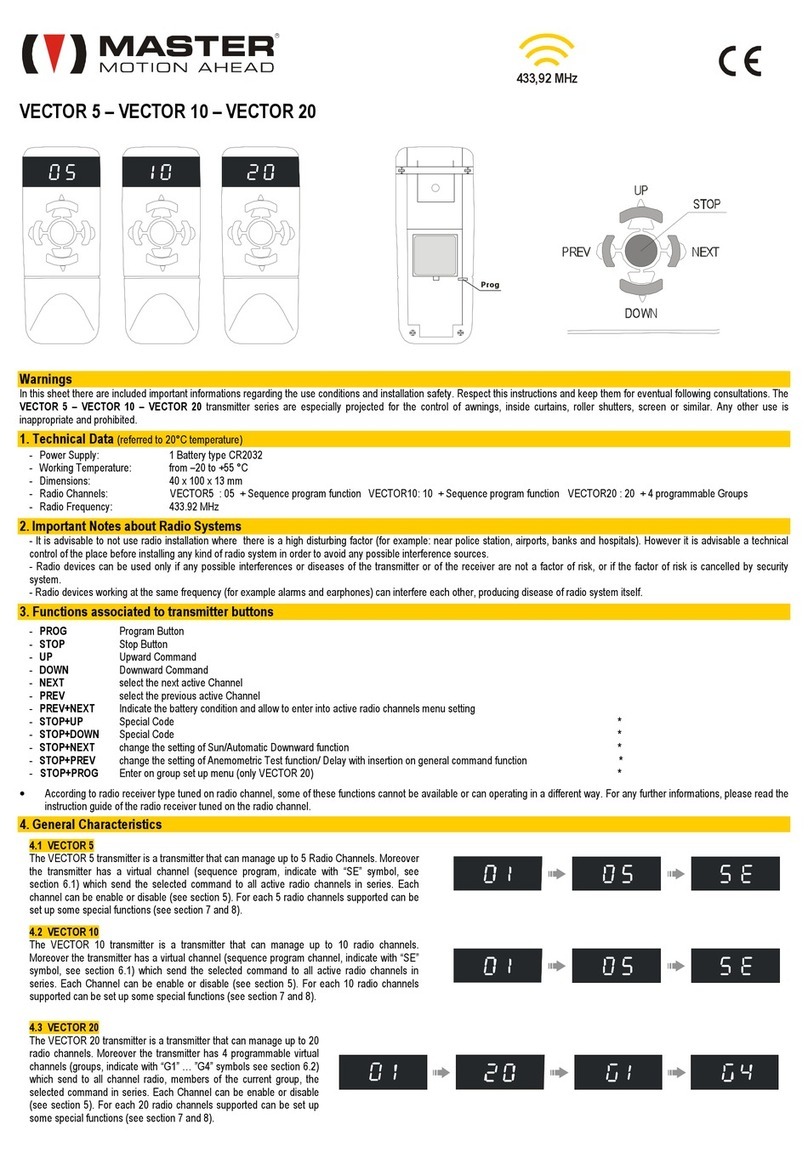
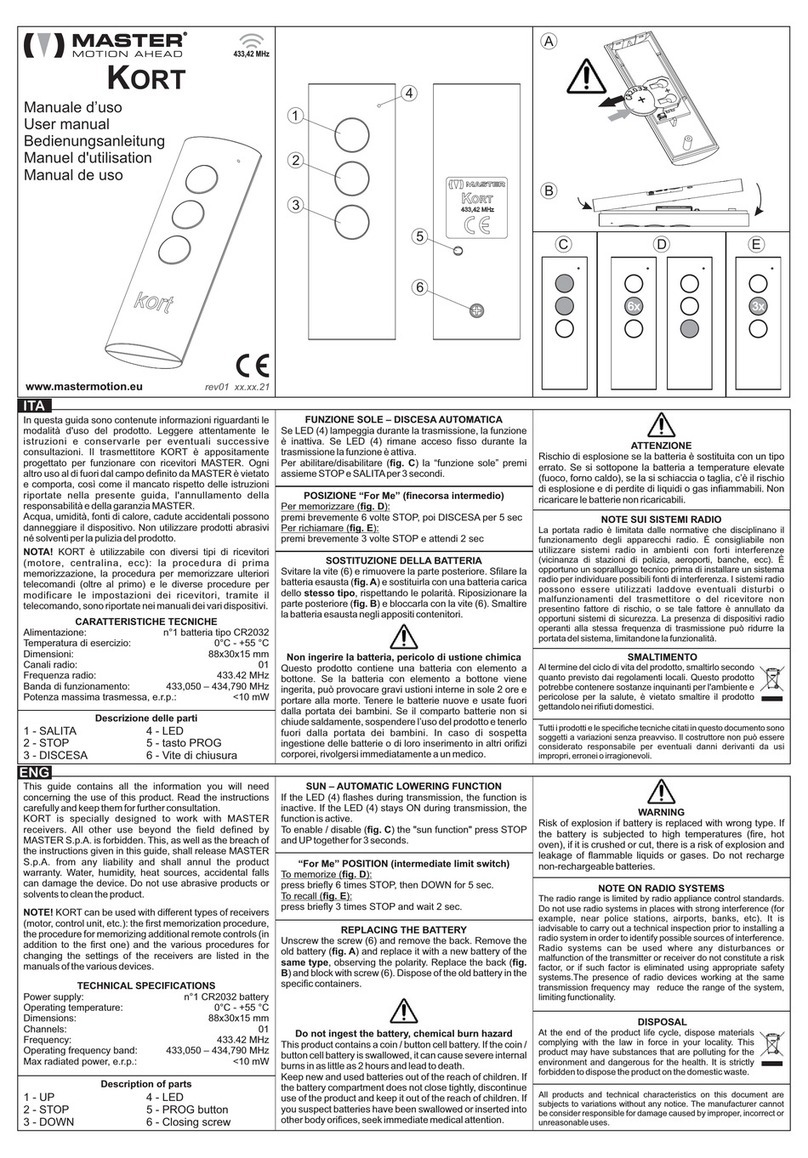
Master VECTOR 24 User manual

Page Description Function
h Hour Hour
d Day Day
c Channels Active channels
G1 … G8 Group 1 … 8 Groups 1 … 8
A1 … A8 Aggregate 1 … 8 Groups of groups 1 … 8
TIMER1 … TIMER6 Timer 1 … 6 Timed manoeuvre 1 … 6
Action Operation to perform
Enter in the programming menu Hold STOP and press PROG
Scroll the menu pages Press CH+ or CH-
Enter in the menu page Press STOP
Exit from the menu page Press STOP
Exit from the programming menu Press PROG
VECTOR 24
24 channels transmitter
1. WARNINGS
In this sheet there are important information concerning the use of this device and safety instructions for installation. Please follow these instructions carefully and keep them safely
for consultations at any time. The transmitter has been projected to control awnings, curtains, roller blinds, screen or other similar items, any other use is consider improper and
forbidden.
2. TECHNICAL CHARACTERISTICS
- Power supply: 2 batteries 3V types CR2016
- Working temperature: 0 °C ÷ +50 °C
- box: 40 x 100 x 13 mm
- Single channels: up to 24
- Weekly timers: 6
- Groups of channels: up to 8
- Groups of groups: up to 8
- Radio frequency: 433.92 MHz
3. NOTE SUI SISTEMI RADIO
- It is advisable to avoid using radio systems in area with strong interference (for example, near police stations, airports, banks, hospital). A technical inspection is in any case advisable
before installing any radio system in order to identify sources of interference.
- radio systems can be used where possible disturbance or malfunctioning of the transmitter or the receiver, do not pose a risk factor, or if the risk is cancelled by suitable safety
systems.
- The presence of radio systems operating on the same transmission frequency can cause interference problems and subsequently the malfunctioning of the radio systems.
4. COMMAND BUTTONS
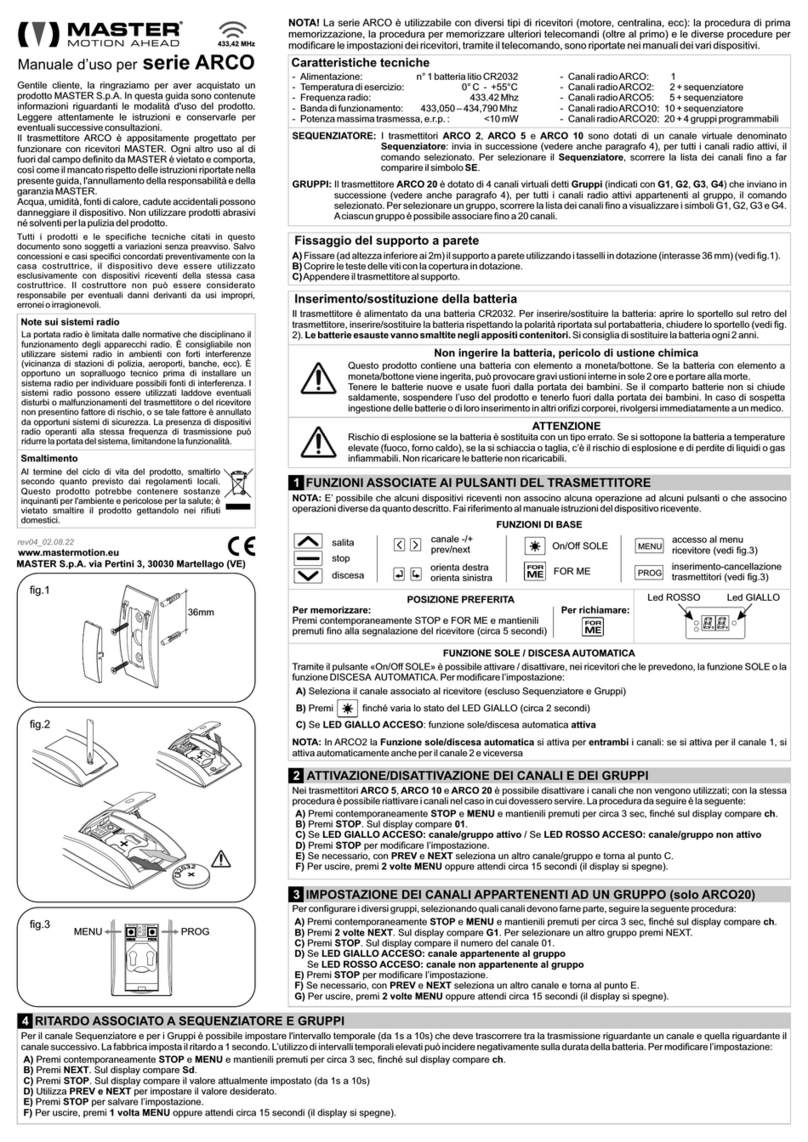
PROG program button
CH+ following channel selector
CH- previous channel selector
SETUP button to set the channel
▲upward command
▼downward command
STOP stop command
STOP + ▲special code
STOP + ▼special code
STOP + CH- activate/deactivate timers
STOP + CH+ activate “special channel function” menu
STOP + PROG activate the programming menu of the transmitter
5. BASIS FUNCTIONS
5.1 Turn on of the display
Briefly pressing any button, the display turns on visualising the current hour, the estate of the channels (active or deactive), the current channel and the corresponding setting. After
around 8 seconds from the last pressure the display turns off.
5.2 Channels selection
It is possible to select the channels through CH+ and CH-. Every pressure permits to visualise on the display the previous/following active channel. Holding one of the two buttons it is
possible to quickly scroll the active channels.
5.3 Transmission of the radio code
press the button corresponding to the manoeuvre to be commanded. on the display the channel and the manoeuvre will be visualise.
5.4 PROG
Pressing PROG a particular radio code will be transmitted. This code permits to program some parameters on the receiver device. For further details please check the receiver
instructions. When PROG is pressed on the display the current channel is visualised intermittently. PROG is active only for single channels.
5.5 Timers activation/deactivation
It is possible to set automatic commands through 6 weekly timers (see point 6.6). The automatic commands will be executed only if the transmitter works in the “TIMER ON” mode.
To pass from the “TIMER ON” to the “TIMER OFF” mode and vice versa:
-Holding STOP, press CH- and hold both buttons until the desired setting appears on the display. Then release the buttons.
6. PROGRAMMINIG MENU
Through this menu it is possible to set the main parameters of the transmitter. The menu is made up of the following pages:
To enter and move in the programming menu:
6.1 h (hour)
Press ▲/▼to set the current hour.
6.2 d (day)
Press ▲/▼to set the current day (0 = Sun, 1 = Mon, 2 = Tue, 3 = Wed, 4 = Thu, 5 = Fri, 6 = Sat).
6.3 c (active channels)
Each channel, group and group of group can be able or disable in order to adjust the transmitter for the real dimension of the system. Moreover for each channel it is possible to
choose the type of visualisation (“standard” or “meteo”) associated with the channel; if the receiver associated with the channel is a wind device or wind/sun device, the utilisation of
the transmitter will be easier if the "meteo" visualisation is chosen.
- Press
▲/▼to scroll the channels and find the desired channel.
- Press CH- to modify the channel estate. If “OFF” appears on the display the channel is disable. If “ON” is visualised on the display the channel is able.
-Press CH+ to modify the type of visualisation associated with the channel. If the “wind flag” appears on the display the "meteo" visualisation is active for the current channel.
6.4 G1 … G8 (group 1 … 8)
A group is a special channel and allows to associate together more single channels. For instance, if the channel 1 is associated with the kitchen roller shutter, and the channel 2 is
associated with the living-room roller shutter and you need a third channel which command both roller shutters, the possible solutions are:
a) Memorise channel 3 in both roller shutters. In this way when channel 3 is selected and a manoeuvre is commanded, both roller shutters recognise the code, and they will work at
the same time.
b) Set G1 group with channel 1 and channel 2. In this way, when group G1 is selected and a manoeuvre is commanded, VECTOR 24 will perform a transmission for channel 1 and a
transmission for channel 2. Moreover when the manoeuvre of both roller shutter is over, the transmitter will command another cycle of transmissions in order to avoid that the
receiver lose the transmission. If a system has many receivers, it will be more advantageous to create groups. To create a group:
- Press
▲/▼to scroll the channels and find the desired one.
- Press CH- to modify the channel estate. If “OFF” appears on the display the channel is not part of the group. If “ON” is visualised on the display the channel is part of the group.
6.5 A1 … A8 (groups of groups 1 … 8)
A group of groups is a particular channel which permits to associate single groups. For example if G1 group is associated with the kitchen roller shutters, G2 group is associated
with the living-room roller shatters, and you need a channel which commands both groups of roller shutters, the possible solutions are:
a) Memorise all the kitchen and the living-room roller shutters in an unutilised channel. In this way when this channel is selected and a transmission is commanded, all the roller
shutters will recognise the code and they will work at the same time.
R
433,92 MHz

Page Description Function
h1 Timer1 Hour Hour of execution of the timed
manoeuvre 1
d1 Timer1 Day Activation day of the timed manoeuvre 1
t1 Timer1 type command Manoeuvre to be commanded
c1 Timer1 Channels Channel of the timed manoeuvre 1
Command Description
▲Up
▼Down
STOP + ▲Special code (*)
STOP + ▼Special code (*)
F1 Function 1 (*)
F2 Function 2 (*)
b) Set the group of groups A1 with G1 group and G2 group. In this way, when A1 groups of groups is selected and a manoeuvre is commanded, VECTOR 24 will perform the
transmission for G1 and G2 channels. Moreover when the manoeuvre of both roller shutters is over, the transmitter will command another cycle of transmissions in order to avoid
that the receiver lose the transmission. To create a group of groups:
- Press
▲/▼to scroll the groups and find the desired one.
- Press CH- to modify the group estate. If “OFF” appears on the display the group is not part of the group of groups. If “ON” is visualised on the display group not part of the group of
groups.
6.6 TIMER1 … TIMER6 (timed manoeuvre 1 … 6)
The transmitter has 6 timers which permit to have timed commands with desired hour and day of the week. The transmitter has to be set on the working mode “TIMER ON” (see
point 4.5) in order to have the automatic manoeuvre. The following description refers to timer 1. The same is for the other 5 timers. In order to set timer 1 it is necessary to follow
these actions:
6.6.1 h1 (hour of execution of the timed manoeuvre 1)
- Press
▲/▼to set the hour.
- Press STOP to skip to the next menu.
6.6.2 d1 (day of execution of the timed manoeuvre 1)
- Press
▲/▼to select the day (0 = Sun, 1 = Mon, 2 = Tue, 3 = Wed, 4 = Thu, 5 = Fri, 6 = Sat).
- Press CH- to modify the timed manoeuvre estate for the selected day. If “OFF” appears on the display the timed manoeuvre is not engaged for the selected day. If “ON”
appears on the display the timed manoeuvre is engaged for the selected day.
- press STOP to skip to the next menu.
6.6.3 t1 (type of manoeuvre to be executed by the timed manoeuvre 1)
- Press
▲/▼until the command to be executed by the timed manoeuvre.
- press STOP to skip to the next menu.
6.6.4 c1 (channels to be served by timed manoeuvre 1)
- Press
▲/▼to scroll the channels until finding the desired one.
- Press CH- to modify the channel. If “OFF” appears on the display the channel is not associated with the timed manoeuvre 1. If “ON” appears on the display the channel is
associated with the timed manoeuvre 1.
- press STOP to skip to the main menu.
NOTA
- If the operator is using the transmitter when a timed manoeuvre should be performed, this manoeuvre will not be commanded.
- The activation timetable of the timed manoeuvre must have a break time of 1 minute at least.
- If during one timed manoeuvre execution the operator press any button the timed manoeuvre will be stopped.
7. SPECIAL FUNCTIONS
Some receiver devices compatible with this transmitter have special functions. Some of these functions can be managed through the transmitter using "channel special functions"
menu.
7.1 function “sun” / “automatic descent”
If the receiver device has the "sun" function or the "automatic descent" function, it is possible to activate or deactivate the function with the transmitter directly. The function is set
as "unable" by the producer. This function is set as "unable" by the producer for all the single channels (for groups and groups of groups this function is not available).
To activate/deactivate the "sun" function and the "automatic descent" function:
- press STOP and CH+ for around 2 seconds, “prog” appears on the display to signalise the entry into the "channel special function" menu.
- Press
▲/▼to scroll the channels in order to find the desired one.
- Press CH- to activate/deactivate the function (if the “SUN” symbol alight the function is active, if the “SUN" is not alight the function is deactivate). If in this visualisation the “SUN”
symbol is replaced by “M1” it is advisable to activate the "meteo" visualisation for this channel (see point 5.3).
- Press STOP to exit from the "channel special function" menu.
- Command an upward or a downward movement in order to check that the receiver device has received the radio command.
- When the device receives the signal it will learn the new setting.
7.2 “wind test " function/ “insertion delay on the general command”
If the receiver device has the “wind test" function or the “insertion delay on the general command” function, it is possible to activate or deactivate the function with the transmitter
directly. This function is set as "unable" by the producer for all the single channels (for groups and groups of groups this function is not available).
To activate/deactivate the " wind test " function and the " insertion delay on the general command " function:
premere STOP e CH+ per circa 2 sec, finché il display visualizza il simbolo “prog” per segnalare l’ingresso nel menu “funzioni speciali di canale”.
- Press
▲/▼to scroll the channels in order to find the desired one.
- Press CH+ to activate/deactivate the function (if the “M2” symbol is alight the function is active, if the “M2” symbol is not alight the function is deactivate).
Premere STOP per uscire dal menu “funzioni speciali di canale”.
- Command an upward or a downward movement in order to check that the receiver device has received the radio command.
- When the device receives the signal it will learn the new setting.
8. RESET OF THE SYSTEM
- Remove the batteries from the back of the transmitter.
- Holding STOP insert the batteries again. The “battery” symbol will start flashing.
- Still holding STOP and after 15 seconds “battery” symbol will remain light on.
- Release STOP. Remove the batteries of the transmitter and after some seconds insert them again.
9. BATTERIES REPLACEMENT
This transmitter is powered by 2 batteries, 3 Volts type CR2016. To replace them open the back of the transmitter and remove the expired batteries, replacing them with new ones.
Replace the back of the transmitter.
WARNING : explosion danger if the batteries are replaced with a different type. The expired batteries must be disposed in the special containers.
10. DISPOSAL
At the end of its durability life, dispose the transmitter following the the standards in force in your locality. This product may contain substances that are polluting for the
environment and dangerous for human health. It is forbidden to dispose the product with home rubbish.
________________________________________________________________
-All the products and the specific techniques inside this document are subjected to variations without notice.
-The device must be used only with receivers of the same manufacturer. Particular cases must be preventively arranged with the manufacturer.
-The manufacturer cannot be consider responsible for possible damages due to improper, wrong or unreasonable uses.
-MASTER declares that the device is conformed to the fundamental requisites and to the other foreseen dispositions by the law 1999/5/CE. The declaration of conformity is available on the web
site http://www.masterautomation.it/pagine/certificazioni.
(*) this operation
changes according to
the receiver.
Table of contents
Other Master Transmitter manuals
Popular Transmitter manuals by other brands

Extron electronics
Extron electronics XTP T HDMI Setup guide

ABB
ABB STT04 instruction manual

Utility Solutions
Utility Solutions XFMR-4BUSHING Operation manual

Canon
Canon Wireless File Transmitter WFT-E2 II A instruction manual

blukii
blukii Smart Key Go Mini manual

Rosemount
Rosemount 8732E Quick installation guide