MSC4RFA17 1 Rev. 08/04/17
MSC4RFA17
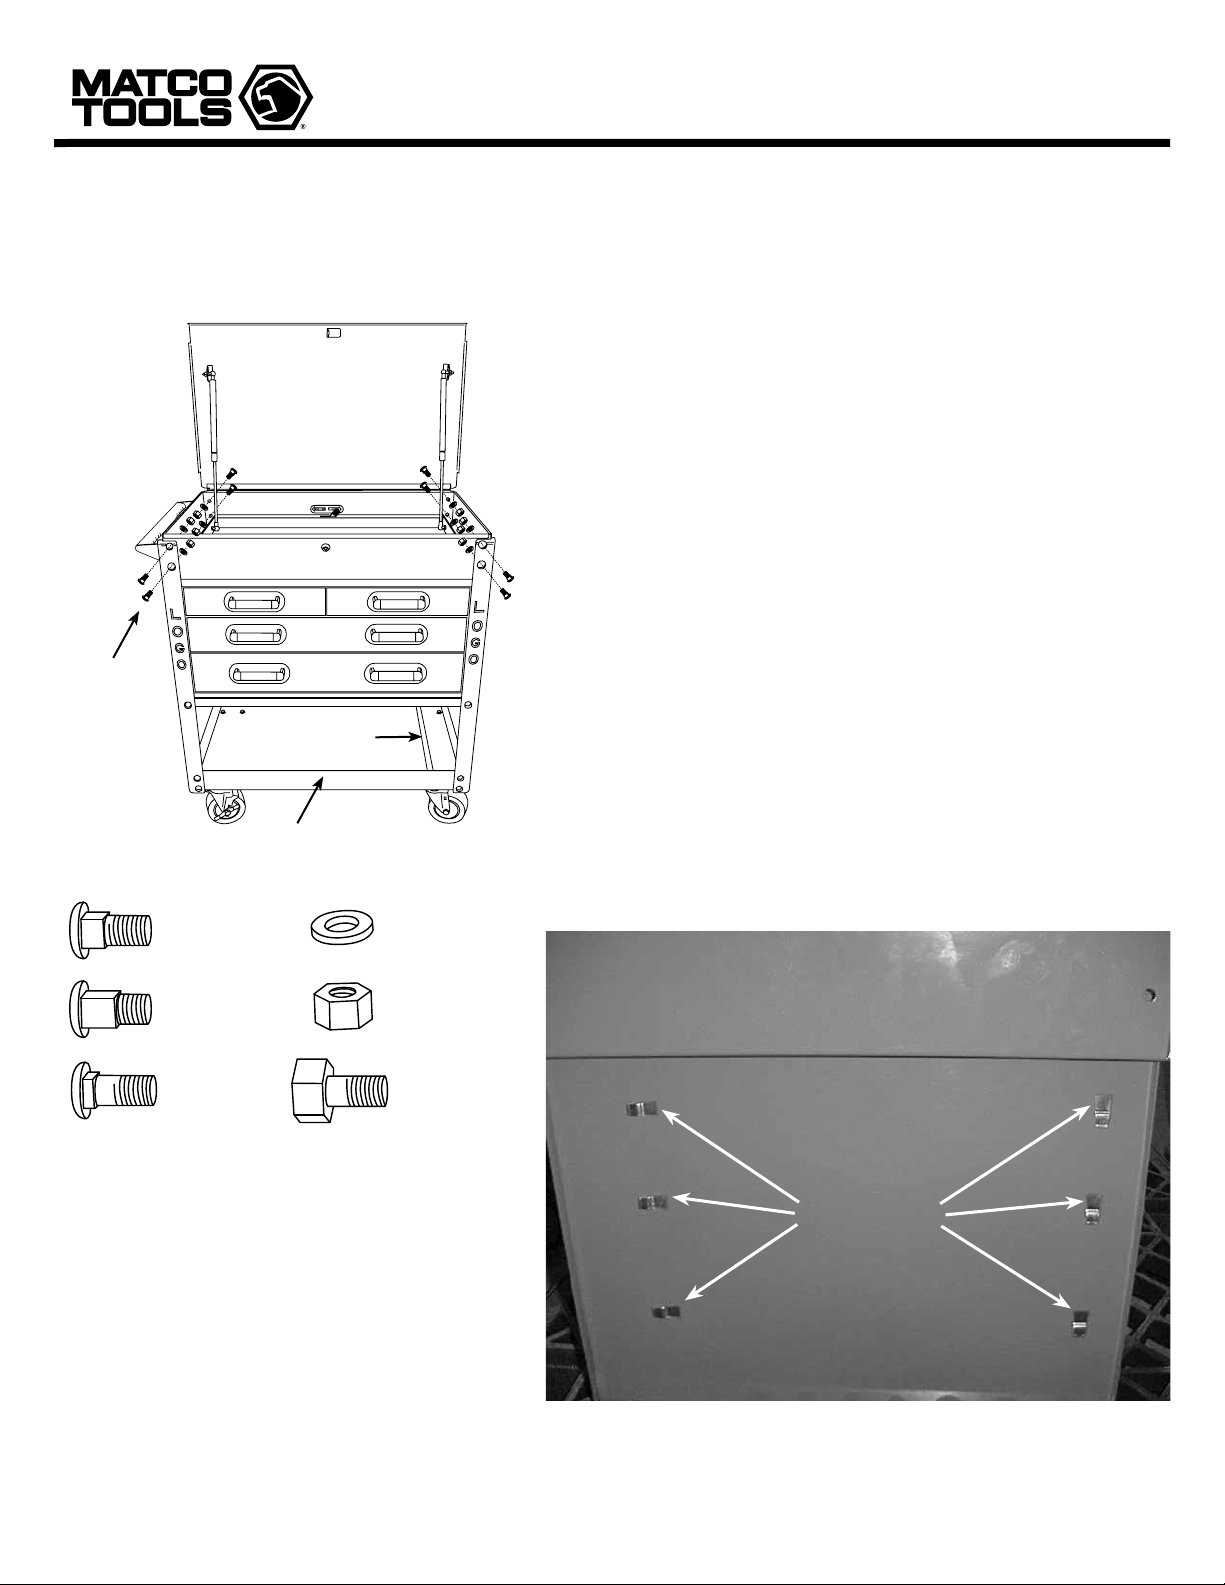
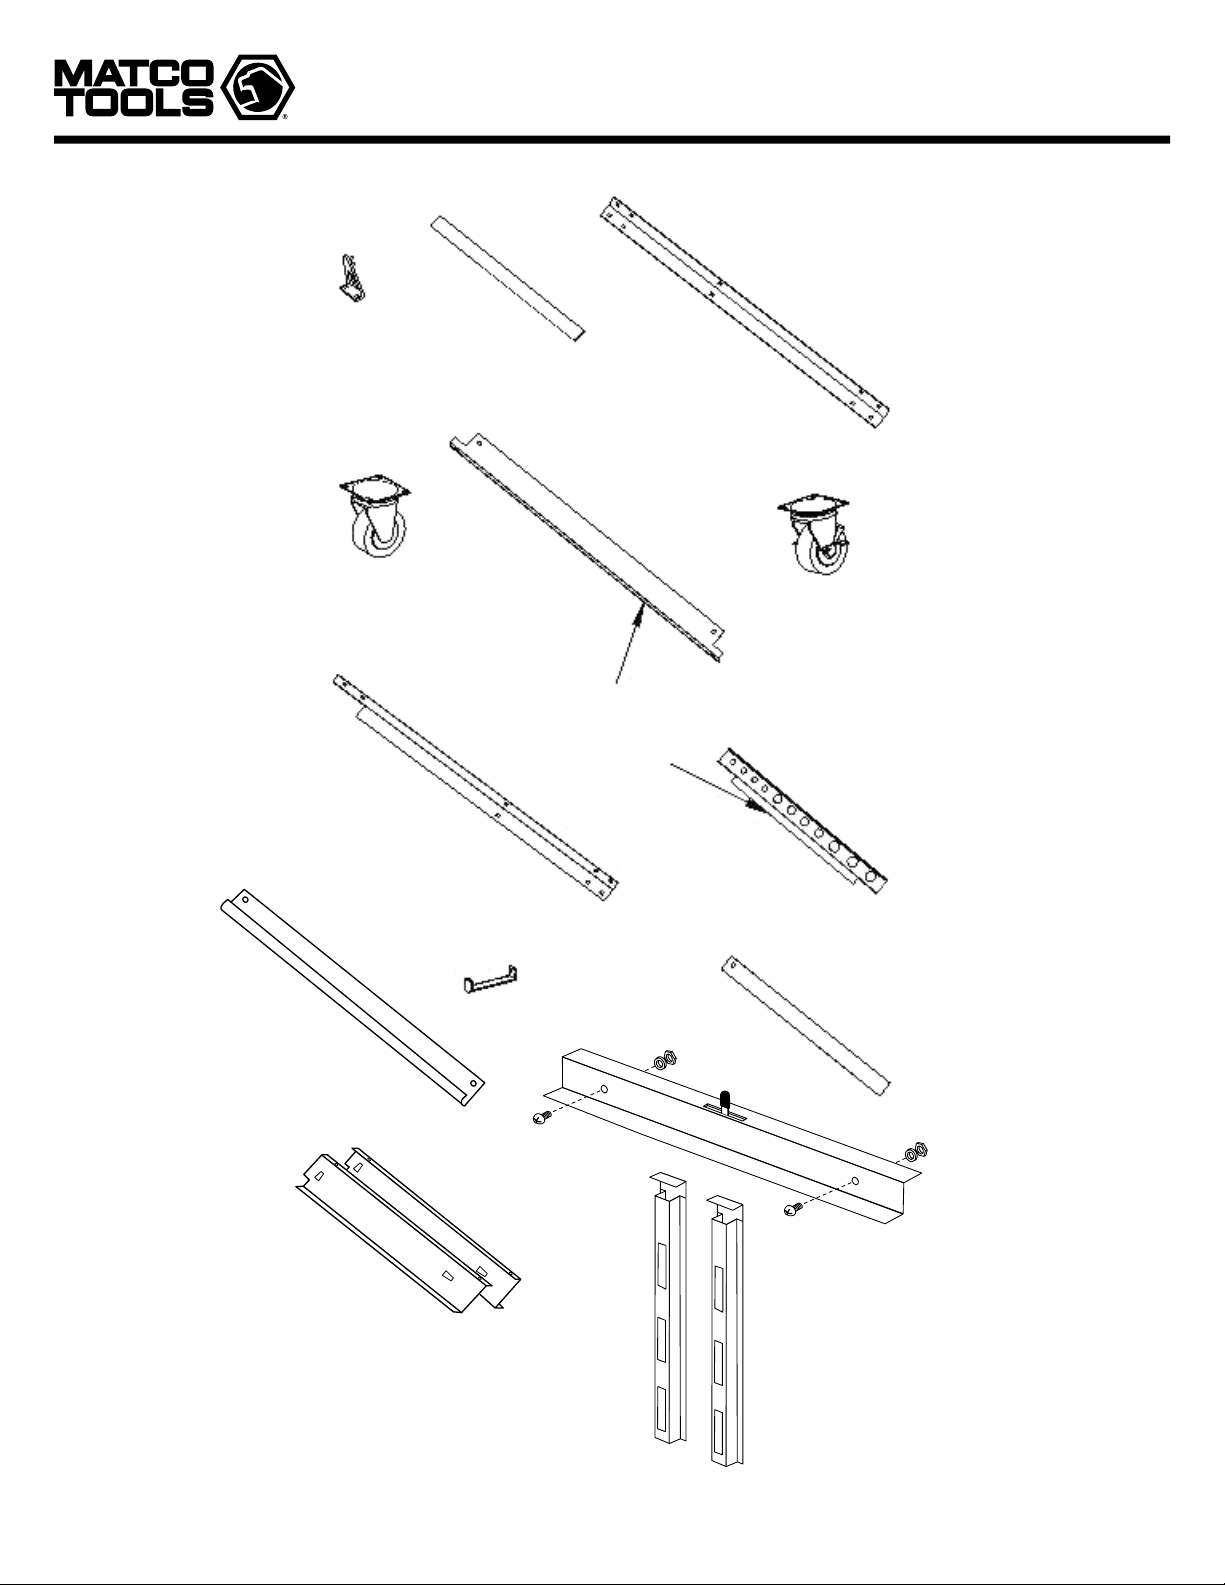
Deluxe Service Cart
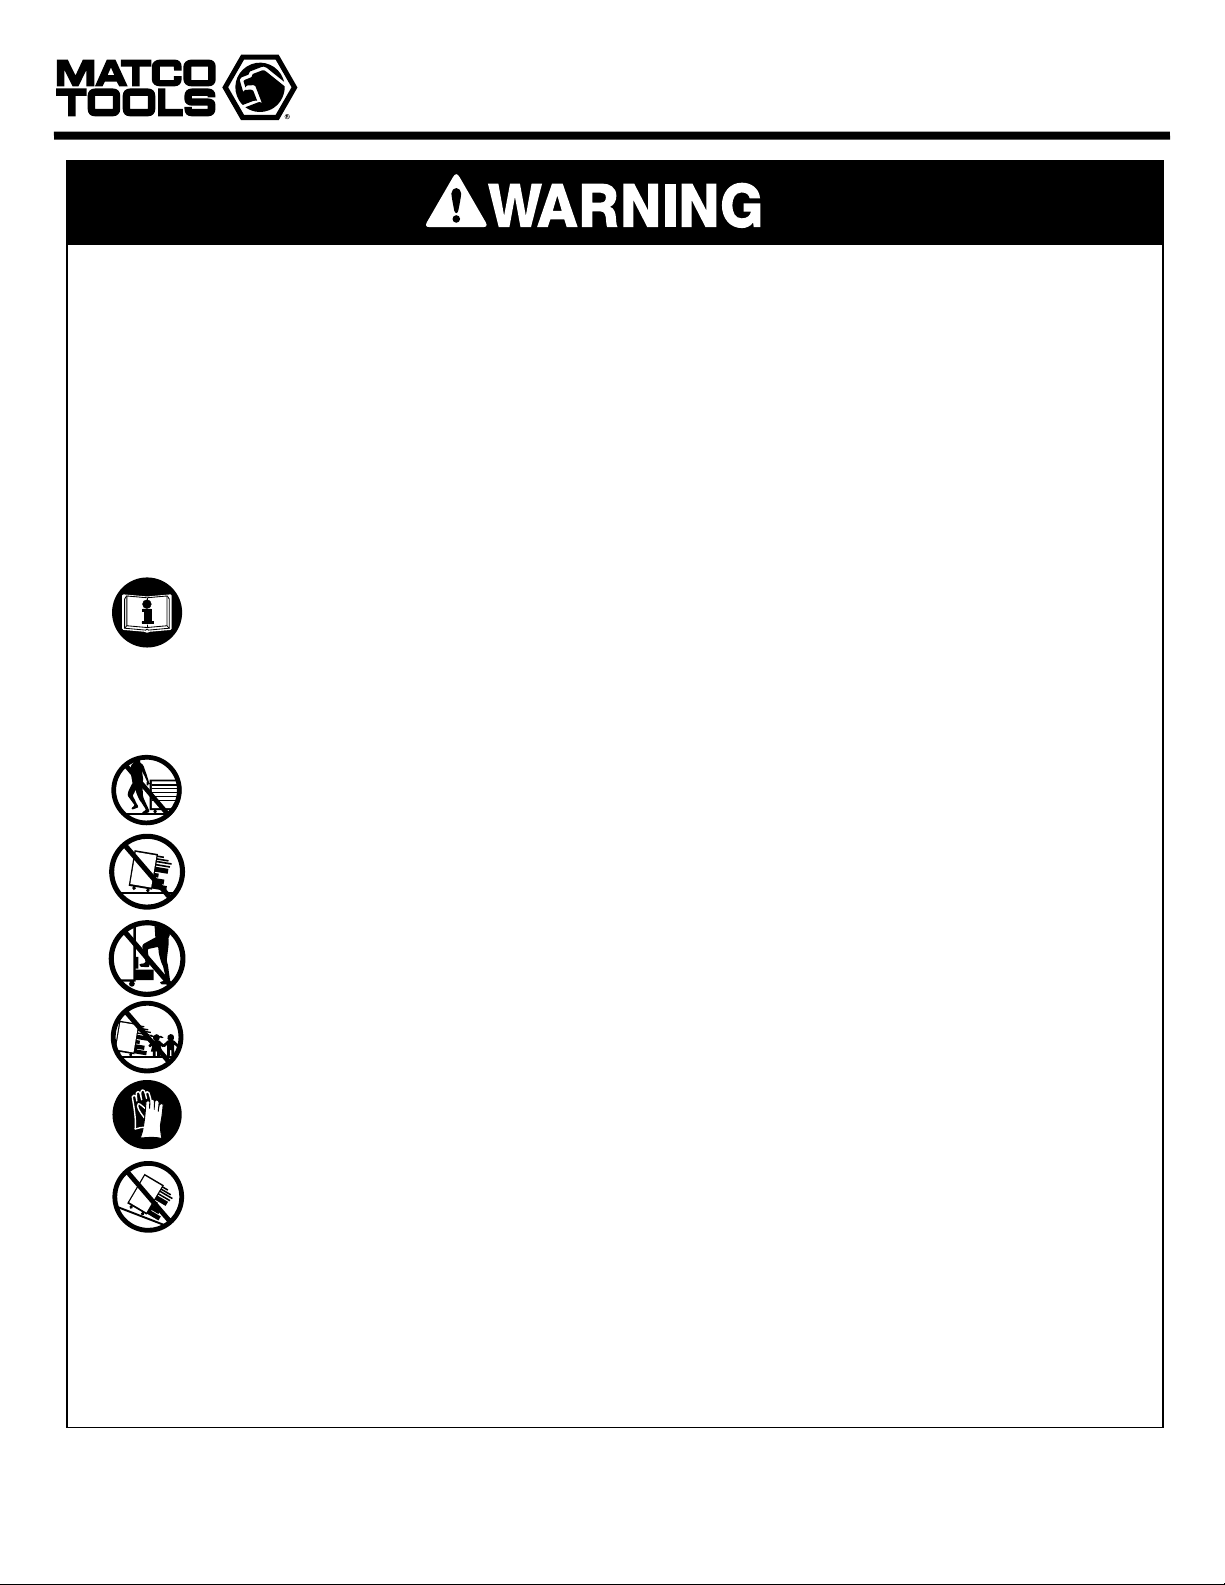
• Read and follow all instructions in User's Manual
• Do not load carts beyond rated capacity.
• Lock lid and drawers before moving.
• Apply brake on locking casters anytime cart is in place.
• Do not pull cart. Push from handle on end to move.
• Units can tip or fall causing damage or personal injury.
• Do not open more than one loaded drawer at a time.
• Do not stand on or step in drawers.
• Keep children away from unit.
• Wear gloves when lifting edges.
• Cart is designed to roll easily on flat surfaces and should not be used on
uneven or inclined surfaces.
• This product may contain one or more chemicals known to the State of
California to cause cancer and birth defects or other reproductive harm.
Wash hands thoroughly after handling.
• Failure to heed these warnings may result in personal injury
and/or property damage.
SERVICE CART WEIGHT CAPACITY
Total Net Load. . . . . . . . . . . . . . . . . . . . . . . . . 500 LBS
Top and Bottom Shelf ................150 LBS each
Small Top Drawers ...................30 LBS each
Center and Bottom Drawers ...........70 LBS each
It is the responsibility of the owner to make sure all personnel read this manual prior to using the device. It is also the responsi-
bility of the device owner to keep this manual intact and in a convenient location for all to see and read. If the manual or prod-
uct labels are lost or not legible, contact Matco Tools for replacements. If the operator is not fluent in English, the product and
safety instructions shall be read and discussed with the operator in the operator's native language by the purchaser/owner or
his designee, making sure that the operator comprehends its contents. PLEASE NOTE: Loading cart beyond rated capacity may
cause structural damage to the cart as well as personal and /or property damage. Please educate your customers to the dangers
of overloading.
Copyright © Professional Tool Products, 2017
All rights reserved