1
Introduction
This user guide describes how to use your MMI operating console for the
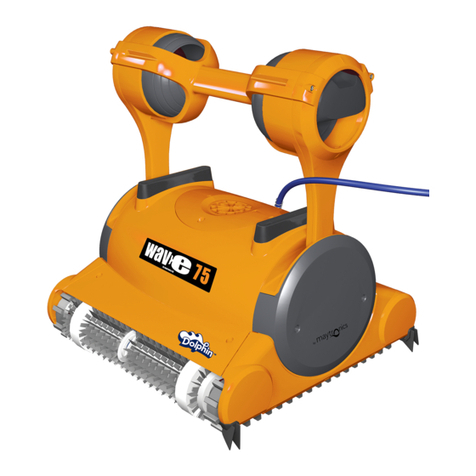
Dolphin Wave robotic pool cleaner. The interactive, state of the art MMI
control console enables full control of the robot and allows you to determine
the cycle time, operation delay, and cleaning scan that the robot performs. It
also enables diagnosis of various technical functions and parameters. The
console houses a remote control unit for manual operation and temporarily
overriding automatic cleaning operations.
The Dolphin Wave is designed to handle four different swimming pool
configurations and when these are set, the pool configurations are stored in the
MMI's memory. The robot is preset in the factory with specific default pool
settings, which can be reset. Please refer to the first Main Menu screen, Figure
7 and Customized Settings, page 7.
Dolphin Wave Caddy Assembly
Carefully remove all the items from the shipping box and check them against
the packing list.
You should have:
•Documentation and accessories
•Un-assembled Caddy for storing and carrying the Dolphin Wave robot
•MMI console
•Dolphin Wave robot and floating cable
•Filter Bags - 2 disposable bags assembled in the Wave robot, 20 additional
disposable bags , 2 permanent filter bags , 2 Permanent coarse filter bags
•Power supply unit
Assembly instructions
Refer to Figure 1
1. Attach the Caddy handle to the Caddy base and fasten with the screws and
nuts provided.
2. Place the Dolphin Wave robot on the Caddy in front of the power supply
as shown in Figure 1.
3. Place the coiled Dolphin Wave’s power cable on the Caddy’s cable
support bracket and remove the binding sticker.
4. Connect the MMI communication’s cable to the power supply unit.
5. Connect the Dolphin Wave floating cable to the power supply. Tighten the
connecting adaptor firmly to ensure proper electrical connectivity.
