Alarm Table ✔Operation continues
✘Operation stops
Fault
number
Problem description
on the display
Troubleshooting
on the display Remarks/potential cause of faultPressure
301 Air leak in system Check dressing for air
leak and if canister is
properly inserted.
302 System clogged Check that tubing is
clear, not kinked and
clamp open.
Check if canister is full.
305 Battery empty Charge battery
306 Canister full Change canister
311 Selftest failed Snap the canister out
and in again.
312 Pump in standby
Leak in System
Check dressing for air
leakage and if canister is
properly inserted.
313 Filter Clogged Change Canister
✔
✔
✔
✘
✘
✘
✘
Dressing:
- Check dressing for air leakage. Press firmly around the edges of the dressing,
around the drain tube or on the Transfer Pad.
- Apply some additional film dressing to seal the leaking area.
Connectors:
- Ensure that the tube connected to the dressing is connected properly to the Canister tube.
- Ensure that the canister tube is inserted straight into the pump.
Canister:
- Ensure that the canister is properly inserted, release the canister and reposition.
- Ensure that the O-ring / gasket, placed beside the canister tubing on the pump is not missing.
Additional O-ring is available via Medela customer service.
Tubing:
- Ensure that the tubing is not twisted, kinked or clamped.
- If the canister tube is clogged, change the tube.
Canister:
- If canister is full or filter clogged, replace canister.
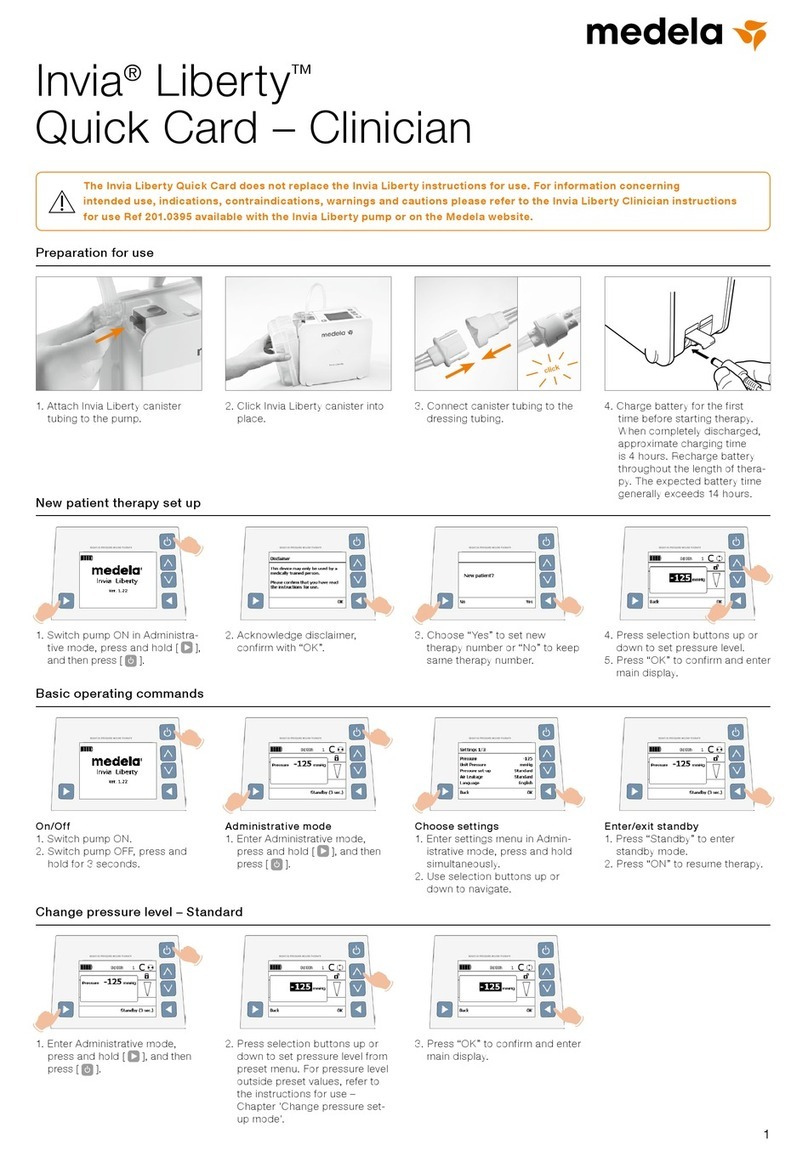
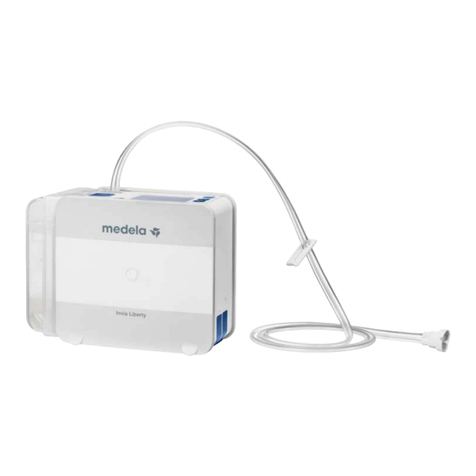
Recharge the battery either by placing the Invia Liberty Pump in the Docking Station or plug in
the charger to the electrical outlet port on the pump.
Remaining time of battery is approximately 15 minutes.
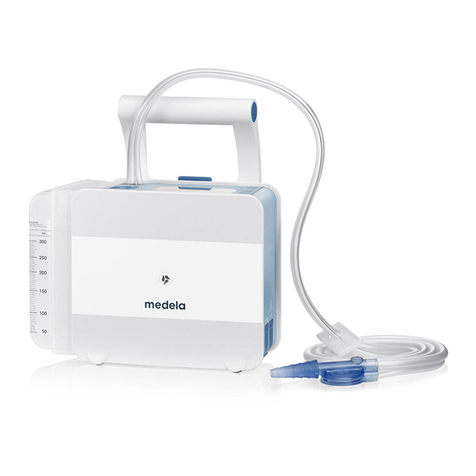
Change the canister, see chapter “Change Invia Liberty Canister and Invia Liberty Tubing”.
Canister:
- Release the canister and reposition.
Tubing:
- Ensure that the tubing is not twisted, kinked or clamped.
Dressing:
- Check dressing for air leakage. Press firmly around the edges of the dressing, around the drain
tube or on the Transfer Pad.
- Apply some additional film dressing to seal the leaking area.
Connectors:
- Ensure that the tube connected to the dressing is connected properly to the Canister tube.
- Ensure that the canister tube is inserted straight into the pump.
Canister:
- Ensure that the canister is properly inserted, release the canister and reposition.
- Ensure that the O-ring / gasket, placed beside the canister tubing on the pump is not missing.
Additional O-ring is available via Medela representative.
Change canister, see chapter “Change Invia Liberty Canister and Invia Liberty Tubing”
Alarm
Alarm Table ✔Operation continues
✘Operation stops
Fault
number
Problem description
on the display
Troubleshooting
on the display Remarks/potential cause of faultPressure
315
Acceptable internal
temperature exceeded
Switch pump off and on.
If problem persists, contact
Medela Customer Service
401 Battery low Charge battery
402 USB connection
not permitted
Unplug USB cable
405 Standby mode Switch pump on or off
406 Internal temperature
Remove the pump from the heat
source (e g. direct sunlight) or
remove any additional coverage
(e g. blanket).
Internal fault
Switch pump off and on.
If problem persists, contact
Medela Customer Service
✔
✔
✘
Recharge the battery either by placing the Invia Liberty Pump in the
Docking Station or plug in the charger to the electrical outlet port on the pump.
Remaining time of battery is approximately 30 minutes.
Unplug USB cable
If the pump is in Standby mode for more than 5 minutes, an alarm will go off.
To continue therapy press “On” [ ] or switch off the pump by pressing [ > 3 seconds ].
Cool Invia Liberty down.
Restart the pump. If internal fault remains, turn off by pressing [ > 3 sec. ] and
contact Medela Customer Service.
AlarmWarningInternal fault
Medela, Inc., 1101 Corporate Drive, McHenry, IL 60050
Phone 877-735-1626, Fax 815-307-8942
suction@medela.com www.medela.com
Medela AG
Lättichstrasse 4b
6341 Baar / Switzerland
www.medela.com
© Medela, Inc. 1908471 A 0914
