GSAFETY WARNINGS
■This instrument must only be used by suitably trained and competent persons.
■The circuit under test must be switched off, de-energised and isolated before insulation test connections are
made.
■Circuit connections must not be touched during an insulation test.
■After completion of an insulation test, capacitive circuits must be discharged before disconnecting the test
leads.
■Turning the instrument off, and manually discharging of circuits on completion of tests is recommended as
standard procedure, before touching the test leads.
■In certain circumstances, breakdown of the circuit under test may cause the instrument to terminate the test
in an uncontrolled manner, possibly causing a loss of display while the circuit remains energised. In this
event, it is even more important that the ‘ON/OFF’ key is pressed, and the circuit manually discharged
before touching any connections.
■Test leads, including crocodile clips, must be in good order, clean and with no broken or cracked insulation.
■The instrument should not be used if any part of it is damaged.
■Water on the surface of the instrument may lead to erroneous results. It is recommended that the instrument
is not used in wet weather conditions.
■This instrument is not intrinsically safe and must not be used in hazardous atmospheres.
SIMPLE OPERATION GUIDE
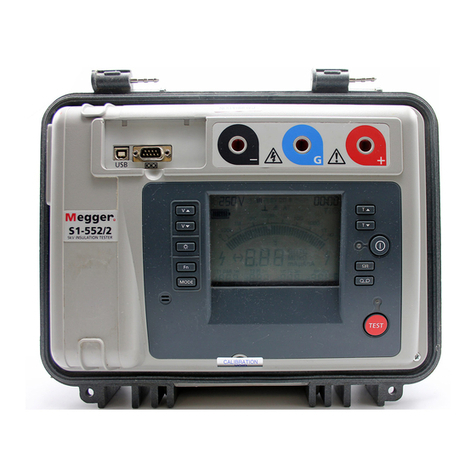
1. To charge the batteries, ensure the instrument is
powered off and connect the line input to a 100
- 240 V (±10%), 47 - 63 Hz power supply.
2. The instrument may be operated from charged
internal batteries, or an external supply, as
above, by powering the instrument on.
Charging will be discontinued.
3. Set the Test Type to Polarisation Index (PI
indicated) or Insulation Resistance (no
indication).
4. Set the Test Voltage as required. 500, 1000,
2500, 5000 and 10000 V are available. Press
both Test Voltage increase/decrease
simultaneously pressing the buttons at any time
during a test will display the pre-set test
duration.
5. Set the Test Duration to zero (manual
termination) or a period between 10 seconds
and 99 minutes 59 seconds by pressing the
Time increase or Time decrease buttons.
Selected duration is displayed. Pressing both
Test Duration increase/decrease
buttons simultaneously pressing the buttons at
any time during a test will display the pre-set
test duration.
6. Press and hold Test Start/Stop button until test
starts (approximately 2 seconds).
7. Press Test Start/Stop button to end the test, or
wait until the set duration has elapsed, when
the test will stop automatically.
8. Press ‘Display scroll’ to scroll through the
results display. The details available will depend
on the type of test previously performed.
For details of recording, downloading or deleting
test data see the full User Guide which is contained
on the accompanying CD.
Megger Limited
Archcliffe Road
Dover, CT 17 9EN
England
Part No. 6172-765 V01 Printed in England 10HH
www.megger.com
