Mesto RS 120 User manual
Other Mesto Paint Sprayer manuals

Mesto
Mesto 3130 Series Instruction manual
Mesto
Mesto 3552A User manual

Mesto
Mesto PICO 3232 User manual

Mesto
Mesto 3555B User manual

Mesto
Mesto FERROX PLUS 3565P User manual

Mesto
Mesto 3132 Series Instruction manual
Mesto
Mesto 3132 Series Instruction manual

Mesto
Mesto PROFI 3275 User manual

Mesto
Mesto EASY User manual

Mesto
Mesto 3598P User manual

Mesto
Mesto PRIMER 3237P User manual

Mesto
Mesto 3132 Series User manual

Mesto
Mesto PRIMER User manual

Mesto
Mesto CLEANER 3275PP User manual
Mesto
Mesto STABILUS 3541G User manual

Mesto
Mesto 3555B User manual

Mesto
Mesto FERROX 3565 User manual
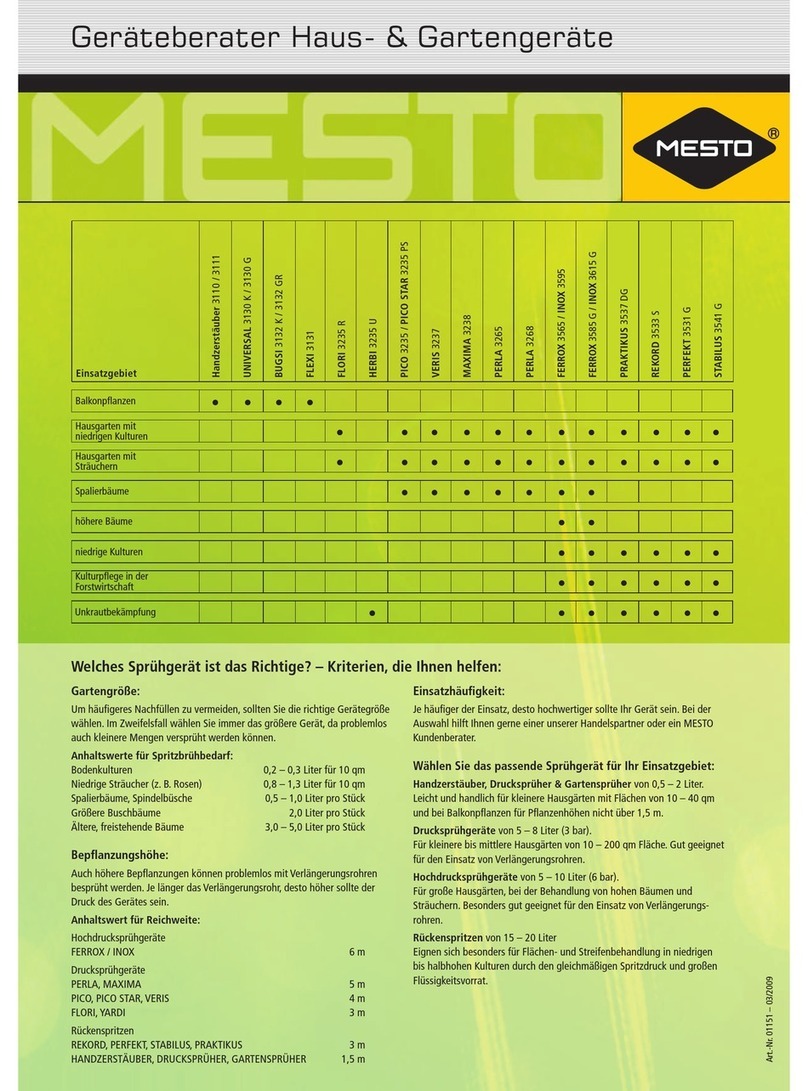
Mesto
Mesto HERBI 3235 U User manual
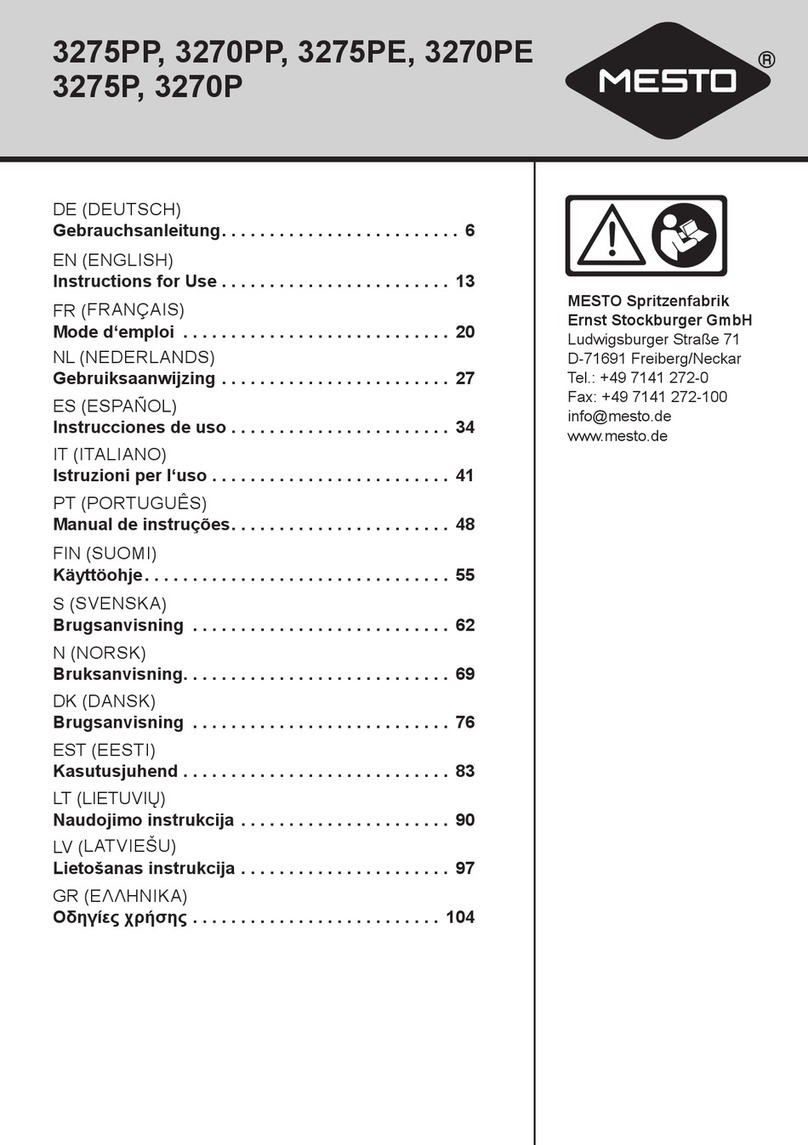
Mesto
Mesto CLEANER 3275PP User manual

Mesto
Mesto MAXIMA 3238 User manual
Popular Paint Sprayer manuals by other brands

zogics
zogics Z-DAS instruction manual

KISANKRAFT
KISANKRAFT KK-KBS-165 Operation manual

Matrix
Matrix SG 650 Translation of the original instructions

Anest Iwata
Anest Iwata SGA-3 Installation, use & maintenance instruction manual

paasche
paasche VV Instructions and parts list

Carlisle
Carlisle DeVilbiss JGA-510 Service manual

