5 | P a g e
INSTALLATION
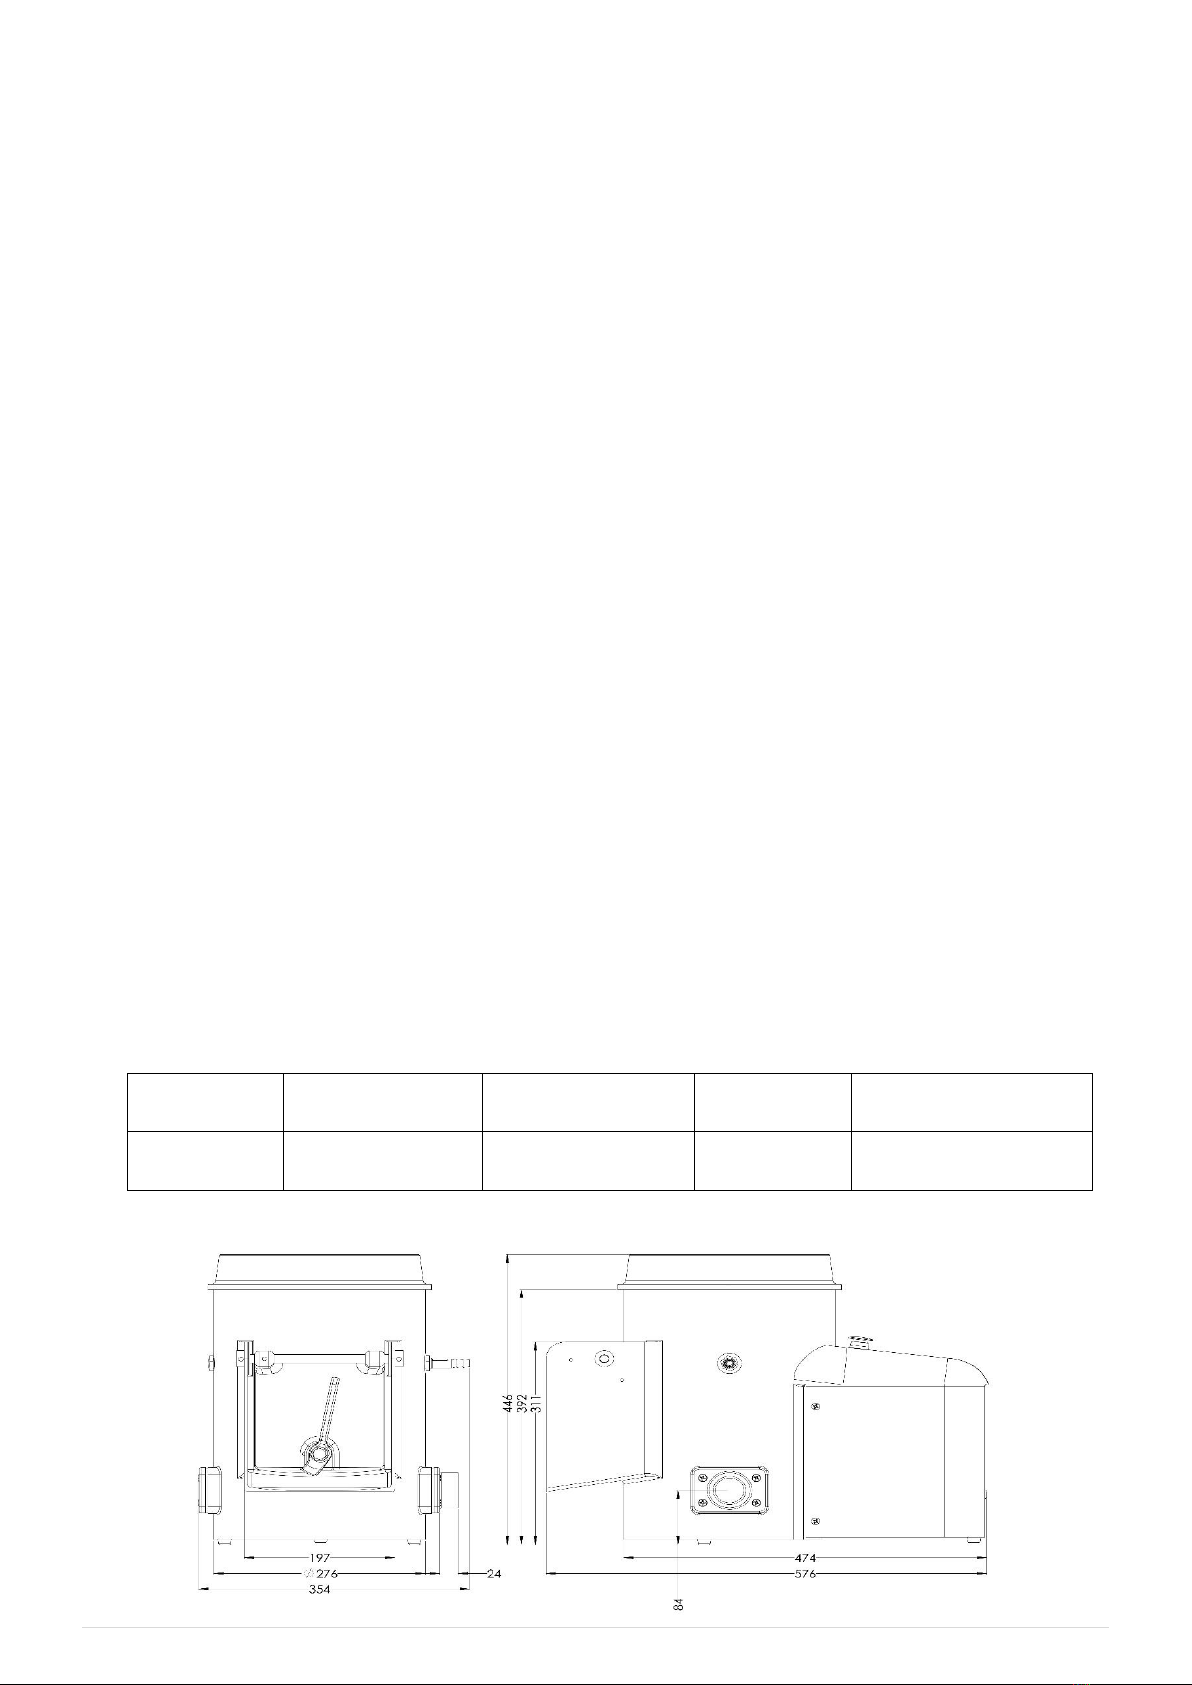
The machine should be placed on a bench/worktop or draining board with the
discharge chute overlapping a sink.
If supplied with a pedestal or trolley, see installation instruction on how to
securely fit to both the pedestal and trolley.
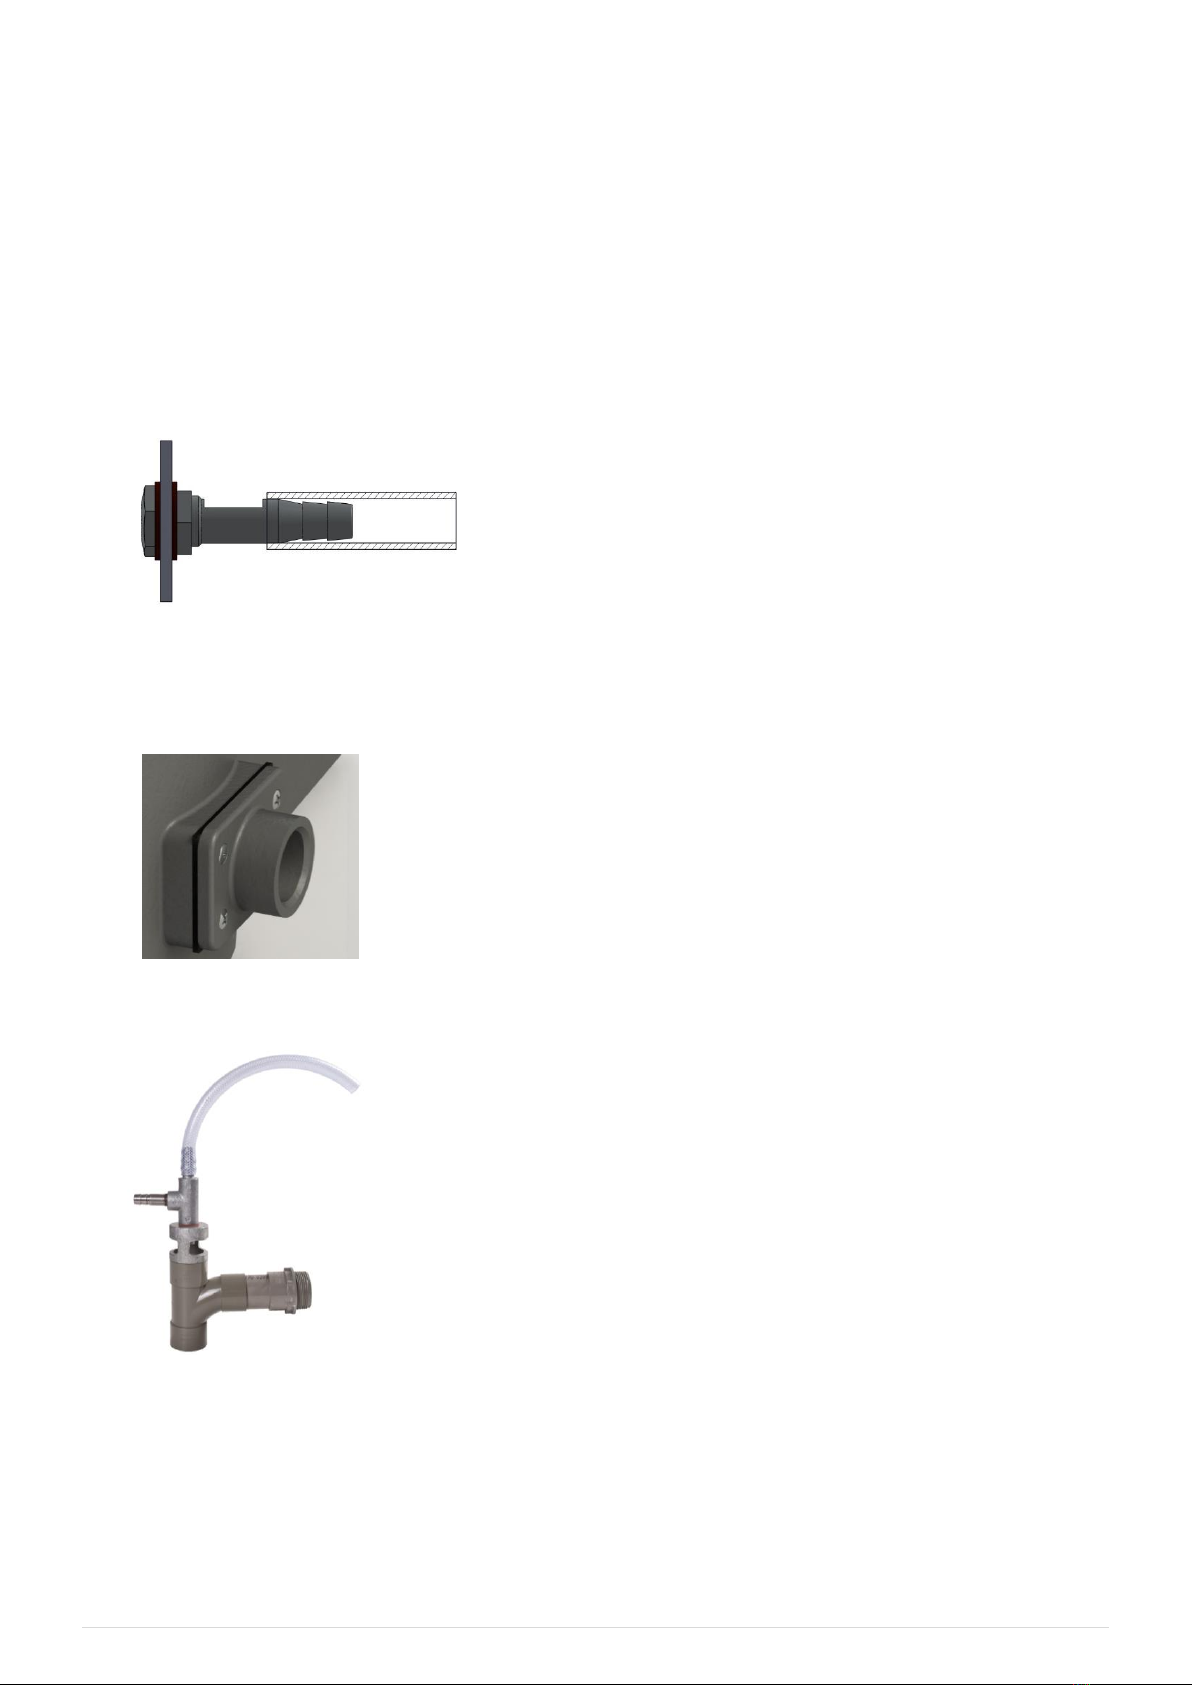
Water Supply
The water inlet nozzle connecter is supplied and fitted to the machine (on right-
hand side), and has two possible inlet locations on either side of the machine,
whichever is convenient for your particular
installation.
Connect the water supply pipe to the water inlet,
connect the other end of the supply pipe to a cold
water tap or shut off valve that can be used to
supply a sufficient water flow into the machine.
Waste Outlet
The waste outlet is screwed onto the right-hand side of the machine and but
can be used on either side of the machine to suit your particular installation.
Pipe work for the waste outlet can be purchased from a
hardware store, or we can supply as an optional extra a
waste pipe, elbow and coupling. This is to be fitted to the
waste outlet casting to discharge the waste into a sink.
Having connected the water inlet, waste outlet and the
electrical supply, the machine is ready for operation.
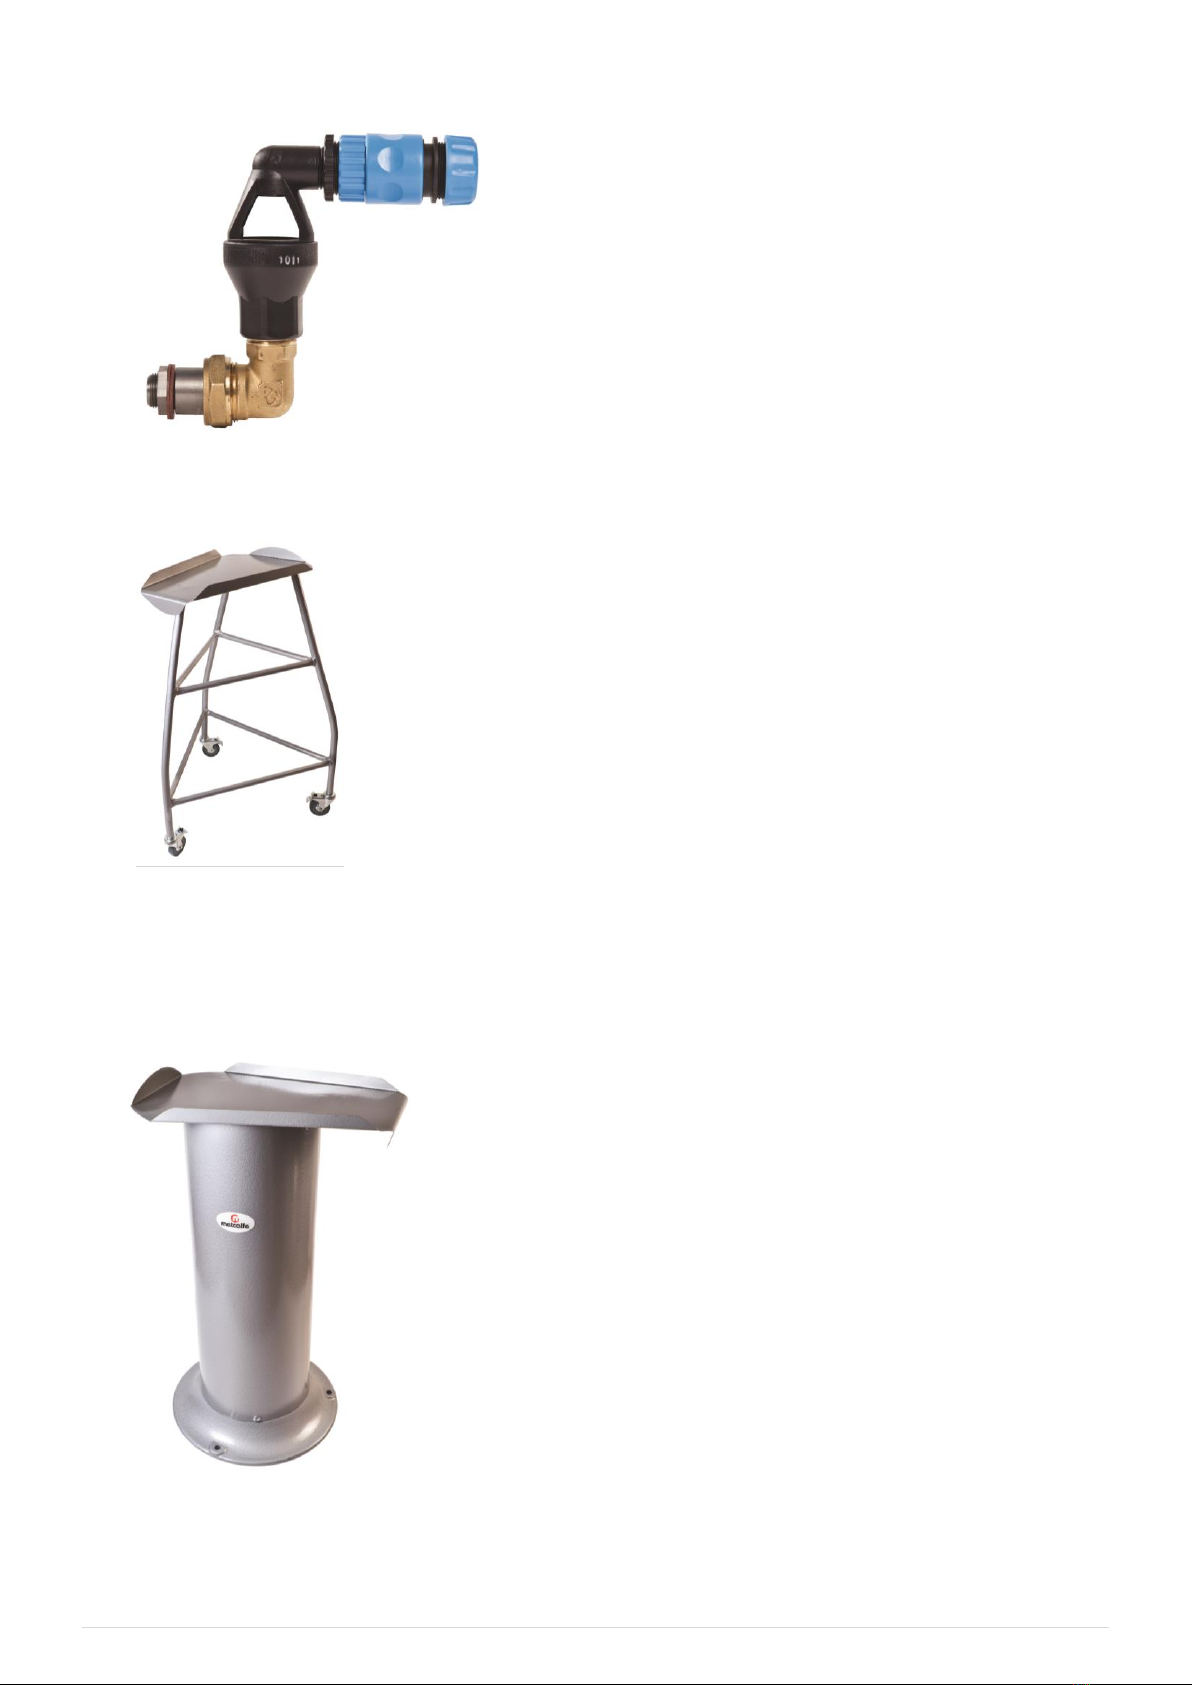
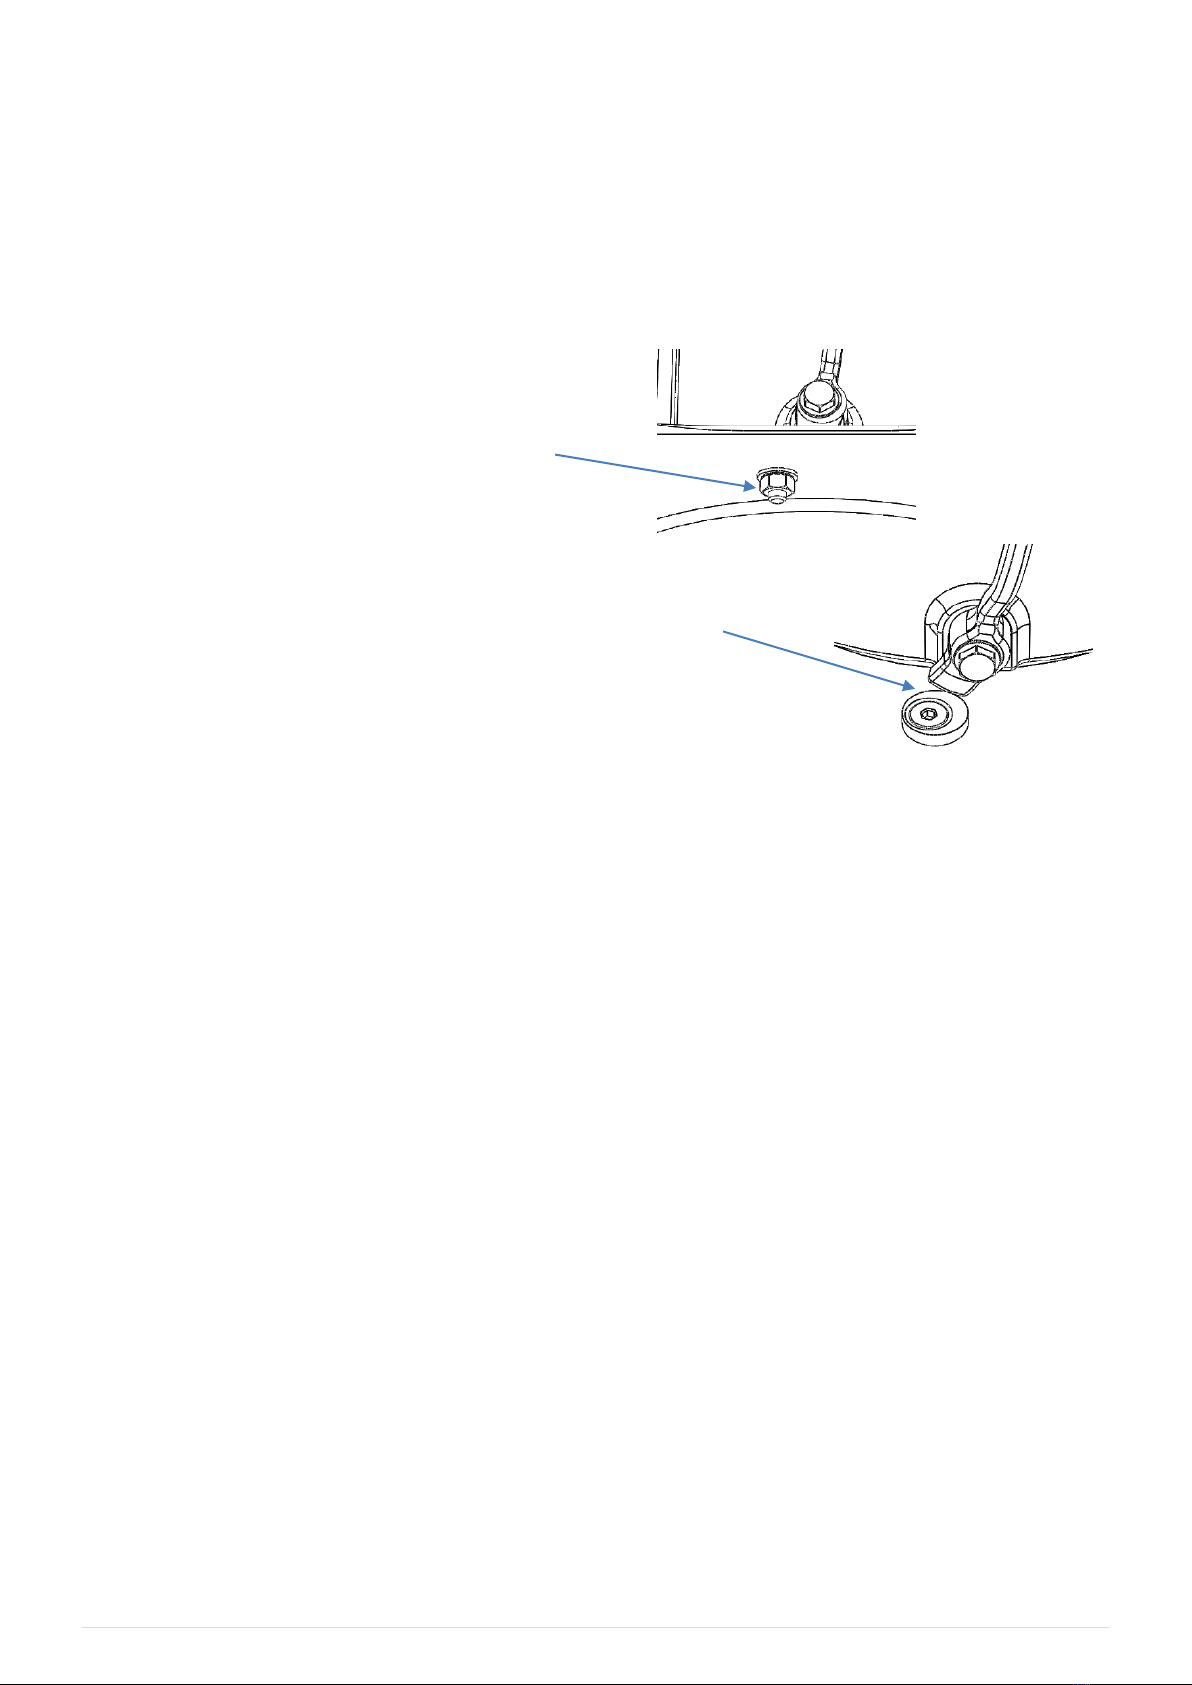
Waste Disposal Adaptor *
The waste pipe can be connected direct to the drain. Gives
an additional water supply to the waste outlet to flush
away the sludge. Water Byelaws Scheme approved
product when connected to water header tank.
The waste disposal adaptor fits onto the waste outlet on
the side of the peeler. Ensure that the waste disposal
adaptor is vertical and securely in place.
(* available as optional extra)
Waste Disposal Adaptor Adjustments
Two adjusting screws and lock nuts are provided to adjust the water flow
through the machine. The top one controls the flow through the peeler and the
lower one controls the flow to the waste pipe.