7
Automatic Use
1.
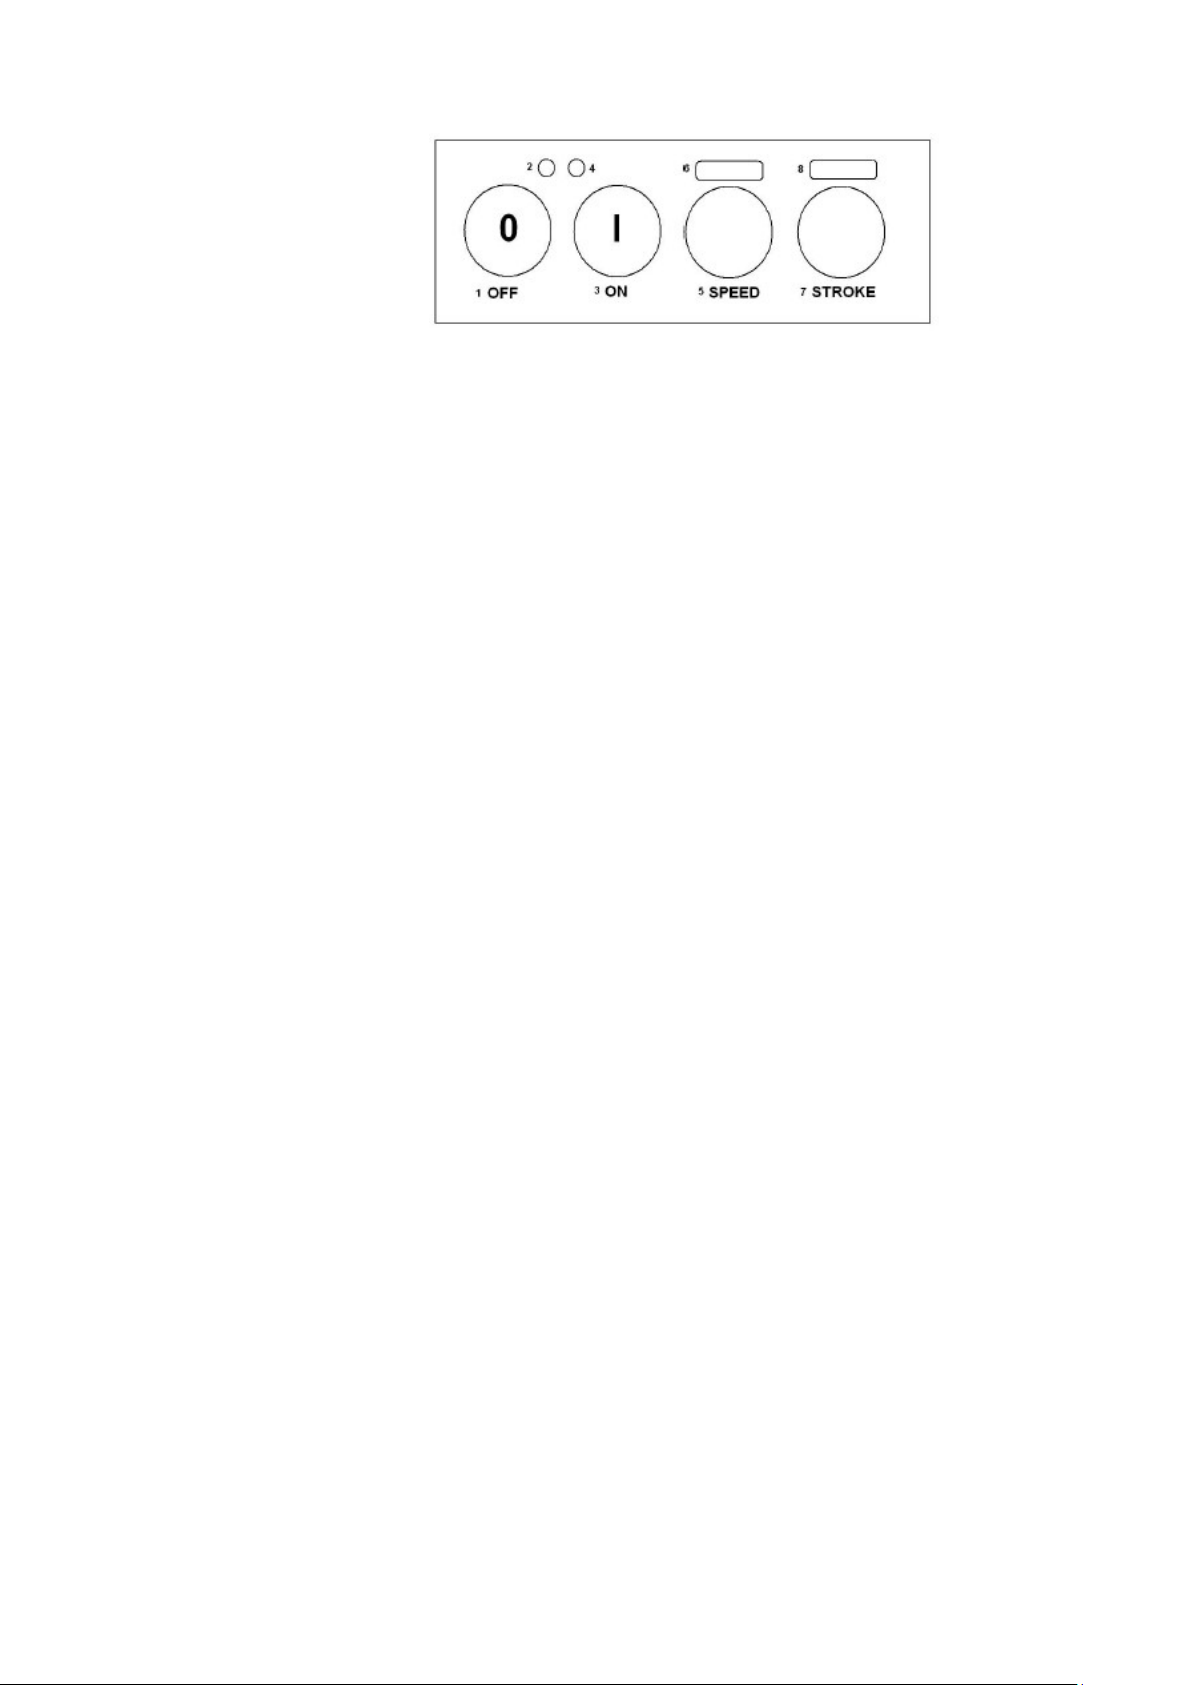
Turn the function mode selector clockwise to the Automatic position.
2.
Pull back the carriage completely (towards the operator) to the loading position.
3.
Lift the end device up, into the rest position.
4.
Place product onto the table, the product will press against the fence plate because of its weight. Block it
with the end device by lowering it onto the product and pressing down slightly.
5.
Regulate the thickness of the slice required and then start the machine by pressing the ON button. In this
way the blade and food plate carriage start together.
6.
When you start the carriage movement there will only be one LED on indicating low SPEED, and you can
increase the speed by pressing the SPEED button once or twice.
7.
When you start the carriage movement there is only one LED on the STROKE light indicating short carriage
run and if you want to increase the carriage run press the STROKE button once or twice.
Note: When you push the OFF button, you stop the blade and the carriage movement. But the slicer keeps the
speed and stroke settings, so when you push the ON button the slicer restarts with the same carriage run and
speed that it was using before it was stopped.
If you want to stop the carriage movement, you can turn the function mode selector knob anti-clockwise or you
can press the SPEED button so that none of the LEDs are illuminated.
You can return to automatic mode with the previous speed and stroke settings by turning the function mode
selector knob again.
Note: You will only lose your settings by unplugging the unit.
Warning: The circuit board has a thermal protector. If the circuit board reaches 80°C (which could happen if you
use the slicer continuously for 4 hours without turning it off), the slicer turns off. So, you must unplug the power
cable and not use it for 5 minutes to allow it to cool down. After 5 minutes, you can start to use the machine again.
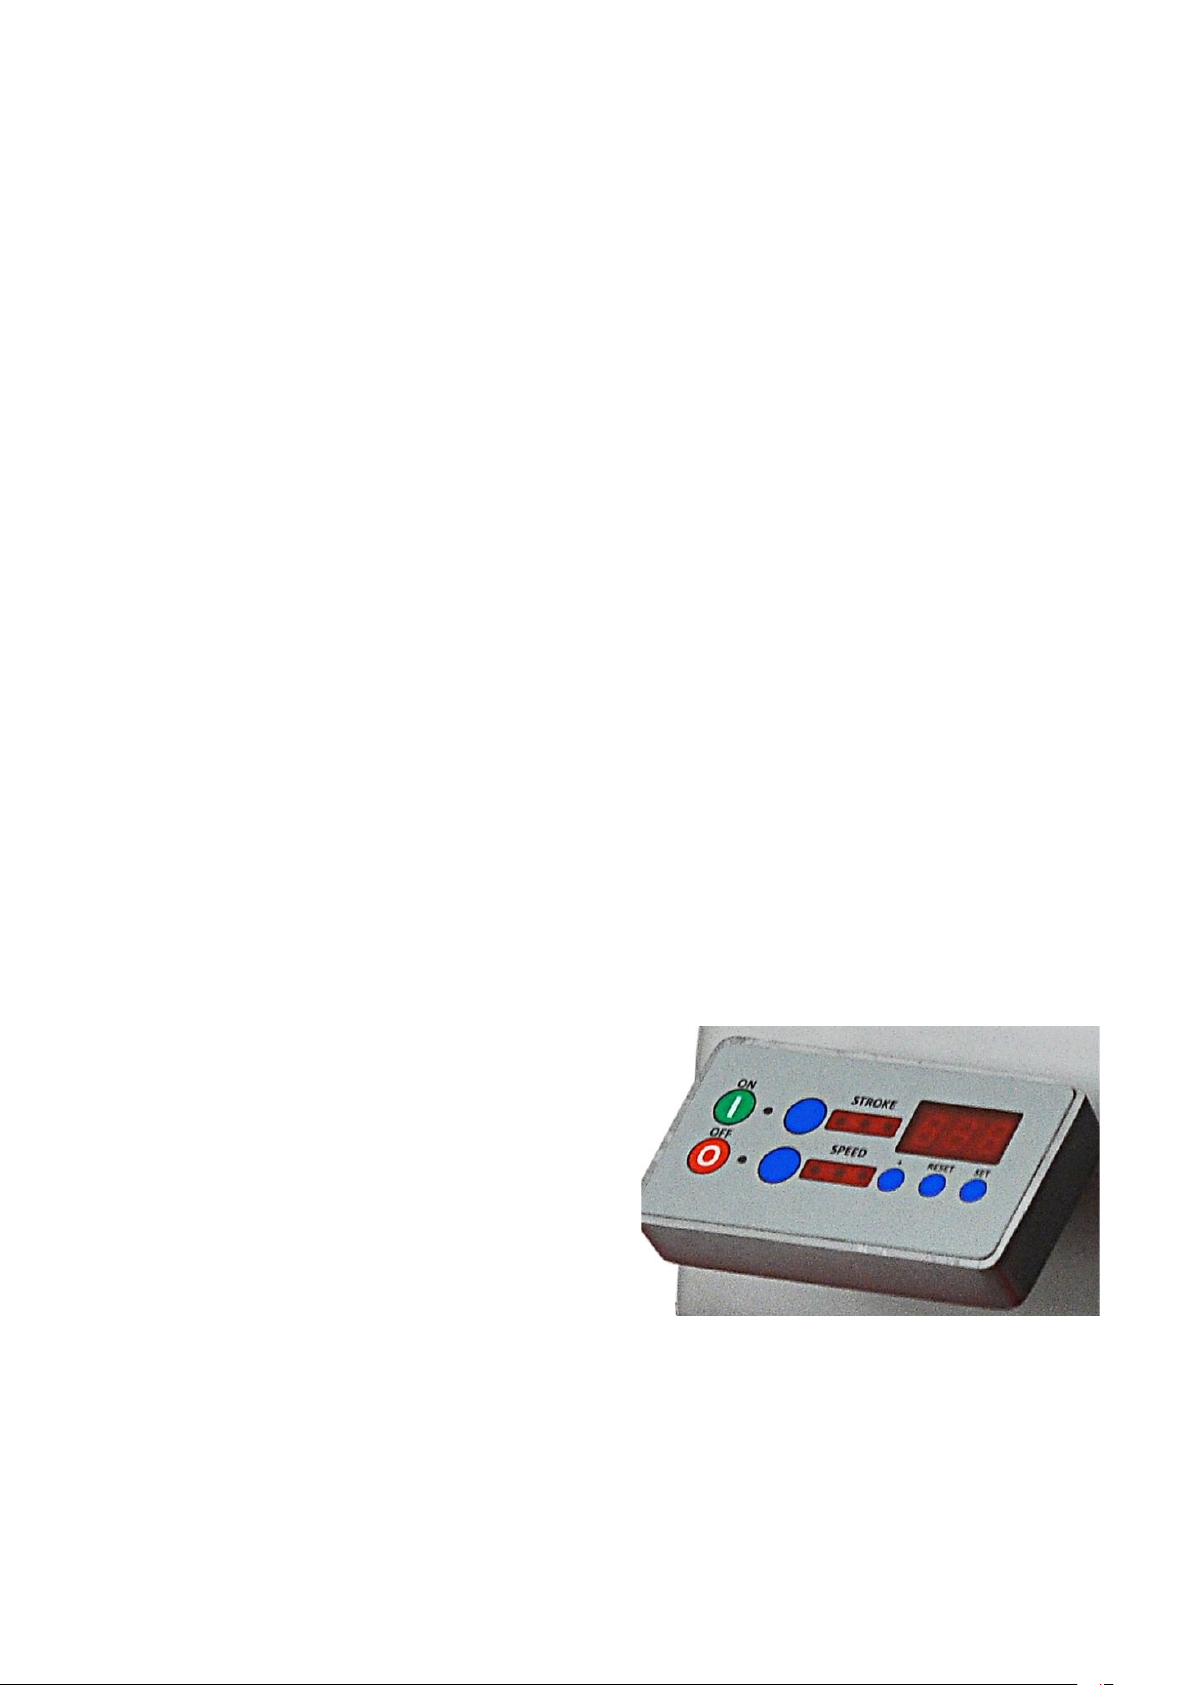
Slice Counter (if present)
The slice counter counts from 0 to 999.
When the count is exhausted the carriage stops
automatically.
You can set total cuts in single units, tens and hundreds.
The amount required needs to be entered one digit at a
time from right to left, i.e. starting with the units, then tens,
and finally hundreds. The display is red LED. During the
count, the indicator lights up.
Click the SET button, the unit display flashes. Click the
button on the left of the reset button to reach the desired number. Click SET.
Repeat the operation for setting the 2nd and 3rd digits.
When the display no longer flashes, click the RESET button. The slice counter is now set for the desired number of
slices.