manuals.online logo
Brands
  1. Home
  2. •
  3. Brands
  4. •
  5. METHVEN
  6. •
  7. Plumbing Product
  8. •
  9. METHVEN Amio Shower Mixer User manual

METHVEN Amio Shower Mixer User manual

Care and Cleaning:
Never use abrasives or abrasive cleaning agents to clean this product. Clean regularly with
contamination free warm soapy water and a damp soft cloth.
Methven warrants this product against manufacturing defects and that it is suitable for use
under the general operating conditions specified in this instruction sheet. However, regional
regulations apply and may affect your warranty. Please refer to www.methven.com or call
customer service for full details.
New Zealand Australia UK
www.methven.com
ISSUE B
Technical Specifications:
Operating Pressure:
Min: kPa/ bar
Max: kPa/ bar*
Operating Temperature:
Hot: Max °C*
Cold: Min °C
Inlet Connections:
All ½" BSP
* Regional specific regulations apply.
Please refer to your warranty statement
at www.methven.com
Amio Shower Mixer
Installation Guide
USE PARALLEL FITTINGS ONLY
Ceramic Cartridge
Adjustment
Do not remove the ceramic cartridge from the body while carrying out the following adjustments.
Note: The cartridge is factory set for maximum temperature.
+
-
Remove half-dome (if attached) Mix
temperature
limiting
adjustment
IMPORTANT: Please read all of the instructions before installation.
General:
•
•
•
•
•
•
•
•
Methven recommends this product is installed by a licensed plumber in compliance with
all relevant regional regulations.
Do not hydrostatic test the installation with this mixer installed. Damage to the ceramic
cartridge may occur.
All pipe work must be thoroughly flushed prior to the installation of the mixer.
Do not remove the ceramic cartridge from the mixer when installing.
After installation all connections must be checked for leaks.
All outlets used primarily for personal hygiene shall deliver water at a safe temperature as
per regional regulations.
This mixer is not recommended for use in uncontrolled heating systems such as wet-backs
or solar heating units unless a suitable tempering valve is fitted.
It is the responsibility of the installer to ensure a waterproof seal is achieved between the
product and mounting surface. If in doubt about the quality of the seal, remove the
product and reinstall.
Step 1
Remove plastic template, but do not discard.
Plastic cover shape may vary depending on product.
Installation depth, ID= 75 ± 5mm. This is defined as
the distance between the mounting surface and the
finished wall surface.
Secure the mixer body on to the supporting timber
ensuring that it is oriented square and vertical.
Step 2
Flush all pipe-work thoroughly prior to the next step.
Connect mixer body to hot and cold supplies and
outlet ensuring a good seal at each joint.
Check for leaks prior to closing the wall cavity and
Step 3
Wall lining should be cut or finished to observe the
dimension of the hole provided in the diagram
on the right.
Step 4
Remove plastic cover.
Wet the inner faceplate seal.
Fit o-ring and half dome onto mixer body, align with
faceplate form.
Push handle on to cartridge lever. Tighten grub screw
firmly with the 2.5mm hex key provided.
IMPORTANT: Before you begin, turn off the water supply.
Installation:
•
•
•
•
•
•
•
•
•
•
•
MAX Ø 110mm
MIN Ø 96mm
Unequal pressure installation only:
Attach the restrictor nipple to the cold inlet of the mixer body.
Ensure a proper seal and allow for access to the adjustment
Unequal pressure installation:
Ensure the adjustment screw on the restrictor nipple is
unobstructed and can be accessed from the front.
screw from the front.
Unequal pressure installation:
Push the handle onto the cartridge lever, adjust it to a vertical
position and open fully. Adjust the restrictor nipple screw to
achieve a good showering temperature at the outlet (e.g. °C).
Remove the handle before next step.
Apply silicone to the faceplate to create a seal with the finished
•
wall surface. Ensure the silicone does not block the notch in
the faceplate.
Lever handle
Grub screw
Half-dome
O-ring
Screws
Faceplate
Foam seal
Body assembly
Restrictor
Do not discard screws
Hot
Cold
replace plastic body cover.
Slide faceplate onto mixer body, and position with notch
towards the bottom and fasten screws.
•

Other METHVEN Plumbing Product manuals
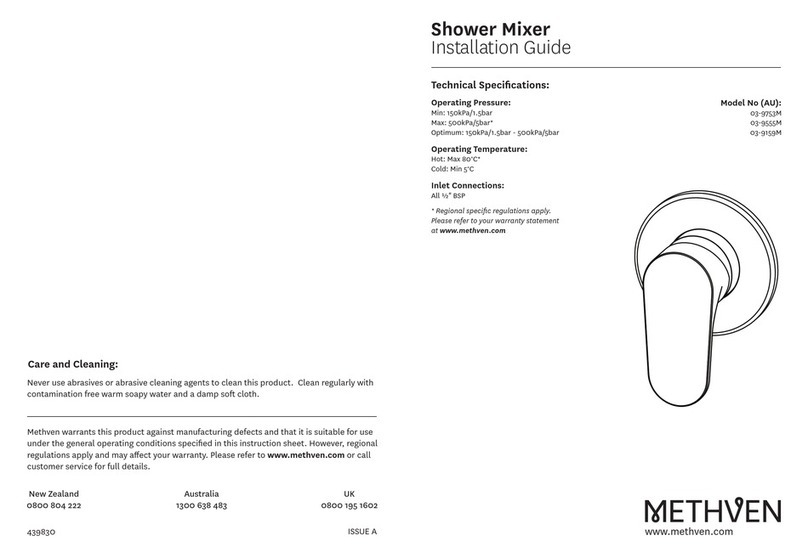
METHVEN 03-9753M User manual

METHVEN

METHVEN 03-9753M User manual

METHVEN 01-8840 User manual

METHVEN

METHVEN 01-8840 User manual

METHVEN AURAJET HANDSET User manual

METHVEN

METHVEN AURAJET HANDSET User manual
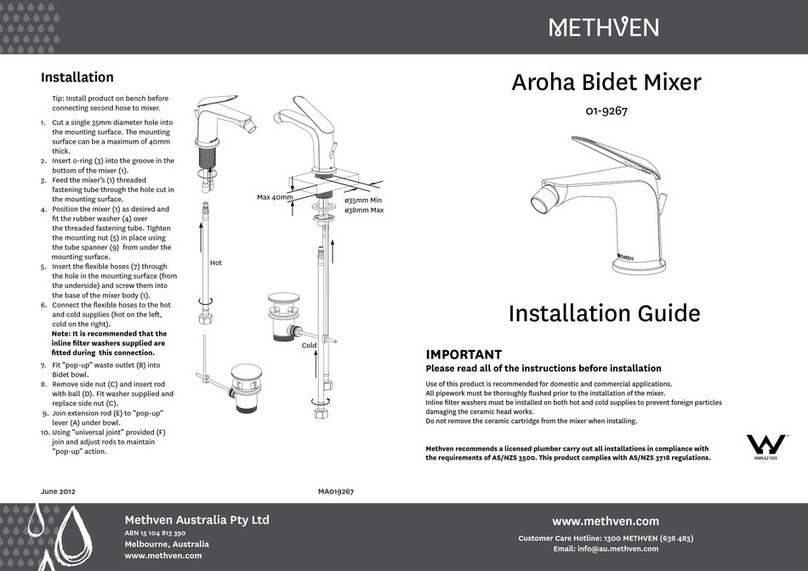
METHVEN Aroha 01-9267 User manual

METHVEN

METHVEN Aroha 01-9267 User manual
METHVEN Kaha 01-7508 User manual

METHVEN

METHVEN Kaha 01-7508 User manual

METHVEN Aroha 3 User manual

METHVEN

METHVEN Aroha 3 User manual
METHVEN WAIPORI BASIN MIXER User manual

METHVEN

METHVEN WAIPORI BASIN MIXER User manual

METHVEN Kiri Mk2 User manual

METHVEN

METHVEN Kiri Mk2 User manual

METHVEN KIRI MK2 User manual

METHVEN

METHVEN KIRI MK2 User manual

METHVEN Maku SatinJet Slide Rail Shower User manual

METHVEN

METHVEN Maku SatinJet Slide Rail Shower User manual

METHVEN AURAJET User manual

METHVEN

METHVEN AURAJET User manual
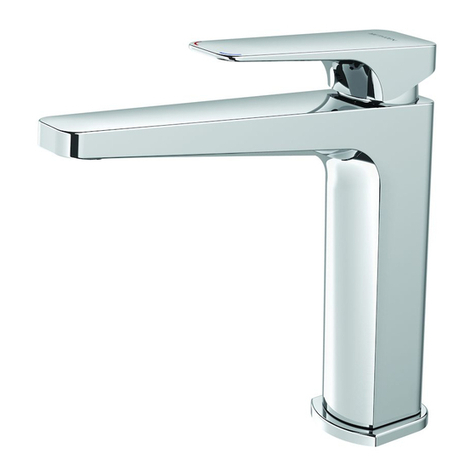
METHVEN 01-8222 User manual

METHVEN

METHVEN 01-8222 User manual
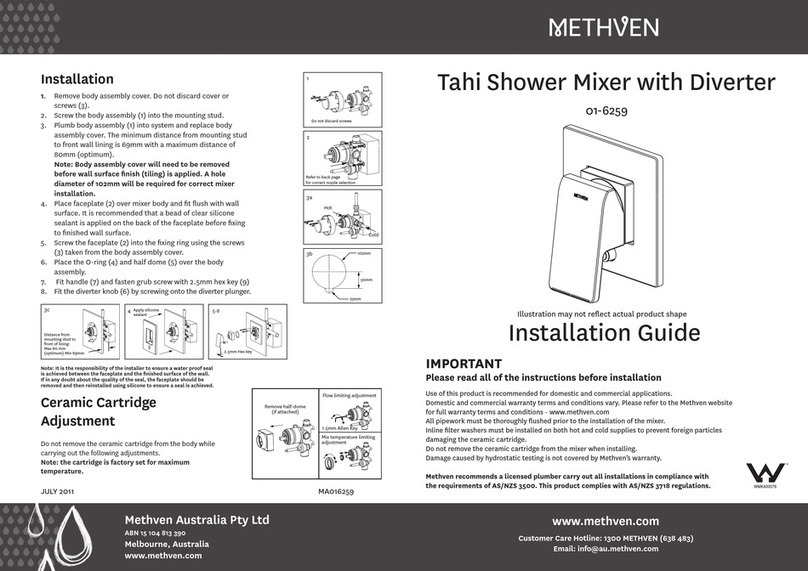
METHVEN 01-6259 User manual

METHVEN

METHVEN 01-6259 User manual

METHVEN SLSTWMCP User manual

METHVEN

METHVEN SLSTWMCP User manual

METHVEN AROHA SHOWER MIXER User manual

METHVEN

METHVEN AROHA SHOWER MIXER User manual

METHVEN KOHA User manual

METHVEN

METHVEN KOHA User manual

METHVEN Kaha 01-7003 User manual

METHVEN

METHVEN Kaha 01-7003 User manual

METHVEN AROHA User manual

METHVEN

METHVEN AROHA User manual

METHVEN Kiri K1MSK Instructions for use

METHVEN

METHVEN Kiri K1MSK Instructions for use

METHVEN 03-9777M User manual

METHVEN

METHVEN 03-9777M User manual

METHVEN Kaha 01-7409 User manual

METHVEN

METHVEN Kaha 01-7409 User manual

METHVEN Amio Shower Mixer With Divertor User manual

METHVEN

METHVEN Amio Shower Mixer With Divertor User manual

METHVEN Wai Instructions for use

METHVEN

METHVEN Wai Instructions for use

METHVEN Kaha 01-7300 User manual

METHVEN

METHVEN Kaha 01-7300 User manual

Popular Plumbing Product manuals by other brands
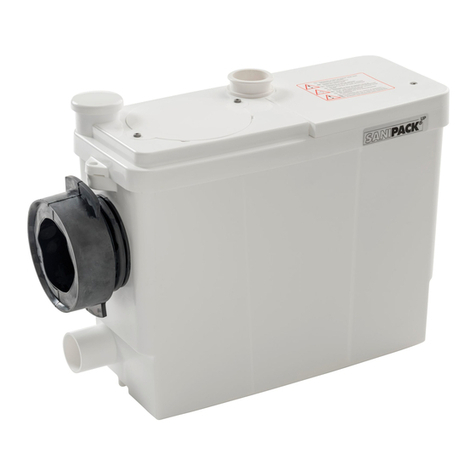
SFA Sanipack Pro Up installation instructions

SFA

SFA Sanipack Pro Up installation instructions

Hans Grohe Fixfit S 27453 Series Assembly instructions

Hans Grohe

Hans Grohe Fixfit S 27453 Series Assembly instructions

Sanela Lema SLP 59RB Instructions for use

Sanela

Sanela Lema SLP 59RB Instructions for use

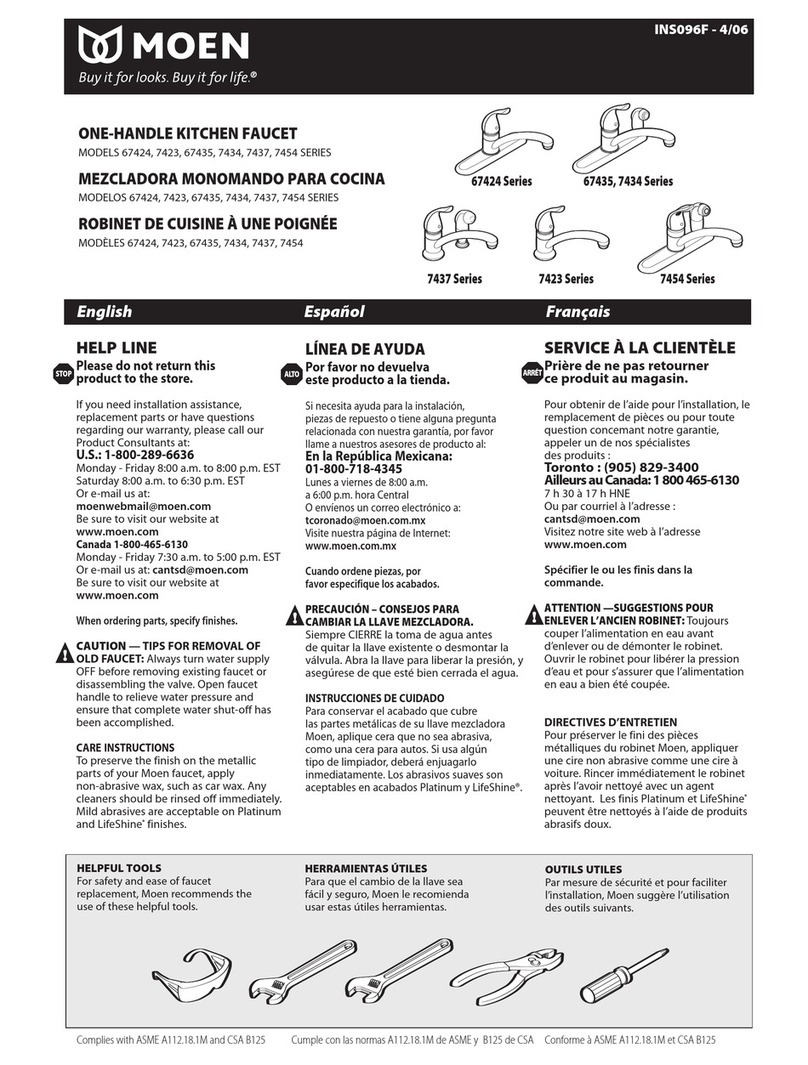
Bristan ZI SHXSMCT Installation instructions & user guide
Bristan

Bristan ZI SHXSMCT Installation instructions & user guide

Moen 67424 SERIES product manual

Moen

Moen 67424 SERIES product manual
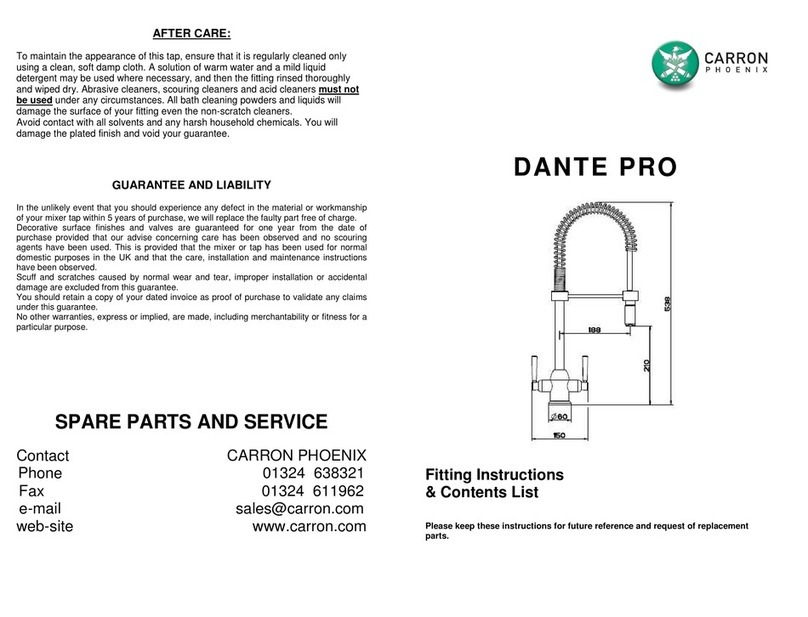
Carron Phoenix DANTE PRO Fitting Instructions & Contents List
Carron Phoenix

Carron Phoenix DANTE PRO Fitting Instructions & Contents List

Hans Grohe Talis S 160 72815001 Installation/User Instructions/Warranty
Hans Grohe

Hans Grohe Talis S 160 72815001 Installation/User Instructions/Warranty

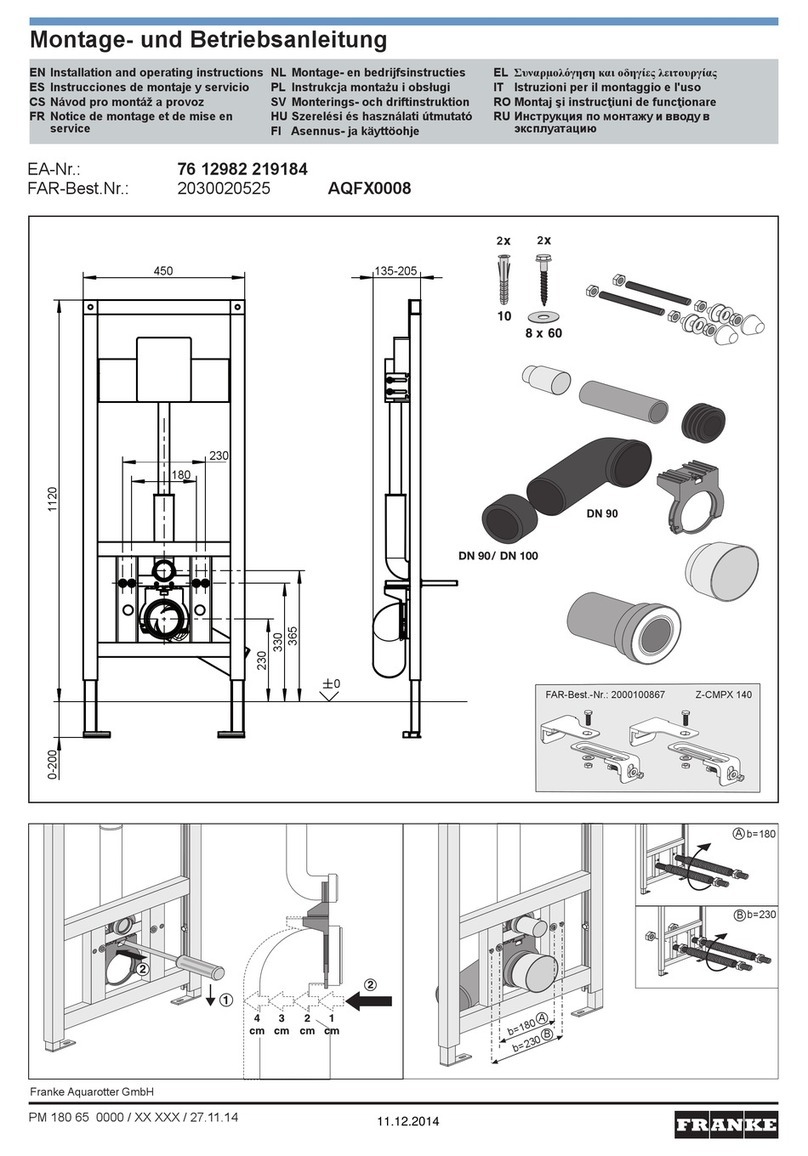
Franke AQUAFIX AQFX0008 Installation and operating instructions

Franke

Franke AQUAFIX AQFX0008 Installation and operating instructions

Sanela SLUN 03 Instructions for use

Sanela

Sanela SLUN 03 Instructions for use

newform PARK Limited Edition 67570E instructions

newform

newform PARK Limited Edition 67570E instructions

Moen ShowHouse S713WR installation instructions

Moen

Moen ShowHouse S713WR installation instructions

Kinedo Smart Express C installation instructions
Kinedo

Kinedo Smart Express C installation instructions

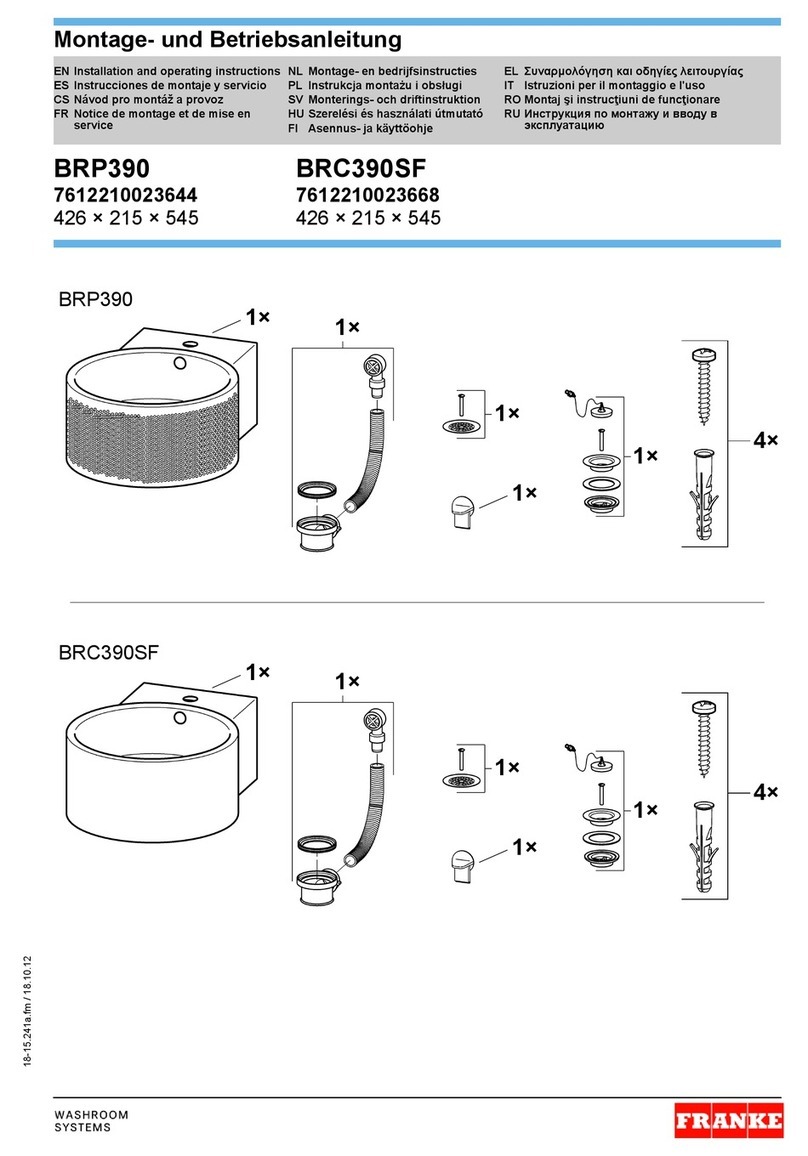
Franke BRP390 Installation and operating instructions
Franke

Franke BRP390 Installation and operating instructions

Omnires Y1231CR Installation and Maintenance
Omnires

Omnires Y1231CR Installation and Maintenance

Belvedere 8400 BACKWASH SHAMPOO BOWL quick start guide

Belvedere

Belvedere 8400 BACKWASH SHAMPOO BOWL quick start guide

Sentiotec wave.com4 11 kW Instructions for installation and use

Sentiotec

Sentiotec wave.com4 11 kW Instructions for installation and use

Spectrum Pfister Brea LF-042-BR Maintenance & Care Guide

Spectrum

Spectrum Pfister Brea LF-042-BR Maintenance & Care Guide

BELLOSTA baby-s 7205/3/A installation instructions

BELLOSTA

BELLOSTA baby-s 7205/3/A installation instructions

manuals.online logo
manuals.online logoBrands
  • About & Mission
  • Contact us
  • Privacy Policy
  • Terms and Conditions

Copyright 2025 Manuals.Online. All Rights Reserved.