manuals.online logo
Brands
  1. Home
  2. •
  3. Brands
  4. •
  5. Metro DataVac
  6. •
  7. Indoor Furnishing
  8. •
  9. Metro DataVac SMARTLEVER User manual

Metro DataVac SMARTLEVER User manual

INSTRUCTIONS FOR USE
MODE D’EMPLOI
INSTRUCCIONES DE USO
SMARTLEVER
DESCRIPTION/ DESCRIPTION/ DESCRIPCIÓN
SmartLever – This document covers assembly procedures of various configurations.
SmartLever – Ce document couvre les procédures de montage pour différentes configurations.
SmartLever – En este documento, se cubren los procedimientos de ensamblaje de diferentes configuraciones
SmartLever Double Wide Assembly
Smartlever Montage double largeur
Smartlever montaje estantería doble
SmartLever Shelving Assembly
Smartlever Montage de rayonnage
Smartlever montaje de la estantería
SmartLever Workstation Assembly
Smartlever Montage de la station de travail
Smartlever montaje de la estatión de trabajo
SMARTLEVER — INSTRUCTIONS FOR USE/ MODE D’EMPLOI/ INSTRUCCIONES DE USO
2
www.metro.com
L01-609
REV D 09/19
SAFETY INFORMATION/ INFORMATIONS RELATIVES À LA SÉCURITÉ/ INFORMACIÓN DE SEGURIDAD
CAUTION: Weight Capacity
• Maximum capacities are based on evenly distributed load.
• Each Super Erecta, Super Erecta-PRO and Solid Shelf can hold up to 600 lbs. (270kg).
• NEVER exceed 1000 lbs. (454kg) load on any dunnage shelf.
• NEVER exceed 2800 lbs. (1270kg) of evenly distributed load on any single conguration.
MISE EN GARDE : Capacité maximale
• Les capacités maximales sont basées sur une charge uniformément répartie.
• Chaque étagère Super Erecta et Super Erecta-PRO et rayon peut supporter jusqu’à 270kg (600lb).
• NE JAMAIS poser une charge de plus de 454kg (1000lb) sur une étagère de fardage.
• NE JAMAIS poser une charge uniformément répartie de plus de 1270kg (2800lb) sur une conguration simple.
PRECAUCIÓN: Capacidad de peso
• Las capacidades máximas se basan en una carga bien distribuida.
• Cada Super Erecta, Super Erecta-PRO y Solid Shelf pueden cargar hasta 600lb (270kg).
• NUNCA coloque una carga superior a 1000lb (454kg) en el estante de estiba.
• NUNCA realice una carga superior a 2800lb (1270kg) distribuida uniformemente en una única conguración.
CAUTION: Load the unit from rear to front. Do not over-load the unit on front end, tipping may occur.
MISE EN GARDE: Charger l’unité de l’arrière vers l’avant. Ne pas surcharger l’avant de l’unité, au risque de la faire basculer.
PRECAUCIÓN: Cargue la unidad de la parte trasera a la frontal. No sobrecargue la unidad en la parte frontal porque puede volcar.
CAUTION: Do not climb on the unit, otherwise tipping may occur and cause injury.
MISE EN GARDE: Ne pas monter sur l’unité, au risque de la faire basculer et d’occasionner des blessures.
PRECAUCIÓN: No se suba a la unidad porque puede volcar y provocar lesiones.
CAUTION: Heavier load should be placed on the lower half of the unit.
MISE EN GARDE: Les charges plus lourdes doivent être placées sur la partie inférieure de l’unité.
PRECAUCIÓN: Se debe colocar una carga más pesada en la parte inferior de la unidad.
Tools Required/ Outils requis/ Herramientas necesarias
• 7/16" and 9/16" Sockets/ Douilles de 7/16po et 9/16po/ Enchufes de 7/16in y 9/16in.
• Level/ Niveau/ Nivel.
SINGLE CONFIGURATION/ CONFIGURATION SIMPLE/ CONFIGURACIÓN ÚNICA
Two People Required to Assemble Unit.
Deux personnes sont requises pour monter cette unité.
Se necesitan dos personas para ensamblar la unidad.
A
Upright
Montant
Vertical
Leg
Jambe
Pata
D
B
C
3/8" Bolt (x4)
Boulon 3/8po (x4)
Tornillo de 3/8In (x4)
NOTE : Tighten the bolts.
REMARQUE : Serrer les boulons.
NOTA : Apriete los tornillos.
FRONT VIEW/ VUE AVANT/ VISTA FRONTAL
1/4" Bolt (x4)
Boulon 1/4po (x4)
Tornillo de 1/4in (x4)
Top Support Cross Bar
Barre transversale de support supérieure
Barra transversal de soporte superior
Bottom Support Cross Bar
Barre transversale de support inférieure
Barra transversal de soporte inferior
NOTE : Do not tighten the bolts.
REMARQUE : Ne pas serrer les boulons.
NOTA : No ajuste los tornillos.
Leg
Jambe
Pata
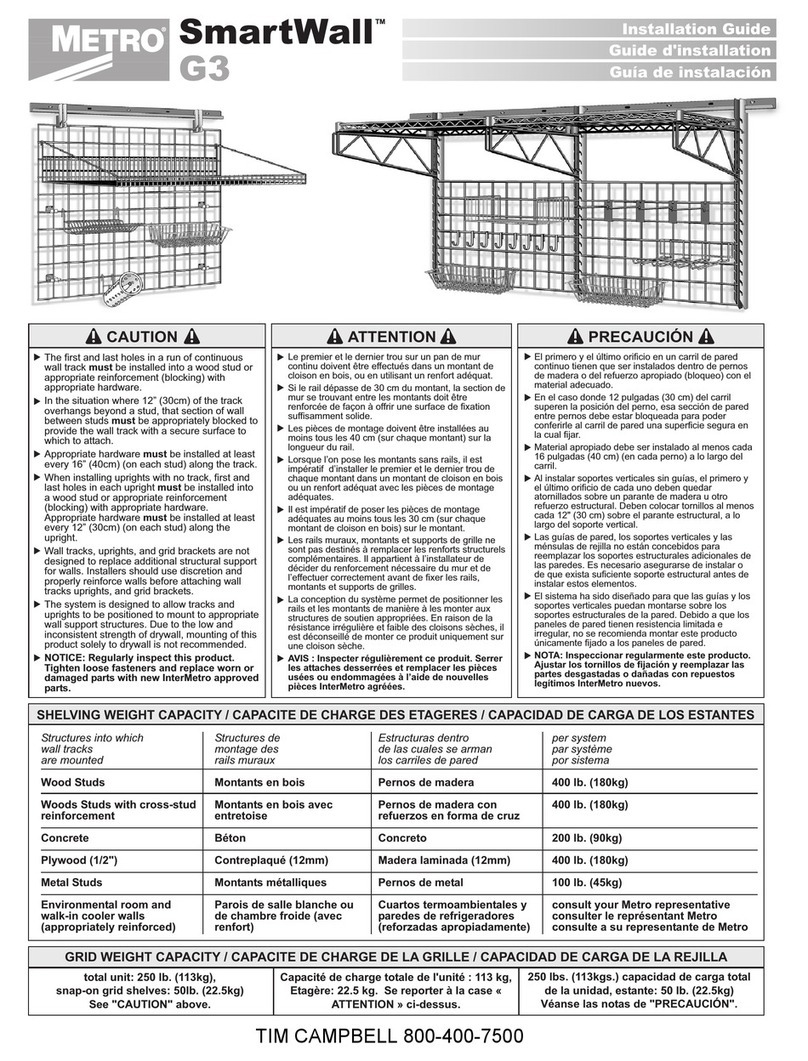
SMARTLEVER — INSTRUCTIONS FOR USE/ MODE D’EMPLOI/ INSTRUCCIONES DE USO
3
www.metro.com
L01-609
REV D 09/19
E-1
E-1
E-2
E-2
E-3
E-4
E-4
E
Cross Bracing (x2)
Contreventement (x2)
Arriostramiento transversal (x2)
E-1
E-4
E-2
E-3
1/4" Bolt (x2)
Boulon 1/4po (x2)
Tornillo de 1/4in (x2)
1/4" Bolt (x2)
Boulon 1/4po (x2)
Tornillo de 1/4in (x2)
1/4" Bolt (x2)
Boulon 1/4po (x2)
Tornillo de 1/4in (x2)
1/4" Bolt (x1)
Boulon 1/4po (x1)
Tornillo de 1/4in (x1)
Nut (x1)
Écrou (x1)
Tuerca (x1)
NOTE : Do not tighten the bolts and nut.
REMARQUE: Ne pas serrer les boulons et écrous.
NOTA : No ajuste los tornillos.
For Stand-alone instructions see 'E', if assembling multiple units together see 'L' / Pour les instructions autonomes, voir 'E', si vous assemblez plusieurs
unités ensemble, voir 'L' / Para instrucciones autónomas, consulte 'E', si ensambla varias unidades juntas, consulte 'L'
Cantilever Bracket
Cantilevers
Soporte de viga
Install Cantilever Brackets at
Same Level
Installer les cantilevers au
même niveau
Instale soportes de vigas al
mismo nivel
S-Hook Leg Single (x4)
S Crochet Jambe Simple (x4)
S Gancho Pata Soltero (x4)
F-2F-1
G-1 G-2 G-3
SES Dunnage shelf
Étagère de fardage SES
Estantería de estiba SES
SMARTLEVER — INSTRUCTIONS FOR USE/ MODE D’EMPLOI/ INSTRUCCIONES DE USO
4
www.metro.com
L01-609
REV D 09/19
S-Fitting Bracket
Support de fixation en S
Soporte de accesorios S
Install S-Fitting Bracket (x4)
Installer les supports de fixation en S (x4)
Instale el soporte de accesorios S (x4)
H-2
H-3
NOTE : REQUIRE ONE WEDGE PER S-FITTING BRACKET.
REMARQUE: UNE CALE EST NÉCESSAIRE PAR SUPPORT DE FIXATION EN S.
NOTA : SE REQUIERE UNA CUÑA POR SOPORTE DE ACCESORIOS S.
I-1
I-3
I-2
Wedge S-Fitting Bracket
Support de fixation en S de la cale
Soporte de accesorios S de cuña
WEDGE S-FITTING BRACKET INSTALLATION
INSTALLATION DU SUPPORT DE FIXATION EN S DE LA CALE
INSTALACIÓN DEL SOPORTE DE ACCESORIOS S DE LA CUÑA
SE Pro Shelf
Étagère SE Pro
Estantería Pro SE
SES Solid Shelf
Rayon SES
Estantería sólida
SES
JK
SES Wire Shelf
Rayon métallique SES
Estantería de alambre SES
Level the unit (x2). Use a level to check each upright.
Mettre à niveau l’unité(x2). Utiliser un niveau pour vérifier chaque montant.
Nivele la unidad (x2). Use un nivel para verificar cada vertical.
Insert hole plugs in all
unused holes in the
uprights.
Insérer les bouchons
dans tous les trous
inutilisés sur les
montants.
Inserte tapones en todos
los oricios no usados en
las verticales.
Hole Plug
Bouchon
Tapón de orificio
TIGHTEN ALL BOLTS AT THE END OF ASSEMBLY./ SERRER TOUS LES BOULONS UNE FOIS LE MONTAGE TERMINÉ./ AJUSTE TODOS LOS TORNILLOS AL FINAL DEL ENSAMBLAJE.
H-1
SMARTLEVER — INSTRUCTIONS FOR USE/ MODE D’EMPLOI/ INSTRUCCIONES DE USO
5
www.metro.com
L01-609
REV D 09/19
DOUBLE CONFIGURATION/ CONFIGURATION DOUBLE/ CONFIGURACIÓN DOBLE
Two People Required to Assemble Unit.
Deux personnes sont requises pour monter cette unité.
Se necesitan dos personas para ensamblar la unidad.
LFRONT VIEW/ VUE AVANT/
VISTA FRONTAL
1/4" Bolt (x8)
Boulon 1/4po (x8)
Tornillo de 1/4in (x8)
Top Support Cross Bar
Barre transversale de support supérieure
Barra transversal de soporte superior
Bottom Support Cross Bar
Barre transversale de support inférieure
Barra transversal de soporte inferior
NOTE : Hand tighten the bolts.
REMARQUE: Serrez à la main les boulons.
NOTA : Apriete a mano los tornillos.
Top Support Cross Bar
Barre transversale de support supérieure
Barra transversal de soporte superior
Bottom Support Cross Bar
Barre transversale de support inférieure
Barra transversal de soporte inferior
Common Upright/ Montant commun/ Vertical común
N-1
N-7
N-2
N-2
N-3
N-4
N-5
N-6
N-1
N-7
N-2
N-3
N-4
N-5
N-6
M
Cross Bracing (x4)
Contreventement (x4)
Arriostramiento transversal (x4)
NOTE : TRIPLE CONFIGURATION SHOWN FOR REFERENCE.
REMARQUE: CONFIGURATION TRIPLE DÉMONTRÉE POUR RÉFÉRENCE.
NOTA : CONFIGURACIÓN TRIPLE MOSTRADA PARA REFERENCIA.
SMARTLEVER — INSTRUCTIONS FOR USE/ MODE D’EMPLOI/ INSTRUCCIONES DE USO
6
www.metro.com
L01-609
REV D 09/19
1/4" Bolt (x1)
Boulon 1/4po (x1)
Tornillo de 1/4in (x1)
1/4" Bolt (x2)
Boulon 1/4po (x2)
Tornillo de 1/4in (x2)
1/4" Bolt (x2)
Boulon 1/4po (x2)
Tornillo de 1/4in (x2)
1/4" Bolt (x2)
Boulon 1/4po (x2)
Tornillo de 1/4in (x2)
Nut (x1)
Écrou (x1)
Tuerca (x1)
1/4" Bolt (x2)
Boulon 1/4po (x2)
Tornillo de 1/4in (x2)
1/4" Bolt (x1)
Boulon 1/4po (x1)
Tornillo de 1/4in (x1)
M-1 M-2 M-3 M-4
M-5 M-6 M-7
1/4" Bolt (x1)
Boulon 1/4po (x1)
Tornillo de 1/4in (x1)
P-1
N O
P
FOLLOW STEPS IN PAGES ABOVE TO INSTALL CANTILEVER
BRACKETS, S-FITTING BRACKETS AND SHELVES.
SUIVRE LES ÉTAPES DES PAGES CI-DESSUS POUR INSTALLER LES
CANTILEVERS, LES SUPPORTS DE FIXATION EN S, LES ÉTAGÈRES ET
LES RAYONS.
SIGA LOS PASOS DE LAS PÁGINAS ANTERIORES PARA INSTALAR
SOPORTES DE VIGA, SOPORTES DE ACCESORIOS S Y ESTANTES.
S-Hook Leg Double (x2)
S Crochet Jambe Double (x2)
S Gancho Pata Doble (x2)
SES Dunnage shelf
Étagère de fardage SES
Estantería de estiba SES
S-Hook Leg Single (x4)
S Crochet Jambe Simple (x4)
S Gancho Pata Soltero (x4)
OPTIONAL CONFIGURATION/ CONFIGURATION OPTIONNEL/
CONFIGURACIÓN OPCIONAL
SMARTLEVER — INSTRUCTIONS FOR USE/ MODE D’EMPLOI/ INSTRUCCIONES DE USO
7
www.metro.com
L01-609
REV D 09/19
R-1
Q
Duraplast
Duraplast
Duraplast
SS Overlay with Backsplash
Recouvrement SS avec dosseret
Revestimiento SS con protector
de salpicaduras
Shelf
Étagère
Estante
WORKSTATION OVERLAY INSTALLATION
INSTALLATION DU RECOUVREMENT POUR STATION DE TRAVAIL
INSTALACIÓN DEL REVESTIMIENTO DE LA MÁQUINA DE TRABAJO
SmartWall Grid Bracket (x4)
Support pour grille SmartWall (x4)
Soporte de la Malla SmartWall (x4)
SMARTWALL GRID BRACKET INSTALLATION
INSTALLATION DU SUPPORT POUR
GRILLE SMARTWALL
INSTALACIÓN DE SOPORTE DE MALLA SMARTWALL
Workstation and SmartWall grid assembly continue to Q-R
Le poste de travail et l'assemblage de la grille SmartWall continuent à Q-R
La estación de trabajo y el ensamblaje de la rejilla SmartWall continúan en Q-R
Wire Grid (x1)
Grille métallique (x1)
Malla de alambre (x1)
WIRE GRID INSTALLATION
INSTALLATION DE LA
GRILLE MÉTALLIQUE
INSTALACIÓN DE LA MALLA
DE ALAMBRE
R-2 R-3
© 2019 InterMetro Industries Corporation, Wilkes-Barre, PA 18705
L01-609 REV D 09/19
NOTE : BASED ON FLOOR CONSTRUCTION FOOT PLATE (P/N 9993Z OR 9993S) MAY BE USED FOR BETTER LOAD DISTRIBUTION.
REMARQUE: SELON LA CONSTRUCTION DU PLANCHER, UNE PLAQUE-PIED (RÉF. 9993Z OU 9993S) PEUT ÊTRE UTILISÉE POUR OPTIMISER LA
RÉPARTITION DE LA CHARGE.
NOTA : SEGÚN LA CONSTRUCCIÓN DEL PISO, ES POSIBLE QUE TENGA QUE UTILIZAR UNA BASE PARA APOYAR LOS PIES (N.º DE PIEZA 9993Z O 9993S)
PARA UNA MEJOR DISTRIBUCIÓN DE LA CARGA.
* Save this document for future application, load rating and/or safety reference.
* Conserver ce document pour une utilisation ultérieure, pour vérifier la capacité de charge et pour consulter la référence de sécurité.
* Conserve este documento en caso de que lo necesite en aplicaciones futuras, especificaciones de carga o por consultas de seguridad.
Foot Plate (x3) (P/N 9993Z or 9993S)
Plaque-pied (x3) (réf. 9993Z ou 9993S)
Base para apoyar los pies (x3) (N.º de pieza 9993Z o 9993S)

Other Metro DataVac Indoor Furnishing manuals

Metro DataVac GHS1120 User manual

Metro DataVac

Metro DataVac GHS1120 User manual

Metro DataVac LM103 User manual

Metro DataVac

Metro DataVac LM103 User manual

Metro DataVac METROMAX 4 User manual

Metro DataVac

Metro DataVac METROMAX 4 User manual

Metro DataVac SmartWall G3 User manual

Metro DataVac

Metro DataVac SmartWall G3 User manual

Metro DataVac HD SUPER User manual

Metro DataVac

Metro DataVac HD SUPER User manual

Metro DataVac TB93000 TOTE BOX Series User manual

Metro DataVac

Metro DataVac TB93000 TOTE BOX Series User manual

Metro DataVac qwikSLOT Shelves User manual

Metro DataVac

Metro DataVac qwikSLOT Shelves User manual

Metro DataVac qwikSLOT User manual

Metro DataVac

Metro DataVac qwikSLOT User manual

Metro DataVac M400LS User manual

Metro DataVac

Metro DataVac M400LS User manual

Metro DataVac qwikSIGHT User manual

Metro DataVac

Metro DataVac qwikSIGHT User manual

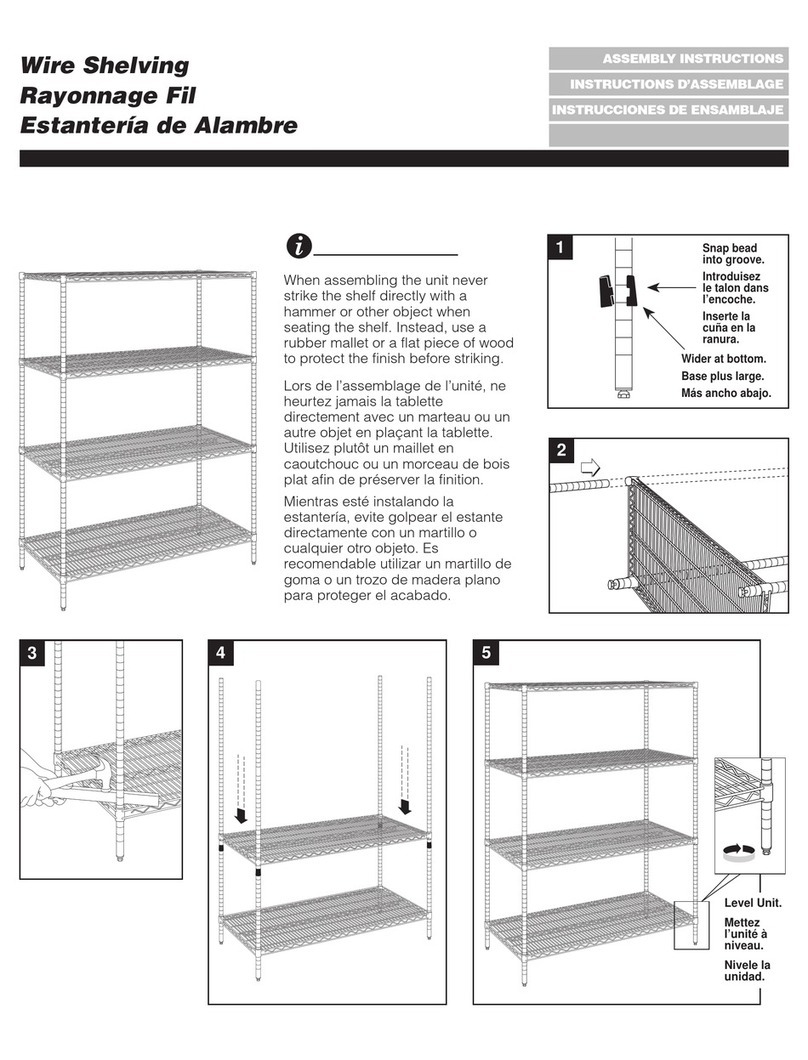
Metro DataVac Wire Shelving User manual

Metro DataVac

Metro DataVac Wire Shelving User manual

Metro DataVac MetroSHINGLE Installation guide

Metro DataVac

Metro DataVac MetroSHINGLE Installation guide

Metro DataVac Super Erecta Shelf Series User manual

Metro DataVac

Metro DataVac Super Erecta Shelf Series User manual

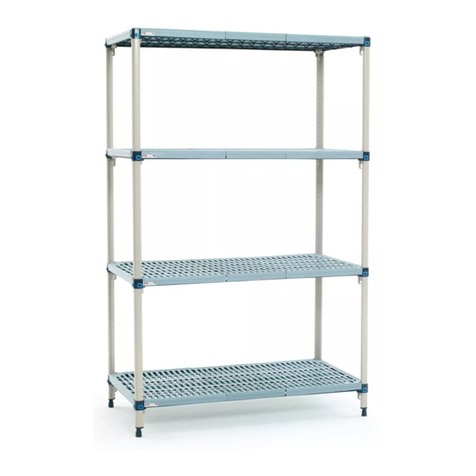
Metro DataVac MetroMaxQ ESD Shelving User manual

Metro DataVac

Metro DataVac MetroMaxQ ESD Shelving User manual

Metro DataVac Super Erecta Pro User manual

Metro DataVac

Metro DataVac Super Erecta Pro User manual

Metro DataVac 5MR User manual

Metro DataVac

Metro DataVac 5MR User manual

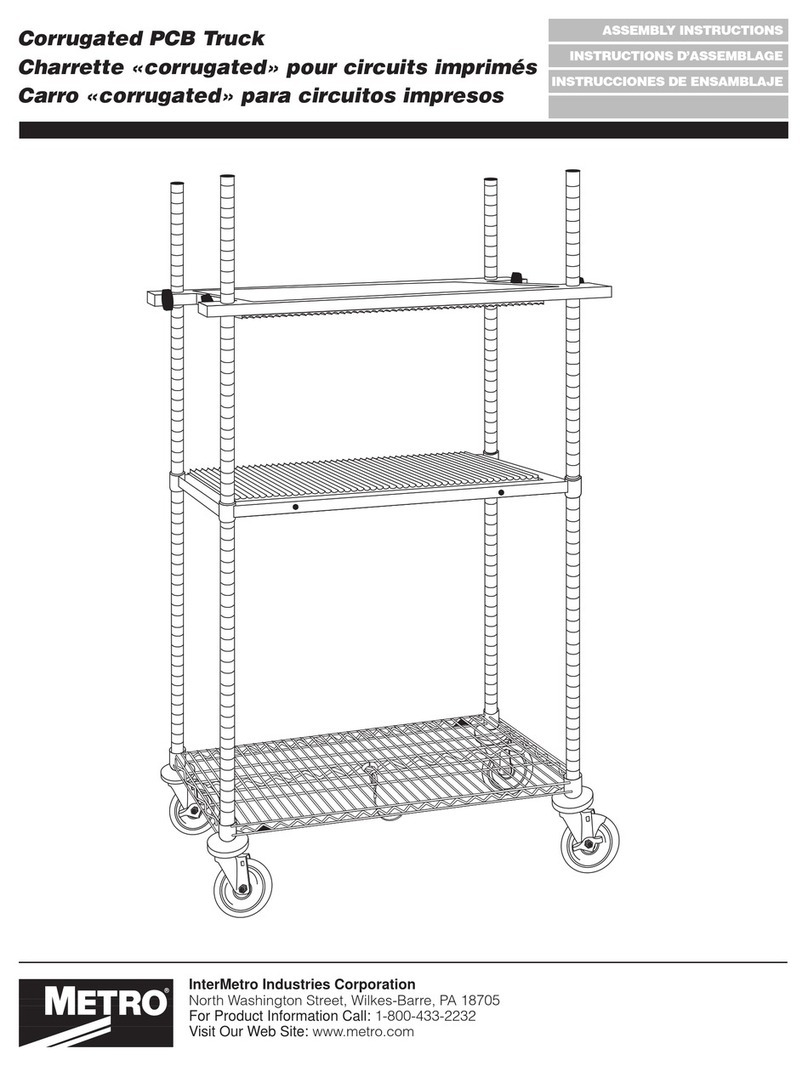
Metro DataVac Corrugated PCB Truck User manual

Metro DataVac

Metro DataVac Corrugated PCB Truck User manual

Popular Indoor Furnishing manuals by other brands

ZEITRAUM CENA Assembly instructions

ZEITRAUM

ZEITRAUM CENA Assembly instructions

Allen + Roth SP5100 FF quick start guide

Allen + Roth

Allen + Roth SP5100 FF quick start guide

Wiesner Hager Poi quick start guide

Wiesner Hager

Wiesner Hager Poi quick start guide

Repose Healthcare+ user manual

Repose

Repose Healthcare+ user manual

BEKA Easel Quick start quide

BEKA

BEKA Easel Quick start quide

Steelcase 9000 Series Assembly Directions

Steelcase

Steelcase 9000 Series Assembly Directions

King Living King Boulevard Assembly instructions

King Living

King Living King Boulevard Assembly instructions

Next IDAHO TALL SHELVES Assembly instructions

Next

Next IDAHO TALL SHELVES Assembly instructions

GABBY CHURST SCH-170235 Assembly instruction

GABBY

GABBY CHURST SCH-170235 Assembly instruction

OLG Team Table 4 Leg installation guide

OLG

OLG Team Table 4 Leg installation guide

Crate&Barrel Tatum quick start guide

Crate&Barrel

Crate&Barrel Tatum quick start guide

U-Line H-1074 Assembly instructions

U-Line

U-Line H-1074 Assembly instructions

JWA GAINES 75133 Assembly instruction

JWA

JWA GAINES 75133 Assembly instruction

Vivo DESK V000V instruction manual

Vivo

Vivo DESK V000V instruction manual

Rauch ML036 Assembly instructions

Rauch

Rauch ML036 Assembly instructions

modway EEI-6598 Assembly instructions

modway

modway EEI-6598 Assembly instructions

Design Within Reach Cove Bed 100083918 manual

Design Within Reach

Design Within Reach Cove Bed 100083918 manual

Habitat Harold 820990 manual

Habitat

Habitat Harold 820990 manual

manuals.online logo
manuals.online logoBrands
  • About & Mission
  • Contact us
  • Privacy Policy
  • Terms and Conditions

Copyright 2025 Manuals.Online. All Rights Reserved.