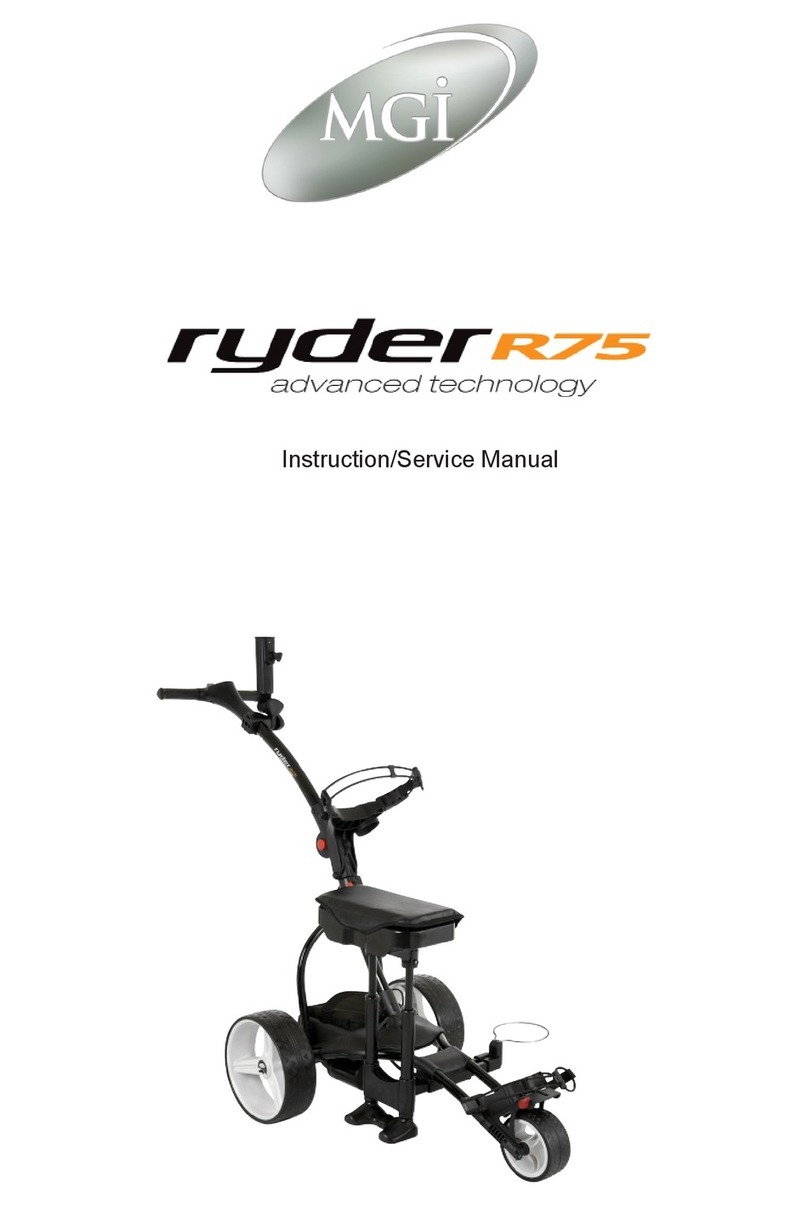
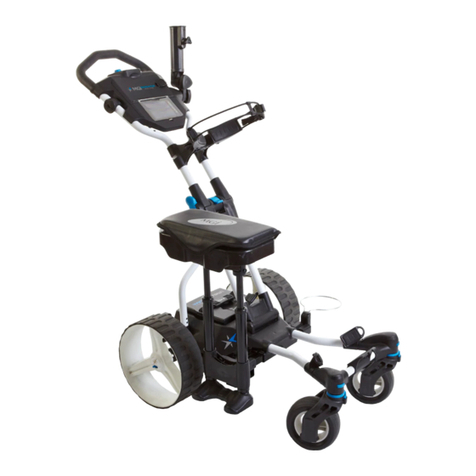
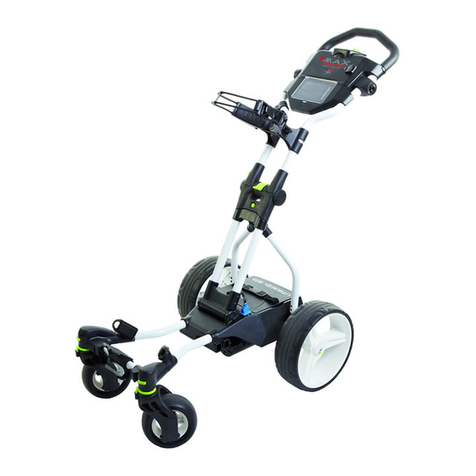
MGI NAVIGATOR GPS Manual

1
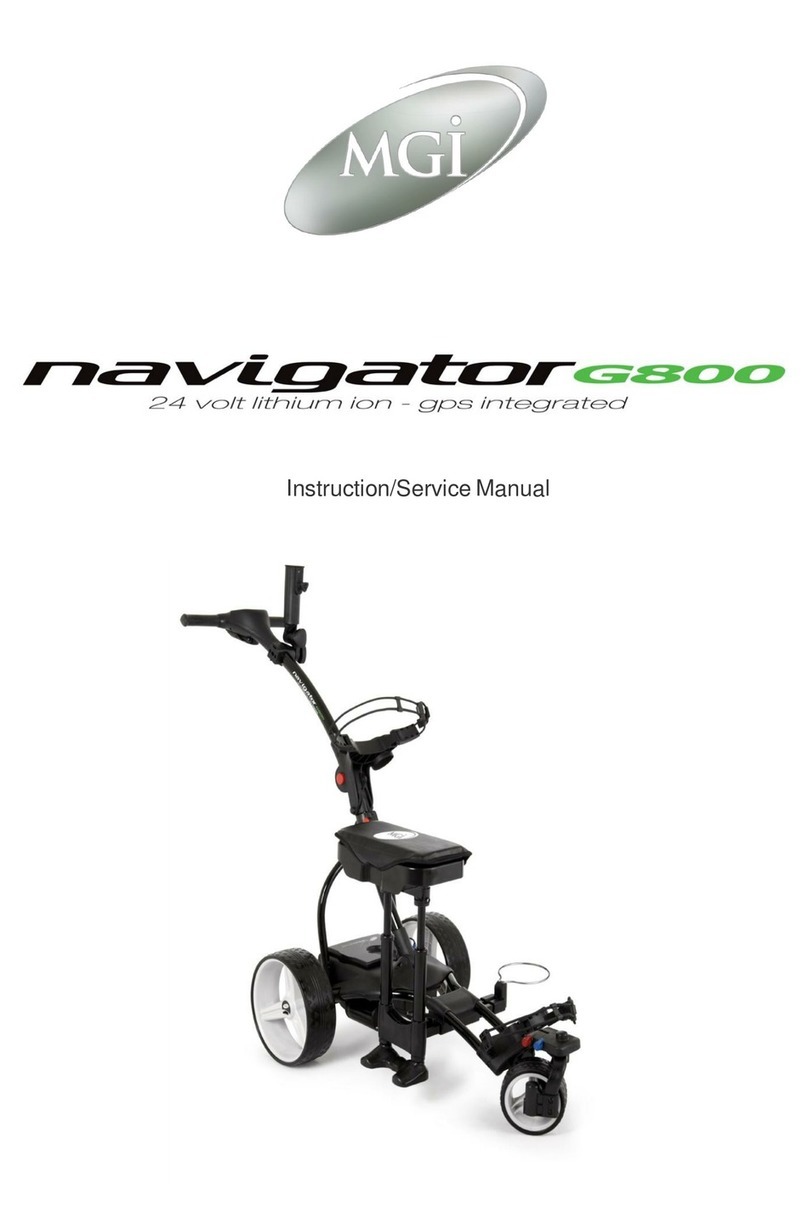
NAVIGATOR GPS
MAINTENANCE/SERVICE MANUAL
INSTRUCTION MANUAL

2
Navigating around your Sureshot Homepage
Play Golf
> Select
Course
Play
Resume
Map Course
> Start
Mapping
> Edit Course
> Delete
Course
Analyse
Game
> Select Game
Score
Statistics
Back 9/
Front 9
Features
> Setup
Units
Scoring
Backlight
Date/Time
> Status
GPS Information
GPS Signal
Navigation
Battery Status
Capacity
Registration
Reset Unit
>Demo
View
Speed control dial,
stop/go
Scroll within
Buggy Mode
Sureshot/Buggy
Mode toggle
On/off
key
Centre soft
key
Right soft key
Remote
dock
Left soft
key
Up arrow
& mark
ball key
Left, right &
down keys
Menu key
The Sureshotgps™ part of the NavigatorGPS is extremely easy to use. Most operations
can be performed with the press of one or two keys. The soft keys change their function
depending on the screen display. The function of each soft key is shown in the green
bar at the bottom of the display. The menu key is used to display the main menu or exit
from sub-menus.

3
Welcome to your NavigatorGPS, golf course green and hazard distance finder and
buggy controls. Please read the following information in this booklet to ensure you gain
the full benefit of all the features on your NavigatorGPS buggy.
Section 1. Top Box Instruction Manual
Page
1.1 Charging your remote control
5
1.2 Registering online
5
1.3 Upgrading membership
5
1.4 How to download a course map
6
1.5 Understanding GPS
6
1.6 Checking for GPS Signal
6
1.7 Navigation
6
1.8 Setting the date format and time
7
1.9 Setting the measurement unit - Metres or Yards
7
1.10 Scoring
7
1.11 Registration –Check for ownership
7
1.12 Reset unit
7
1.13 Pair Remote
7
1.14 Competition Mode
7
1.15 Buggy Mode
8
1.16 Playing Golf
8
1.17 Understanding the icons
10
1.18 Scoring
11
1.19 Mapping a course
11
1.20 Editing a course
12
1.21 Deleting a course
12
1.22 Analyse Game
12
1.23 Demo
13
Section 2. Buggy Instruction Manual
2.1 Charging and care of the battery
14
2.2 Fitting the battery
15
2.3 Battery lead fuse
15
2.4 Fail safe connection
16
2.5 Attaching/Removing wheels
16
2.6 Understanding the electronics of the NavigatorGPS
17
2.7 Folding/Unfolding your buggy
17
2.8 Fitting your golf bag
18
2.9 Positioning the seat
18
2.10 Assembling the umbrella holder
19
2.11 Sand bottle and holder
20
2.12 Engaging the 4th wheel
20
2.13 The front wheel and suspension system
20
2.14 Top handle control box features
21
2.15 Remote control features
22
2.16 The Navigation System –how it works
23
2.17 Cart tracking
23
2.18 Useful hints when using the NavigatorGPS
24
2.19 Understanding your buggy and suggestions for
dealing with unusual situations
24
2.20 Frequently asked questions and answers
25

4
Section 3. Maintenance service manual
3.1 Important information about your NavigatorGPS
28
3.2 Warranty Registration
28
3.3 Warranty Service problem
28
3.4 Warranty policy
28
3.5 Warranty exclusions
28
3.6 Parts installed during warranty
29
3.7 Preventative maintenance program
29
3.8 Cleaning your motorised buggy
29
3.9 Rear wheel axles
29
3.10 Upper and lower bag straps
29
3.11 Correcting the alignment of your NavigatorGPS
30
3.12 NavigatorGPS top handle protection
30
3.13 Charging and caring for your remote control lithium
ion battery
31
3.14 MGI Service Schedule
32
3.15 Service record for your NavigatorGPS
34
3.16 Technical and product support
35
3.17 Frequently asked questions
35
3.18 Who can help me with technical questions and
support?
35
3.19 Declaration of conformity
35
3.20 Software licensing
36
3.21 Website information
36

5
Section 1
Top Box Instruction Manual
1.1 Charging your remote control
Before you start using your NavigatorGPS buggy you must fully charge the remote
control internal lithium ion battery for approximately 6 hours or overnight with the AC
charger. The Nav On key will flash during charging.
Connect the AC world charger to a suitable power source, using the compatible AC pin
plug. Plug the USB cable from the AC charger into the remote control. The USB
connector is located on the bottom of the remote control. Ensure that the orientation of
the plug matches the socket in the remote control unit.
Turn on the power to the AC adapter. You should allow six hours to fully charge the
battery. You cannot over-charge the battery so you can leave it charging in between use.
You can also charge the remote control using the supplied USB cable and connecting it
to a computer. Note that you should not charge a completely flat battery using this
method. You should use the AC charger. The battery will take longer to charge when
using the USB cord.
1.2 Registering Online
To begin using your NavigatorGPS, the product must first be registered online.
Registering will activate your warranty period and enable course map downloads.
DO NOT CONNECT YOUR REMOTE CONTROL TO YOUR PC UNTIL
PROMPTED.
You will need to have an internet connection
You need to go to www.mgikaddy.com
Click on the My Buggy button
Click on Register and follow the prompts
1.3 Upgrading your membership
Your purchase of a GPS Series buggy entitles you to a 12 month Silver Membership and
you can upgrade to a Gold, Platinum or Platinum Plus Membership detailed below.
Silver Membership
A Silver Membership entitles you to download up to 3 golf courses for the year.
Gold Membership
A Gold Membership entitles you to unlimited uploads and downloads and your
NavigatorGPS can hold up to 10 golf courses at any time.
Platinum Membership
A Platinum Membership entitles you to unlimited uploads and downloads and your
NavigatorGPS can hold up to 20 golf courses at any time.
Platinum Plus Membership
A Platinum Plus Membership entitles you to unlimited uploads and downloads and your
NavigatorGPS can hold up to 40 golf courses at any time.
You can purchase a Gold, Platinum or Platinum Plus Membership for one, two or three
years.

6
Secure payments online
Protégé Sport Pty Ltd T/As MGI uses Secure Pay as their payment gateway for secure
payment over the internet. Secure Pay is the safe way to make transaction on the
internet. For more information on Secure Pay please visit www.securepay.com.au.
1.4 How to download a course map
You need to be connected to the internet
You need to have your Remote Control connected to your PC via the USB cable
Go to www.mgikaddy.com
Click on My GPS Buggy > Download courses
A screen will open up and at the top it will allow you to download/upload courses
Follow the prompts and download the courses required. Depending on your level of
membership you will be able to download up to 40 courses.
1.5 Understanding GPS
What is GPS and how does it work?
The Sureshotgps™ function of the buggy uses the Global Positioning System [GPS] to
work out how far you are from the green or hazard. The system relies on the buggy
receiving signals from orbiting GPS satellites.
How long does it take to gain reception from the satellites?
Ensure your buggy has been turned on outside for at least five minutes before you wish
to use it.
Can I use my NavigatorGPS inside the home or office?
The Sureshotgps™ function will not generally gain reception inside. For best accuracy,
your NavigatorGPS unit should have an unimpeded view of the sky.
1.6 Checking for GPS Signal
Before checking the status of your GPS signal, ensure you have clear sky above your
buggy and the NavigatorGPS unit has been on for at least five minutes.
You can check the status of GPS reception by going to:
Sureshot Homepage > Features > Status > GPS Information > GPS Signal
It will display the satellite number and signal strength for each satellite. A blue bar
indicates that the satellite is being used in the position calculation. A red bar indicates
that the satellite signal is being received but it is not used in the position calculation. The
latitude and longitude of the current position is also displayed.
The GPS signal strength is also displayed via a five column bar graph on the main menu
page. Once again, a blue bar indicates that the satellite is being used in the position
calculation. A red bar indicates that the satellite signal is being received but it is not used
in the position calculation.
1.7 Navigation
Displays velocity, heading and odometer.
Sureshot Homepage > Features > Status > GPS Information > Navigator

7
1.8 Setting the date format and time
Go to Sureshot Homepage > Features > Setup > Date/Time > Set Local Time
Choose dd/mm/yy or mm/dd/yy
The Navigator GPS unit has a real time clock and receives the time from satellites. To
adjust the time for daylight saving use the up/down arrows to change the hours
displayed time to the correct time. Use the left/right arrows to move between hours and
minutes. Press the Save soft key to save the correct time.
Press the Menu Key to go to the main menu
1.9 Setting the measurement unit –metres or yards
Go to Sureshot Homepage > Features > Setup > Metres/Yards
Choose Metres or Yards. Press the Menu Key to go to the main menu
1.10 Scoring
Go to Sureshot Homepage > Features > Setup > Scoring
Choose On or Off. Press the Menu Key to go to the main menu
1.11 Registration –Check for ownership
Go to Sureshot Homepage > Features > Status > Registration
Displays the software version, unique electronic serial number, registration date, model
and owner details.
1.12 Reset Unit
Go to Sureshot Homepage > Features > Status > Reset Unit
This enables you to reset your NavigatorGPS to the factory settings. It will delete all
loaded courses, saved games and reset features to their default values. It does not reset
the registration details.
1.13 Pair Remote
Go to Sureshot Homepage > Features > Buggy/Remote > Synchronise
1.14 Competition Mode
You can enable Competition Mode which disables the GPS signal, the Play Golf
functions and it does not display any distances under Buggy Mode.
Go to Sureshot Homepage > Features > Buggy/Remote > Competition Mode

8
1.15 Buggy Mode
Buggy mode displays statistics. View buggy mode by selecting the “Mode” key.
To view all statistics scroll through the menu using the “Scroll” key. Buggy mode
displays:
Distance travelled in time and kilometres
Life and round time of the buggy
Shot measuring distance
Remote control and buggy remote control capacities
Speed in km/h or mph, and selected speed level between 1 –9
Servicing schedule reminders in kilometres
You can reset these statistics except for the life of the buggy and servicing
schedule reminders.
1.16 Playing Golf
To begin using your Sureshotgps™ mode on the golf course, you must map or download
a course first (unit must be registered). See how to download courses under How to
download a course map.
a. Ensure that your NavigatorGPS has been turned on for at least five minutes with
clear access to the sky before you begin playing your game of golf.
b. From the Sureshot Homepage use the up/down arrows to select Play Golf and
then press the Select soft key.
c. Use the up/down arrows to select the desired course and then press the
Select soft key.
d. Details of the chosen course will be displayed. Press the Play soft key.
e. One of two viewing screens will be displayed. To switch between the two screens
press the View soft key.
f. Details of the chosen course will be displayed. Press the Play soft key.
g. If hazards have been mapped for the hole, the Hazard Screen will be displayed.
If there are no hazards for the hole the Green Screen will be displayed.

9
h. Press the View soft key to change between the Green Screen and the Hazard
Screen.
i. Press and hold the Mark Ball (up arrow key) key to mark the position of the ball
at the beginning of a drive. Press the Back soft key to return to the Play Screen.
j. Press and hold the Mark Ball (up arrow key) key to view the drive distance.
Press the Save soft key to save the drive distance or the Remark soft key to
remark a ball position. Press the Back soft key to return to the play screen.
k. The Green Screen will show the distance to the front, centre and back of the
green. The status bar at the bottom of the display shows the soft key scoring
options if scoring is enabled.
l. If scoring is enabled, on the Green Screen press the Putt soft key to increment
the putt count. Hold down the Putt soft key to decrement the putt count. Press
the Sand soft key to set sand saves.
m. The Hazard Screen shows the distance to the centre of the green and for each
hazard the distance to the front and the carry distance. Each hazard is labelled L
–Left, C –Centre or R –Right. If there are more than three hazards a red
arrow will be displayed. Use the up/down arrows to scroll through the mapped
hazards.
n. If scoring is enabled, on the Hazard Screen press the Fairway soft key to set
fairway hit. Press the Green soft key to set greens in regulation.
o. If there are no hazards mapped for a hole and scoring is enabled, the View soft
key is used only for the scoring options.
p. If scoring is enabled, press and hold the View soft key to display penalties and
green up/downs on both the Green and the Hazard Screens. Press the Pens soft
key to increment the penalty count. Hold down the Pens soft key to decrement
the penalty count. Press the up/down soft key to set greenside up and downs.
q. If scoring is enabled, press the right arrow key to go to the display Score
Screen. If scoring is not enabled the next hole will be displayed. The score
defaults to the par of the hole. Use the up/down arrows to increment/decrement
the score. Press the right arrow key to go to the next hole. Press the left arrow
key to display the previous hole.
r. If scoring is enabled, at any time during the game, press and hold down the
down arrow key to display the current score. Press the Done soft key to return to
the game.
s. Press the Menu key at the end of the game. If scoring is enabled press the Yes
soft key to save the score. Press No to discard the score and return to the Main
Menu.
First View
The first viewing screen, to the left,
displays the distance to the hazards
to the carry of the hazards for each
hole on the right side.
A red arrow is displayed on the
screen when there are more than
three hazards per hole. Use the
up/down arrows to scroll through the
10
mapped hazards. The distance from
you to the centre of the green is
shown on the left side.
Second View
The second viewing screen, to the
left, displays the distance from you to
the front, centre and back of the
green. These measurements are
displayed in metres or yards
depending on your preference (see
instructions under Setup).
1.17 Understanding the Icons
The greens and hazards are all represented in easy to read icons:
The distances are displayed in the following format:

11
1.18 Scoring
This feature is switched On or Off from the:
Sureshot Homepage > Features > Setup > Scoring
To begin scoring first select the hole you are hitting off from. If hitting from the
5th hole press the left arrow key until Hole 5 is displayed then follow the
following steps:
If scoring is switched Off the Fairway, Green, Putts and Sand soft keys are
not displayed.
1.19 Mapping a course
When mapping a course it is ideal to map all the hazards as well as the
greens. Good mapping involves taking account of relevant hazards and all greens in
sequence. There is no need to map tee off areas as your NavigatorGPS will always
tell you how far you [the NavigatorGPS] are to those hazards and greens that you
have mapped.
a. Turn on your NavigatorGPS. You will need to wait up to five minutes for the
Sureshotgps™ to lock in to the available satellites.
b. Press the Menu key.
c. Select Map Course using the down arrow.
d. Select Start Mapping and enter the full course name, for example,
Commonwealth Golf Club. Select the desired letters using the up/down and
left/right arrow keys. Press Save once complete.
e. Press the Map soft key to map the course or the Back soft key to return to the
previous display.
f. Using the up/down arrow keys select the hazard type of the first hazard which
appears on the first hole. Press the Select soft key.
g. Select from Left, Centre or Right to indicate where on the fairway the hazard
appears.
h. Walk to the front of the hazard, press the Front soft key. The Sureshotgps™
will count down from 10 seconds while it locks in the GPS position.
i. Walk to the Carry (back) of the hazard, press the Carry soft key. The
Sureshotgps™ will count down from 10sec while it locks in the GPS position.
j. Once complete, press the Done soft key.
k. Repeat this process for each hazard.

12
l. After the last hazard use the up/down arrow keys to select the Green icon and
press Select.
m. Walk to the front of the green, press the Front soft key. The Sureshotgps™
will count down from 10 seconds while it locks in the GPS position.
n. Walk to the back of the green, press the Back soft key. The Sureshotgps™
will count down from 10 seconds while it locks in the GPS position.
o. Walk to the centre of the green, press the Centre soft key. The Sureshotgps™
will count down from 10 seconds while it locks in the GPS position.
p. Press the Right arrow key to move to the par of the hole. The Par of the hole is
selected using the Up/Down arrow keys.
q. Press the Right arrow key to go to the next hole.
r. Repeat these steps for each hole on the course.
s. To exit mapping and save the course press the Menu key. A message will be
displayed noting the saved course number.
t. You can now upload your course for saving.
u. You need to be connected to the internet and have your remote control
connected to your computer.
v. When you have logged onto www.mgikaddy.com follow the prompts.
Hint: When mapping hazards ensure you have regard to where you would have come
from [that is the tee off area] and where you are going [that is the green].
1.20 Editing a course
You can edit a course that is on your NavigatorGPS. You may like to add a layup point
or a reference point, or add a hazard that was not included in the original mapping.
Go to Sureshot Homepage > Map Course > Edit Course
1.21 Deleting a course
You can delete courses that are stored on your NavigatorGPS.
Go to Sureshot Homepage > Map Course > Delete Course Press the Yes soft key to
delete the course. Press the No soft key to return to the previous display. Press the
Menu key to return to the main menu.
1.22 Analyse a game
The NavigatorGPS offers the unique function of analysing game scores and shots
if they were recorded during the game (see Scoring for instructions).
a. From the main menu use the up/down arrows to select Analyse Game and
then press the Select soft key.
b. Use the up/down arrows to select the desired Game and then press the
Select soft key.
c. Press the Statistics soft key to view the statistics for the game.
d. Press the Score soft key to display the score for the game.
e. Press the Back 9/Front 9 soft key to toggle between the front 9 and back 9
scores.
f. Press the Done key to go back to the Select Game display.

13
g. To delete a game use the up/down arrows to select the desired Game and then
press the Delete soft key. When prompted press the Yes soft key to delete the
game or the No soft key to return to the game list without deleting the game.
1.23 Demo
To view the demonstration screen on the NavigatorGPS, Go to Sureshot Homepage >
Features > Demo. This will provide a rolling demonstration of how the NavigatorGPS
shows distances when in the Play Golf mode. By pressing the View soft key, the two
viewing screens per hole can be seen.

14
Section 2
Buggy Instruction Manual
Charging and care of the battery
2.1 Charge and care of the battery
Prior to the first and after every use charge the battery. The battery and charger
comes with an easy connection system, red to red and black to black.
Important: - The battery must be charged at least overnight before its first use.
Your battery is designed for 18 holes only. If you play more than 18 holes before
recharging, the battery‟s life could be compromised.
Always recharge the battery as soon as possible after use, no matter how short the
period of use. Your battery will charge best lying flat in a warm location with and air flow.
Note: In winter, it is best charged in a warm location and off any concrete floor.
During play, minimise the drain on the battery by avoiding taking your buggy into the
rough whenever possible.
Avoid using the buggy to pull you up hills.
In between use, always leave the charger connected to the battery with power on.
If you are not playing golf for some time, you may disconnect the battery once it is
charged. The battery will need recharging at least every 3 months and must be
recharged prior to use. The battery should be stored in a dry and warm
environment.
The battery is a sealed battery. If you are intending to take your buggy and battery
on air travel, we advise that you make contact with your airline prior to travel.
Be very careful not to drop your battery. The battery casing is easily cracked and the
battery‟s life will be severely compromised.

15
2.2 Fitting the battery
Once charged, the battery can be fitted to the buggy. The battery comes with a
battery cover, carry handle and battery leads.
a. Place your battery in the tray with the leads facing to the front of the buggy.
b. The battery tray has a battery securing strap.
c. The securing strap is to be used at all times as it protects your battery against
damage from falling out.
d. The battery lead can now be connected to the battery tray. Connect red to
red and black to black.
2.3 Battery lead fuse
Your NavigatorGPS has a 40 amp fuse connected to the battery lead. The 40 amp fuse
helps protect the buggy‟s control board against a power surge.
An extra fuse is supplied with your buggy.

16
In the unlikely event of your buggy stopping, the reason could be the fuse has blown.
Check and replace if necessary.
The replacement of the fuse will allow you to continue using your buggy. If the fuse
blows, contact your service centre.
2.4 Fail Safe Connection
Your buggy has been equipped with fail safe battery connection. Your buggy will only
start once you increase the speed control.
2.5 Attaching/removing wheels
If your buggy comes with the wheels off, they should be placed in position prior to
unfolding. To put the wheels on you will need to align the four slots on the inside of the
wheel with the same four on the drive dog on the axle. To engage the rear wheel,
depress the quick release catch until the wheel is in place.
Align the four slots on the wheel with those on the drive dog teeth.
Depress the quick release catch, whilst putting wheel in position on the axle
Your NavigatorGPS buggy uses a gear system, whereby the two rear drive wheels do
not free wheel. The motor needs to be running for the buggy to move. Drive will only
occur when the speed control is turned on.

17
If for some reason your buggy stops operating during your golf round, your buggy can
free wheel. Simply depress the quick release tag and at the same time move the wheel
outwards about 10mm from its current position. Release the tag and allow the wheel to
click into its outer position. By doing this, you have disconnected the wheels from the
drive and they can rotate freely.
2.6 Understanding the electronics of the NavigatorGPS
Your NavigatorGPS uses a highly sophisticated and patented electronic gyroscope as
the navigation system to steer the buggy when in „Nav On‟ mode. The gyroscope is tilt
compensated to enable true steering over a wide range of grades you expect to
encounter on the average golf course.
Your new NavigatorGPS with an electronic gyroscope motor controller will allow the
navigation system to operate at the desired handle height independent of any external
conditions.
Your NavigatorGPS employs auto range detection so the buggy will not go out of
range of the remote control (80 metres). A battery saving feature has also been
added to the operation of your remote control. If some reason you do not touch
the remote control for three minutes whilst your buggy is within range, the buggy
will stop. Simply press a command on the remote and the buggy will resume
whatever task you seek of it.
2.7 Folding/Unfolding your buggy
Practice unfolding and folding the buggy using the steps below. This means when you
go to play golf you will be somewhat familiar with this task.
Press the button on the lower folding mechanism and fold the lower handle
Press the button on the upper folding mechanism and fold the upper handle
Collapse the handle until both folding mechanisms lock into place
Bend your knees and lift the buggy using the front lifting handle and rear lifting bar
The following order of steps is suggested when folding your buggy down:
Seat and stem off
Golf bag off
Battery off and directly into the boot of the car. This will save double handling

18
Sand bottle and holder off
Disengage 4th wheel after having removed and wiped it down
Fold down buggy and place into the boot of the car
2.8 Fitting your golf bag
Separate the clip located on the top bag support
Expand the strap so it fits around the golf bag
Place your golf bag on the buggy
Clip the top bag support strap in place
Pull the top bag support strap tight
The bottom strap should not be removed from its position and can be pulled over
the bag by holding the webbed section of the strap and pulling it over the base of
the golf bag
2.9 Positioning the seat
Place the seat stem into its position in the seat stem bracket on the right hand side of the
buggy.
IMPORTANT: DEPRESS THE SEAT WITH YOUR HAND BEFORE SITTING. DO NOT
USE THE SEAT ON UNEVEN SURFACES.

19
Please note MGI does not warrant any seat support brackets that are damaged or
bent.
2.10 Assembling the umbrella holder
Your buggy comes with an umbrella holder. The umbrella holder needs to be bolted into
position. Simply follow the pictures above. When not in use the umbrella holder can be
turned to its side. If you take your buggy home in your car, you may need to do that
prior to folding the buggy down. Your umbrella holder can be adjusted both to the side
and backwards and forwards.
The umbrella is secured inside the umbrella holder by tightening the plastic bolt located
near the top of the holder.
DO NOT LEAVE YOUR UMBRELLA UP IN THE UMBRELLA HOLDER IN WINDY
CONDITIONS.
If the wind catches the umbrella, it could cause your buggy to tip over and cause
damage, which will not be covered by warranty.

20
2.11 Sand bottle and holder
Your buggy comes with a sand bottle and holder, place this in position at the rear of the
buggy.
2.12 Engaging the 4th wheel
Important: To avoid damage to your buggy always engage the 4th wheel prior to
playing golf, regardless of the terrain you are playing on.
To engage the 4th wheel, pull on the spring loaded locking pin, begin to slide the 4th
wheel back, release the locking pin and continue sliding the 4th wheel back until the
locking pin locates itself into position.
The 4th wheel should be cleaned regularly. Remove the 4th wheel by pulling on the
spring loaded locking pin and slide the 4th wheel all the way out of its housing. The 4th
wheel can then be cleaned with a cloth. Then reinsert the 4th wheel into its housing and
pull on the spring loaded locking pin.
2.13 The front wheel and suspension system
Your buggy has a unique front wheel system. The front wheel can swivel 360
degrees. The main advantage of this is that your buggy is highly manoeuvrable.
You only need to turn the buggy handle and your buggy will turn. The suspension
helps reduce the amount of shock the buggy will take when going over hills,
bumps, ruts, etc.
This manual suits for next models
1
Table of contents
Other MGI Golf Trolley manuals