MGI Zip Navigator User Manual 1716
7.4 Left and Right Arrow
When the buggy is stopped, press the appropriate turn command
and keep depressed until the degree of turn is achieved, then
press the forward button for the buggy to go forward.
Whilst the buggy is moving, press the appropriate turn command,
and keep depressed until the degree of turn is achieved.
Momentary pressure will make a small adjustment to the
direction, whilst prolonged pressure will increase the degree of
turn and speed of the turn.
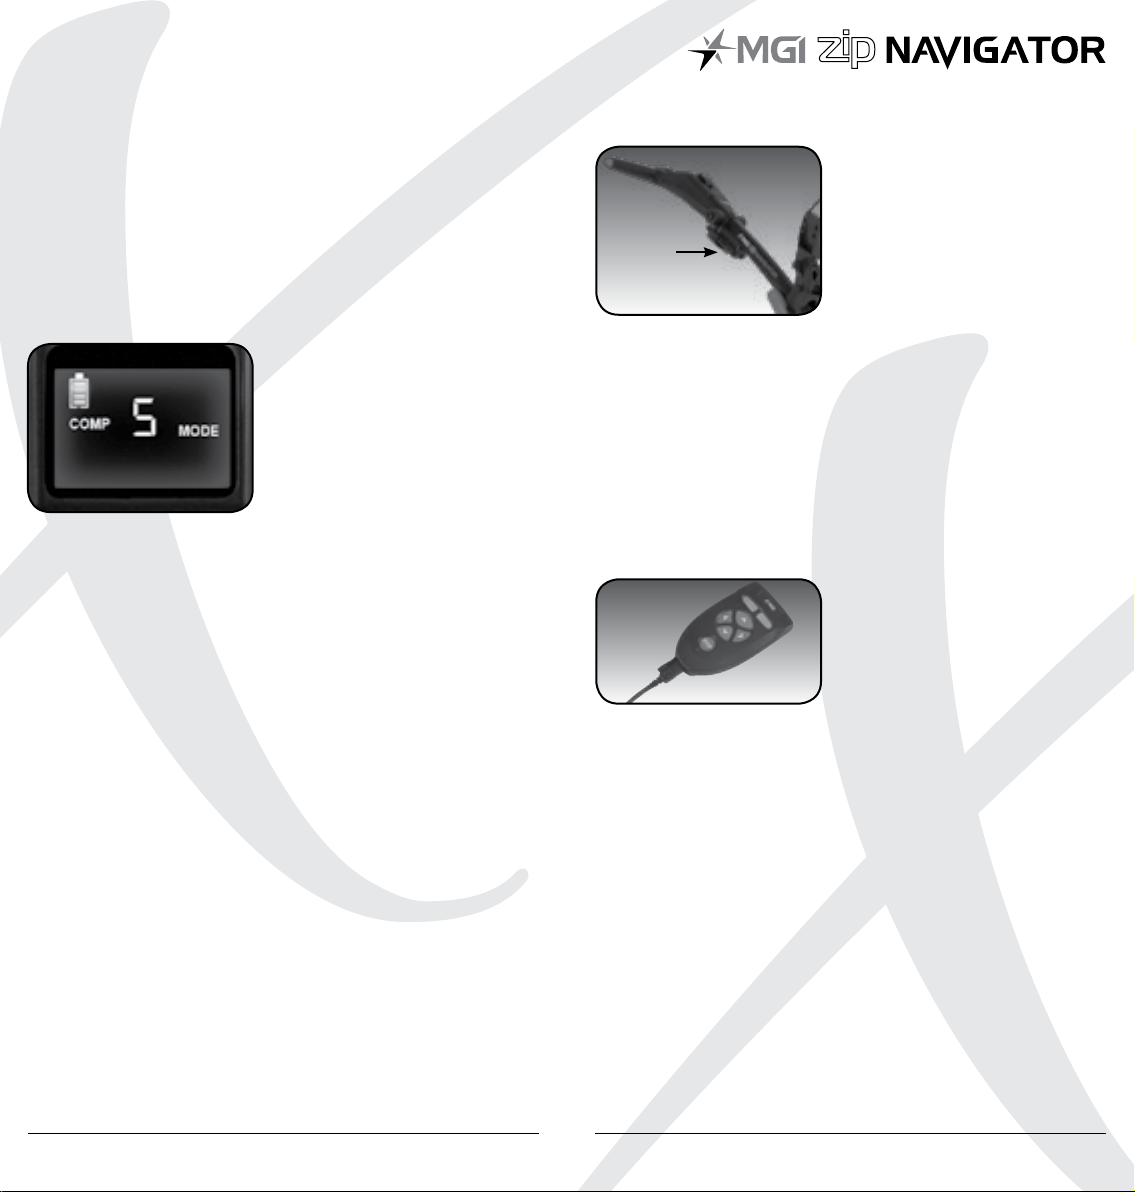
7.5 Speed Control – Manually and Remotely
Under manual control, you can adjust the speed by turning
the speed control button clockwise [increase speed] or
anti-clockwise [decrease speed]. When changing to the remote
control, irrespective of the speed level indicated on the display,
the buggy will always start at speed 2.
7.6 Keypad Unlock and Lock
The remote control has two buttons at the top which allow
you to LOCK and UNLOCK the keypad. This will help eliminate
accidental control when storing the remote in your pocket.
The STOP button will continue to work, when the LOCK feature is
activated.
7.7 Remote Range and Safety Stop
The Zip Navigator All Terrain can be remotely controlled up to
100m. If the remote control loses contact with the buggy, then
the automatic safety stop will initiate after five seconds. This is for
the protection of your buggy, yourself and others. If the buggy
was last activated using the manual controls, the auto safety stop
feature will not operate. Please note, the top left unlock button
will flash every 3 seconds while the buggy is running under remote
control.
7.8 Pairing a Remote
If your remote loses pairing with the Top Box or you replace your
remote it will need to be paired as follows:
1. Disconnect the battery
2. Hold down the Stop Button on the remote until both the lock
and unlock buttons are illuminated – then release the Stop
Button.
3. Reconnect the battery
4. The remote will synchronise with the Top Box – the process
will be complete once the lock and unlock buttons are no
longer illuminated
Please note, if you do not connect the Zip Navigator All Terrain, as
per point 3, with a battery, the remote will exit pairing after one
minute.
8.0 Gyroscope Straight Tracker
Navigation System
The Zip Navigator All Terrain is built with a Patented Gyroscope
Straight Tracker Navigation System. This automatic feature ensures
the buggy maintains its direction regardless of the terrain. The
buggy will automatically brake or accelerate either wheel to
maintain its direction.
When the buggy is controlled by the remote, the navigation
system is always ON.
When the buggy is controlled manually, the navigation system is
always OFF.
Tip: On a steep incline or if the buggy hits a divot or other object,
the gradient may force the buggy off line. You do not need to
adjust the buggy. The buggy will work its way back on course.
9.0 Warranty
9.1 Warranty Policy
The MGI Zip buggy is covered by a Limited* manufacturer’s
warranty from the date of purchase. Duration of this warranty is:
– 2 years on parts*
– 2 years on Lithium batteries and chargers
*MGI or an authorised service centre will repair or replace any
parts found to be defective in materials or workmanship under
normal use provided that:
1. The MGI Zip buggy has been properly used, maintained and
regularly serviced [see section 10.5]
2. The replacement or repair is performed by an authorised
MGI service centre or the owner with MGI approval.
3. The buggy has been registered online.