MGI Zip X4 User Manual 1716
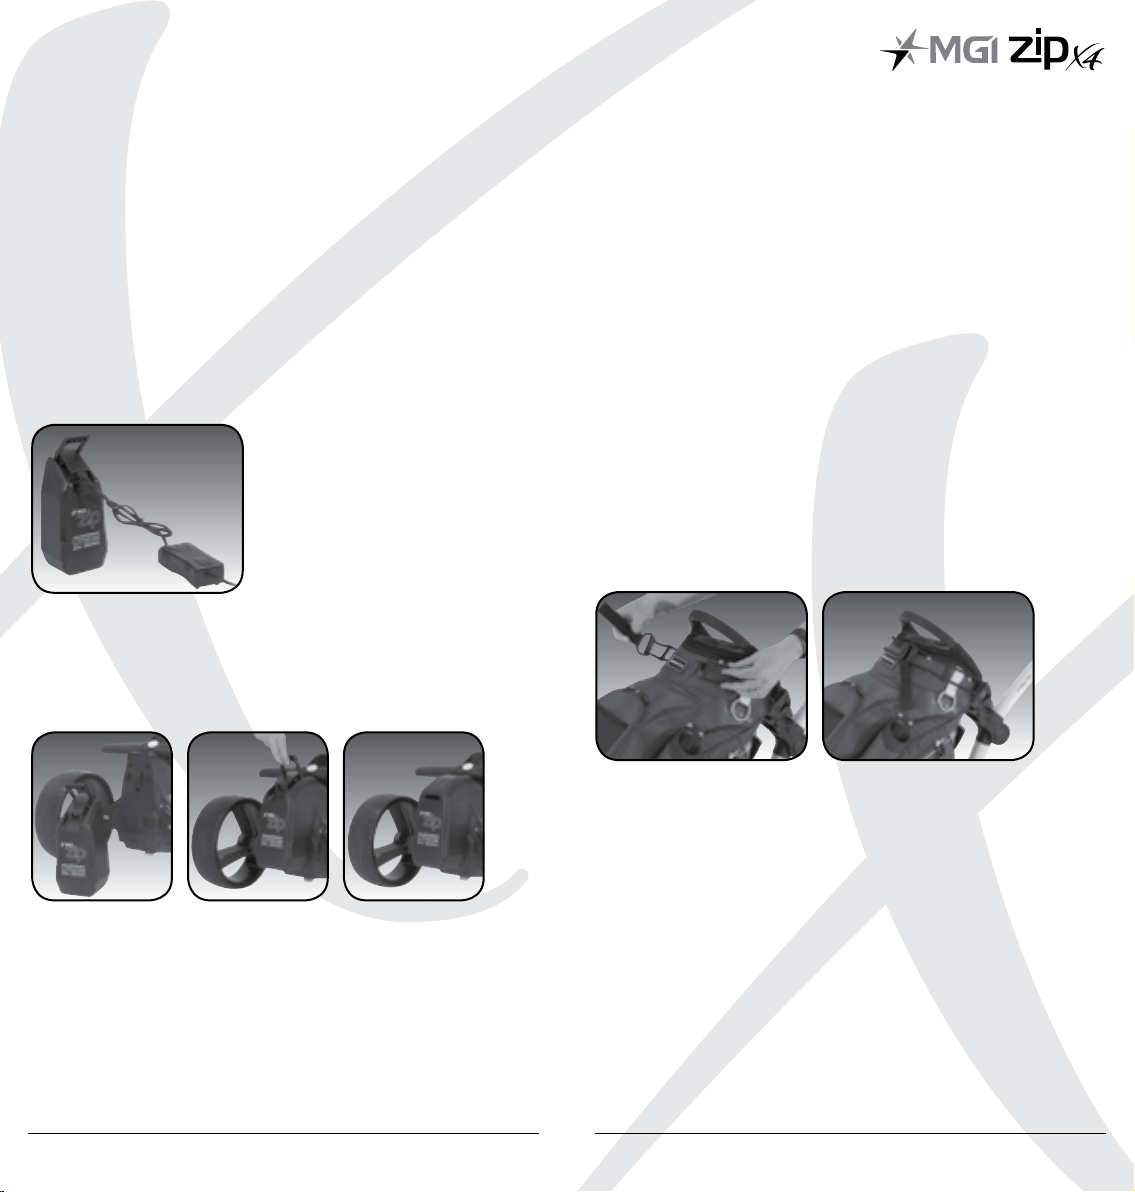
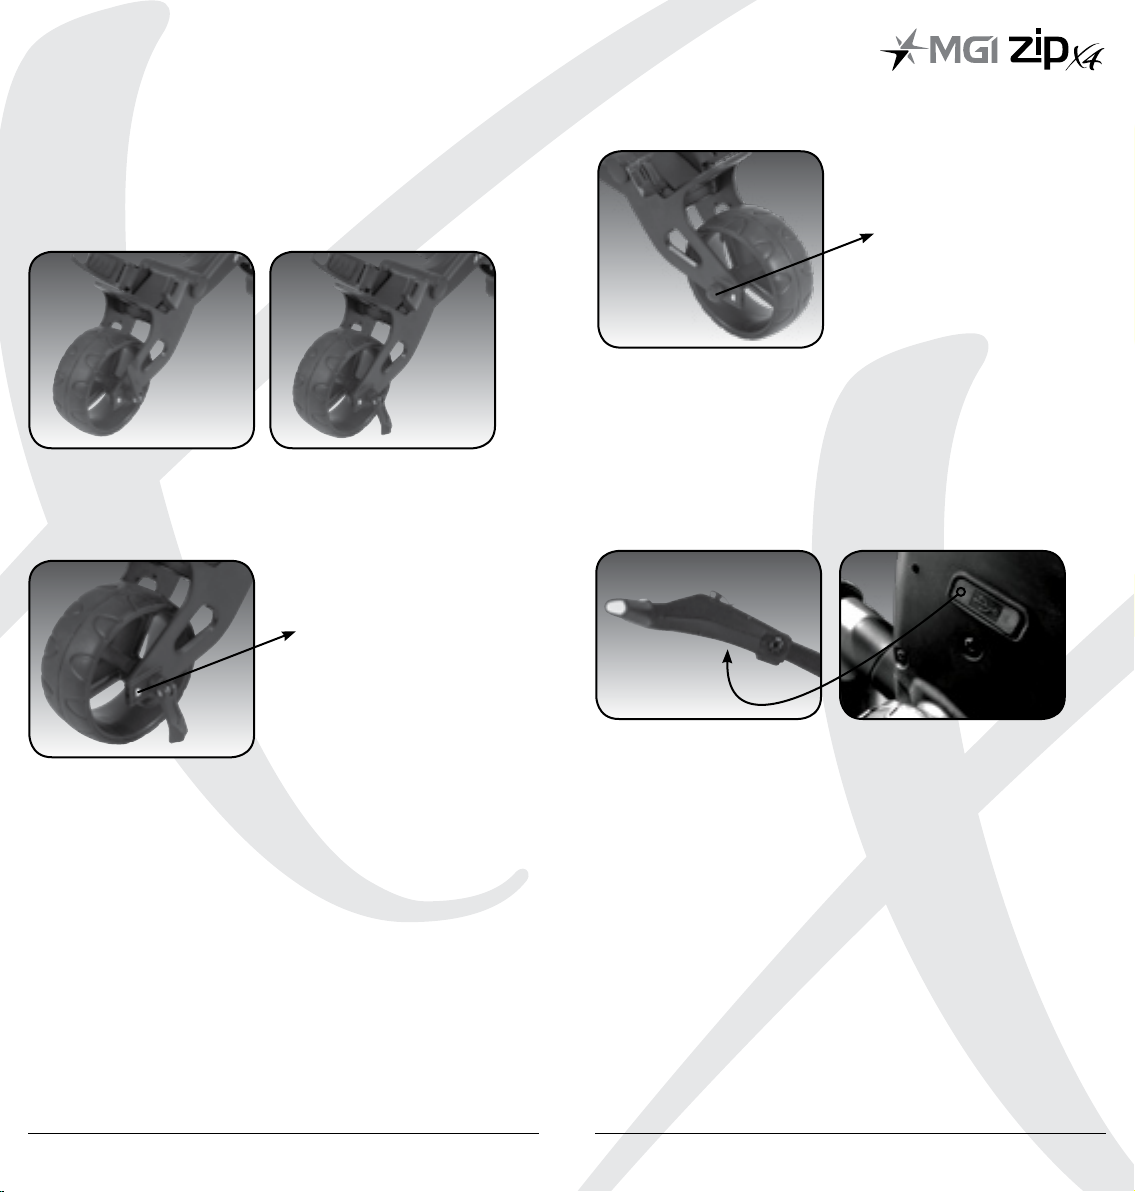
Light 2: Battery indication
The light on the right hand side displays the battery status. There
are two colors of battery status: Green [charged] and Red [low].
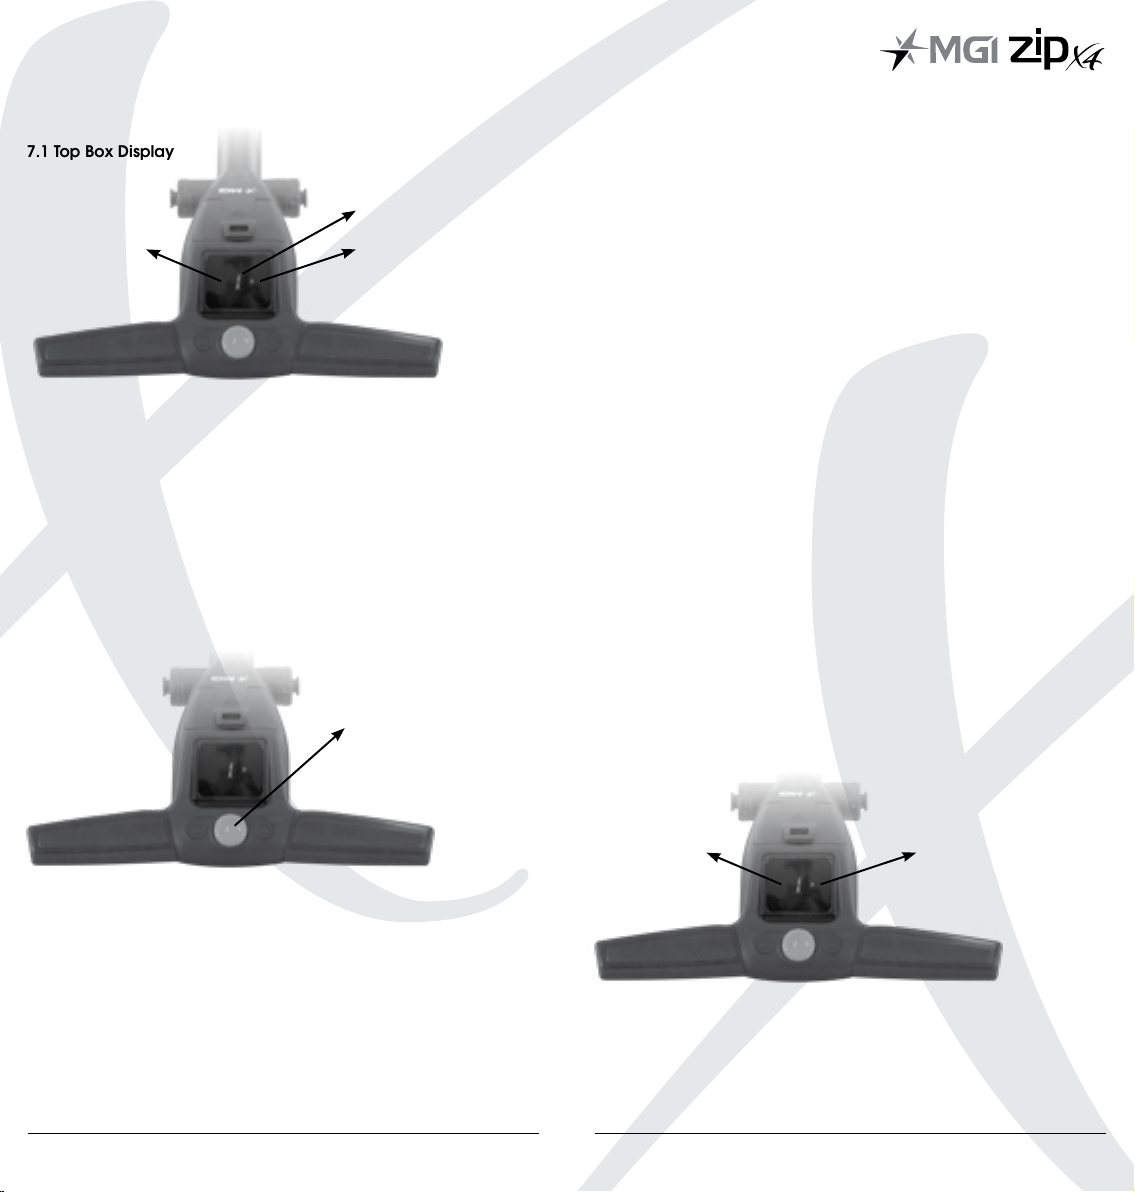
7.5 Electronic Park Brake
The MGI Zip X4 brake has an Electronic Park Brake [EPB] which
when activated, stops the buggy from creeping forward on hilly
terrain.
To activate the Electronic Park Brake
1. Firstly stop the buggy by tapping the control button.
2. Rotate the speed dial anticlockwise until the letter P appears
on your LCD display.
3. The letter ‘P’ will display and flash on the digital top box.
4. To release the brake tap the control button once and the
buggy will resume operation.
Tips on using the Electronic Park Brake
1. The EPB will consume battery power when in use.
2. Only use the EPB on large slopes when the buggy cannot
stand still by simply stopping the buggy.
3. Do not use the EPB on flat surfaces to conserve battery life.
4. The EPB function should not be ON for a long period of time.
5. Simply use the on/off control when stopping on flat terrain or
during longer breaks on the course.
7.6 Downhill Speed Control
The downhill speed control feature is activated automatically
as the buggy enters a downhill incline. This feature is due to the
differential gearbox.
Tips on understanding the Downhill Speed Control
It is best to turn the speed down to a low speed before entering
the downhill terrain.
The buggy may gain some speed downhill but will not increase
beyond control.
8.0 Warranty
8.1 Warranty Policy
Your MGI ZIP buggy is covered by a Limited* manufacturer’s
warranty from the date of purchase. Duration of this warranty
is:
– 2 years on parts*
– 2 years on Lithium batteries and chargers
*MGI or an authorised service centre will repair or replace any
parts found to be defective in materials or workmanship under
normal use provided that:
1. The MGI Zip buggy has been properly used, maintained and
regularly serviced [see section 10]
2. The replacement or repair is performed by an authorised
MGI service centre or the owner with MGI approval.
3. The buggy has been registered online.
8.2 Warranty Exclusions
The following events will void warranty:
• Any alteration performed by non-authorised people
or companies.
• Fitting of parts or accessories not recommended by MGI.
• Any damage caused by continued operation of the
motorised buggy after it is known to be defective.
• Damage to seat and/or seat support bracket on buggy.
• Damage caused by ingress of water into motor/gearbox
and other major components.
• Damage caused by buggy going into bunkers and other
course hazards.
• All implied warranties [save those preserved by statute] are
excluded. Liability for consequential damages under any
and all warranties are excluded to the extent exclusion is
permitted by law.
8.3 Parts Installed During Warranty
Warranty coverage for components installed during a motorised
buggy’s warranty period shall consist of the duration of the
buggy’s warranty period, provided the warranty installation is
performed by MGI, an authorised service centre or the buggy
owner on approval. Replacement of parts under warranty will not
extend the warranty of the buggy or parts.