manuals.online logo
Brands
  1. Home
  2. •
  3. Brands
  4. •
  5. Micasa
  6. •
  7. Indoor Furnishing
  8. •
  9. Micasa BICO Goodnight Boxspring User manual

Micasa BICO Goodnight Boxspring User manual

Version 08/2022
DE
FR
IT
DE
FR
IT
Montageanleitung Boxspring
Instructions de montage Boxspring
Istruzioni di montaggio Boxspring
Installation instructions BoxspringEN
Wichtig:
Vor Gebrauch sorgfältig
durchlesen/
Montageanleitung für
späteres Nachlesen
aufbewahren
Important:
Lisez attentivement/
conserver les instructions
d'installation
pour référence future
avant utilisation
Importante:
lettura/conservare
Istruzioni per l'installazione
per riferimento
futuro accuratamente
prima dell'uso
Important:
Read carefully before
assembling/keep and
store Instruction for
reference
1
2
Aufbau Boxspringbettsystem
Construction du systéme de lits boxspring
Struttura letto boxspring
Structure box spring bed system
3
Unterfederung Fix / Sommier Fix
Molleggio inferiore Fix / Boxspring Fix
Fussmontage / Montage sur pied
Montaggio del piede / Foot mounting
Unterfederung mit Klettverschluss / Sommier avec fermeture agrippante
Molleggio inferiore con chiusura a strappo / Boxspring with Velcro fastener
Unterfederung Motor / Sommier moteur
Molleggio inferiore motore / Boxspring motor
Kopfteil / Tête de lit
Testiera / Headboard
4
6
7
8
14
Grösse / Dimensions / Dimensioni / Dimension
Unterfederung / Sommier / Molleggio inferiore / Box
Matratze / Matelas / Materasso / Mattress
Kopfteil / Tète de lit / Testiera / Headboard
Füsse / Pieds / Piedi / Feets
Bezug / Habillage /Rivestimento /Cover
Topper / Surmatelas / Topper / Topper
4
4x / 2x4x / 2x 1x1x 1x1x
Unterfederung Fix
Sommier Fix
Molleggio inferiore Fix
Boxspring Fix
4x / 6x4x / 6x
Durchgehende Optik vorne mit Klettverschluss (seamless)
Optique continue à l'avant avec fermeture agrippante (seamless)
Ottica continua nella parte anteriore con chiusura a strappo (seamless)
Continuous optics at the front with Velcro fastener (seamless)
Getrennte Optik vorne
Optique séparée à l'avant
Ottica separata nella parte anteriore
Getrennte Optik vorne
Optique séparée à l'avant
Ottica separata nella parte anteriore
Separate optics at the front
Getrennte Optik vorne
Optique séparée à l'avant
Ottica separata nella parte anteriore
Separate optics at the front
"Headboard"
2x
1x
Bei durchgehender Optik vorne (seamless)
En cas d'optique continue à l'avant (seamless)
Con ottica continua nella parte anteriore (seamless)
With continuous optics at the front (seamless)
Nur bei Box Länge 210 cm
Seulement pour box longueur 210 cm
Solo con scatola di lunghezza 210 cm
Only if length of box is 210 cm
Nur bei Box Länge 210 cm
Seulement pour box longueur 210 cm
Solo con scatola di lunghezza 210 cm
Only if length of box is 210 cm
"Headboard"
2x
1x
4x
Bei getrennter Optik vorne
En cas d'optique séparée à l'avant
Con ottica separata nella parte anteriore
Bei getrennter Optik vorne
En cas d'optique séparée à l'avant
Con ottica separata nella parte anteriore
With separate optics at the front
Bei getrennter Optik vorne
En cas d'optique séparée à l'avant
Con ottica separata nella parte anteriore
With separate optics at the front
5
Unterfederung Fix
Sommier Fix
Molleggio inferiore Fix
Boxspring Fix 4x
2x2x2x2x
2x2x
Fussmontage
Montage sur pied
Montaggio del piede
Foot mounting
6
4x M8*50
12x 4*30
16x 5*35
Nach erfolgter Fussmontage die beiden Boxen zusammenschieben und mit
Klettband fixieren.
Une fois le montage du pied terminé, rapprocher les deux caissons et les
fixer avec du velcro.
Una volta montati i piedini, spingere le due casse tra loro e fissare con il
velcro.
Once the feet have been mounted, push the two boxes together and fix
them with velcro tape.
Die Hülle auf die Boxen legen mit den Ausparungen der Beschläge nach
oben. Ecken sauber positionieren.
Poser la housse sur les caissons avec les évidements des ferrures vers
l'arrière. Positionner les coins proprement.
Posizionare il coperchio sulle casse con gli incavi dei raccordi verso il retro.
Posizionare gli angoli in modo ordinato.
Place the cover on the boxes with the cut-outs of the fittings facing upwards.
Position the corners neatly.
Die Hülle in der Mitte der Box befestigen.
Fixer la housse au centre de la caisse.
Fissare il coperchio al centro della cassa.
Die Hülle in der Mitte der Box befestigen.
Fixer la housse au centre de la caisse.
Fissare il coperchio al centro della cassa.
Fasten the cover in the middle of the box.
Die Hülle in der Mitte der Box befestigen.
Fixer la housse au centre de la caisse.
Fissare il coperchio al centro della cassa.
Fasten the cover in the middle of the box.
Zuletzt Hülle von der Mitte nach aussen gleichmässig befestigen.
Enfin, fixer la housse uniformément du centre vers l'extérieur.
Infine, fissare il coperchio in modo uniforme dal centro verso l'esterno.
Zuletzt Hülle von der Mitte nach aussen gleichmässig befestigen.
Enfin, fixer la housse uniformément du centre vers l'extérieur.
Infine, fissare il coperchio in modo uniforme dal centro verso l'esterno.
Finally, fasten the cover evenly from the centre outwards.
Zuletzt Hülle von der Mitte nach aussen gleichmässig befestigen.
Enfin, fixer la housse uniformément du centre vers l'extérieur.
Infine, fissare il coperchio in modo uniforme dal centro verso l'esterno.
Finally, fasten the cover evenly from the centre outwards.
Unterfederung mit Klettverschluss
Sommier avec fermeture agrippante
Molleggio inferiore con chiusura a strappo
Boxspring with Velcro fastener
Die Hülle über die Boxen nach unten ziehen. Die Ecken müssen sauber
positioniert sein.
Tirer la housse vers le bas sur les caissons. Les coins doivent être
positionnés proprement.
Abbassare il coperchio sulle casse. Gli angoli devono essere posizionati in
modo ordinato.
Pull the cover down over the boxes. The corners must be neatly positioned.
Zuerst die Ecken mit dem Klettverschluss an der Box befestigen. Die Hülle
nicht zu fest anziehen, bündig mit dem Klettverschluss.
Fixer d'abord les coins àla caisse avec le velcro. Ne pas trop serrer la
housse, au ras du velcro.
Per prima cosa fissare gli angoli alla cassa con il velcro. Non stringere
troppo il coperchio, a filo del velcro.
First attach the corners to the box with the Velcro. Do not tighten the cover
too much, flush with the Velcro.
7
"Headboard"
a
b
c
d
e
f
2x2x2x
2x
6x6x 1x1x
1x1x
2x2x
2x2x
Unterfederung Motor
Sommier moteur
Molleggio inferiore motore
Boxspring motor
8
2x2x
4x M6*80
4x M6*25
1
"Headboard"
4x4x4x
4x4x4x
9
Unterfederung Motor
Sommier moteur
Molleggio inferiore motore
Boxspring motor
M6*80
M6*25
2
3
4x
"Headboard"
"Headboard"
2x
10
Unterfederung Motor
Sommier moteur
Molleggio inferiore motore
Boxspring motor
2x
4
"Headboard"
11
Unterfederung Motor
Sommier moteur
Molleggio inferiore motore
Boxspring motor
a
b
c
d
5"Headboard"
HeadHead
FeetFeet
Head
Feet
Head
Feet
6
Battery
12
Unterfederung Motor
Sommier moteur
Molleggio inferiore motore
Boxspring motor
Unterfederung Motor
Sommier moteur
Molleggio inferiore motore
Boxspring motor
Um den Motor mit der Funkfernbedienung zu verbinden (pairen),
drücken Sie 2x die Pairing-Taste (A) am EmpfäNger bis die Pairing-
LED aufleuchtet. Der Pairing-Prozess ist für die nächsten 10 Sekunden
aktiv.
Drücken Sie gleichzeitig die Tasten B und C an der
Funkfernbedienung, bis die Pairing-LED erlischt. Dieses bestätigt den
erfolgreichen Pairing-Prozess. Dieser Prozess ist nur einmalig bei der
ersten Inbetriebnahme vorzunehmen. Für den Pairing-Prozess sollte
der Abstand zwischen Funkfernbedienung und Empfänger weniger
als zwei Meter betragen.
Mit den Tasten D und E können Sie nach der gleichen Methode (Pkt. 1
& 2) einen zweiten Motor zur parallelen Nutzung von zwei
Liegeflächen verbinden. Dies ist erforderlich, wenn Sie ein Doppelbett
haben und beide Liegeflächen gleichzeitig auf- oder abfahren wollen
(z.B. bei einer durchgehenden Matratze oder einem durchgehenden
Topper notwendig).
Pour coupler le moteur à la télécommande radio (appairage),
pressez 2×la touche d’appairage (A) du récepteur jusqu’àce que
la LED d’appairage s’allume. Le processus d’appairage est actif
pendant les 10 secondes suivantes.
Appuyez simultanément sur les touches Bet Cde la télécommande
radio jusqu’àce que la LED d’appairage s’éteigne. Cela confirme la
réussite de l’appairage. Ce processus ne doit être réaliséqu’une
seule fois, lors de la première mise en service. La distance entre la
télécommande radio et le récepteur devrait être inférieure àdeux
mètres pour l’appairage.
Utilisez les touches Det Epour coupler de la même manière (points
1 & 2) un second moteur en vue de l’utilisation parallèle de deux
surfaces de couchage. C’est indispensable si vous avez un lit double
et que vous souhaitez relever ou abaisser simultanément les deux
surfaces de couchage (nécessaire avec un matelas ou un topper
d’un seul tenant, p. ex.).
To connect (pair) the motor with the radio remote control, press the
pairing button (A) on the receiver twice until the pairing LED lights
up. The pairing process is active for the next 10 seconds.
Press buttons Band Con the radio remote control simultaneously
until the pairing LED goes out. This confirms the successful pairing
process. This process must only be carried out once during the first
start-up. For the For the pairing process, the distance between the
radio remote control and the receiver should be less than two
metres.
With the buttons D and Eyou can connect a second motor for
parallel use of two lying surfaces using the same method (points 1 &
2). This is necessary if you have a double bed and want to raise or
lower both lying surfaces simultaneously (e.g. necessary with a
continuous mattress or topper).
Per collegare (accoppiare) il motore al radiocomando, premete due
volte il tasto di pairing (A) sul ricevitore finchéil LED di pairing
lampeggia. Il processo di pairing èattivo per i prossimi 10 secondi.
Premete contemporaneamente i tasti B e Csul radiocomando, finché
il LED di pairing si spegne. Ciòconferma che il processo di pairing è
stato effettuato con successo. Questo processo deve essere
effettuato solo una volta alla prima messa in funzione. Per il processo
di pairing, la distanza tra il radiocomando e il ricevitore dovrebbe
essere meno di due metri.
Seguendo lo stesso metodo (punti 1 & 2), con i tasti D e Epotete
collegare un secondo motore per l’utilizzo in parallelo di due superfici
d’appoggio. Ciò è necessario se avete un letto matrimoniale e volete
alzare o abbassare entrambe le superfici contemporaneamente (ad
es. necessario in presenza di un materasso o di un topper unico).
A
BC
DE
13
14
Kopfteil
Tête de lit
Testiera
Headboard
Button
Kopfteil Button ist schwebend montiert. Zwei zusätzliche Stützfüsse optional für verbesserte Stabilität montieren. Bei direkter
Wandpositionierung nicht nötig.
La tête de lit Button est montée de manière flottante. Monter deux pieds de support supplémentaires en option pour améliorer la stabilité. Pas
nécessaire en cas de positionnement mural direct.
La testiera Button è montata flottante. Montare due piedini di supporto aggiuntivi per migliorare la stabilità. Non ènecessario per il
posizionamento diretto a parete.
Button headboard is mounted floating. Mount two additional support feet optionally for improved stability. Not necessary for direct wall
positioning.

Other Micasa Indoor Furnishing manuals

Micasa Oslo 401937900000 User manual

Micasa

Micasa Oslo 401937900000 User manual

Micasa INDUS 407559600000 User manual

Micasa

Micasa INDUS 407559600000 User manual

Micasa COOL 4036.321 Guide

Micasa

Micasa COOL 4036.321 Guide

Micasa MERLIN P5-MLMI User manual

Micasa

Micasa MERLIN P5-MLMI User manual

Micasa HAZEL User manual

Micasa

Micasa HAZEL User manual

Micasa 5254 User manual

Micasa

Micasa 5254 User manual

Micasa BENSON II Installation guide

Micasa

Micasa BENSON II Installation guide

Micasa ANOUK User manual

Micasa

Micasa ANOUK User manual

Micasa Sophie M-9462 User manual

Micasa

Micasa Sophie M-9462 User manual

Micasa INSIDER 4017.434 Guide

Micasa

Micasa INSIDER 4017.434 Guide

Micasa TILL User manual

Micasa

Micasa TILL User manual

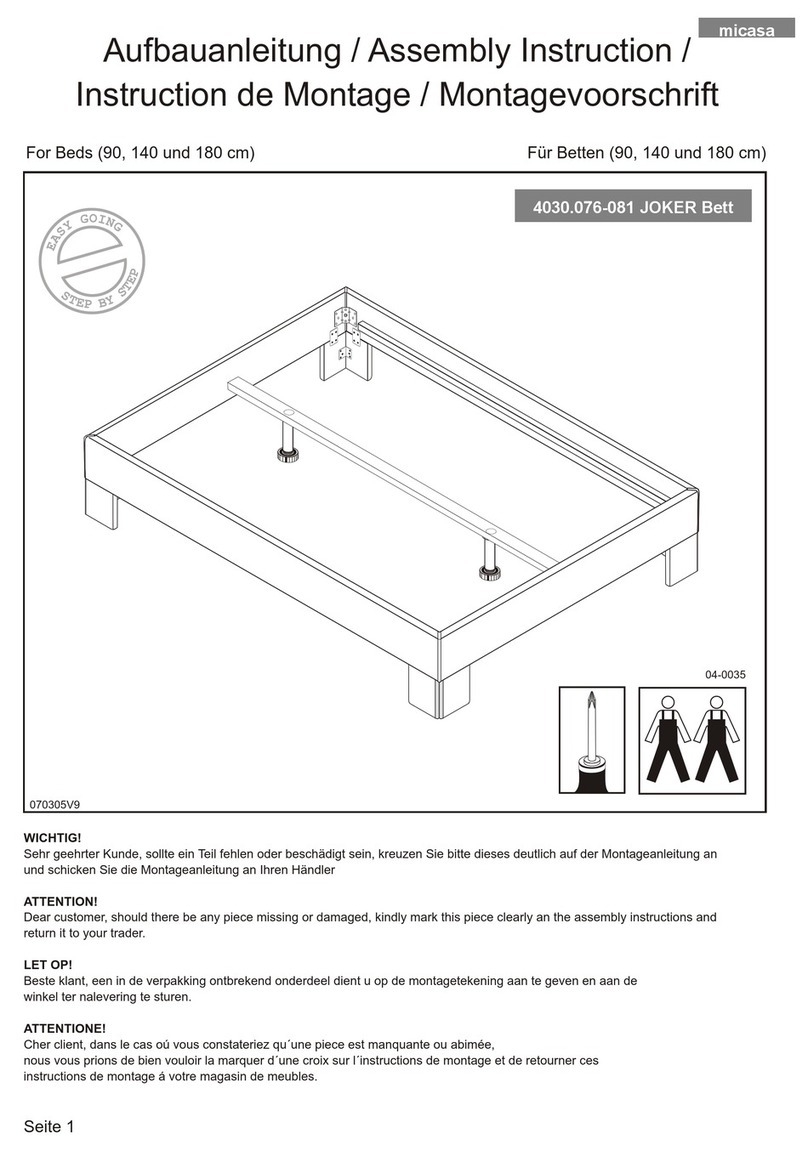
Micasa JOKER 4030.076-081 User manual

Micasa

Micasa JOKER 4030.076-081 User manual

Micasa XIRO 4036.314 Guide

Micasa

Micasa XIRO 4036.314 Guide

Micasa Samoa 408091900000 User manual

Micasa

Micasa Samoa 408091900000 User manual

Micasa ZAC User manual

Micasa

Micasa ZAC User manual

Micasa GRANGER User manual

Micasa

Micasa GRANGER User manual

Micasa XIRO 4036.317 Guide

Micasa

Micasa XIRO 4036.317 Guide

Micasa JULES 3992-70-6 User manual

Micasa

Micasa JULES 3992-70-6 User manual

Micasa BELLEVUE User manual

Micasa

Micasa BELLEVUE User manual

Micasa Hat Shelf 119336208012 User manual

Micasa

Micasa Hat Shelf 119336208012 User manual

Micasa Vincente 404498400000 User manual

Micasa

Micasa Vincente 404498400000 User manual

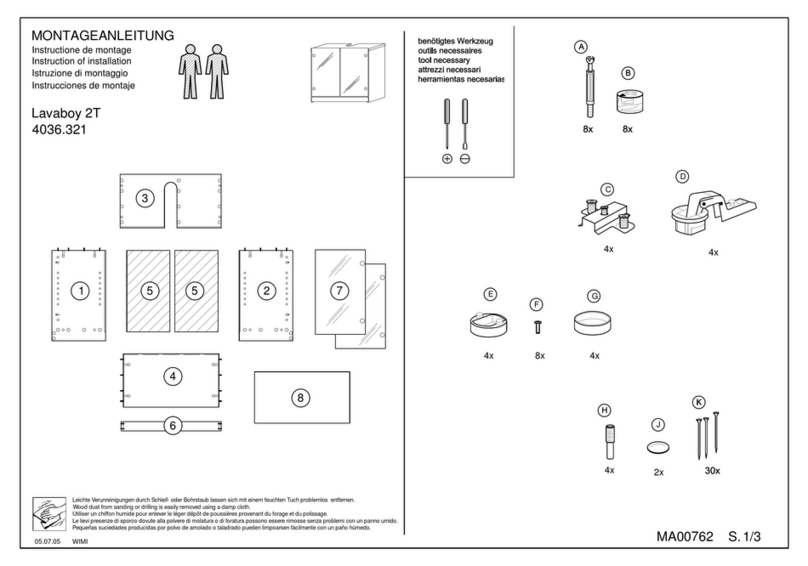
Micasa Lavaboy 2T 4036.321 Guide

Micasa

Micasa Lavaboy 2T 4036.321 Guide

Micasa NIVES User manual

Micasa

Micasa NIVES User manual

Micasa Lazareto II 408090800000 User manual

Micasa

Micasa Lazareto II 408090800000 User manual

Popular Indoor Furnishing manuals by other brands

Storkcraft 09730 user manual

Storkcraft

Storkcraft 09730 user manual

Legacy Classic Furniture TRESTLE TABLE TOP BASE 1630-622 Assembly instructions

Legacy Classic Furniture

Legacy Classic Furniture TRESTLE TABLE TOP BASE 1630-622 Assembly instructions

Furniture of America Loraine CM7195V Assembly instructions

Furniture of America

Furniture of America Loraine CM7195V Assembly instructions

Porcelanosa N3301512843 manual

Porcelanosa

Porcelanosa N3301512843 manual

Design Within Reach parallel bed standard instruction manual

Design Within Reach

Design Within Reach parallel bed standard instruction manual

Better Homes and Gardens Collins BH16-084-299-04 manual

Better Homes and Gardens

Better Homes and Gardens Collins BH16-084-299-04 manual

AKANTE CHANTERELLE DT130 Assembly instructions

AKANTE

AKANTE CHANTERELLE DT130 Assembly instructions

ME MARCKERIC COROS 16149 Assembly instructions

ME MARCKERIC

ME MARCKERIC COROS 16149 Assembly instructions

Moveis Bechara AMBAR Product guide

Moveis Bechara

Moveis Bechara AMBAR Product guide

ATIM 411/78.1500.22 Assembly instructions

ATIM

ATIM 411/78.1500.22 Assembly instructions

Kid-Man 04-6700F user manual

Kid-Man

Kid-Man 04-6700F user manual

JB HOME HUNTER Assembly instructions

JB HOME

JB HOME HUNTER Assembly instructions

Safavieh Furniture Tally BST1401 quick start guide

Safavieh Furniture

Safavieh Furniture Tally BST1401 quick start guide

IKEA BILLY instructions

IKEA

IKEA BILLY instructions

Armour Home Electronics 9201-M Assembly instructions

Armour Home Electronics

Armour Home Electronics 9201-M Assembly instructions

Furniture of America CM3326T Assembly instructions

Furniture of America

Furniture of America CM3326T Assembly instructions

Keter Darwin Line user manual

Keter

Keter Darwin Line user manual

DURAVIT Happy D.2 Plus HP7480 G Mounting instructions

DURAVIT

DURAVIT Happy D.2 Plus HP7480 G Mounting instructions

manuals.online logo
manuals.online logoBrands
  • About & Mission
  • Contact us
  • Privacy Policy
  • Terms and Conditions

Copyright 2025 Manuals.Online. All Rights Reserved.