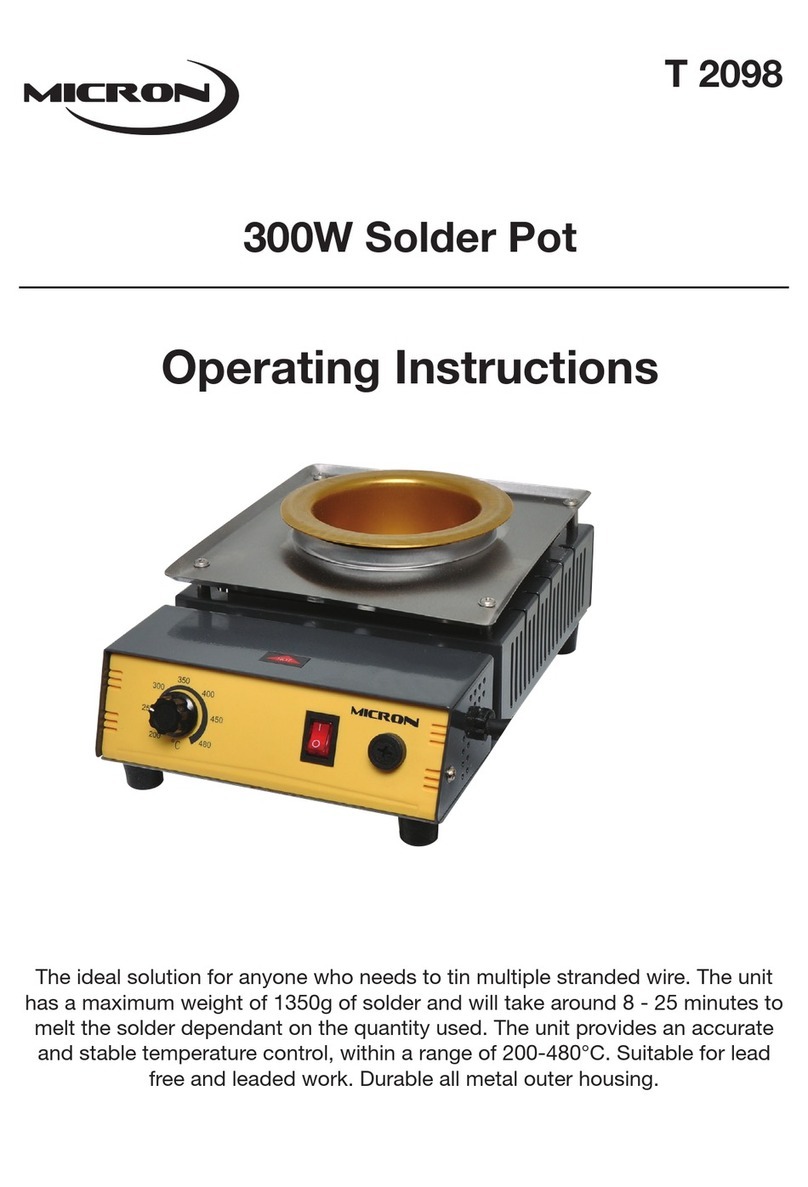
Micron T 1285A User manual

320W Hot Air SMD Rework Station
User Manual
T 1285A
Provides a quick and easy way to rework boards fitted with surface mount
parts, including RoHS certified products.

Micron® 320W Hot Air SMD Rework Station
2
Overview
This re-work station provides a quick and easy way to rework boards fitted with surface mount devices. It
also has a built in an intelligent microcomputer chip which is specially designed for the present lead free
SMD chips such as SOIC, CHIP, QFP, PLCC, BGA etc reworks to meet RoHS requirement.
Specifications
• Power: 320W
• Voltage: 220-240V 50Hz
• Air pump: Diaphragm pump
• Capacity: 24L/min (max)
• Hot air temperature: 160-480°C
• Sensor: K thermocouple
In the Box
1 x Rework station
4 x Nozzles
1 x Power cord (approved)
1 x User manual
CAUTION
• Attaching the nozzle.
Do not press the nozzle or pull on the edge of the nozzle by pliers. Also, do not retighten the screw too
tightly
• Thermal protector.
For safety, power is automatically shut off should the unit exceed a certain temperature. Once the tem-
perature has dropped to a safe level, power is automatically restored. After that, to continue operation,
reduce the temperature setting or increase the air flow. Should the thermal protector be tripped and you
do not wish to continue the operation, or if you leave that place, be sure to turn the power switch off.
• Caution-High Temperature Operation.
Do not use the SMD unit near ignitable gases, paper, or other inflammable materials.
The hot air is extremely hot and can cause painful burns. Never touch the heater pipe or allow the heated
air to blow against your skin.
• When LED is illuminated, the station is heating.
• Never drop or sharply jolt the unit.
The pipe contains quartz glass which can break if the unit is dropped or jolted sharply.
• Do not disassemble the pump.
• Disconnect the plug when you don’t use the unit for a long time.
When the power cord is connected into the power supply, the unit has a little flow of electricity, even the
Power Switch is in off setting. So then you don’t use the unit for a long time, disconnect the plug.
• When the temperature is over 350°C the airflow control knob should be at 3rd-8th setting.
• When the working temperature is over 450°C, the air flow control knob must be over 4th set-
ting.

Micron® 320W Hot Air SMD Rework Station
3
WARNING!
Make sure to remove the 4 transit screws on the base before use, otherwise serious damage may
be caused to the machine.
This tool must be placed on its stand when not in use.
A fire may result if the appliance is not used with care, therefore
• Do not use in presence of an explosive atmosphere;
• Be careful when using the appliance in places where there are combustible material;
• Be aware heat may be conducted to combustible materials that are hidden out of sight;
• Do not apply heat to the same place for a long time;
• Place the appliance on its stand after use and allow it to cool down before storage;
• Do not leave the appliance unattended when it is switched on.
This appliance can be used by children aged from 8 years and above and persons with reduced physic-
al, sensory or mental capabilities or lack of experience and knowledge provided they have been given
supervision or instruction concerning use of the appliance in a safe way and understand the hazards
involved. Children shall not play with the appliance. Cleaning and user maintenance shall not be made
by children without supervision.
Operation
Before Operation
1. Select the FP pick-up wire that matches the size of the IC.
2. Select the nozzle that matches the size of the IC.
3. Attach the nozzle on the head part, then start your work.
The display and temperature setting
1. Shows the actual temperature of the tip/nozzle.
2. Shows the setting temperature. Short press the “UP”/“DOWN” button to adjust the temperature by ±1°C.
Long-press the button to adjust it quickly.
3. Press the °C/°F button to change the temperature unit between °C and °F.
4. When the actual temperature of the tip/nozzle is lower than the setting, “HEAT ON” will display.
5. When the difference is more than ±10°C between the actual and setting temperatures, “WAIT” will
display. Wait until it has disappeared.
6. When “ERROR” displays, there may be some problem with the system. Or the soldering iron/hot air gun
is not correctly connected.

Micron® 320W Hot Air SMD Rework Station
4
QFP Desoldering
• Plug the power cord into the power supply
After connection, the automatic blowing function may start sending air through the pipe, but the heating
element remains cool.
• Turn the Power switch on
The power switch may be turned on at any time while the automatic blowing function, is operating.
Once the power switch is turned on, the heating element will begin to warm up.
• Adjust the air flow and temperature control knobs
After adjusting the air flow and temperature control knob, wait for the temperature to stabilize for a
short period of time. We recommend you to adjust the temperature around 300 to 350°C. As for air
flow in case of single nozzle, set the knob 1-5, in another nozzle, set it from 4-7. When the working
temperature is over 450°C, the knob of airflow control must be over 4th setting.
• Place the FP pick-up under IC lead
Slip the FP Pick-up Wire under the IC lead. If the width of the IC does
not match the size of the FP Pick-up, adjust the width of the
wire by suppressing the wire.
• Melt the solder
Hold the iron so that the nozzle is located directly over, but not
touching the IC, and allow the hot air to melt the solder. Be
careful not to touch the leads of the IC with the nozzle.
• Remove the IC
Once the solder has melted, remove the IC by lifting The FP Pick-up.
• Turn the power switch off
In case you don’t use the unit for a long time, disconnect the plug.
• Remove any remaining solder
After removing the IC, remove remaining solder with a wick or desoldering tool.
Note: in case of SOP, PLCC desolder it by using tweezers, etc.
QFP Soldering
• Apply the solder paste
Apply the proper quantity of solder paste and install the SMD on the PWB.
• Preheat SMD
Refer to the photo to preheat SMD. (Fig. I)
• Soldering
Heat the lead frame evenly. (Fig. II)

Micron® 320W Hot Air SMD Rework Station
5
• Washing
When soldering is completed, please wash away the flux. Note: While you do soldering by hot air, the
defects such as solder balls, solder bridges might occur. We recommend you to examine the conditions
of soldering sufficiently.
• Automatic cooling system:
When the job is finished, you can adjust the temperature to 160°C, then turn off the air control
switch, the display will be closed. The air pump will blow cool air for about 1 minute to cool down
the machine. Then turn off the main power switch.

Micron® 320W Hot Air SMD Rework Station
6
OPTIONAL NOZZLES
Micron provide nozzles 79-3901, 79-3902, 79-3903 and 79-3907 as spares, sold as model # T 1286.
Information below provided for users with specialised nozzle requirements.

Micron® 320W Hot Air SMD Rework Station
Altronic Distributors warrants this product for one year from date of purchase from Altronics or its resellers
to the consumer. If this item is part of an installation or another product, please contact the installer or
supplier for your warranty.
During the warranty period, we undertake to repair or replace your product at no charge if found to be
defective due to a manufacturing fault. The warranty excludes damage by misuse or incorrect installation
(i.e. failure to install and operate device according to specications in the supplied instruction manual),
neglect, shipping accident, or no fault found, nor by use in a way or manner not intended by the supplier.
For repair or service please contact your PLACE OF PURCHASE.
If this item was purchased directly from Altronics please make a warranty claim by:
1. FOR MAIL ORDER CUSTOMERS (includes school and trade orders),
a) Calling your nearest store location and quoting your tax invoice number.
b) Upon contacting Altronics, we will issue an R.A. (Return Authorisation). As Altronics have a number of
service agents throughout Australia, a copy of the R.A. will be emailed, faxed or mailed to you with full
instructions of how and where to send the goods. The freight for shipping goods back to
Altronics for all repairs is at the customers expense.
c) A copy of the R.A. form, (or at the very minimum, the R.A. number) must accompany the
goods to effect the repair.
d) Altronics will pay the return freight to the customer where the warranty claim has been accepted.
e) Please quote the R.A. number in any correspondence to us.
2. FOR OVER THE COUNTER PURCHASES to make a warranty claim, please return the goods to us in
any of our stores, with a copy of your proof of purchase (tax invoice).
a) Upon leaving the goods at one of our stores, an R.A. number will be issued to you.
b) Once repaired, you will be contacted, advising that the goods are ready to be collected from the store.
It is at Altronics discretion as to whether the goods will be repaired or replaced (whilst under warranty); and
as to whether identical goods will be used to replace the item due to changes of models / products.
Note: Under no circumstances should you attempt to repair the device yourself or via a non-authorised
Altronics service centre, as this will invalidate the warranty!
Our goods come with guarantees that cannot be excluded under the Australian Consumer Law. You are
entitled to a replacement or refund for a major failure and for compensation for any other reasonably
foreseeable loss or damage. You are also entitled to have the goods repaired or replaced if the goods fail
to be of acceptable quality and the failure does not amount to a major failure.
Distributed by Altronic Distributors Pty. Ltd.
Phone: (08) 9428 2199
altronics.com.au
Revision 16/10/2020
Table of contents
Other Micron Soldering Gun manuals

Micron
Micron T 2438 User manual

Micron
Micron T 2418 User manual

Micron
Micron T 2040 User manual

Micron
Micron T 2052 User manual

Micron
Micron T 2460A User manual

Micron
Micron T 1287 User manual

Micron
Micron T 2444A User manual

Micron
Micron T 1260 User manual

Micron
Micron T 2443 User manual

Micron
Micron T 2444 User manual
Popular Soldering Gun manuals by other brands

Parkside
Parkside 90575 Operation and safety notes

Weller
Weller WD 1000 operating instructions

Parkside
Parkside PLPD 60 A1 Translation of the original instructions

Weller
Weller SP 15N operating instructions

Hakko Electronics
Hakko Electronics 485 instruction manual

Parkside
Parkside PLBS 30 A1 Operation and safety notes