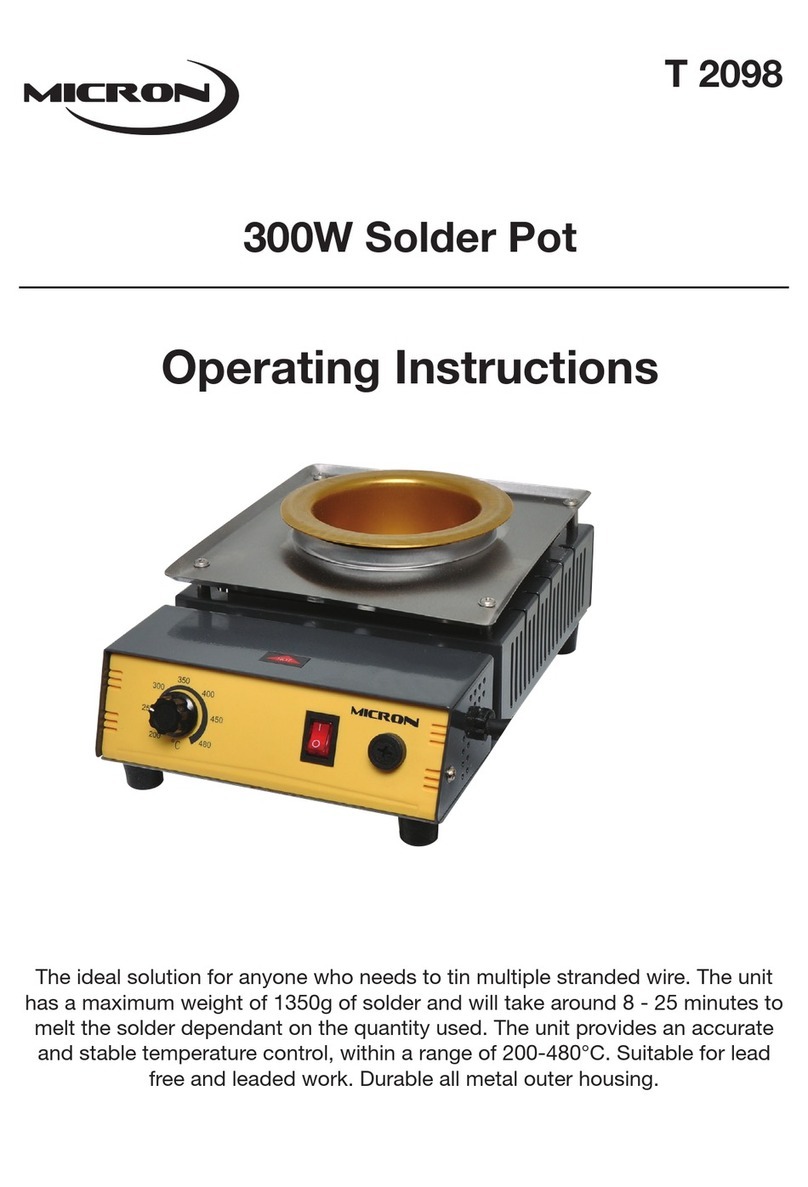
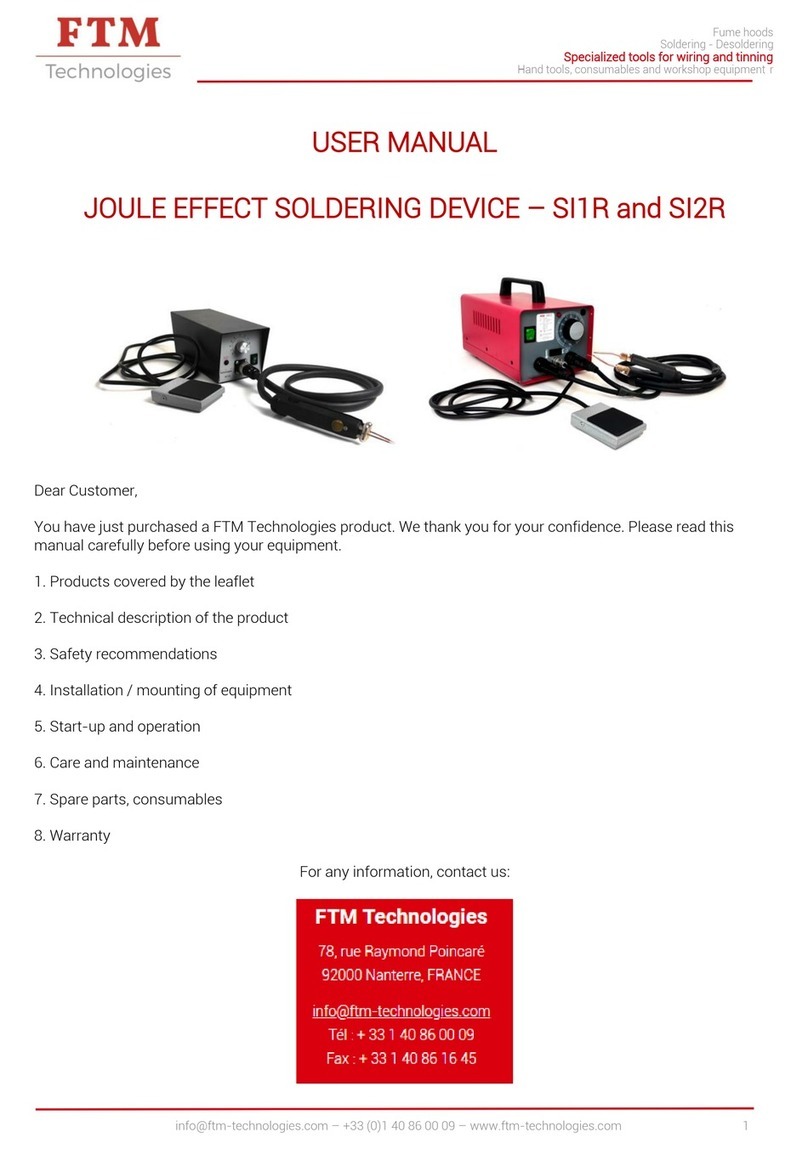
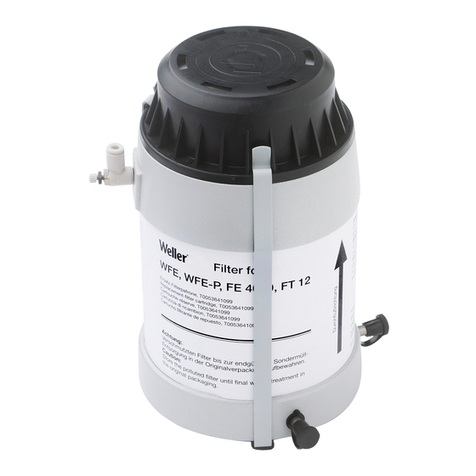
Micron T 2052 User manual

T 2052 Combination 60W Soldering & 90W
Vacuum Desoldering Station
Operating Instructions
Altronic Distributors warrants this product for two years from the date of purchase from Altronics or its
resellers to the consumer.
During the warranty period, we undertake to repair or replace your product at no charge if found to be
defective due to a manufacturing fault. The warranty excludes damage by misuse or incorrect instal-
lation (i.e. failure to install and operate device according to specifications in the supplied instruction
manual), neglect, shipping accident, or no fault found, nor by use in a way or manner not intended by
the supplier.
For repair or service please contact your PLACE OF PURCHASE.
If this item was purchased directly from Altronics please make a warranty claim by:
1. FOR MAIL ORDER CUSTOMERS (includes school and trade orders),
a) Ringing us on 1300 797 007 and quoting your tax invoice number.
b) Upon contacting Altronics, we will issue an R.A. (Return Authorisation).
As Altronics have a number of service agents throughout Australia,
a copy of the R.A. will be emailed, faxed or mailed to you with full instructions
of how and where to send the goods. The freight for shipping goods back to
Altronics for all repairs is at the customers expense.
c) A copy of the R.A. form, (or at the very minimum, the R.A. number) must
accompany the goods to effect the repair.
d) Altronics will pay the return freight to the customer where the warranty claim
has been accepted.
e) Please quote the R.A. number in any correspondence to us.
2. FOR OVER THE COUNTER PURCHASES; to make a warranty claim,
please return the goods to us in any of our stores, with a copy of your
proof of purchase (tax invoice).
a) Upon leaving the goods at one of our stores, an R.A. number
will be issued to you.
b) Once repaired, you will be contacted, advising that the goods are ready to be
collected from the store.
It is at Altronics discretion as to whether the goods will be repaired or replaced (whilst under warranty);
and as to whether identical goods will be used to replace the item due to changes of models / prod-
ucts.
Note: Under no circumstances should you attempt to repair the device yourself or via a service centre
not authorised by altronics, as this will invalidate the warranty!
Our goods come with guarantees that cannot be excluded under the Australian Consumer Law. You
are entitled to a replacement or refund for a major failure and for compensation for any other reason-
ably foreseeable loss or damage. You are also entitled to have the goods repaired or replaced if the
goods fail to be of acceptable quality and the failure does not amount to a major failure.
Distributed by Altronic Distributors Pty. Ltd.
Phone: 1300 780 999 Fax: 1300 790 999
Internet: www.altronics.com.au
•Temperatureadjustable
•DualbacklitLCDscreens
•Easycleansolderreservoir
•Highsuctionvacuumpump
•Includesthreetipsandnozzlecleaners
•Standwithintegratedtipcleaners
•SuitableforROHScompliantsoldering
•Burnproofrubberleads

MICRON
MICRON
Overview
Thank you for purchasing the T 2052 soldering station – a great solution for your soldering equipment needs!
We believe that you will be more than satisfied with the many features and the versatility of your new soldering
station. Please carefully read the instruction manual prior to operation to maximize the advantages of using
your new soldering station.
WARNING: This appliance is not intended for use by children or infirm persons without assistance or
supervision if their physical, sensory or mental capabilities prevent them from using it safely. Children should
be supervised to ensure that they do not play with the appliance. Failure to observe this safety regulation could
result in a risk to life and limb. The manufacturer or supplier shall not be liable for damage resulting from
misuse of the unit or unauthorised alterations.
Maintenance
Please check the device for slightly damaged moving parts to ensure for error-free and intended operation.
Inspect moving parts to ensure that they don’t bind. Damaged safety devices and parts must be repaired or
replaced by a qualified technician.
Product Description
This combination 60W soldering iron and 90W vacuum de-soldering station provides enthusiasts and tech-
nicians with everything they need for soldering on the workbench in one compact unit. On the de-soldering
side, a powerful vacuum pump de-solders through-hole parts quickly and efficiently. Simply place the tip over
the solder join and hold down the trigger, the molten solder is sucked off the board and into a canister in the
handle for disposal.
The temperature of the iron is electronically controlled and utilises a ceramic heater to rapidly reach its oper-
ating temperature in just 20 seconds. The iron includes a burn resistant rubber lead and ergonomic ‘pencil’
design to ensure your comfort and safety. The easy to read white backlit display on each unit provides a useful
indication of set temperature and heater temperature. The soldering iron and de-soldering gun units can be
switched on/off individually. Included with the station are the following; a 0.2mm fine point soldering tip and
also 1.0, 1.2 and 1.5mm de-soldering tips.
Control Unit: The soldering iron and the de-soldering gun tool are controlled automatically by two micro-pro-
cessors. The digital control electronics and high-quality sensor and heat exchange system guarantee precise
temperature control at the soldering tip. The highest degree of temperature precision and optimal dynamic
thermal behaviour under load conditions, is obtained by the quick and accurate recording of the measured
values in a closed control circuit. This design is especially used for lead-free production techniques.
Soldering Iron: The soldering iron, with a power of 60W (Heat up rating 130W) and a wide spectrum of solder-
ing tips, can be used anywhere in the electronics field. The high power and slim design make this iron suitable
for fine soldering work. The heating element is made of PTC and the sensor on the soldering tip can control the
soldering temperature quickly and accurately.
De-soldering gun: De-soldering iron gun, with a power of 90W (Heat up rating 200W) and a wide spectrum
of soldering tips, can be used anywhere in the electronics field. The high power and gun type design makes
this iron gun suitable for fine de-soldering work. The heating element is made of PTC and the sensor on the
de-soldering tip can control the de-soldering temperature quickly and accurately.
16
Notes:

MICRON
MICRON
Digital Display
1. Tip Temperature
2. Setting Temperature. By pressing the “UP” or “DOWN” button a user can switch the digital display to the
set point display. The set-point can be changed in steps of ±1°C by tapping the “UP” or “DOWN” button.
Holding the button will change the set-point quickly. The digital display will return automatically to the
actual value and the tip will reach the setting temperature quickly.
3. C°/ F° Display. Switch the temperature display from C° to F° by pressing the C°/ F°button and the electronic
system will display the actual temperature (1) and setting temperature (2) in F° and vice versa.
4. When the actual temperature on the tip is less then the set-point, “HEAT ON” will display and make the tip
heat up.
5. When the absolute offset is more than ±10°C between the actual temperature and the set-point on the tip,
“WAIT” will display. It means that the temperature electronic control system has not stabilised. Please wait
a moment to let the “WAIT” disappear.
6. When “ERROR” is displayed, there may be a trouble with the unit, or the soldering iron or the de-soldering
gun is not connected to the control system correctly.
Operating Instructions
1. Place the soldering iron and de-soldering gun in their respective holders. Connect the plug to the receptacle
on the station and turn clockwise to tighten the plug nut.
2. Check that the power supply is corresponding to the specification on the type plate and the power switch is
at the “OFF” position.
3. Connect the control unit to the power supply and switch on the power.
4. A self-test is carried out in which all screen elements are displayed briefly. The electronic system then
switches on automatically to the set temperature and displays this value.
2
5
Notes:
1
2
5
6
3
3
4

MICRONMICRON
TIP REPLACEMENT AND CARE OF TIPS:
Caution: The soldering iron can be very hot. Be sure to turn the unit off prior to carrying out any maintenance
or trouble shooting steps listed below.
IMPORTANT: Remove and clean the tip daily. Tips can be changed or replaced simply by unscrewing the
knurled nut barrel assembly. The station must be switched off and allowed to cool before this operation as
damage may result if the system is left on without the tip inserted.
If a new tip is installed, or to maintain the current tip, remove any loose build up in the barrel assembly,
otherwise the tip may fuse to the heating element or retaining barrel. After removing the tip, blow out any
oxide dust that may have formed in the tip retaining area of the barrel. Be careful to avoid getting dust in
your eyes. Replace the tip and screw back the knurled nut barrel assembly using only firm hand pressure to
tighten. Pliers should only be used to tighten the nut to avoid burning your fingers and care should be taken
not to over-tighten as this would damage the element. The solder tips supplied are nickel/chrome plated
pure copper and if used properly will give a long life.
General Cleaning
After use, the solder waste is stored in the pipe. If you do not clean it regularly, the solder waste will block
the de-soldering gun. When under high temperature, the solder waste will oxidize (lead free solder’s melting
point is 220°C, non-lead free solder’s melting point is 180°C), swell and get stuck on the inner wall tightly.
Eventually this build-up will be nearly impossible to remove so its important to follow the general cleaning
steps listed below.
1. After each operation is finished, please pump the de-soldering gun trigger 3-5 times rapidly while idling, to
clear the solder waste inside the pipe
2. If the operation interval is about 20 minutes, while the de-soldering gun suction is idle, please use the
cleaning tool to clean the pipe.
3. When you find the de-soldering efficiency reducing, please use the cleaning tool to clean the pipe
immediately.
4. If there is a long interval of idle usage, we advise to adjust the temperature to about 200°C. When you use it
again you can adjust to the working temperature.
5. When the glass tube has absorbed about 1/2 solder waste, please clean it immediately. When you find the
filter is becoming clogged up, please replace the filter.
T 2052 Specifications
Input:............................................................................................................................................ 220 - 240V AC
Heater:............................................................................................................................... 24V ceramic element
Soldering nominal power: ........................................................................................................................... 60W
De-soldering nominal power: ..................................................................................................................... 90W
Temperature range: ................................................................................................................... 160°C to 480°C
Tip to ground resistance: ....................................................................................................................<0.1 Ohm
Soldering heat up time: .......................................................................................................... ≈22 sec to 400°C
De-soldering heat up time: ..................................................................................................... ≈80 sec to 400°C
Dimensions: ................................................................................................................220W x 215D x 160Hmm
Weight: .........................................................................................................................................................6kg
3
Safety Instructions
The manufacturer assumes no liability for uses other than those described in the operating instructions or
for unauthorized alterations. The operating instructions and cautions should be read carefully and kept in
an easily visible location in the vicinity of the control system. Non-observance of the cautions will result in
accidents, injury or risks to health.
1. The power cord only can be inserted in approved power sockets or adaptors.
2. High Temperature: The temperature of the tip will reach as high as around 400°C(752°F) when the power
switch is on.
Since mishandling may lead to burn and fire, be sure to comply with the following precautions:
•Do not use this system near the flammable items.
•Advise other people in the work area that the unit can reach a very high temperature and should be
considered potentially dangerous.
• Turn off the power switch while taking breaks and when finished using.
• Before replacing parts or storing the unit, turn off the power and let it cool to room temperature.
Warning: This tool must be placed on its stand when not in use.
A fire may result if the appliance is not used with care, therefore it would be advised to take note of these tips
• Do not apply heating to the same place for a long time;
• Do not use in presence of an explosive atmosphere;
• Be aware heat may be conducted to combustible materials that are out of sight;
• Never leave the appliance unattended when it is switched on.
3. Take care of your tools by following these points
• Do not use the tools for any applications other than soldering or de-soldering.
• Do not rap the iron/gun against the work bench or otherwise subject the iron to severe shocks.
• Do not file the soldering tip to remove the oxide, please wipe the tip on the cleaning sponge.
• Use only accessories or attachments which are listed in the operation manual. Use of other tools and
other accessories can lead to a danger of injury.
• Please turn off the power before connecting or disconnecting the soldering iron.
4
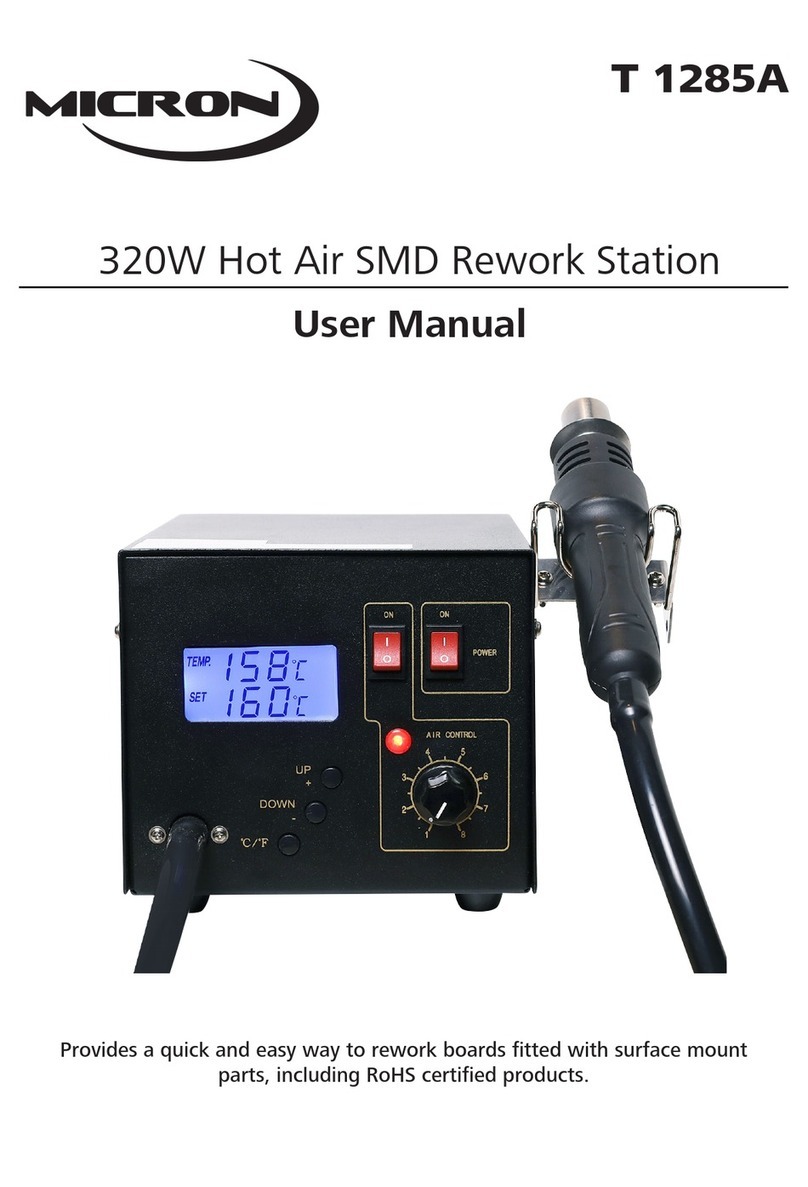
Table of contents
Other Micron Soldering Gun manuals

Micron
Micron T 2438 User manual

Micron
Micron T 2444A User manual

Micron
Micron 300W User manual

Micron
Micron T 2460A User manual

Micron
Micron T 1260 User manual

Micron
Micron T 2444 User manual

Micron
Micron T 2418 User manual

Micron
Micron T 1287 User manual

Micron
Micron T 2040 User manual

Micron
Micron T 2443 User manual