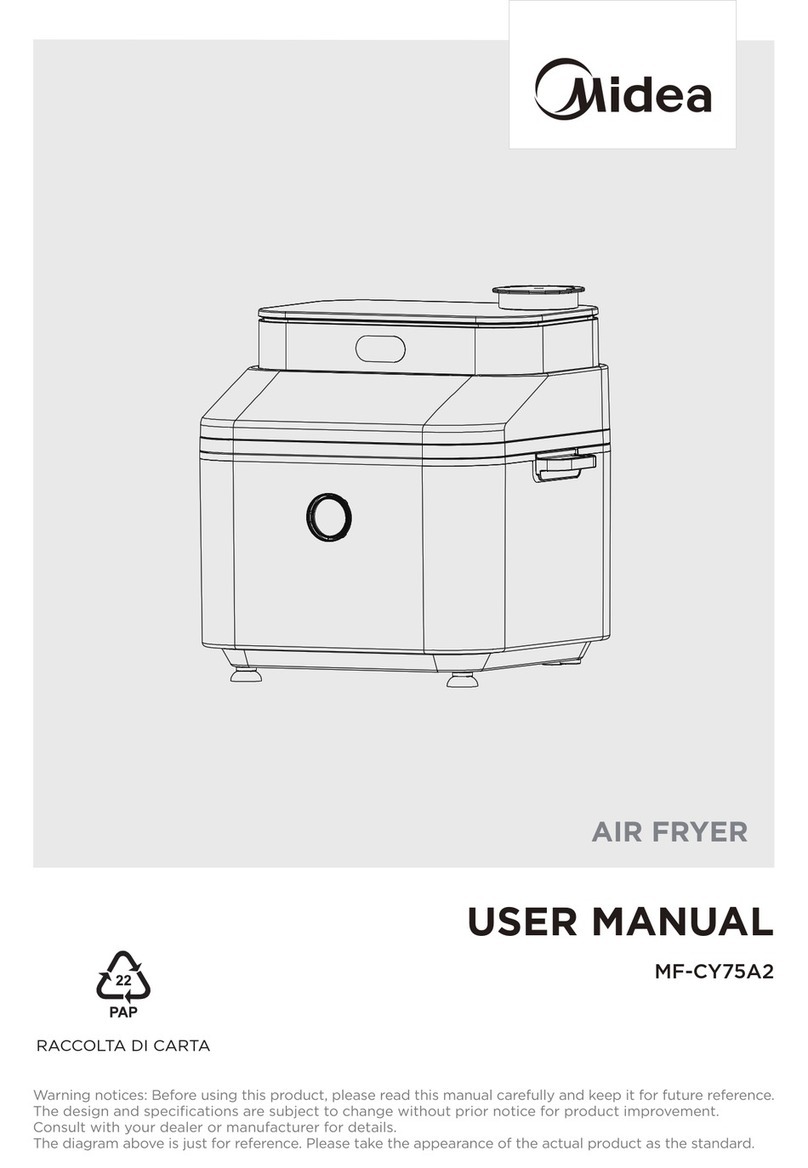
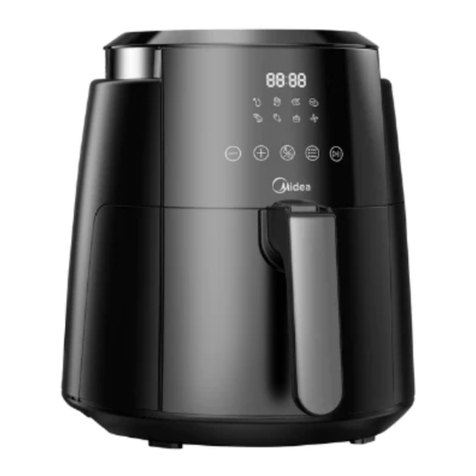
Midea MF-TN40D2 User manual

MF-TN40D2
USER MANUAL
Warning notices: Before using this product,please read this manual carefully and keep it for future reference.
The design and specifications are subject to change without prior notice for product improvement.
Consult with your dealer or manufacturer for details.
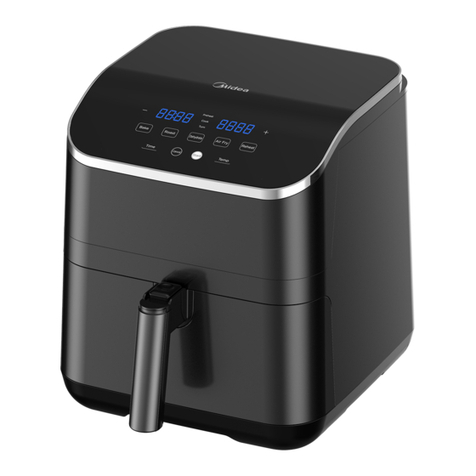
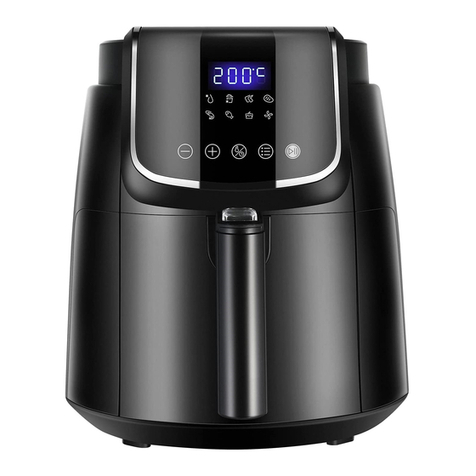
The diagram above is just for reference. Pleasetake the appearance of the actual product as the standard.
AIR FRYER

THANK YOU LETTER
Thank you for choosing Midea! Before using your new Midea product, please read
this manual thoroughly to ensure that you know how to operate the features and
functions that your new appliance offers in a safe way.
CONTENTS
0
02
1
07
05
06
1 3
1 2
1 1
THANK YOU LETTER
SAFETY INSTRUCTIONS
SPECIFICATIONS
PRODUCT OVERVIEW
OPERATION INSTRUCTIONS
CLEANING AND MAINTENANCE
TRADEMARKS, COPYRIGHTS AND LEGAL STATEMENT
DATA PROTECTION NOTICE
01

02
Danger
This symbol indicates that there are dangers to the life and health of
persons due to extremely flammable gas.
Warning of electrical voltage
This symbol indicates that there is a danger to life and health of
persons due to voltage.
Warning
The signal word indicates a hazard with a medium level of risk which, if
not avoided, may result in death or serious injury.
Caution
The signal word indicates a hazard with a low degree of risk which, if
not avoided, may result in minor or moderate injury.
Attention
The signal word indicates important information (e.g. damage to
property), but not danger.
Observe instructions
This symbol indicates that a service technician should only operate and
maintain this appliance in accordance with the operating instructions.
The following safety guidelines are intended to prevent unforeseen risks or damage from
unsafe or incorrect operation of the appliance. Please check the packaging and appliance
on arrival to make sure everything is intact to ensure safe operation. If you find any
damage, please contact the retailer or dealer. Please note modifications or alterations to
the appliance are not allowed for your safety concern. Unintended use may cause
hazards and loss of warranty claims.
Read these operating instructions carefully and attentively before using/commissioning the
unit and keep them intheimmediate vicinity of theinstallation site or unit for later use!
Intended Use
Explanation of Symbols
SAFETY INSTRUCTIONS

Caution
This appliance is for household use only. Do not use
outdoors.
The appliance is not to be used by persons (including
children) with reduced physical, sensory or mental
capabilities, or lack of experience and knowledge,
unless they have been given supervision or instruction.
Children being supervised not to play with the
appliance.
This appliance is intended to be used in household and
similar applications such as:
- Staff kitchen areas in shops, office and other working
environments;
- Farm houses;
- By clients in hotels, motels and other residential type
environments;
- In bed and breakfast type environments;
If the supply cord is damaged, it must be replaced by
the manufacturer, its service agentor similarly qualified
persons in order to avoid a hazard.
●
●
●
●
Warning
●
●
●
●
Read Rules for Safe Operation and Instructions Carefully.
Do not immerse any part of the appliance in water or
other liquid.
Do not let any water or other liquid enter the appliance
to prevent electric shock.
Do not cover the air inlet and the air outlet openings
while the appliance is operating.
Do not fill the pan with oil as this may cause a fire hazard.
03

Please turn off and unplug the appliance before
cleaning, maintenance or relocation and whenever it is
not in use.
The surfaces are liable to get hot during use.
After being used for a long time, the corresponding
heating zone of the induction hotplate is till hot. Never
touch the ceramic surface to avoid burning.
Never immerse the housing, which contains electrical
components and the heating elements, in water nor
rinse under the tap. decreased sufficiently.
Always put the ingredients to be fried in the basket, to
prevent it from coming into contact with the heating
elements.
Never touch the inside of the appliance while it is
operating.
Keep the mains cord away from hot surfaces.
Never connect this appliance to an external timer
switch or separate remote-control system in order to
avoid a hazardous situation.
During hot air frying, hot steam is released through the
air outlet openings. Keep your hands and face at a safe
distance from the steam and from the air outlet
openings. Also becareful of hot steam and air when you
remove the pan from the appliance.
Immediately unplug the appliance if you see dark
smoke coming out of the appliance. Wait for the smoke
emission to stop before you remove the pan from the
appliance.
Please pay attention to scald where there is a high
temperature symbol.
●
●
●
●
●
●
●
●
●
●
●
04
05
SPECIFICATIONS
MF-TN40D2Product Model
Voltage
Frequency
Power
220-240V~
50/60Hz
1500W

PRODUCT OVERVIEW
06
Product Components
NOTE
All the pictures in this manual are for explanation purpose only. Any discrepancy between
the real object and the illustration in the drawing shall be subject to the real subject.
The product is subject to the actual product and configuration.
Base assembly
Timer knob
Thermostat
knob
Main
unit
Baking Plate
Fried barrel

OPERATION INSTRUCTIONS
Preparation
07
1 The product should be stably placed on a flat table (Figure 1), so that the power cord
has a sufficient length to be plugged into the socket, and the air around the product
should be kept in circulation, and should not be close to flammable items.
2
According to different configurations install the barrel assembly (Figure 2), then push
it into the Main unit (Figure 3).
Figure 1
Figure 2

Tips
08
When assembling fried barrel,the sound of metal duckles proves that the assembly is in
place.
Instructions
1. After the machine is powered on, adjust the temperature knob to the 200 ° C position
and the time knob to 3-5 minutes to complete the warm-up operation of the machine.
2. After the preheating is completed, hold the top of the machine with one hand, and pull
the barrel out by holding the handle of the barrel with the other hand. The barrel must
be placed on a stable table.
3. Put the ingredients on the bakware in the fried barrel.
4. Push the fryer into the machine, select the corresponding cooking temperature and
time by the knob, and cook and heat the ingredients.
3
Before placing ingredients, preheat the machine for 3-5 minutes, the cooking effect
will be better.
NOTE
When the drum is not fully advanced, the micro-switch is not triggered, the machine is in
the state of power off the barrel, and it will not work. At this time, you only need to fully
push the drum.
Figure 3

09
Tips For Timer
If you set the scale within 30 degrees(about 10 mins)from the OFF position,roll to
more than 30 degrees and then adjust to the required scale.
Handle with care and remember to lay it flat on the table to avoid being burned by
steam or dumping the fryer, or burned by oil or hot food. In the process of
removing food, it is recommended to use auxiliary tools (such as chopsticks) to
assist.
5. After the timer “ding”, the heating is completed. When the food is ready, unplug it.
Take out the fryer carefully, lay it flat on the table, and then use the auxiliary tools
(such as chopsticks) to remove the cooked food.
This button is only used to pull out or insert the inner barrel when it is cold.
When cooking, the button and its surrounding are very hot , please don't
touch !

10
Settings
This table below helps you to select the basic settings for the ingredients you want to
prepare.
NOTE
Keep in mind that these settings are indications. As ingredients differ in origin, size,
shape as well as brand, we cannot guarantee the best setting for your ingredients.
Menu Temperature (°C) Time (Min)
Defrost 5-1080
French fries 15-17180
Chicken wing 15-19180
Chicken legs 20-24180
Meat 10-14200
Shrimp 8-12180
Fish 13-17180
Cake 8-10180
Warm Reminder
• The first use requires 10 minutes of dry burning. A small amount of white smoke or
odor may appear during the dry burning process, which is normal. Do not panic.
• Before the product works, please check whether the bakeware or fried basket is in
place to avoid malfunction.
• If you find that the product is malfunctioning, please stop using it and contact our
service department immediately.
• Please use the bakeware or fried basket and fried barrel together in the whole machine,
and avoid using them separately.
• After using, unplug the power plug and allow the air fryer to cool completely before
moving.

11
• Please clean the air fryer to prevent it from being burned.
• After using, please clean the bakeware or fried basket and fried barrel in time to avoid
the damage of the coating due to the erosion of food residue oil.
• Do not use strong abrasive cleaners to prevent damage to the machine and your
health.
• Use a soft, clean cloth to wipe the air fryer. Please do not use an over-wet cloth to
clean the air fryer, to prevent water from entering the air fryer, which may cause short
circuit and fire.
• Please do not use other cleaning equipment such as a dishwasher to clean the air fryer,
otherwise it may cause damage and affect the use.
• Use neutral detergent or clean water to clean the frying pans and drums.
• Please do not use hard and sharp items (such as wire balls, blades, etc.) to clean the
bakeware or fried basket and fried barrel to prevent scratching.
CLEANING AND MAINTENANCE

12
logo, word marks, trade name, trade dress and all versions there of are
trademarks, copyrights and other intellectual property rights, and all goodwill derived
valuable assets of Midea Group and/or its affiliates (“Midea”), to which Midea owns
from using any part of an Midea trademark. Use of Midea trademark for commercial
purposes without the prior written consent of Midea may constitute trademark
infringement or unfair competition in violation of relevant laws.
This manual is created by Midea and Midea reserves all copyrights thereof. No entity or
individual may use, duplicate, modify, distribute in whole or in part this manual, or
bundle or sell with other products without the prior written consent of Midea.
All the described functions and instructions were up to date at the time of printing this
manual. However, the actual product may vary due to improved functions and designs.
TRADEMARKS, COPYRIGHTS
AND LEGAL STATEMENT

13
DATA PROTECTION NOTICE
For the provision of the services agreed with the customer,
we agree to comply without restriction with all stipulations of applicable data protection
law, in line with agreed countries within which services to the customer will be delivered,
as well as, where applicable, the EU General Data Protection Regulation (GDPR).
Generally, our data processing is to fulfil our obligation under contract with you and for
product safety reasons, to safeguard your rights in connection with warranty and
product registration questions. In some cases, but only if appropriate data protection is
ensured, personal data might be transferred to recipients located outside of the
European Economic Area.
Further information are provided on request. You can contact our Data Protection
personal date being processed for direct marketing purposes, please contact us via
[email protected]. To find further information, please follow the QR Code.


Table of contents
Other Midea Fryer manuals

Midea
Midea MF-CN55D2 User manual

Midea
Midea MF4020J User manual

Midea
Midea MF-CN35C2 User manual

Midea
Midea MF-CN35C2 User manual

Midea
Midea MF-CN35C2 User manual

Midea
Midea 11QT User manual

Midea
Midea MF-CY75A2 User manual

Midea
Midea MF-TN35D User manual

Midea
Midea MF-CN35B User manual

Midea
Midea MAD111D8APKW User manual
Popular Fryer manuals by other brands

ULTRAFRYER
ULTRAFRYER F-E21-14 Operation instructions

Lotus
Lotus F18-94ETX Installation and operating instructions

Schäfer
Schäfer FRIPROFI user manuel

Kalorik
Kalorik MAXX AFO 46045 SS user manual

Keating Of Chicago
Keating Of Chicago pre 2000 series manual

Frymaster
Frymaster FOOTPRINT E4 Service & parts manual