ASSEMBLY INSTRUCTIONS
Attach the Locking Door Hinges to
the Carrier Bottom and Carrier Top
exactl y as shown. Be sure to
attach the hinges correctly, as removal
is difficult once they are installed.
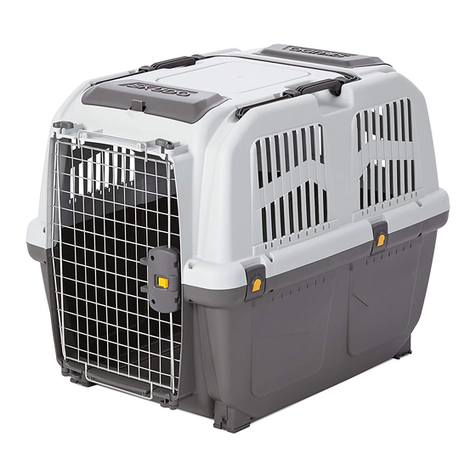
Attach the Storage Compartment Lid on
the 27” carrier. (These are pre-attached
on the 32” and 36” carriers.)
Set the Carrier Bottom on a flat surface
and attach the Assembly Buckles. The
Yellow Buckle Hinges will snap into
place on the spaces provided on the
Carrier Bottom; keep the Assembly
Buckle and Yellow Buckle Hinge in
a “V” formation while attaching for
easiest application.
Place the Carrier Top on the Carrier
Bottom. Before locking the Buckles,
attach the Door by placing the bottom
door prong into the hole on the left side
of the Carrier Bottom. Lift up on the
Carrier Top to insert the top door prong
into the Carrier Top. Lower the Carrier
Top so it rests on the Carrier Bottom,
then secure them together by locking
the Assembly Buckles.
1.
2.
3.
4.
Storage
Co part ent Lid
“V” For ation
NOTE: The assembled carrier has multiple tie-down
locations in the corners for use with plastic ties. This is
recommended for air travel.
To Operate the Door, squeeze the tabs to disengage the
spring-loaded prongs, then swing the door open. Push
the orange tab to lock.
CARR ER OPT ONS:
You have the option to remove the door, creating an
open, den-like environment for your dog to enter and
exit the carrier as he pleases. To do so, simply twist the
Locking Door Hinges forward to release the door and
remove it.
You also have the option to attach the door with the
locking mechanism on the left, allowing the door to
open left-to-right rather than right-to-left. While facing
the front of the assembled carrier, twist the Locking
Door Hinges toward you and re-install the door with the
locking mechanism on the left. To secure the door in the
carrier frame, twist the Locking Door Hinges inward
toward the center of the carrier and into the locked
position.
5 .
Locking Door
Hinges
Locking Door
Hinges
Carrier Top Carrier Botto
(viewed fro underside)
TO ATTACH OPT ONAL CASTERS:
**Sold Se parately. Visit the Skudo page on
midwesthomes4pets.com for information on where
to buy.
Turn the carrier upside down and push the tabs on the
carrier feet. This will release the caster mounts. Slide
the casters into the caster mounts, then re-attach the
caster mounts to the Carrier Bottom.
Traditional Right-to-Left door installation. See
CARRIER OPTIONS on Page 3 for alternatives.
2
Discover other pet carriers and strollers on our website.
