Updated 06/23/16 2 Version 1.0.1
OPERATING THE HAT CAMERA DVR
IMPORTANT NOTICE: Allow the device to charge 4 –6 hours before
using.
HOW TO CHARGE THE HAT CAMERA
Connect the hat to a computer’s USB port
When the device is connected to a power source the red and
yellow indicator lights will be on under the fabric flap in the
hat
We recommend charging the hat for 4 to 6 hours.
Fully deplete and fully recharge the battery the first three
times you use it to ensure the maximum lifespan of the
internal Li-Ion battery.
HOW TO TURN ON THE HAT CAMERA
Under the fabric flap attached via velcro, move the power
switch to the “On” position
Note: when not using the hat, move this switch to the off position to
save battery power.
HOW TO RECORD VIDEO
1. Under the fabric flap you will see the power switch, the
indicator light, and the USB jack
2. Make sure the switch is in the “On” position.
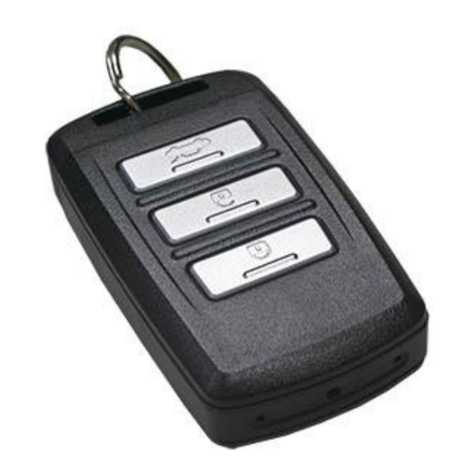
3. Press and hold the power button on the remote for 3 seconds
(purple button)
4. The hat will vibrate one time while displaying a blue light and
enter standby mode. A solid green light be on when in standby
mode.
5. Press and hold the Record button for 2 seconds. Release the
button when the hat begins vibrating. The hat will vibrate 2
times and the blue light will flash 2 times. The device is now
recording.
6. While recording, the green light will flash once every 3
seconds.
7. To stop recording, press the Record button one time. The hat
will vibrate one time, the blue light will flash once and the
device will enter back into standby mode.
8. To power off the hat, press and hold the power button. The
hat will vibrate once, the blue light will flash once and the hat
will power off.
HOW TO PLAY MUSIC
1. Music files must be stored in MP3 or WMA format on the
MicroSD card inserted into the hat. The files must be in the
“MUSIC” folder on the SDCard.
2. Insert headphones into headphone jack on the side of the
recording unit under the fabric flap.
3. Make sure the switch is in the “On” position and the device is
powered on with the remote.
4. Short press the record button one time (hold for less than one
second) and the hat will start playing music.
5. To change tracks, short press the + and –signs on the remote.
+ will play the last track and –will play the next track.
6. To change the volume long press the + button to increase the
volume or long press the –button to decrease volume.
7. To stop playback, short press the record button one time.
HOW TO RESET THE TIME AND DATE STAMP
1. Plug the device into your PC using the USB cable
2. Turn on the device
3. Locate “Removable Disk” inside the (My) Computer folder
Go to Start > Computer > Removable Disk
