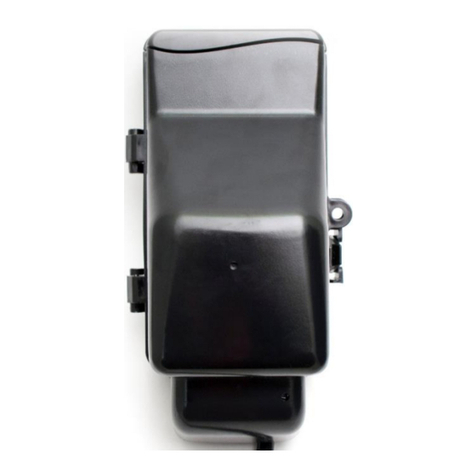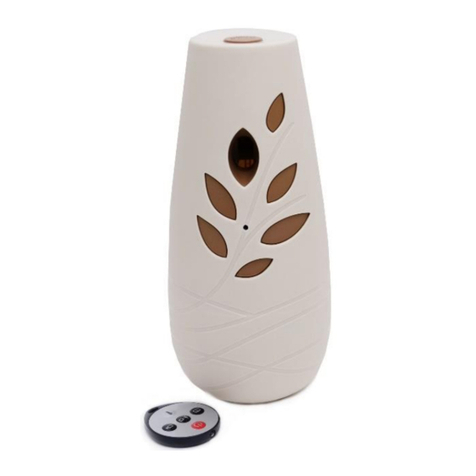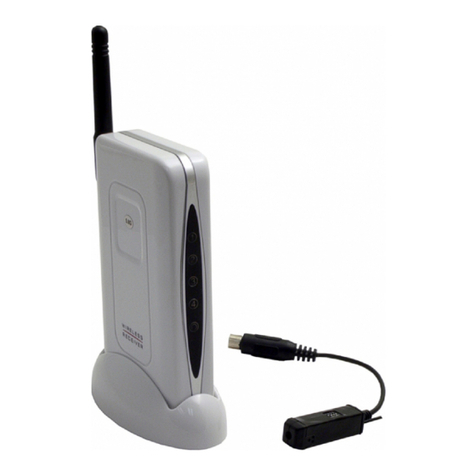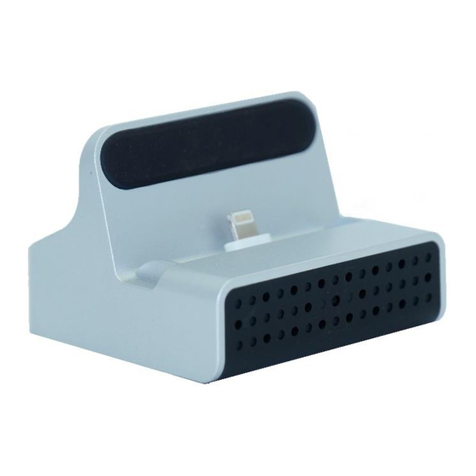
Updated 06/01/2016 3 Version 1.0
OPERATING THE HCWIFIHOOK
IMPORTANT NOTICE: Allow the device to charge 4 –6 hours before
using.
HOW TO CHARGE HCWIFIHOOK
1. Plug USB cable into the USB port on the back of the device
2. Plug the other end of the USB cable into the AC adapter and
then plug into a wall power outlet
3. Alternatively you can charge the device by plugging it into a
usb port on a computer. This may cause the device to charge
at a slower rate.
BEFORE YOU START
1. First you must download the P2PLiveCam app from the
Google Play Store or the iPhone App Store.
oAndroid:
https://play.google.com/store/apps/details?id=com.g_
zhang.myp2pcam&hl=en
oiPhone:
https://itunes.apple.com/us/app/p2plivecam/id78957
2618?mt=8
2. If you wish to enable SD Card recording you must insert a
MicroSD card into the unit.
3. To do so, unscrew the 4 screw on the underside of the unit
and carefully lift the back panel.
oCAUTION: There will be wires attaching the back panel
to the main unit. Use extreme care to make sure no
strain or pressure is placed on these wires.
4. Insert a MicroSD Card into the card slot on the circuit board.
5. Carefully replace the back panel and secure with the screws
removed in step 3.
CONNECTING TO YOUR DEVICE DIRECTLY
1. Turn the device on by switching the switch on the back of the
unit to the “ON” position.
2. Turn on your phone’s WiFi and wait up to 7 mins for the
device to generate a WiFi signal. The WiFi Signal name will
match the UID on the sticker on the back of the device.
3. Once the device generates its WiFi signal, connect to it via the
WiFi settings on your phone.
oNOTE: Some Android devices may produce a warning
that the network has no internet access. If you see this,
choose to connect to the network anyway.
4. After connecting to the WiFi Signal with your mobile device,
open the P2PLiveCam App.
oNOTE: For iOS devices you must wait until the WiFi
Signal appears next to your Phone Carrier Name in the
status bar at the top of your phone screen.
5. Once the app opens, tap the plus (+) button at the top left of
the app.
6. Tap “Search (LAN)” and the app should show a “New Device”.
7. Tap on the New Device and all the camera’s information will
be filled in
8. Tap “OK”
9. Now you will see the app listed in the home screen of the app
and it will show “Online”. You may now tap on this camera
entry to test the video feed.
NOTE: You will be prompted to change the device password the first
time you view the camera video feed. We suggest that you do change
this to prevent any unauthorized viewing of your camera.
IMPORTANT: You must keep this password in a safe place. If you
ever need to access the camera from a different phone or reinstall
the camera app, this password will be required to re-add the
camera. If you forget the password, you must do a factory reset on
the device. See the troubleshooting section below for instructions.

