IMPORTANT NOTE: Charge for at least
5 –6 hours before using. If your device
makes a loud buzzing noise, the battery
power is too low.
To charge your device, plug the
charging cable into the power input on
the right-hand side on the back of the
device.
While charging, the red indicator light
will be on.
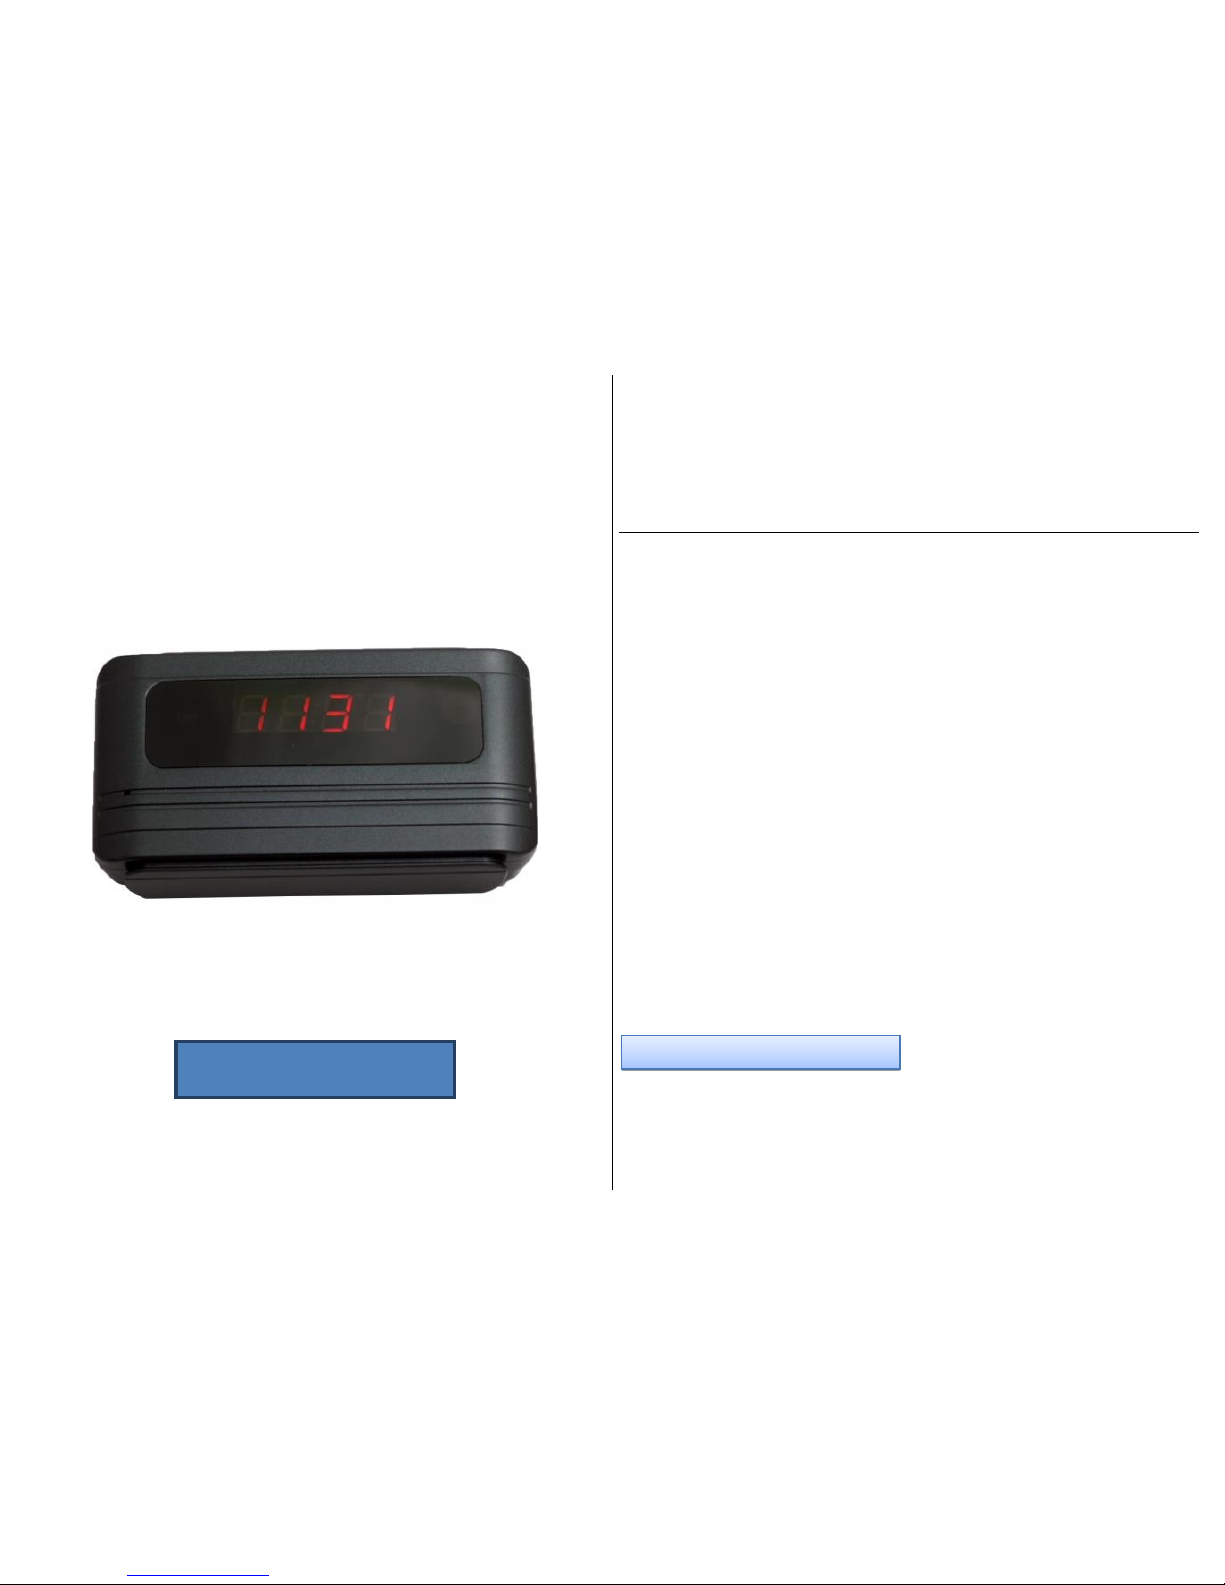
SETTING THE TIME AND DATE
The time, date, and temperature will all be
displayed on the front LCD display.
The first time you plug in the mini clock travel,
the LCD display will count upward 0 –9.
The LCD display will rotate between time,
date, and temperature. The temperature
default is Celsius and the time default is
Military.
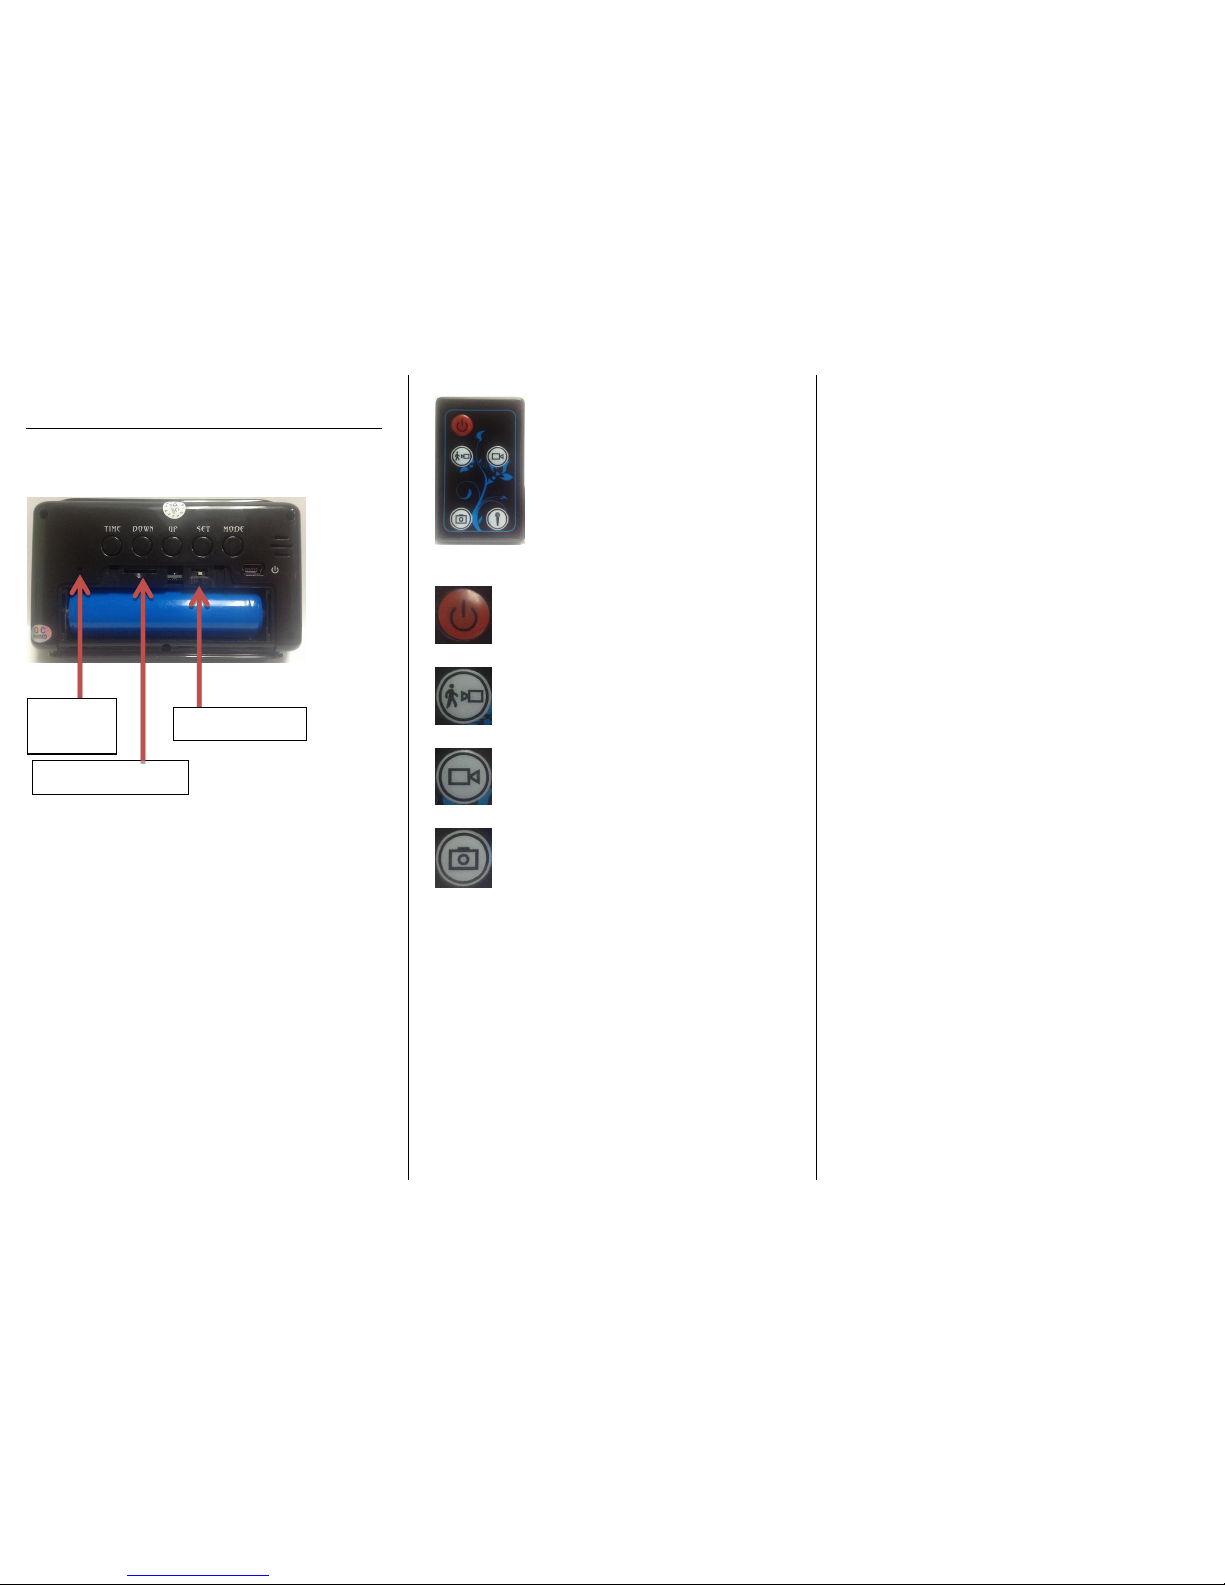
Five buttons that you need for setting up the
mini clock travel are located on the back of
the device:
TIME
DOWN
UP
SET
MODE
First, you will set the year.
1. Push the SET button on the back of the
device. “2010” should be blinking on
the LCD display.
2. Push the UP button on the back of the
device until the LCD display reads the
current year.
Second, you will set the month and day.
1. Push the SET button again. There
should be a “1” blinking on the left side
of the LCD display. This is the month.
2. Push the UP or DOWN button until the
number on the left side reads the
current month.
3. Push the SET button again. There
should be a “1” blinking on the right
side of the LCD display. This is the day.
4. Push the UP or DOWN button until the
number on the right side reads the
current day.
Third, you will set the time.
1. Push the SET button again. The hour
should be blinking.
2. Push the UP or DOWN button until the
LCD display reads the current hour.
3. Push the SET button again. The
minutes should be blinking.
4. Push the UP or DOWN button until the
LCD display reads the current minute.
Time Tip –Switching from Military to Civilian
Time
1. Push the TIME button on the back of
the device.
2. Push the UP button to switch between
civilian (12:00) and military (24:00).
If the time is after noon, the PM light
should be on.