Operation
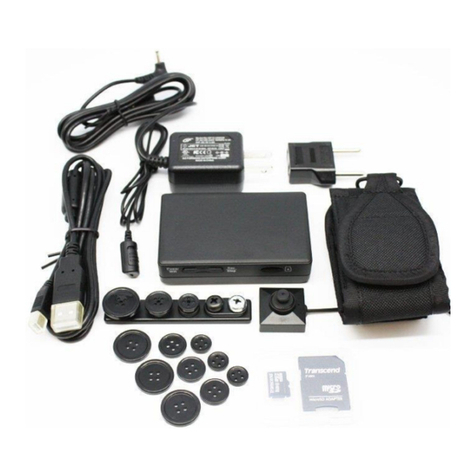
1.)Before using this product please ensure that all accessories were included
in the packaging and that the product is fully charged before use.
2.)To turn on the Watch DVR press down the Power on/off button firmly.
The blue work indicator light should turn on for a few moments and then go
out, it will blink every two seconds while it is in this standby mode to let
you know that the device is working.
3.) To take a picture simply press down the Start/Pause button once and a
picture will be taken.
4.)To begin taking video, press down the Start/Pause button and hold it
briefly. The blue light should come on and stay on as long as the Watch
DVR is recording.
5.) Pressing and holding the Start/Pause button once more will stop
recording and the Watch DVR will go into standby mode once more.
6.) When the Watch DVR's internal memory begins to fill the blue indicator
light will begin to flash rapidly. This means that you will need to hook the
Watch DVR to the PC to copy your data over and free up space in the
internal memory.
Note: If the Watch DVR is left untouched in standby mode for longer than
10 minutes it will automatically turn itself off to help conserve battery life.
Data Transfer
1.) Plug the USB cable into your computer and attach the other end to the
Watch DVR via the USB interface.
2.) Your operating system should automatically "see" the Watch DVR
allowing you to access the files on it. The Images folder will contain all of
your still images, while the Video folder will likewise contain all of your
video footage. Note: On some operating systems if the Watch DVR is not
auto detected you may need to briefly press down the power button on the
watch, once it is activated your OS should detect the device automatically.
