INSTALLATION GUIDE
–
DP CONVECTORS
1. UNIT DESCRIPTION
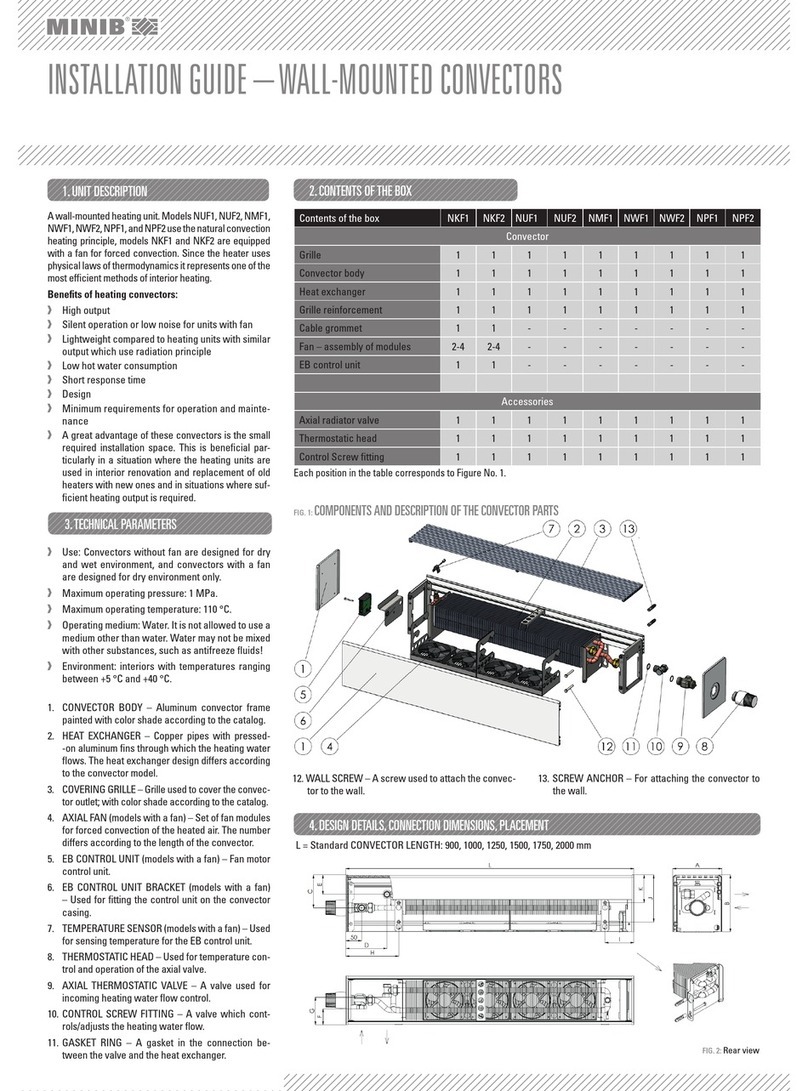
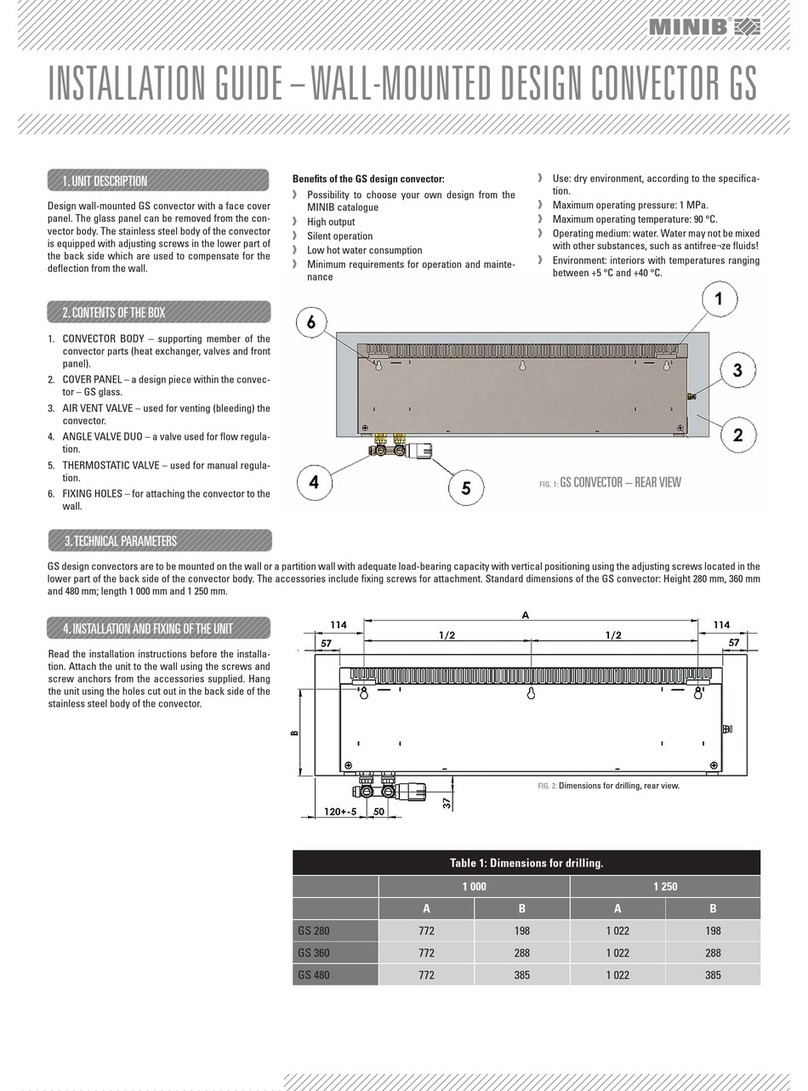
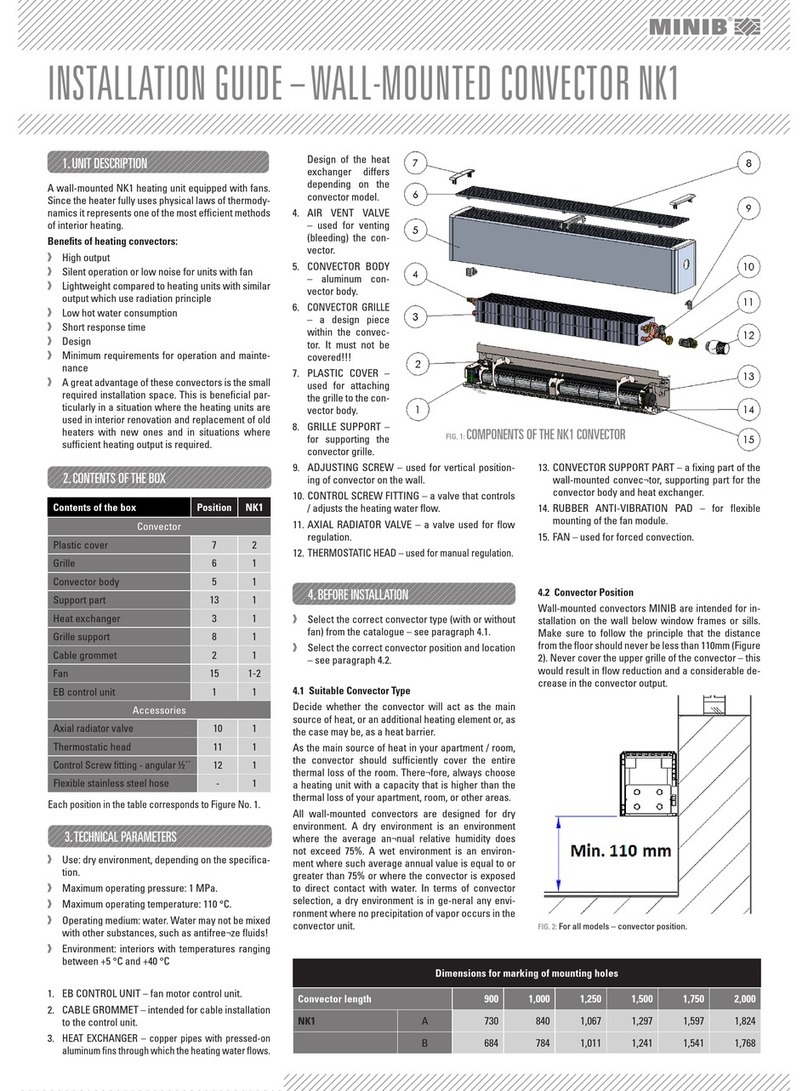
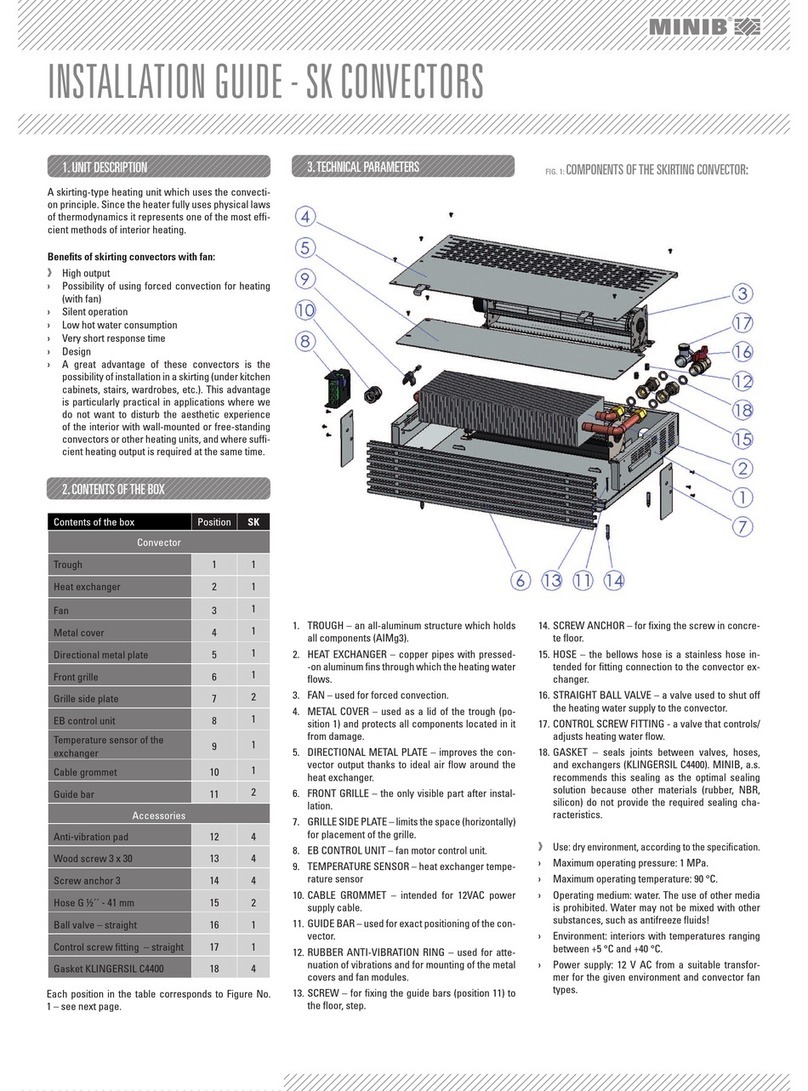
An all-wood free-standing heater which uses the con-
vection heating principle. Since the heater fully uses
physical laws of thermodynamics it represents one of
the most effi cient methods of interior heating.
Benefi ts of free-standing DP convectors:
High output
Silent operation
Low hot water consumption
Short response time
Design
Minimum requirements for operation and mainte-
nance
Contents of the box Position DP
Convector
All-wood casing 1 1
All-wood grille 2 1
Heat exchanger 3 1
Accessories
Ball valve - straight ½´´ 4 1
Screw fi tting - angular ½´´ 5 1
Contents of the box Position DP
Příslušenství
Hose G ½´´ - 41 mm 6 1
Hose G ½´´ - 65 mm 7 1
Gasket KLINGERSIL C4400 8 4
Screw anchor No. 10 *) 9 2-3
Wood screw 6 x 50 *) 10 2-3
DP template 11 1
3. TECHNICAL PARAMETERS
Use: dry environment.
Maximum operating pressure: 1 MPa.
Maximum operating temperature: 90 °C.
Operating medium: water. The use of other media
is prohibited. Water may not be mixed with other
substances, such as antifreeze fl uids!
Environment: interiors with temperatures ranging
between +5 °C and +40 °C.
1.
WOODEN CONVECTOR CASING – the all-wood cas-
ing of the convector is a design piece and encases
the heat exchanger.
2. CONVECTOR GRILLE – a design piece protecting the
convector outlet. It must not be covered!!!
3. HEAT EXCHANGER – copper pipes with pressed-
Each position in the table corresponds to Figure No. 1
on aluminum fi ns through which the heating water
fl ows.
4. STRAIGHT BALL VALVE – used to shut off water
supply.
5. SCREW FITTING – a valve that controls/adjusts
heating water fl ow.
6. HOSE 41 mm
7. HOSE 65 mm – the bellows hose is a stainless hose
intended for fi tting the connection to the convector
exchanger.
8. GASKET – seals joints between valves, hoses, and
exchangers (KLINGERSIL C4400). MINIB, a.s. rec-
ommends this sealing as the optimal sealing solu-
*For lengths of 1 500 mm and 2 000 mm 3 pieces
4.1 Convector Position
The free-standing DP convector made by MINIB is
to be fl oor-mounted. Place the convector so that it
does not disturb the overall aesthetic experience of
the room. We recommend leaving a 50–150 mm space
between the convector and the wall - Figure 2. Never
cover the top grille - this would result in fl ow reduction
and a considerable decrease in the convector output
(Figure 2).
FIG. 1: COMPONENTS OF DP CONVECTOR:
tion because other materials (rubber, NBR, silicon)
do not provide the required sealing characteristics.
9. SCREW ANCHOR – for anchoring the screw.
10. SCREW – for fi xing the convector to the fl oor.
11. TEMPLATE – for marking the positions of the inlet
and return pipes and for marking the convector fi x-
ing holes on the fl oor.
Select the correct convector position and location
– see paragraph 4.1.
Free-standing DP convectors are designed for instal-
lation right on the fl oor. Please read the following in-
structions before you start.
Plan the exact position before installation. The
convector unit (all-wood body) is to be used for
determination of the exact position.
2. CONTENTS OF THE BOX
4. BEFORE INSTALLATION FIG. 2: Convector position
5. INSTALLATION
