manuals.online logo
Brands
  1. Home
  2. •
  3. Brands
  4. •
  5. Mirabelle
  6. •
  7. Plumbing Product
  8. •
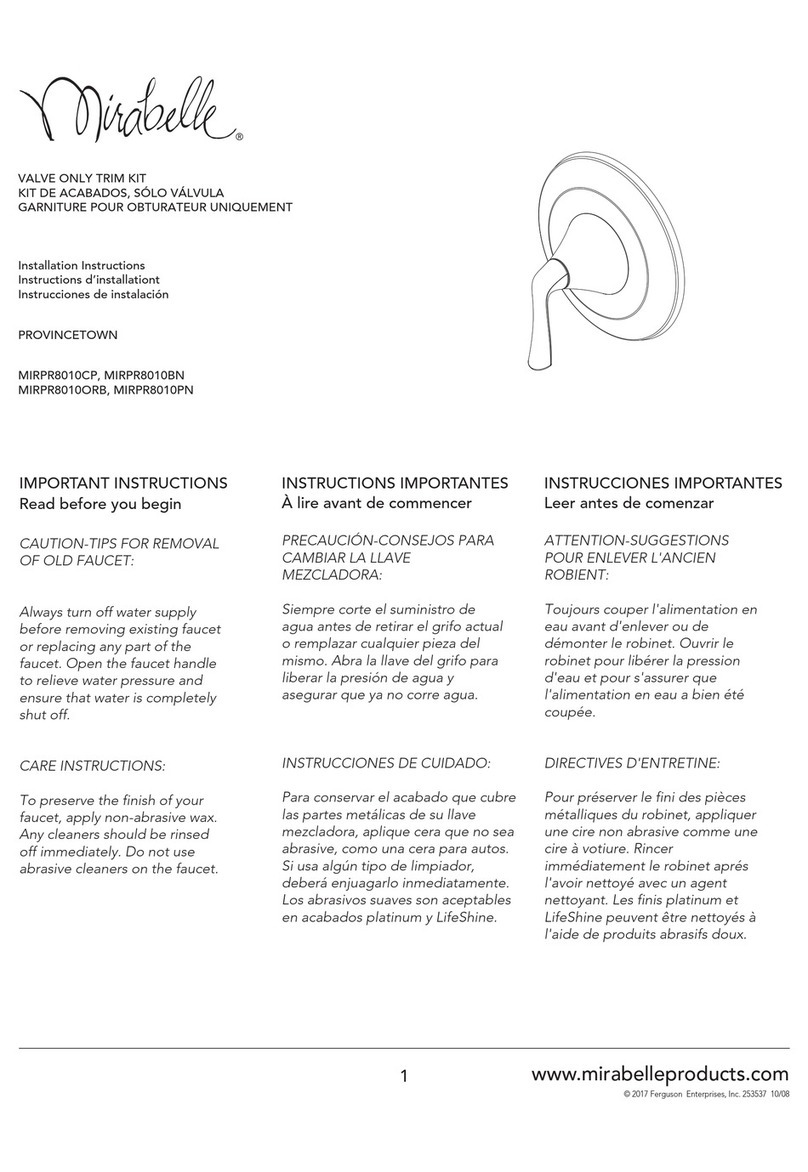
  9. Mirabelle PROVINCETOWN User manual

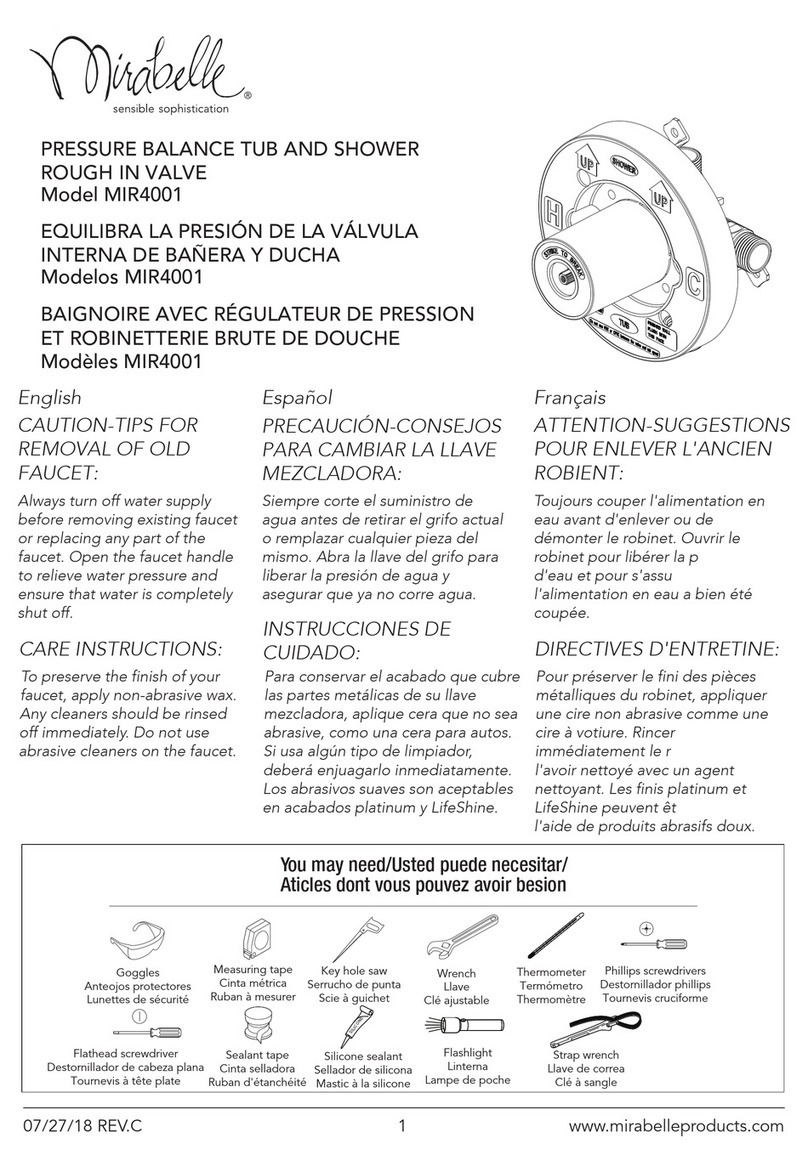
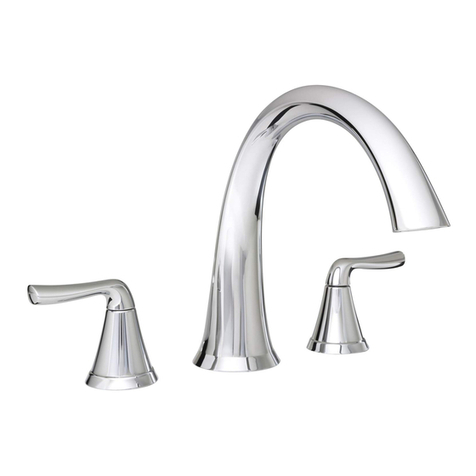
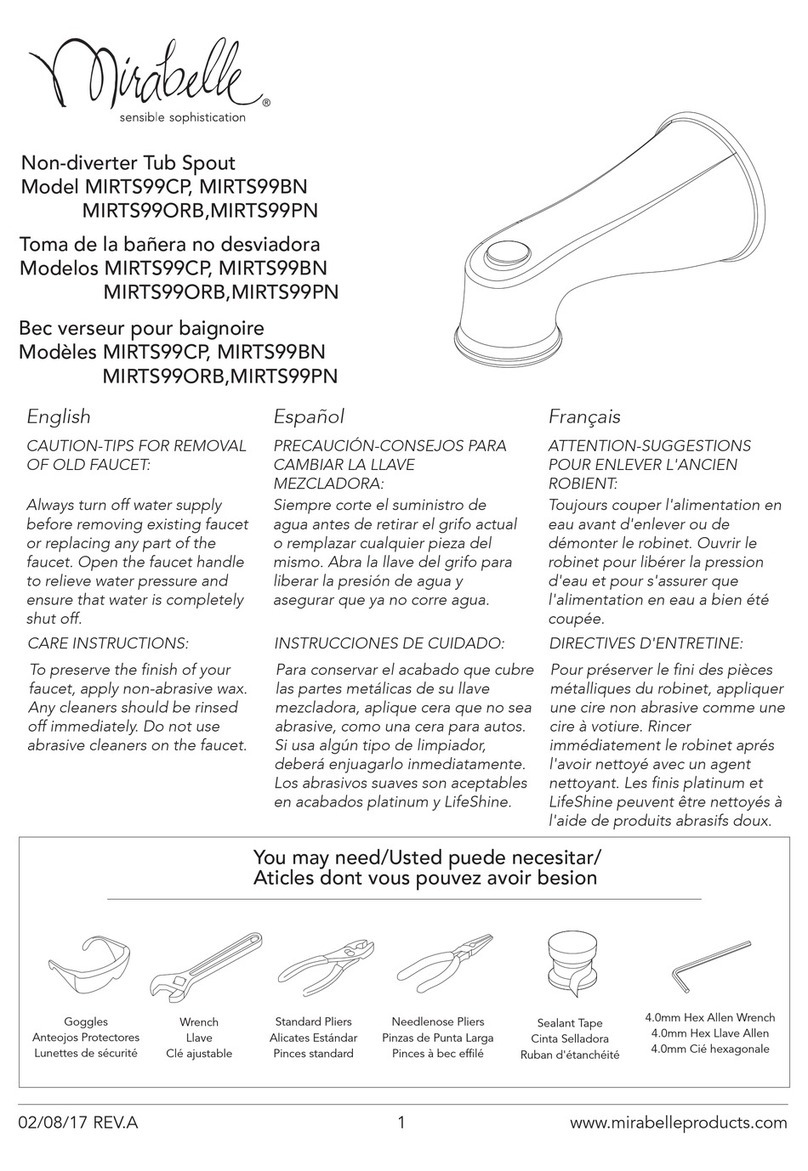
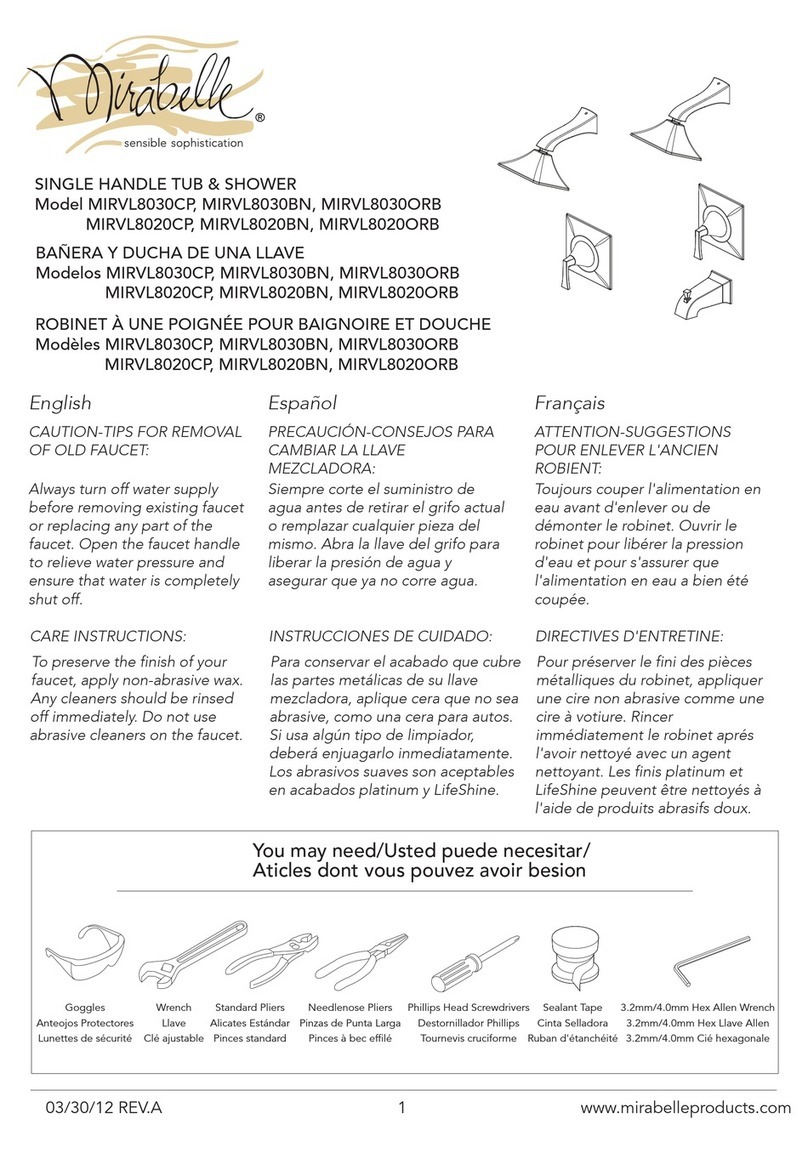
Mirabelle PROVINCETOWN User manual

www.mirabelleproducts.com
© 2017 Ferguson Enterprises, Inc. 253537 10/08
1
SINGLE HANDLE TUB & SHOWER
BAÑERA Y DUCHA DE UNA LLAVE
ROBINET À UNE POIGNÉE POUR BAIGNOIRE ET DOUCHE
Installation Instructions
Instructions d’installationt
Instrucciones de instalación
PROVINCETOWN
MIRPR8030ECP, MIRPR8030EBN, MIRPR8030EORB, MIRPR8030EPN
MIRPR8020ECP, MIRPR8020EBN, MIRPR8020EORB, MIRPR8020EPN
IMPORTANT INSTRUCTIONS
Read before you begin
CAUTION-TIPS FOR REMOVAL
OF OLD FAUCET:
Always turn off water supply
before removing existing faucet
or replacing any part of the
faucet. Open the faucet handle
to relieve water pressure and
ensure that water is completely
shut off.
CARE INSTRUCTIONS:
To preserve the finish of your
faucet, apply non-abrasive wax.
Any cleaners should be rinsed
off immediately. Do not use
abrasive cleaners on the faucet.
INSTRUCTIONS IMPORTANTES
À lire avant de commencer
PRECAUCIÓN-CONSEJOS PARA
CAMBIAR LA LLAVE
MEZCLADORA:
Siempre corte el suministro de
agua antes de retirar el grifo actual
o remplazar cualquier pieza del
mismo. Abra la llave del grifo para
liberar la presión de agua y
asegurar que ya no corre agua.
INSTRUCCIONES DE CUIDADO:
Para conservar el acabado que cubre
las partes metálicas de su llave
mezcladora, aplique cera que no sea
abrasive, como una cera para autos.
Si usa algún tipo de limpiador,
deberá enjuagarlo inmediatamente.
Los abrasivos suaves son aceptables
en acabados platinum y LifeShine.
INSTRUCCIONES IMPORTANTES
Leer antes de comenzar
ATTENTION-SUGGESTIONS
POUR ENLEVER L'ANCIEN
ROBIENT:
Toujours couper l'alimentation en
eau avant d'enlever ou de
démonter le robinet. Ouvrir le
robinet pour libérer la pression
d'eau et pour s'assurer que
l'alimentation en eau a bien été
coupée.
DIRECTIVES D'ENTRETINE:
Pour préserver le fini des pièces
métalliques du robinet, appliquer
une cire non abrasive comme une
cire à votiure. Rincer
immédiatement le robinet aprés
l'avoir nettoyé avec un agent
nettoyant. Les finis platinum et
LifeShine peuvent être nettoyés à
l'aide de produits abrasifs doux.
www.mirabelleproducts.com
© 2017 Ferguson Enterprises, Inc. 253537 10/08
2
Recommended Tools and Accessories
Outils et matériaux recommandés / Herramientas y materiales recomendados
1. Screw nut (1) onto thread section of valve
body. Insert the brass stem extension (2) to
valve body. Tighten screw (3).
1. Atornilla la tuerca (1) en la sección roscada del
cuerpo de la válvula. Coloca la extensión del
vástago de latón (2) en el cuerpo de la válvula.
Aprieta el tornillo (3).
1. Vissez l'écrou (1) sur la section filetée du corps
du robinet. Insérez la rallonge de tige en laiton
(2) sur le corps du robinet. Serrez la vis (3).
2. Position escutcheon (1) on valve body with
drain hole (2) at the bottom. Place handle
onto the brass stem extension and tighten
handle seat (3).
2. Coloca la placa decorativa (1) en el cuerpo de
la válvula con el orificio de drenaje (2) en la base.
Coloca la manija en la extensión del vástago de
latón y aprieta el asiento de la manija (3).
2. Placez la rosace (1) sur le corps du robinet avec
le trou d'évacuation (2) en bas. Insérez la manette
sur la rallonge de tige en laiton et serrez le siège
de la manette (3).
AB
(A) Screwdriver (B) Wrench (C) Tape Measure (D) Goggles (E) Standard Pliers (F) Needlenose Pliers (G) 4.0mm Hex Allen Wrench (H) Sealant Tape
(A) Tournevis (B) Clef (C) Ruban à mesurer (D) Anteojos Protectores (E) Alicates Estándar (F) Pinzas de Punta Larga (G) 4.0mm Hex Llave Allen (H) Cinta Sellad
(A) Destornillador (B) Llave inglesa (C) Cinta métrica (D) Lunettes de sécurité (E) Pinces standard (F) Pinces à bec effilé (G) 4.0mm Cié hexagonale (H) Ruban d'étanchéité
C D EFGH
1
2
3
1
2
3
(FIG.1)
(FIG.2)
4. FOR TUB SPOUT INSTALLATION
Install tub spout. Press tub spout onto pipe
until spout is properly positoned and flush
to the finished wall. Tighten screw (1)
located at the bottom of spout with Allen
wrench (Hex: 4.0mm).
IMPORTANT: The distance from the valve
to the tub spout stub out should be
between 8” and 18”.
4. INSTALACIÓN DEL CAÑO DE LA TINA
Instala el caño de la tina. Presiona el caño de la
tina en la tubería hasta que el caño esté
correctamente ubicado y a ras con la pared
terminada. Aprieta el tornillo (1) ubicado en la
parte inferior del caño con la llave Allen
(Hexagonal: 4,0 mm).
IMPORTANTE: La distancia desde la válvula
hasta el caño sobresaliente de la bañera debe
ser de 8” a 18” (20.3 cm a 45.7 cm).
4. INSTALLATION DU BEC DE LA BAIGNOIRE
Installez le bec de la baignoire. Appuyez le bec
de baignoire sur la conduite jusqu'à ce qu'il soit
correctement positionné et de niveau avec le
mur fini. Serrez la vis (1) située en bas du bec
avec une clé hexagonale (4,0 mm).
IMPORTANT: La distance entre l’obturateur et le
mamelon de raccordement du bec de baignoire
devrait être comprise entre 20,32 cm et 45,72 cm
(8 po et 18 po).
www.mirabelleproducts.com
© 2017 Ferguson Enterprises, Inc. 253537 10/08
3
3. FOR SHOWER ARM INSTALLATION.
Insert the long end of the shower arm (2)
through the flange (1) then wrap plumber's
tape to both sides of shower arm. Screw long
end of the shower arm into pipe elbow inside
the wall.
3. INSTALACIÓN DEL BRAZO DE LA DUCHA.
Inserta el extremo largo del brazo de la ducha (2)
a través de la brida (1) y coloca cinta de plomero
alrededor de ambos lados del brazo de la ducha.
Atornilla el extremo largo del brazo de la ducha al
codo de la tubería que está dentro de la pared.
3. INSTALLATION DU BRAS DE DOUCHE.
Insérez la partie longue du bras de douche
(2) dans la bride (1) et enveloppez les deux
côtés du bras de douche avec du ruban
d'étanchéité. Fixez l'extrémité allongée du
bras de douche au coude de tuyau dans le
mur.
1
2
1
8" [203.2mm] MIN
18" [457.2mm] MAX
(FIG.3)
(FIG.4)
6. Attach shower head to shower arm. 6. Fija el cabezal de ducha al brazo de la ducha. 6. Fixez la pomme de la douche au bras de
douche.
www.mirabelleproducts.com
© 2017 Ferguson Enterprises, Inc. 253537 10/08
4
5. FLUSHING
For Tub and Shower Combinations:
Turn on Hot and Cold water supply lines
allowing water to flow from tub spout outlet
(2) until all foreign matter has cleared the line.
For Shower Only Combinations:
Turn on Hot and Cold water supply lines
allowing water to flow from shower outlet (1)
until all foreign matter has cleared the line.
Pressure must be approximately equal on
both Hot and Cold sides for valve to function
properly.
5. PURGADO
Para combinaciones de tina y ducha:
Abre las líneas de suministro de agua fría caliente
y deja que el agua salga por el caño de la tina (2)
hasta que todos los desechos sean expulsados.
Para combinaciones de ducha solamente:
Abre las líneas de suministro de agua fría caliente
y deja que el agua salga por el caño de la ducha
(1) hasta que expulse todos los desechos.Para que
la válvula funcione correctamente la presión del
agua debe ser la misma en la salida del agua
caliente y en la salida del agua fría.
5. ÉVACUATION
Pour l'installation du bec de baignoire et
du bras de douche :
Ouvrez l'alimentation en eau chaude et en
eau froide pour faire circuler de l'eau dans
la sortie du bec de la baignoire (2) jusqu'à
ce que tout corps étranger soit éliminé de
la canalisation.
Pour l'installation du bras de douche
seulement :
Ouvrez l'alimentation en eau chaude et en
eau froide pour faire circuler de l'eau dans
la sortie du bec de la douche (1) jusqu'à ce
que tout corps étranger soit éliminé de la
canalisation. Pour que le robinet
fonctionne correctement, la pression doit
être environ la même des deux côtés.
1
2
(FIG.5)
(FIG.6)
* Specify Finish
Especifíque el Acabado
Précisez le Fini
www.mirabelleproducts.com
© 2017 Ferguson Enterprises, Inc. 253537 10/08
5
RP70345
4.0mm Hex Allen Wrench
4.0mm Hex Llave Allen
4.0mm Hex Cié hexagonale
RP80317*
Escutcheon
Placa Ornamental
Entraxe
RP38001*
Shower Flange
Ribete de ducha
Bride de douche
MIRSH2040E*
Shower Head
Cabezal de ducha
Pomme de douche
RP38054*
Shower Arm
Brazo de ducha
Bras de douche
RP50142
Screw
Tornillo
Vis
RP13260*
Handle
Llave
Poignée
MIRTS80*
Spout
Caño
Bec
RP70350
Connector
Conector
Raccorder
RP56082
Nut
Tuerca
Écrou

This manual suits for next models

8

Other Mirabelle Plumbing Product manuals

Mirabelle MIRXCWL100MCP Installation instructions manual

Mirabelle

Mirabelle MIRXCWL100MCP Installation instructions manual

Mirabelle VILAMONTE MIRWSCVL100LCP User manual

Mirabelle

Mirabelle VILAMONTE MIRWSCVL100LCP User manual

Mirabelle PROVINCETOWN MIRWSCPR800CP User manual

Mirabelle

Mirabelle PROVINCETOWN MIRWSCPR800CP User manual

Mirabelle PROVINCETOWN MIRPR8010CP User manual

Mirabelle

Mirabelle PROVINCETOWN MIRPR8010CP User manual

Mirabelle MIRML9009CP User manual

Mirabelle

Mirabelle MIRML9009CP User manual

Mirabelle MIRWSPR800CP User manual

Mirabelle

Mirabelle MIRWSPR800CP User manual

Mirabelle sophisti spa MIRSA9009CP User manual

Mirabelle

Mirabelle sophisti spa MIRSA9009CP User manual

Mirabelle MIRVLFS2000GCP User manual

Mirabelle

Mirabelle MIRVLFS2000GCP User manual

Mirabelle MIRWSCBD101CP User manual

Mirabelle

Mirabelle MIRWSCBD101CP User manual

Mirabelle MIRXCCD100CP User manual

Mirabelle

Mirabelle MIRXCCD100CP User manual

Mirabelle PROVINCETOWN MIRWSCPR100CP User manual

Mirabelle

Mirabelle PROVINCETOWN MIRWSCPR100CP User manual

Mirabelle MIRU1812WH User manual

Mirabelle

Mirabelle MIRU1812WH User manual

Mirabelle MIRPR9009CP User manual

Mirabelle

Mirabelle MIRPR9009CP User manual

Mirabelle PROVINCETOWN Series User manual

Mirabelle

Mirabelle PROVINCETOWN Series User manual

Mirabelle MIRXCWL100MCP Installation instructions manual

Mirabelle

Mirabelle MIRXCWL100MCP Installation instructions manual

Mirabelle MIRHI8010CP User manual

Mirabelle

Mirabelle MIRHI8010CP User manual

Mirabelle MIRWSCED100CP User manual

Mirabelle

Mirabelle MIRWSCED100CP User manual

Mirabelle MIRED9009BN User manual

Mirabelle

Mirabelle MIRED9009BN User manual
Mirabelle MIRPT9009CP User manual

Mirabelle

Mirabelle MIRPT9009CP User manual

Mirabelle PERDITA MIRXCPD100CP User manual
Mirabelle

Mirabelle PERDITA MIRXCPD100CP User manual

Mirabelle MIRWSCVL105LCP User manual

Mirabelle

Mirabelle MIRWSCVL105LCP User manual
Mirabelle ST. MARTIN MIRSM8010CP User manual

Mirabelle

Mirabelle ST. MARTIN MIRSM8010CP User manual

Mirabelle sophistispa MIRED9009CP User manual

Mirabelle

Mirabelle sophistispa MIRED9009CP User manual

Mirabelle MIRBEFS2000GCP User manual

Mirabelle

Mirabelle MIRBEFS2000GCP User manual

Popular Plumbing Product manuals by other brands

Hans Grohe AXOR Carlton17032 Series manual

Hans Grohe

Hans Grohe AXOR Carlton17032 Series manual

Transform QK022 installation manual

Transform

Transform QK022 installation manual

Kohler PURIST Series installation instructions

Kohler

Kohler PURIST Series installation instructions

Moen 3838 series Specifications

Moen

Moen 3838 series Specifications

ZUCCHETTI Delfi agora Z46270 Instruction for the installation

ZUCCHETTI

ZUCCHETTI Delfi agora Z46270 Instruction for the installation

KEUCO Plan Care 35908 1616 Series Mounting instruction

KEUCO

KEUCO Plan Care 35908 1616 Series Mounting instruction

Elkay Celebrity CMR4322 Specifications

Elkay

Elkay Celebrity CMR4322 Specifications

Schell COMFORT 01 846 06 99 Assembly and service instructions

Schell

Schell COMFORT 01 846 06 99 Assembly and service instructions

Santec ESTATE 6665BO10 installation instructions

Santec

Santec ESTATE 6665BO10 installation instructions

Lacava ELEGANZA 1846L owner's manual

Lacava

Lacava ELEGANZA 1846L owner's manual

KWC DOMO Installation and service instructions

KWC

KWC DOMO Installation and service instructions

Kraus Allyn FF-102 manual

Kraus

Kraus Allyn FF-102 manual

Axor Starck 28532 7 Series Instructions for use/assembly instructions

Axor

Axor Starck 28532 7 Series Instructions for use/assembly instructions

JADO Pyke Roman 848 installation instructions

JADO

JADO Pyke Roman 848 installation instructions

Kohler k-2815 installation guide

Kohler

Kohler k-2815 installation guide

Parker "N" Series user manual

Parker

Parker "N" Series user manual

Mira Advance user guide

Mira

Mira Advance user guide

American Standard Connosseur 4600.100 Series installation instructions

American Standard

American Standard Connosseur 4600.100 Series installation instructions

manuals.online logo
manuals.online logoBrands
  • About & Mission
  • Contact us
  • Privacy Policy
  • Terms and Conditions

Copyright 2025 Manuals.Online. All Rights Reserved.