manuals.online logo
Brands
  1. Home
  2. •
  3. Brands
  4. •
  5. Mirabelle
  6. •
  7. Plumbing Product
  8. •
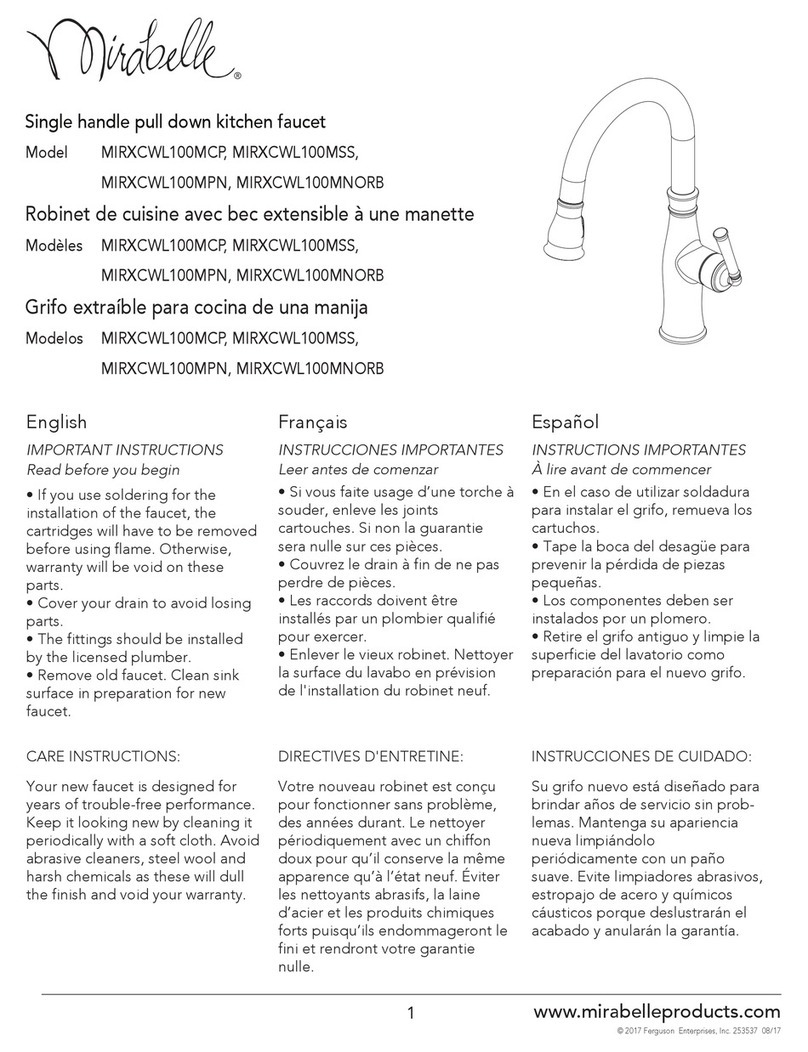
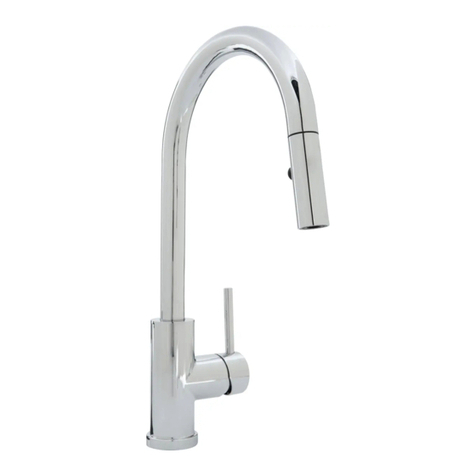
  9. Mirabelle RIGI MIRWSCRI100CP User manual

Mirabelle RIGI MIRWSCRI100CP User manual

www.mirabelleproducts.com
© 2017 Ferguson Enterprises, Inc. 253537 10/18
1
SINGLE HANDLE LAVATORY FAUCET
GRIFO PARA LAVABO DE UNA LLAVE
ROBINET DE SALLE DE BAINS À UNE POIGNÉE
Installation Instructions
Instructions d’installationt
Instrucciones de instalación
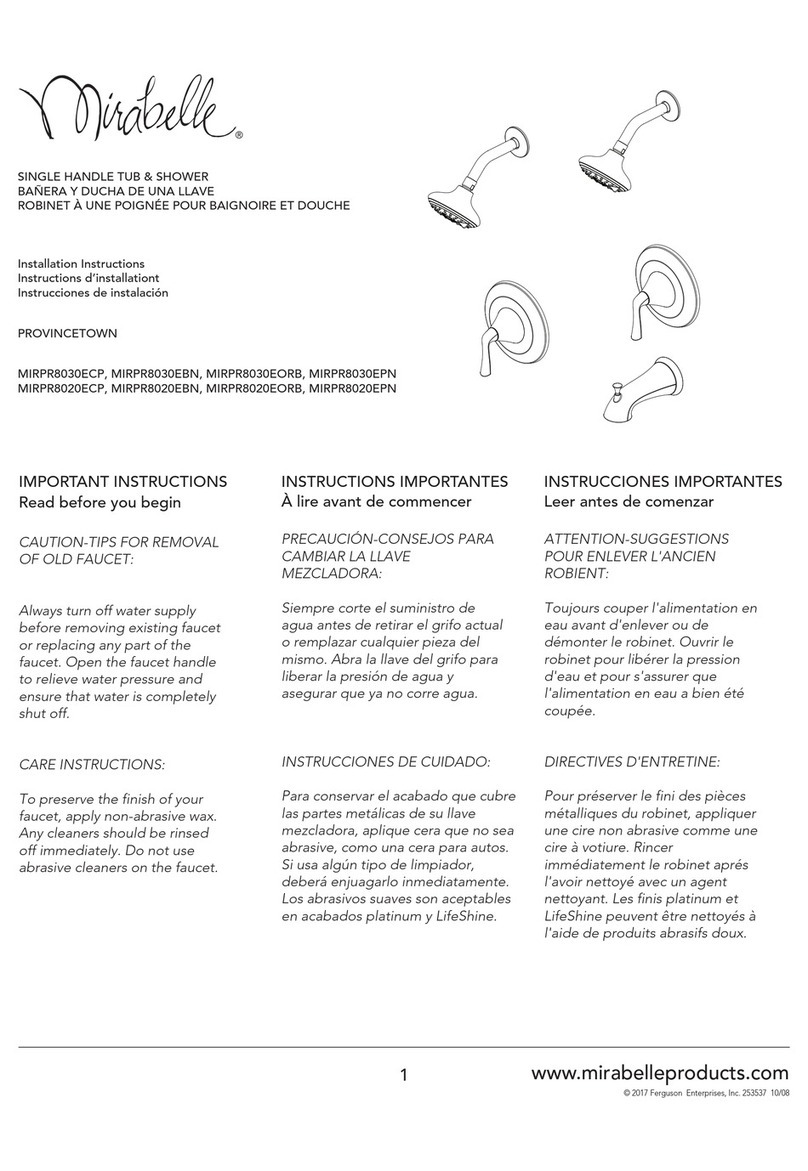
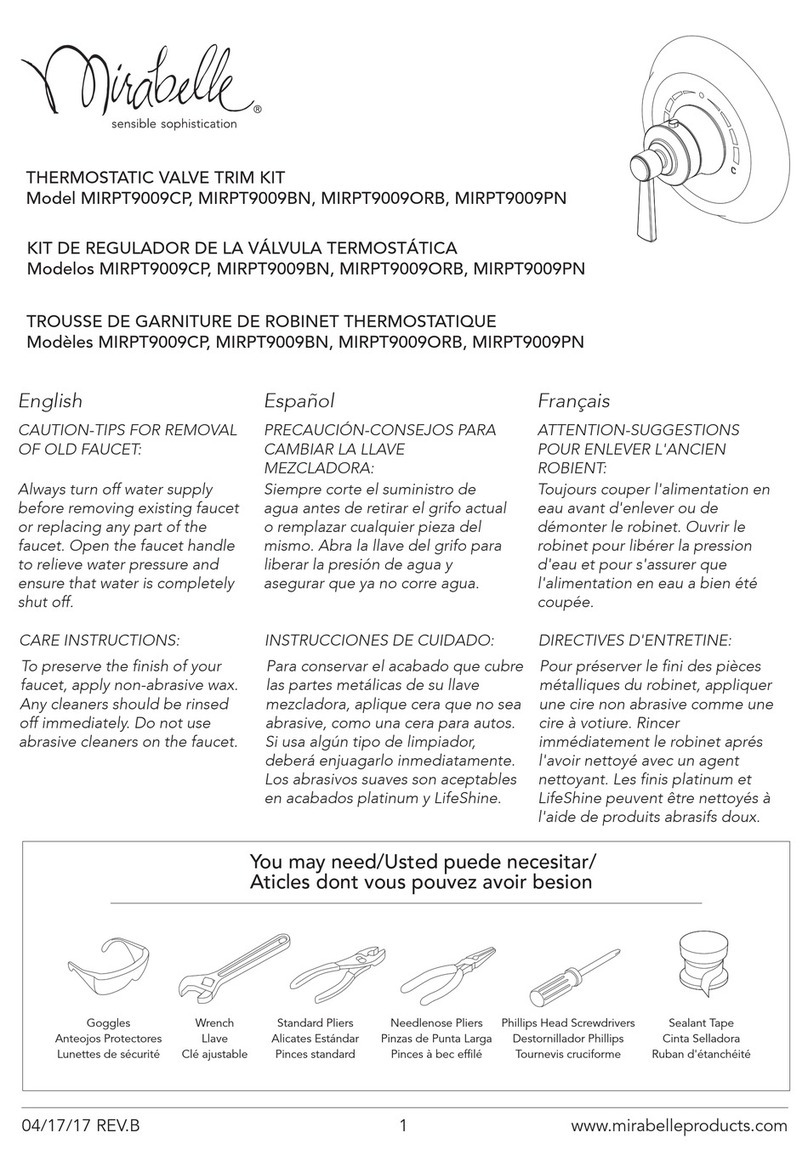
MIRWSCRI100CP, MIRWSCRI100BN
IMPORTANT INSTRUCTIONS
Read before you begin
CAUTION-TIPS FOR REMOVAL
OF OLD FAUCET:
Always turn off water supply
before removing existing faucet
or replacing any part of the
faucet. Open the faucet handle
to relieve water pressure and
ensure that water is completely
shut off.
CARE INSTRUCTIONS:
To preserve the finish of your
faucet, apply non-abrasive wax.
Any cleaners should be rinsed
off immediately. Do not use
abrasive cleaners on the faucet.
INSTRUCTIONS IMPORTANTES
À lire avant de commencer
PRECAUCIÓN-CONSEJOS PARA
CAMBIAR LA LLAVE
MEZCLADORA:
Siempre corte el suministro de
agua antes de retirar el grifo actual
o remplazar cualquier pieza del
mismo. Abra la llave del grifo para
liberar la presión de agua y
asegurar que ya no corre agua.
INSTRUCCIONES DE CUIDADO:
Para conservar el acabado que cubre
las partes metálicas de su llave
mezcladora, aplique cera que no sea
abrasive, como una cera para autos.
Si usa algún tipo de limpiador,
deberá enjuagarlo inmediatamente.
Los abrasivos suaves son aceptables
en acabados platinum y LifeShine.
INSTRUCCIONES IMPORTANTES
Leer antes de comenzar
ATTENTION-SUGGESTIONS
POUR ENLEVER L'ANCIEN
ROBIENT:
Toujours couper l'alimentation en
eau avant d'enlever ou de
démonter le robinet. Ouvrir le
robinet pour libérer la pression
d'eau et pour s'assurer que
l'alimentation en eau a bien été
coupée.
DIRECTIVES D'ENTRETINE:
Pour préserver le fini des pièces
métalliques du robinet, appliquer
une cire non abrasive comme une
cire à votiure. Rincer
immédiatement le robinet aprés
l'avoir nettoyé avec un agent
nettoyant. Les finis platinum et
LifeShine peuvent être nettoyés à
l'aide de produits abrasifs doux.
RIGI
www.mirabelleproducts.com
© 2017 Ferguson Enterprises, Inc. 253537 10/18
2
Recommended Tools and Accessories
Outils et matériaux recommandés / Herramientas y materiales recomendados
(A) Goggles (B) Wrench (C) (2) Supply Lines (D) Basin Wrench (E) Phillips Head Screwdrivers (F) Silicone
(A) Anteojos Protectores (B) Llave (C) 2 Líneas de Suministro (D) Llave para Instalar Grifos (E) Destornillador Phillips (F) Silicón
(A) Lunettes de sécurité (B) Clé ajustable (C) (2) Tuyaux d'alimentation (D) Clé pour lavabo (E) Tournevis cruciforme (F) Silicone
A
B
C D E F
SILICONE
1
2
3
(FIG.1)
1.Shut off water supplies. Before installation,
ensure that the flange (1) is placed on the
bottom of the new faucet assembly. Place
new faucet through holes in top of sink. From
under sink slide washer (2) onto thread.
Secure with washer (2) and nut (3).
1.Cote el suministro de agua. Antes de la
instalación, veri que que la brida (1) esté
colocada sobre el fondo del montaje de la
nueva llave. Coloque el grifo nuevo a través
de los orificios en la parte superior del
lavabo. Desde la parte inferior, deslice las
arandela (2) hacia las barras roscadas.
Asegure con arandela (2) y tuerca (3).
1.Coupez I’alimentation en eau. Avant
I’alimentation, véri ez que la bride (1) est placée
au fond du nouveau robinet. Insérez le nouveau
robinet dans les trous prévus à cet effet sur le
dessus du lavabo. Sous le lavabo, glissez les
rondelle (2) sur les tiges filetées et fixez-les à l'aide
de rondelle (2) et d'écrou (3).
2.Connect the hot and cold water supply
lines (1) to the angle stop (not included).
Or attach hot and cold adaptors (2, not
included) to supply lines, then use 1/2"
I.P.S. faucet connections (3, not included).
Use wrenches to tighten connections.
Do not over tighten.
2.Conecta las líneas de suministro de agua fría
y caliente (1) a la llave de paso angular (no
incluida). O fija los adaptadores para agua fría
y caliente (2, no incluidos) a las líneas de
suministro, entonces utiliza conexiones de
grifo de 1/2" I.P.S. (3, no incluidas). Usa llaves
para apretar las conexiones. No aprietes
demasiado.
2.Raccordez les conduites d'alimentation en eau
chaude et froide (1) à la butée à angle (non
comprise). Ou raccordez des adaptateurs d'eau
chaude et d'eau froide (2, non compris) aux
conduites d'alimentation, et utilisez ensuite des
raccords de robinet IPS de 1/2 po (3, non
compris). Utilisez la clé pour serrer les raccords.
Ne serrez pas trop.
(FIG.2)
ANGLE STOP
LLAVE DE PASO ANGULAR
BUTÉE À ANGLE
OR
O
OU
1
3
2
1
www.mirabelleproducts.com
© 2017 Ferguson Enterprises, Inc. 253537 10/18
3
1
2
3
4
5
7
6
3.Remove the old pop-up drain and clear
up the hole in preparation for the new
pop-up drain installation. Unscrew the nut
(7) from the pop-up body (1), move over the
tail pipe (6) and washer (5), then unscrew
the coupling nut (4) and remove the
washers (2 & 3).
3.Quita el drenaje emergente viejo y limpia
el orificio para prepararlo para instalar el
drenaje emergente nuevo. Desenrosca la
tuerca (7) del cuerpo emergente (1), aparta
los tubos extensores (6) y la arandela (5),
luego desenrosca la tuerca de acoplamiento
(4) y retira las arandelas (2 y 3).
3.Retirez l’ancienne évacuation mécanique et
nettoyez l’orifice en préparation de l’installation
de la nouvelle évacuation mécanique. Dévissez
l’écrou (7) du corps d’évacuation mécanique (1),
déplacez le tuyau d’évacuation (6) et la rondelle
(5), puis dévissez l’écrou d’accouplement (4) et
retirez les rondelles (2 et 3).
(FIG.3)
2
1
3
4
5
4.Place the washer (2) underneath the flange
of the pop-up body (1). Slide the pop-up
body (1) down through the drain hole on
the vessel or basin. From underside, slide
the washer (3 & 4) against the bottom of
the vessel or basin, thread on the coupling
nut (5) and tighten. Do not over tighten.
4.Coloca la arandela (2) debajo de la brida
del cuerpo emergente (1). Desliza el cuerpo
emergente (1) hacia abajo por el orificio del
drenaje del recipiente o lavamanos. Desde
la parte inferior, desliza la arandela (3 y 4)
contra el fondo del recipiente o lavamanos,
enróscala en la tuerca de acoplamiento (5)
y aprieta. No aprietes demasiado.
4.Placez la rondelle (2) en dessous de la bride du
corps d’évacuation mécanique (1). Faites glisser
le corps d’évacuation mécanique (1) vers le bas
à travers l’orifice d’évacuation de la vasque ou
du bassin. À partir du dessous, faites glisser la
rondelle (3 et 4) contre le fond de la vasque ou
du bassin, vissez l’écrou d’accouplement (5) et
serrez. Ne serrez pas trop.
(FIG.4)
1
2
3
5.Slide the nut (2) over the tail pipe (3).
Place the washer (1) into the nut and
tighten. Do not over tighten.
5.Desliza la tuerca (2) sobre el tubo extensor
(3). Coloca la arandela (1) en la tuerca y
aprieta. No aprietes demasiado.
5.Faites glisser l’écrou (2) sur le tuyau
d’évacuation (3). Placez la rondelle (1) dans
l’écrou et serrez. Ne serrez pas trop.
(FIG.5)
6.Important: After installation is completed,
turn on water supply and allow both hot and
cold water to run for at least one minute
each. While water is running, check for leaks.
6.Importante: Una vez que termine la
instalación, abra el suministro de agua y deje
correr agua fría y caliente durante al menos un
minuto cada una. Mientras el agua corre,
controle que no haya pérdidas.
6.Important: Une fois l’installation terminée,
ouvrez l’alimentation d’eau et laissez couler l’eau
chaude et l’eau froide au moins une minute
chacune. Pendant que l’eau coule, vérifiez s’il y a
des fuites.
(FIG.6)
www.mirabelleproducts.com
© 2017 Ferguson Enterprises, Inc. 253537 10/18
4
Maintenance
If faucet leaks from spout outlet -shut off water
supplies-replace cartridge (1).
Note: Install cartridge (1) correctly for proper
handle rotation.
Mantenimiento
Si la llave tiene filtraciones del pico del
tubo de salida-cierre los suministros de
agua-Reemplace el ensamble de la Unidad
de la Espiga (1).
Note: Instale las espigas (1) correctamente
para obtener una rotación debida.
Entretien
Si le robinet fuit par la sortie du bec-coupez
l'eau puis remplacez l'obturateur (1).
Nota: Installer correctement les obturateurs (1)
pour que les manettes tournent dans le bon sens.
1
WARNING !
This product is engineered to meet the EPA WaterSense flow requirement. The flow rate is governed by the aerator or flow
controller. If replacement is ever required, be sure to replace it with a WaterSense compliant aerator or flow controller to
retain the water conserving flow rate of this product.
AVERTISSEMENT !
Ce produit est conçu pour respecter les exigences de débit d’eau du programme WaterSense de l’EPA. Le débit est réglé
par l’aérateur et le régulateur. Si une pièce doit être remplacée, assurez-vous d'utiliser un aérateur ou un régulateur de
ADVERTENCIA !
Este producto está diseñado para cumplir con los requerimientos de ujo de EPA WaterSense. El caudal se rige por el
aireador o el controlador de ujo. Si el reemplazo es necesario, asegúrese de reemplazarlo con un aireador o controlador de
ujo compatible con WaterSense para retener el caudal de conservación de agua de este producto.
www.mirabelleproducts.com
© 2017 Ferguson Enterprises, Inc. 253537 10/18
5
RP40196*
Press Pop-up Assembly
Presiona El ensamblaje Emergente
Appuyez Sur l’évacuation Mécanique
* Specify Finish
Especifíque el Acabado
Précisez le Fini
RP64207
Washer
Arandela
Rondelle
RP56026
Nut
Tuerca
Écrou
RP80484*
Flange
Brida
Bride
RP70224
Bonnet
Capuchón
Chapeau
RP50002
Set Screw
Tornillo de Fijación
Vis de calage
RP80408*
Cap
Tapa
Capuchon
RP13411*
Handle
Llave
Poignée
RP50179
Set Screw
Tornillo de Fijación
Vis de calage
RP30183
1.5mm Hex Allen Wrench
1.5mm Hex Llave Allen
1.5mm Cié hexagonale
RP30182
Aerator Wrench
Llave para aireador
Clé pour aérateur
RP30222
Aerator
Aireado
Aérateur
MIR20081
Cartridge&Screw
Cartucho&Tornillo
Cartouche&Vis

This manual suits for next models

1

Other Mirabelle Plumbing Product manuals
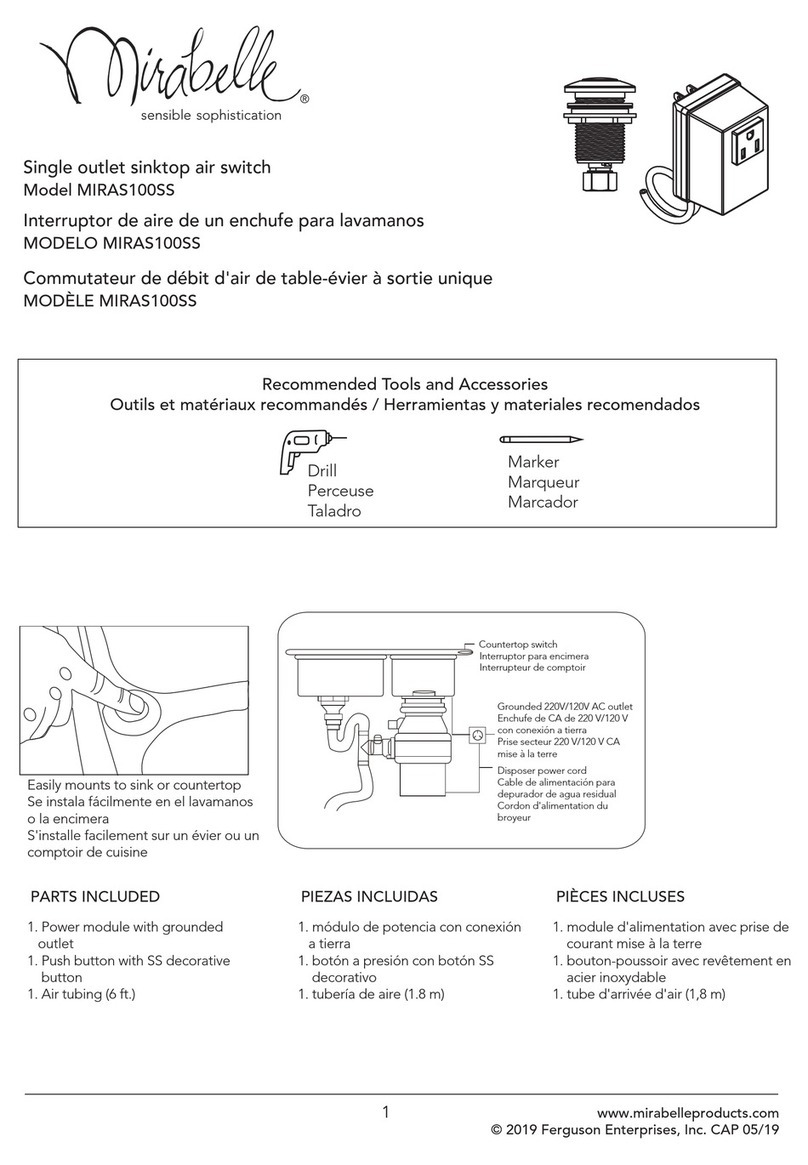
Mirabelle MIRWSVL800CP User manual

Mirabelle

Mirabelle MIRWSVL800CP User manual

Mirabelle MIRWSCVL800CP User manual

Mirabelle

Mirabelle MIRWSCVL800CP User manual

Mirabelle MIRXCWL100MCP Installation instructions manual

Mirabelle

Mirabelle MIRXCWL100MCP Installation instructions manual

Mirabelle MIRKW3RT2CP User manual

Mirabelle

Mirabelle MIRKW3RT2CP User manual

Mirabelle sophistispa MIRVL9009CP User manual

Mirabelle

Mirabelle sophistispa MIRVL9009CP User manual

Mirabelle MIRWSPT800CP User manual

Mirabelle

Mirabelle MIRWSPT800CP User manual

Mirabelle MIRPTFS1000CP User manual

Mirabelle

Mirabelle MIRPTFS1000CP User manual

Mirabelle PROVINCETOWN User manual

Mirabelle

Mirabelle PROVINCETOWN User manual

Mirabelle MIRPR9009CP User manual

Mirabelle

Mirabelle MIRPR9009CP User manual

Mirabelle MIRWSCVL100CP User manual

Mirabelle

Mirabelle MIRWSCVL100CP User manual

Mirabelle MIRWSCED100CP User manual

Mirabelle

Mirabelle MIRWSCED100CP User manual

Mirabelle MIRWSCVL105LCP User manual

Mirabelle

Mirabelle MIRWSCVL105LCP User manual

Mirabelle PROVINCETOWN MIRPR3RTCP User manual

Mirabelle

Mirabelle PROVINCETOWN MIRPR3RTCP User manual

Mirabelle MIRXCCD100CP User manual

Mirabelle

Mirabelle MIRXCCD100CP User manual

Mirabelle MIRWSPR800CP User manual

Mirabelle

Mirabelle MIRWSPR800CP User manual

Mirabelle MIRPR350WH User manual

Mirabelle

Mirabelle MIRPR350WH User manual

Mirabelle MIRWSCKW100 User manual

Mirabelle

Mirabelle MIRWSCKW100 User manual

Mirabelle ST. MARTIN MIRWSCSM800CP User manual

Mirabelle

Mirabelle ST. MARTIN MIRWSCSM800CP User manual

Mirabelle MIRBEFS2000GCP User manual

Mirabelle

Mirabelle MIRBEFS2000GCP User manual

Mirabelle MIRAS100SS User manual

Mirabelle

Mirabelle MIRAS100SS User manual
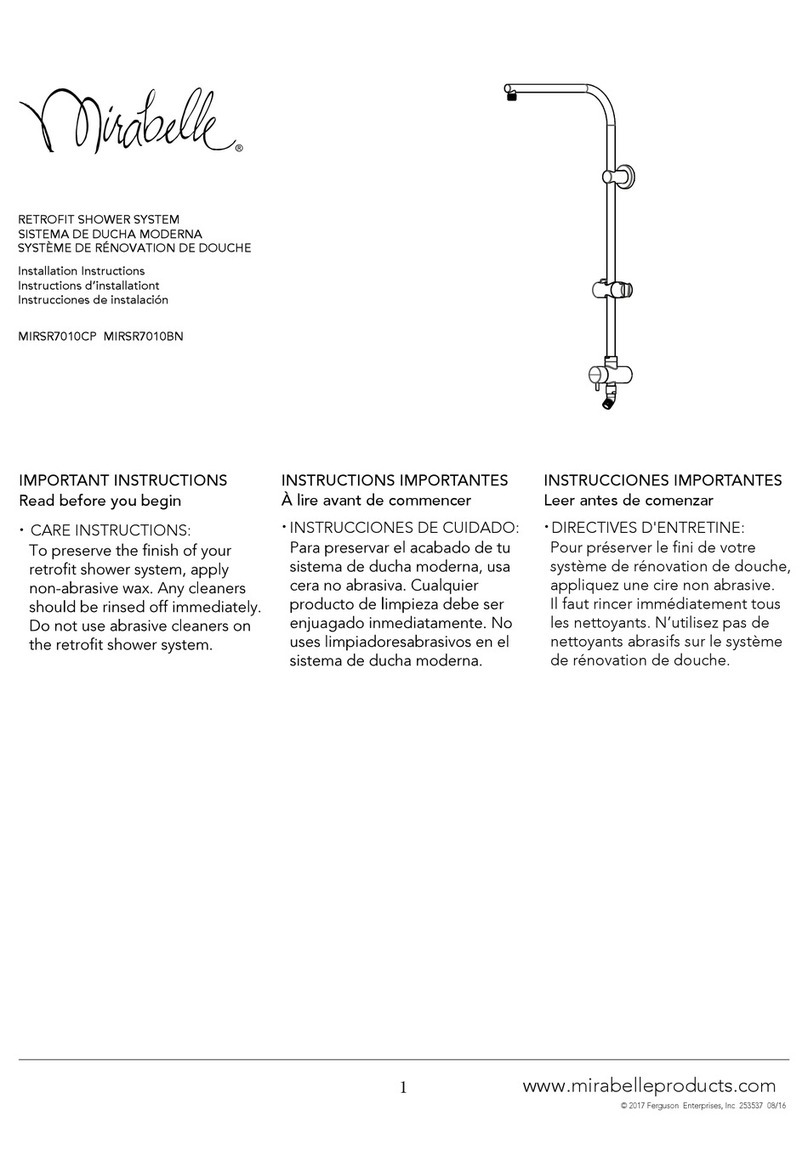
Mirabelle MIRHI8010CP User manual

Mirabelle

Mirabelle MIRHI8010CP User manual

Mirabelle MIRWSVL105ORB User manual

Mirabelle

Mirabelle MIRWSVL105ORB User manual

Mirabelle PROVINCETOWN MIRWSCPR800CP User manual

Mirabelle

Mirabelle PROVINCETOWN MIRWSCPR800CP User manual

Mirabelle sophistispa M1RSH2040CP User manual

Mirabelle

Mirabelle sophistispa M1RSH2040CP User manual

Popular Plumbing Product manuals by other brands

Linki ROUND Rnd 172 quick start guide

Linki

Linki ROUND Rnd 172 quick start guide

DURAVIT DuraSystem Mounting instructions

DURAVIT

DURAVIT DuraSystem Mounting instructions

Hans Grohe Focus Instructions for use/assembly instructions

Hans Grohe

Hans Grohe Focus Instructions for use/assembly instructions

Urban PF600 Installation, operation and maintenance instructions

Urban

Urban PF600 Installation, operation and maintenance instructions

Hans Grohe Tecturis S 80 CoolStart 73301 Series Instructions for use/assembly instructions

Hans Grohe

Hans Grohe Tecturis S 80 CoolStart 73301 Series Instructions for use/assembly instructions

Hans Grohe Vernis Blend Showerpipe 240 1jet 26426679 Instructions for use/assembly instructions

Hans Grohe

Hans Grohe Vernis Blend Showerpipe 240 1jet 26426679 Instructions for use/assembly instructions

Rehau AWADOCK POLYMER CONNECT installation instructions

Rehau

Rehau AWADOCK POLYMER CONNECT installation instructions

NIMO 427001376 operating manual

NIMO

NIMO 427001376 operating manual

Axor Citterio Select 39863 7 Series Instructions for use

Axor

Axor Citterio Select 39863 7 Series Instructions for use

Oras Vienda Installation and maintenance guide

Oras

Oras Vienda Installation and maintenance guide

Grohe Atrio 25 010 manual

Grohe

Grohe Atrio 25 010 manual

Elkay SHL-2 Price guide

Elkay

Elkay SHL-2 Price guide

Samo Flex B3636 Assembly instruction

Samo

Samo Flex B3636 Assembly instruction

Kohler K-7305 Maintenance Guide

Kohler

Kohler K-7305 Maintenance Guide

Hans Grohe AXOR Starck 10651 1 Series User instructions

Hans Grohe

Hans Grohe AXOR Starck 10651 1 Series User instructions

unidrain 8024.0075 installation guide

unidrain

unidrain 8024.0075 installation guide

aquabrass R3395 installation guide

aquabrass

aquabrass R3395 installation guide

Paramount Fitness Paralevel installation manual

Paramount Fitness

Paramount Fitness Paralevel installation manual

manuals.online logo
manuals.online logoBrands
  • About & Mission
  • Contact us
  • Privacy Policy
  • Terms and Conditions

Copyright 2025 Manuals.Online. All Rights Reserved.