Initial Operation Technical Specifications
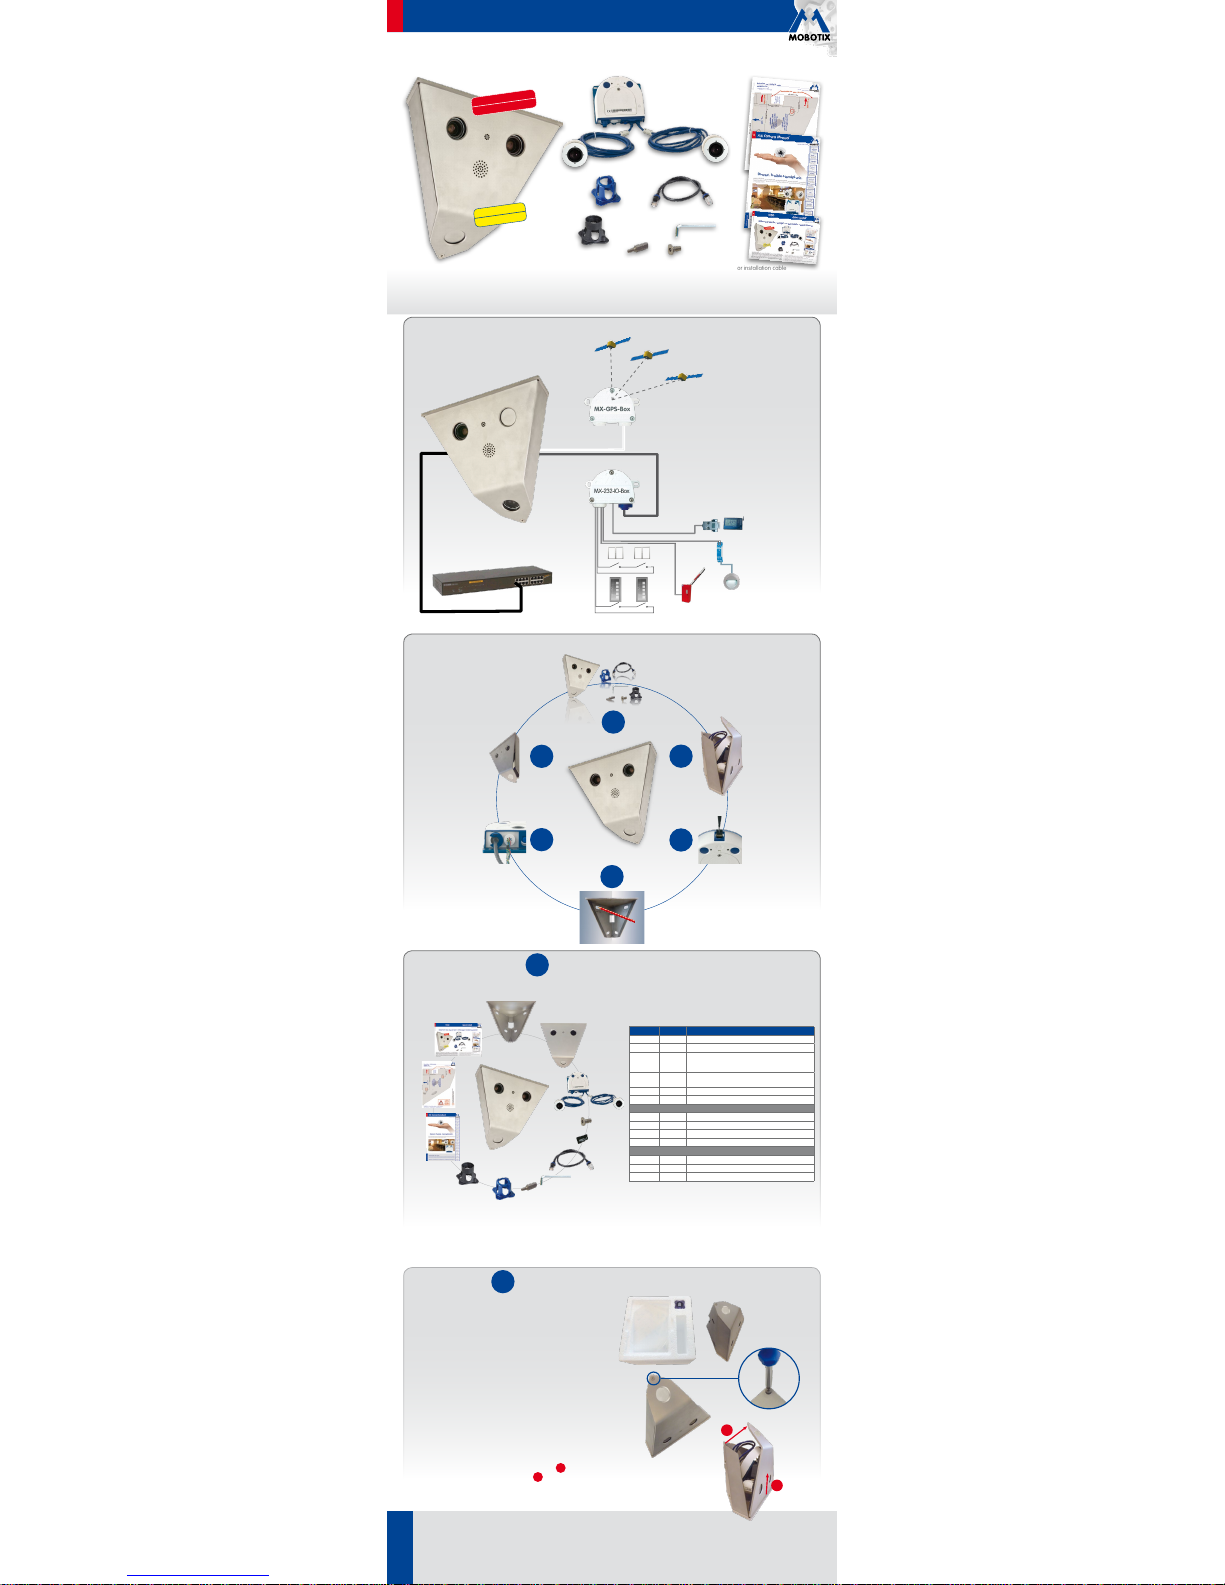
Replace the SD Card (optional)
3
Install the Casing
4
Connect the Cables*
5
Install the Front Plate
6
1. Remove screws of the S15D camera module
Remove the three Allen screws (red arrows in the figure) from the back plate
using the supplied 2mm Allen wrench (item M.1). When doing this, make sure
that you are not damaging the two-wire microphone cable.
3. Fasten S15D camera module
Place the S15D camera module in its original position, insert the Allen screws
and tighten them (torque 0.85Nm).
2. Replace SD card
Place the S15D camera module on a suitable object. Next, replace the SD card
(4GB) by a suitable MicroSD card (max. 64GB), as described in the
S15 Camera
Manual
, in
Section 2.2.9, "Replacing the MicroSD Card"
.
Cables from above
Click!
1. Mark the holes for drilling (if required)
Mark the holes for the dowels using the drilling template. To do so, fold the
template or cut it at the dashed line. Then mark the holes at the left-hand
side, turn the template over and mark the holes on the right-hand side. If you
do not want to use the drilling template, you can use the casing itself to mark
the holes for drilling.
If the cables are led to the camera from behind, make sure that you place
the cut-out over the spot where the cables are exiting.
2. Drill the holes for the dowels (if required)
Drill the holes for the dowels with a suitable drill bit. Next, fully push the dowels
into the holes you drilled.
3. Install the casing
Make sure that you are guiding all cables to the camera module through the
cut-out at the back of the casing. Properly fasten the casing using suitable
screws and washers.
Make sure not to over-tighten the fastening screws since over-tightening
may warp the casing!
2. Insert the front plate
Insert the front plate into the casing upward in the direction of the red arrows
1 . Push the front plate at the bottom towards the casing 2and secure
the front plate with one hand.
1. Prepare closing the front plate
Prepare this step by inserting the supplied screwdriver bit into the bit holder and
placing the security screw onto the bit. Keep the bit holder and screw within
reach when installing the casing.
3. Close the front plate
Push the security screw upwards into the thread and fasten the screw (torque
1Nm).
1. Replace the network cable (optional)
Turn the blue bayonet catch of the S15D to the left, then remove the catch and
the installed patch cable (Pos. 1.6). Insert the new MOBOTIX patch cable into
the network connector and fasten the cable using the blue bayonet catch.
3. Connect additional cables (optional)
Connect additional cables (e.g. for MxBus modules) by pushing the individual
wires into the 8-wire plug (red circle in the figure). For additional information on
this topic, see the supplied
S15 Camera Manual
in
Section 2.2.7, "Using MxBus
Modules"
, and in
Section 2.2.8, "External Audio Support"
.
2. Connect the network cable
Guide the other end of the patch cable through the cut-out and then into a
weatherproof connector (e.g. the MX-Patch-Box) or into a switch.
For additional information on this topic, see the
S15 Camera Manual
in
Section
2.5.1, "Network Cabling for S15 With Patch Cables"
.
The technical data of the V15D are – to the most part – identical to those of the
S15D (see
S15 Camera Manual
,
Section1.8, "Technical Data"
). The dierences to
the technical data of the S15D are shown in the table below:
Technical Data V15D Vandalism (MX-V15D-Sec)
Dimensions Width x height x depth: 261x196x180mm
Weight Approx. 4,680g
Standard Delivery
Casing 3mm stainless steel, top and front plate 5mm
stainless steel
S15D with 2sensor modules (day/night) of the lenses L25,
L38, L51, L76 and L160 installed on front plate (one image
sensor can be ordered pointing downwards),
50cm patch cable (installed), lens wrench, Allen wrench
2mm,
S15D Camera Manual, V15D Quick Install, Drilling Template
Since the V15D contains a modified version of the S15D, the initial operation of
the V15D is identical with the initial operation of a S15D (see
S15 Camera Manual
,
Chapter3, "Operating the Camera"
).
The following dierences apply:
•
No Hemispheric Features
: Since this version of the S15D cannot be operated
with L12 lenses, the Hemispheric features and certain display modes (Panorama,
Panorama/Focus, ...) are not available.
•
Using distortion correction
: Specific lenses of this camera (e.g., L25) allow using
distortion correction. Access the browser interface of the camera and open
the Admin Menu> Lens Configuration dialog and select the corresponding
value (e.g., L25
).
View from front
261mm/10.3in
196mm/7.7in
4. Take care when routing the cables
Make sure that all cables are routed in such a way that they are not damaged
between the front plate and the casing when inserting and closing the front
plate. For example, you can use a cable tie (red circle in figure) to hold the
cables together.
View from top
261mm/10.3in
180mm/7.9in
220mm/8.7in
Do not damage
microphone and speaker
cables!
2
1
*For additional information on attaching a
network installation cable directly to an S15D,
see the included
S15D Camera Manual
.
www.mobotix.com
HiRes Video Innovations– Made in Germany
The German company MOBOTIX AG is known as the leading pioneer in network camera technology and its decentralized concept has made high-resolution
video systems cost-ecient.
MOBOTIX
AG
•
D-67722
Langmeil
•
T
el:
+49
6302
9816-103
•
Fax:
+49
6302
9816-190
•
[email protected]