manuals.online logo
Brands
  1. Home
  2. •
  3. Brands
  4. •
  5. Monacor
  6. •
  7. Adapter
  8. •
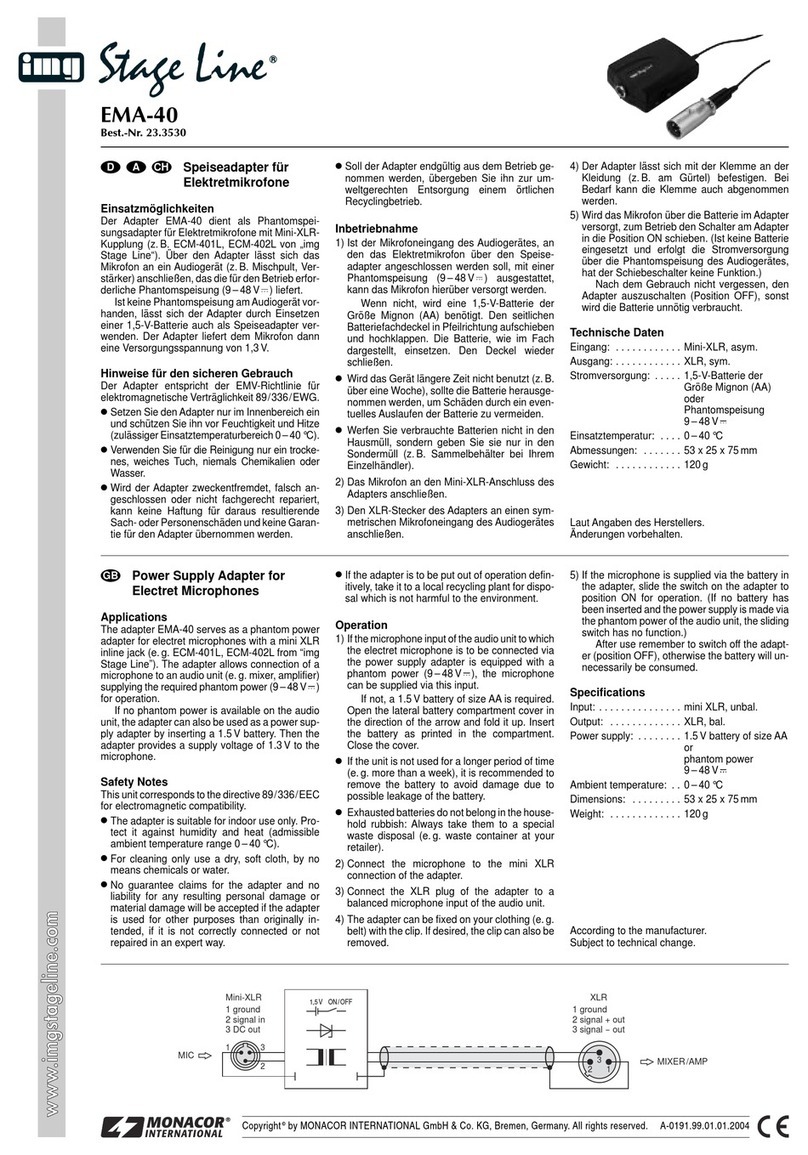
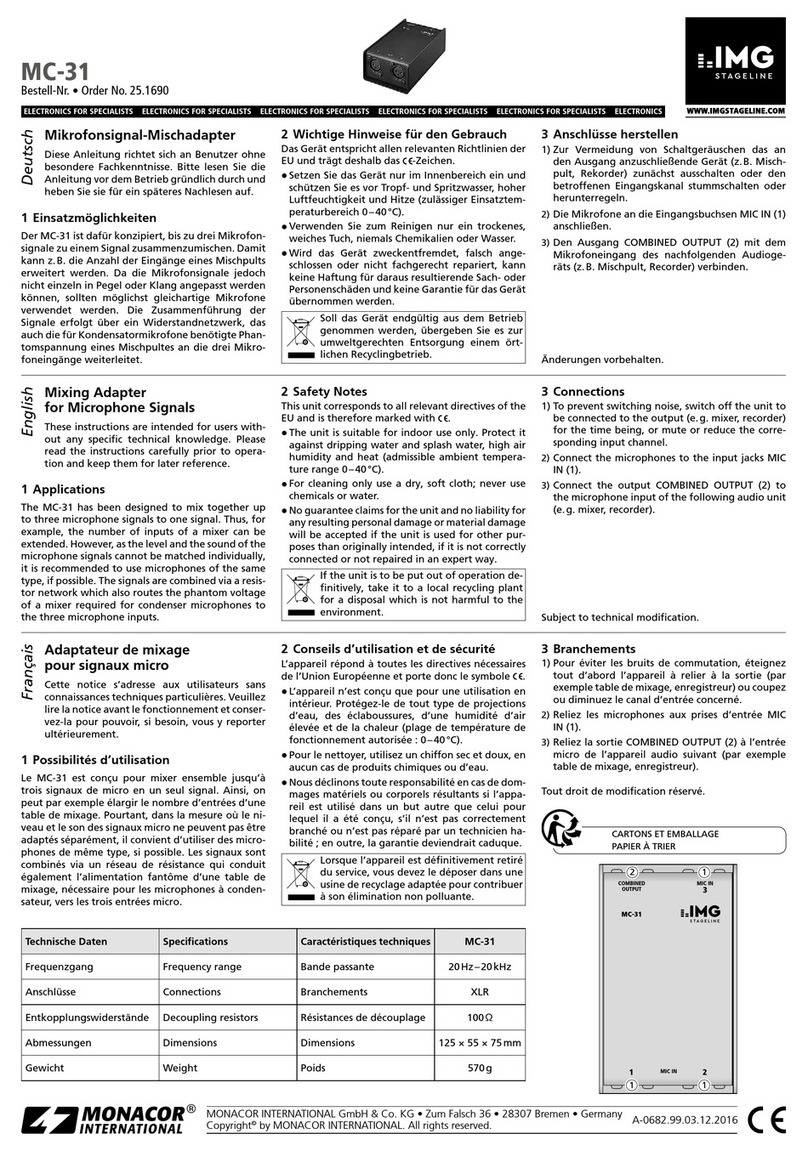
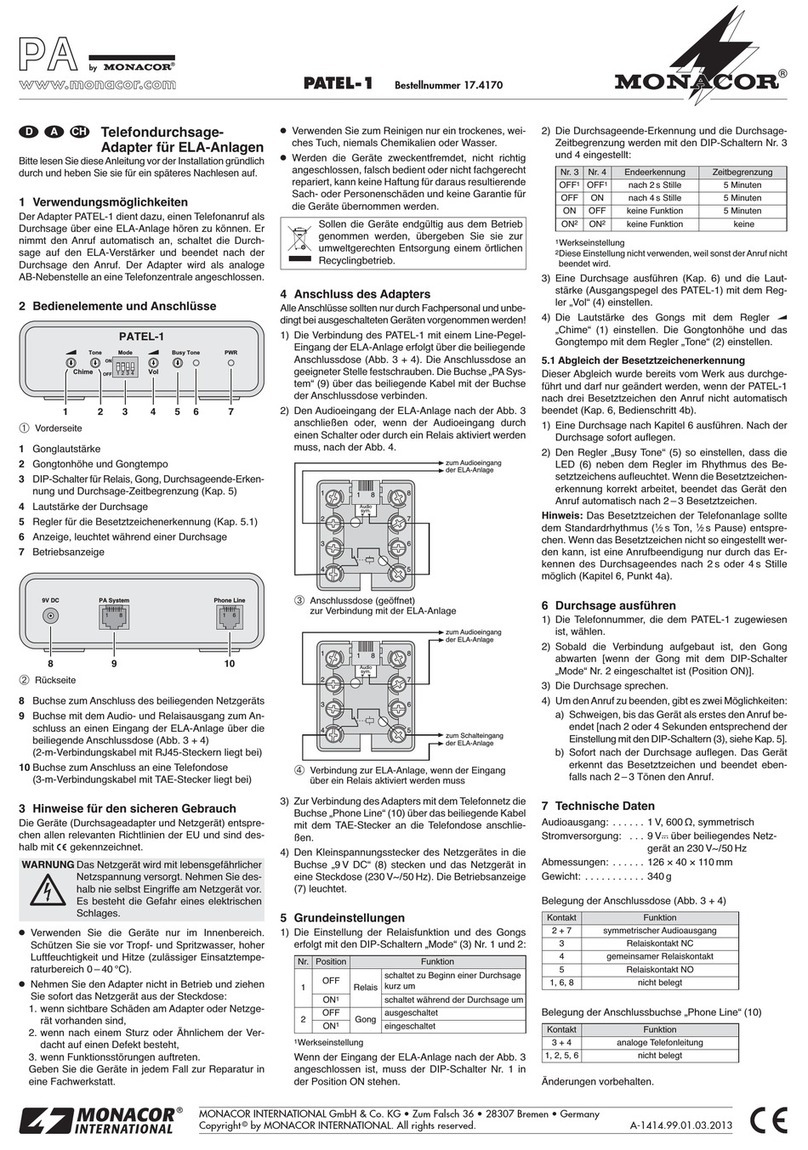
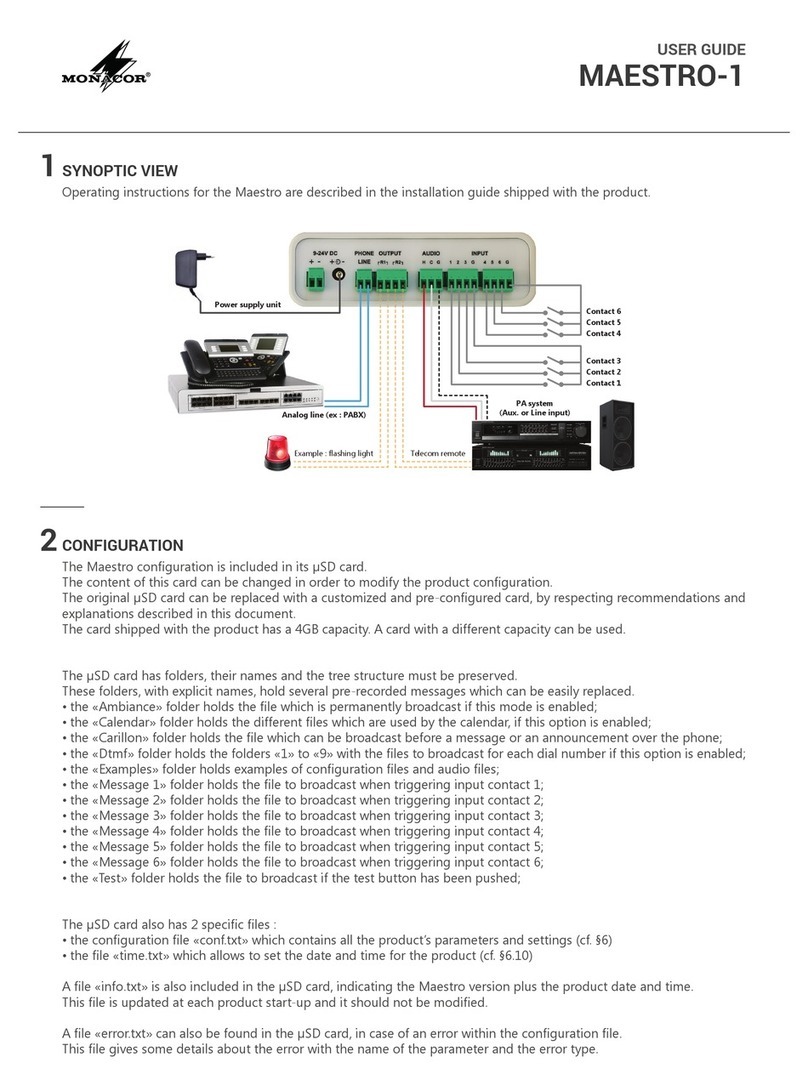
  9. Monacor img Stage Line EMA-2 User manual

Monacor img Stage Line EMA-2 User manual

Phantomspeisungs-/Speise-
adapter für Mikrofone mit
Mini-XLR-Anschluß
Einsatzmöglichkeiten
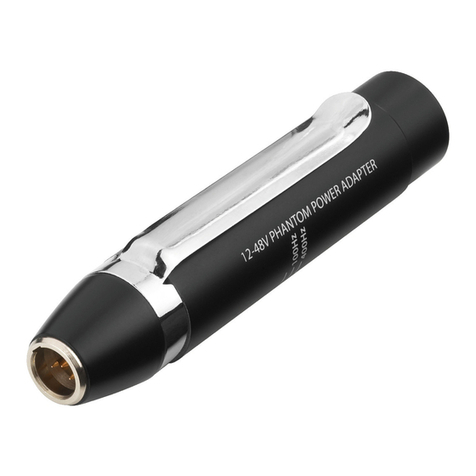
Der Adapter EMA-2 dient als Phantomspeisungs-
adapterfürElektret-oderKondensatormikrofone,die
über einen Mini-XLR-Anschluß verfügen. Über den
Adapter läßt sich das Mikrofon an ein Audiogerät
(z.B. Mischpult) anschließen, das die für den Betrieb
erforderliche Phantomspeisung (9–48V ) liefert.
Ist keine Phantomspeisung über dasAudiogerät
möglich,läßt sich derAdapter durch Einsetzeneiner
1,5-V-Batterie auch als Speiseadapter verwenden.
Hinweise für den sicheren Gebrauch
Das Gerät entspricht der EMV-Richtlinie für elektro-
magnetische Verträglichkeit 89/336/EWG.
●Setzen Sie das Gerät nur im Innenbereich ein,
und schützen Sie es vor Feuchtigkeit und Hitze
(zulässiger Einsatztemperaturbereich 0–40°C).
●Wird das Gerät zweckentfremdet, falsch ange-
schlossen oder nicht fachgerecht repariert, kann
für eventuelle Schäden keine Haftung übernom-
men werden.
●Verwenden Sie zum Reinigen nur ein trockenes,
weichesTuch,niemalsChemikalienoderWasser.
●Wird das Gerät längere Zeit nicht benutzt (z.B.
über eine Woche), sollte die Batterie herausge-
nommen werden, um Schäden durch ein eventu-
elles Auslaufen der Batterie zu vermeiden.
●Werfen Sie verbrauchte Batterien nicht in den
Hausmüll, sondern geben Sie sie nur in den Son-
dermüll (z.B. Sammelbehälter bei Ihrem Einzel-
händler).
●Solldas Gerät endgültigausdem Betrieb genom-
men werden, übergeben Sie es zur Entsorgung
einem örtlichen Recyclingbetrieb.
Inbetriebnahme
1) Die beiliegende Gürtelklemme (5) an die Rück-
seite des Adapters schrauben.
2) Das Mikrofon wird über das angeschlosseneAu-
diogerät gespeist, d.h. der Mikrofoneingang am
Audiogerät muß mit einer Phantomspeisung
(9–48V ) ausgestattet sein.
Stellt dasAudiogerät keine Phantomspeisung
zur Verfügung, kann das Mikrofon über den
Adaptergespeist werden.Bei eingesetzter1,5-V-
Batterie liefert der Adapter eine Versorgungs-
spannung von ca. 4,3V. Zum Einsetzen der Bat-
teriedie Schraube(4) entfernen,undden Gehäu-
sedeckel aufklappen. Eine Batterie der Größe
Mignon (AA) gemäß dem Aufdruck im Batterie-
fach einsetzen (siehe auch Abb. 2). Den Gehäu-
sedeckel wieder zuklappen und verschrauben.
Die Batterie ist abgeschaltet, wenn der Adapter
als Phantomspeisungsadapter genutzt wird.
3) Das Mikrofon an den Mini-XLR-Stecker (1) des
Adapters anschließen, und den XLR-Stecker (3)
des Adapters mit einem symmetrischen XLR-
Mikrofoneingang am Audiogerät verbinden.
4) Den Schalter (2) in die Position oder stel-
len. In der rechten Position ist das Hochpaß-
filter eingeschaltet (für Gesangs- und Sprachan-
wendungen). Steht der Schalter in der mittleren
Position , ist das Filter ausgeschaltet.
Steht der Schalter ganz links auf Position
OFF, ist die eingesetzte Batterie abgeschaltet.
Technische Daten
Eingang: . . . . . . . . . . . . . Mini-XLR, asym.
Ausgang: . . . . . . . . . . . . XLR, sym.
Stromversorgung: . . . . . . 1,5-V-Batterie der Größe
Mignon (AA) oder Phan-
tomspeisung 9–48V
Einsatztemperatur: . . . . . 0–40°C
Abmessungen, Gewicht: 60 x 27 x 102mm, 122g
Laut Angaben des Herstellers.
Änderungen vorbehalten.
Phantom Power Adapter/
Power Supply Adapter for
Microphones with Mini XLR
Connection
Applications
The adapter EMA-2 serves as a phantom power
supplyadapter for electretorcapacitor microphones
equipped with a mini XLR connection. The adapter
allows connection of the microphone to an audio
unit (e.g. mixer) supplying the required phantom
power (9–48V ) for operation.
If phantom power supply via the audio unit is not
possible, the adapter can also be used as a power
supply adapter by inserting a 1.5V battery.
Safety Notes
This unit corresponds to the directive for electro-
magnetic compatibility 89/336/EEC.
●The unit is suitable for indoor use only. Protect it
against humidity and heat (admissible ambient
temperature range 0–40°C).
●If the unit is used for other purposes than orig-
inally intended, if it is not correctly connected or
not repaired in an expert way, no liability for any
damage will be accepted.
●For cleaning only use a dry, soft cloth, by no
means chemicals or water.
●If the unit is not used for a longer period (e.g.
more than a week), the battery should be re-
moved to prevent damage to the unit in case of
battery leakage.
●Exhausted batteries do not belong in the house-
holdrubbish:Alwaystake them toaspecial waste
disposal (e.g. waste container at your retailer).
●If the unit is to be put out of operation definitively,
take it to a local recycling plant for disposal.
Operation
1) Screw the supplied belt clip (5) to the rear side of
the adapter.
2) Power supply of the microphone is made via the
connected audio unit, i.e. the microphone input
at the audio unit must be provided with a phan-
tom power (9–48V ).
If the audio unit does not supply any phantom
power, power supply of the microphone can be
made via the adapter. With a 1.5V battery in-
serted, the adapter supplies a voltage of approx.
4.3V. To insert the battery, remove the screw (4)
and fold up the housing cover. Insert a battery of
size AA as printed in the battery compartment
(also see fig. 2). Close the housing cover again
and screw it down. The battery is switched off if
theadapter is used as a phantom poweradapter.
3) Connect the microphone to the mini XLR plug (1)
of the adapter and connect the XLR plug (3) of
the adapter to a balanced XLR microphone input
at the audio unit.
4) Set the switch (2) to the position or . In the
right position , the high pass filter is switched
on(for singing and speech applications).Withthe
switchin mid-position , thefilteris switched off.
If the switch is at the left stop in position OFF,
the inserted battery is switched off.
Specifications
Input: . . . . . . . . . . . . . . . mini XLR, unbalanced
Output: . . . . . . . . . . . . . . XLR, balanced
Power supply: . . . . . . . . . 1.5 battery of size AA
or phantom power
9–48V
Ambient temperature: . . . 0–40°C
Dimensions, weight: . . . . 60 x 27 x 102mm, 122g
According to the manufacturer.
Subject to technical change.
GB
Copyright©by MONACOR®International GmbH & Co. KG, Bremen, Germany. All rights reserved. 05.01.01
®
EMA-2
Best.-Nr. 23.2780
wwwwww..iimmggssttaaggeelliinnee..ccoomm
D
A
CH
D
A
CH
PHANTOM POWER
SUPPLY ADAPTER
EMA-2
OUT BATTERY 1.5V
PHANTOM 48V
AA 1.5V
1
3
2
45
➀➁
3
2
1
3
2
1
EMA-2
mini XLR XLR
ground
DC out
signal
-
out
signal +
out
signal in
ground
1.5 V
3
2
1
MIC
OFF
DC power
➂
Adaptateur d’alimentation fan-
tôme/adaptateur d’alimentation
pour microphones avec con-
nexion mini XLR
Possibilités d’utilisation
L’adaptateur EMA-2 sert d’adaptateur d’alimenta-
tion fantôme pour des microphones électret ou à
condensateur disposant d’une connexion mini XLR.
Via l’adaptateur, il est possible de brancher le micro
à un appareil audio (par exemple table de mixage)
qui délivre une alimentation fantôme de 9–48V
nécessaire pour le fonctionnement.
Si aucune alimentation fantôme n’est possible
via l’appareil audio, l’adaptateur peut être égale-
ment utilisé comme adaptateur d’alimentation en
insérant une batterie 1,5V.
Conseils de sécurité
L’appareil répond à la norme européenne
89/336/CEE relative à la compatibilité électroma-
gnétique.
●N’utilisez l’appareil qu’en intérieur et protégez-le
de l’humidité et de la chaleur (température d’uti-
lisation admissible 0–40°C).
●Nous déclinons toute responsabilité en cas de
dommage si l’appareil est utilisé dans un but
autrequeceluipourlequel il a été conçu, s’il n’est
pas correctement branché ou réparé.
●Pour le nettoyer, utilisez un chiffon doux et sec,
en aucun cas de produits chimiques ou d’eau.
●En cas de non-utilisation prolongée, (par exem-
ple supérieure à une semaine), veillez à retirer la
batterie; elle pourrait couler et endommager l’ap-
pareil.
●Nejetezjamais les batteries usagées dans la pou-
belle, ramenez-les à votre revendeur ou déposez-
les dans une poubelle réservée à cet effet.
●Lorsque l’appareil est définitivement retiré du
service, vous devez le déposer dans une usine
de recyclage adaptée.
Fonctionnement
1) Vissez le clip de ceinture (5) fourni sur la face
arrière de l’adaptateur.
2) Le micro est alimenté par l’appareil audio relié,
c’est-à-dire que l’entrée micro sur l’appareil
audio doit être équipée d’une alimentation
fantôme (9–48V ).
Si l’appareil audio n’a pas d’alimentation
fantôme, le micro peut être alimenté via l’adap-
tateur. Lorsqu’une batterie 1,5V est insérée,
l’adaptateur délivre une tension d’alimentation
de 4,3V environ. Pour insérer la batterie, retirez
la vis (4), ouvrez le couvercle. Placez une batte-
rie de type R6 selon les indications figurant dans
le compartiment (voir schéma 2). Refermez le
couvercle et revissez. La batterie est décon-
nectée si l’adaptateur est utilisé comme adapta-
teur d’alimentation fantôme.
3) Reliez le micro à la fiche mini XLR (1) de l’adap-
tateur, reliez la fiche XLR (3) de l’adaptateur à
une entrée micro symétrique XLR sur l’appareil
audio.
4) Mettez l’interrupteur (2) sur la position ou .
Sur la position de droite , le filtre passe-haut
est allumé (pour une utilisation de chant ou dis-
cours); en position médiane , le filtre est
déconnecté.
Sur la position de gauche, sur OFF, la batte-
rie insérée est déconnectée.
Caractéristiques techniques
Entrée: . . . . . . . . . . . . . . mini XLR asymétrique
Sortie: . . . . . . . . . . . . . . . XLR symétrique
Alimentation: . . . . . . . . . . batterie 1,5V de type
R6 ou alimentation
fantôme 9–48V
Température d’utilisation: 0–40°C
Dimensions, poids: . . . . . 60 x 27 x 102mm, 122g
D’après les données du constructeur.
Tout droit de modification réservé.
Adattatore di alimentazione
phantom/adattatore di alimen-
tazione per microfoni con
connessione mini XLR
Possibilità d’impiego
L’adattatore EMA-2 serve per l’alimentazione phan-
tom di microfoni all’elettrete o a condensatori equi-
paggiati con un contatto mini XLR. Grazie all’adat-
tatore, il microfono può essere collegato con un
apparecchio audio (p.es. mixer) che fornisce la
necessaria alimentazione phantom (9–48V ).
Se l’alimentazione phantom non è possibile
attraverso l’apparecchio audio, con una batteria
1,5V inserita, l’adattatore può essere utilizzato
anche come adattatore di alimentazione.
Avvertenze di sicurezza
L’adattatore corrisponde alla direttiva CE 89/336/
CEE sulla compatibilità elettromagnetica.
●L’adattatore è previsto solo per l’uso all’interno di
locali. Proteggerlo dall’umidità e dal calore (tem-
peratura d’impiego ammessa fra 0°C e 40°C).
●Nel caso d’uso improprio, di collegamenti sba-
gliati o di riparazione scorretta non si assume
nessuna responsabilità per eventuali danni.
●Perla puliziausare solounpanno morbido,asciut-
to; non impiegare in nessun caso prodotti chimici
o acqua.
●Se l’apparecchio non viene usato per un tempo
prolungato (p.es. più di una settimana) conviene
togliere le batterie per evitare che perdendo dan-
neggino l’adattatore.
●Non gettare le batterie scariche nelle immondizie
di casa bensì negli appositi contenitori (p.es.
presso il vostro rivenditore).
●Se si desidera eliminare l’adattatore definitiva-
mente, consegnarlo per lo smaltimento ad un’i-
stituzione locale per il riciclaggio.
Messa in funzione
1) Avvitare il clip allegato (5) sul pannello posteriore
dell’adattatore.
2) Il microfono viene alimentato attraverso l’appa-
rechio audio collegato; ciò significa che l’in-
gresso microfono dell’apparecchio audio deve
essere equipaggiato con un’alimentazione phan-
tom (9–48V ).
Se l’apparecchio audio non ha un’alimenta-
zione phantom, il microfono può essere alimen-
tato attraverso l’adattatore. Con una batteria
1,5V, l’adattatore fornisce una tensione di ali-
mentazione di 4,3V circa. Per inserire la batteria
svitare la vite (4) e aprire il coperchio. Inserire
una batteria del tipo mignon (AA) secondo l’indi-
cazione del vano batteria (vedi anche fig. 2).
Chiudere il coperchio e avvitare la vite. La batte-
ria è staccata se l’adattatore viene usato come
adattatore per l’alimentazione phantom.
3) Collegare il microfono con la spina mini XLR (1)
dell’adattatore e collegare il connettore XLR (3)
dell’adattatore con un ingresso simmetrico XLR
per microfono dell’apparecchio audio.
4) Portare l’interruttore (2) in posizione o . In
posizione destra è attivato il passaalto (per
canto e voce). Se l’interruttore si trova in posi-
zione centrale , tale filtro è disattivato.
Sel’interruttoresitrovatuttoasinistrainposi-
zione OFF, la batteria inserita è staccata.
Dati tecnici
Ingresso: . . . . . . . . . . . . . mini-XLR, asimmetrico
Uscita: . . . . . . . . . . . . . . XLR, simmetrico
Alimentazione: . . . . . . . . batteria 1,5V mignon
(AA) opp. alimentazione
phantom 9–48V
Temperatura d’impiego: . 0–40°C
Dimensioni, peso: . . . . . . 60 x 27 x 102mm, 122g
Dati forniti dal produttore.
Con riserva di modifiche tecniche.
I
Copyright©by MONACOR®International GmbH & Co. KG, Bremen, Germany. All rights reserved. 05.01.01
®
EMA-2
Best.-Nr. 23.2780
wwwwww..iimmggssttaaggeelliinnee..ccoomm
F
B
CH
PHANTOM POWER
SUPPLY ADAPTER
EMA-2
OUT BATTERY 1.5V
PHANTOM 48V
AA 1.5V
1
3
2
45
➀➁
3
2
1
3
2
1
EMA-2
mini XLR XLR
ground
DC out
signal
-
out
signal +
out
signal in
ground
1.5 V
3
2
1
MIC
OFF
DC power
➂

This manual suits for next models

1

Other Monacor Adapter manuals

Monacor VGA-01 User manual

Monacor

Monacor VGA-01 User manual

Monacor JTS MA-500 User manual

Monacor

Monacor JTS MA-500 User manual

Monacor IMG STAGELINE EMA-1 User manual

Monacor

Monacor IMG STAGELINE EMA-1 User manual

Monacor PATEL-1 User manual

Monacor

Monacor PATEL-1 User manual

Monacor img Stage Line EMA-40 User manual

Monacor

Monacor img Stage Line EMA-40 User manual

Monacor RMA-1600 User manual

Monacor

Monacor RMA-1600 User manual

Monacor IMG Stageline MC-31 User manual

Monacor

Monacor IMG Stageline MC-31 User manual

Monacor JTS MA-500 User manual

Monacor

Monacor JTS MA-500 User manual

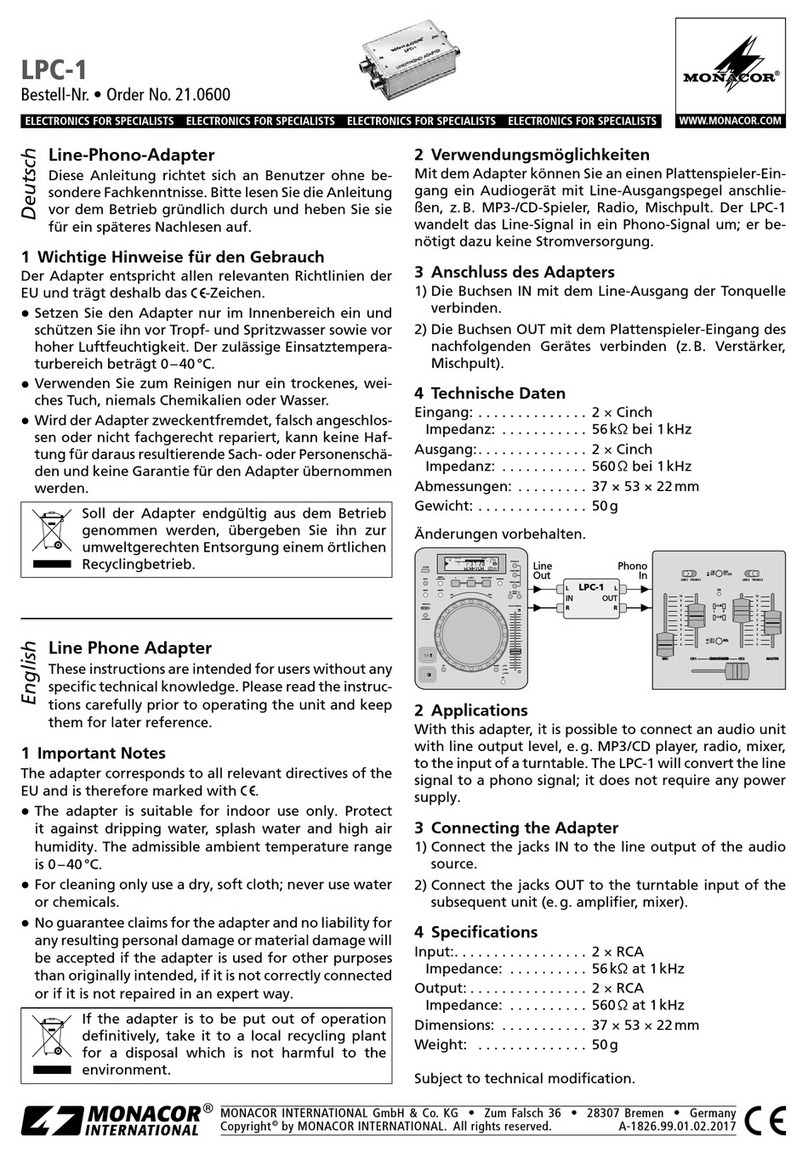
Monacor 21.0600 User manual

Monacor

Monacor 21.0600 User manual

Monacor MAESTRO-1 User manual

Monacor

Monacor MAESTRO-1 User manual

Monacor IMG STAGELINE EMA-1 User manual

Monacor

Monacor IMG STAGELINE EMA-1 User manual

Monacor img Stage Line MC-31 User manual

Monacor

Monacor img Stage Line MC-31 User manual

Monacor IMG STAGELINE LC-31 User manual

Monacor

Monacor IMG STAGELINE LC-31 User manual

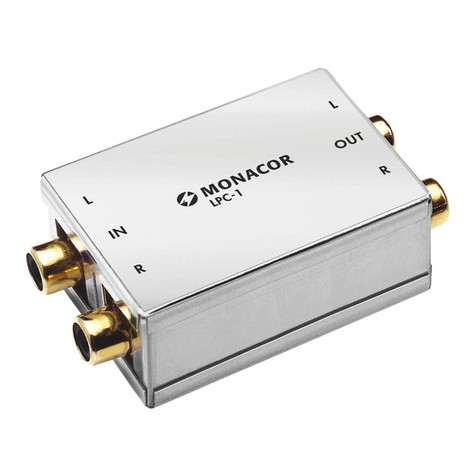
Monacor LPC-1 User manual

Monacor

Monacor LPC-1 User manual

Monacor IMG STAGELINE DMA-1USB User manual

Monacor

Monacor IMG STAGELINE DMA-1USB User manual

Monacor IMG STAGELINE LC-31 User manual

Monacor

Monacor IMG STAGELINE LC-31 User manual

Popular Adapter manuals by other brands

PCI GN-1000SX user guide

PCI

PCI GN-1000SX user guide

Sharp WN8522D 7-JU user manual

Sharp

Sharp WN8522D 7-JU user manual

Kvaser USBcan Pro 4xHS user guide

Kvaser

Kvaser USBcan Pro 4xHS user guide

Roving Networks FIREFLY BP RN-270 user manual

Roving Networks

Roving Networks FIREFLY BP RN-270 user manual

2point5 spec.dock installation instructions

2point5

2point5 spec.dock installation instructions

Everex Magic I/O EV-170 Owner's manual and reference guide

Everex

Everex Magic I/O EV-170 Owner's manual and reference guide

Allied Telesis AT-1720AT user manual

Allied Telesis

Allied Telesis AT-1720AT user manual

ZyXEL Communications PLA4201 user guide

ZyXEL Communications

ZyXEL Communications PLA4201 user guide

Atlantis Land NetFly UP WN Multilanguage manual

Atlantis Land

Atlantis Land NetFly UP WN Multilanguage manual

SightLine ICD-1500-OEM manual

SightLine

SightLine ICD-1500-OEM manual

Hakko Electronics C5055 manual

Hakko Electronics

Hakko Electronics C5055 manual

Acer UWA3 user guide

Acer

Acer UWA3 user guide

Tizi Tankstelle mini manual

Tizi

Tizi Tankstelle mini manual

Paradyne 3100 Series installation instructions

Paradyne

Paradyne 3100 Series installation instructions

D-Link DHP-601AV Quick install guide

D-Link

D-Link DHP-601AV Quick install guide

RCF AC AD2405 user manual

RCF

RCF AC AD2405 user manual

Sony UWA-BR100 operating instructions

Sony

Sony UWA-BR100 operating instructions

IOGear GWU635 quick start guide

IOGear

IOGear GWU635 quick start guide

manuals.online logo
manuals.online logoBrands
  • About & Mission
  • Contact us
  • Privacy Policy
  • Terms and Conditions

Copyright 2025 Manuals.Online. All Rights Reserved.