Moneris 3070 User instructions

One Blue Hill Plaza, 16th Floor, PO Box 1546
Pearl River, NY 10965
1-800-PC-AMERICA, 1-800-722-6374
(Voice) 845-920-0800 (Fax) 845-920-0880
1 | P a g e
Setting up Moneris Including the
Moneris Pinpad Using EMV Chip
Processing
The Moneris 3070 (7800)
The Moneris pinpad is designed for use with their payment processing service. This document explains
how to set up CRE/RPE to use Moneris payment processing and how to set up the Moneris pinpad using
EMV Chip processing.
Be sure that you have your merchant information or else this will not work. You can receive your
information directly from Moneris.
Note: To use the Moneris pinpad with EMV Chip processing you MUST have the following requirements:
CRE/RPE version 12.5039 or above must be installed.
You must have a pinpad that has the EMV Chip Processing enabled.

2 | P a g e
Moneris USB Driver Installation
Note: If the Moneris Pinpad you will be connecting is not connecting via a direct USB cable, then skip
this section.
Note: Before installing the driver make sure the pinpad is unplugged.
You can download the USB cable driver for Windows XP from:
http://download2.pcamerica.com/drivers/Pinpad/Moneris/Moneris_EMV_USB_Driver.zip
1. After the files have been extracted, run the Installer.
2. Select Install.
3. Select OK.
At this point of the installation plug in the USB cable and then wait for the device to be installed.

3 | P a g e
Determining which COM port is being used by the USB cable
Even when the USB cable is used, the computer thinks the Moneris Pinpad is connected to a COM port.
To find out which COM port the computer has assigned to the Moneris Pinpad, follow these steps.
1. Select Start.
2. Select My Computer.
3. Select View system information.
4. Select the Hardware tab.
5. Select Device Manager.
6. Expand Ports (COM & LPT).
7. Make a note of the COM port being used by the
CP210x USB to UART Bridge (COM12).

4 | P a g e
Setting up CRE/RPE to use a Moneris pinpad and Moneris payment processing
To begin using a Moneris pinpad and Moneris payment processing, start CRE/RPE, select Manager,
provide the requested credentials, and follow these steps.
NOTE: IF THE PINPAD IS SERIAL (RS232) THE PINPAD MUST BE PLUGGED INTO THE COMPUTER
VIA SERIAL AND TURNED OFF (NO POWER PLUGGED IN).
1. Select Setup and then Setup Screen.
2. Select the Hardware tab.
3. Select the COM port that will be used by the
pinpad (if the device is connecting via USB
please use the com port from the previous
section).
4. Select Moneris as the PinPad Type.
5. Under PinPad Connection select either USB
or Serial (depending on the cable).
6. Select the Payment Processing tab.

5 | P a g e
7. Select Credit/Debit.
8. Select Moneris as the “Payment Processor”.
9. The Primary URL, Username (Store ID) and, Password (API Token) will be supplied by Moneris on a VAR sheet.
Note: Both the Username (Store ID) and, Password (API Token) will be case sensitive.
10. Check Require CVV2 for non-swiped CCs if you would like to require a security code when no card is swiped.
11. Process Debit Cards through this Credit Card Processor MUST be checked.
12. Select Update.
13. Exit completely out of CRE/RPE.

6 | P a g e
Configuring the pinpad to accept EMV Chips
1. If using a serial (RS232) pinpad connect the pinpad’s power cable into the power outlet. If using a USB pinpad disconnect
the cable from the back of the pinpad and reconnect it.
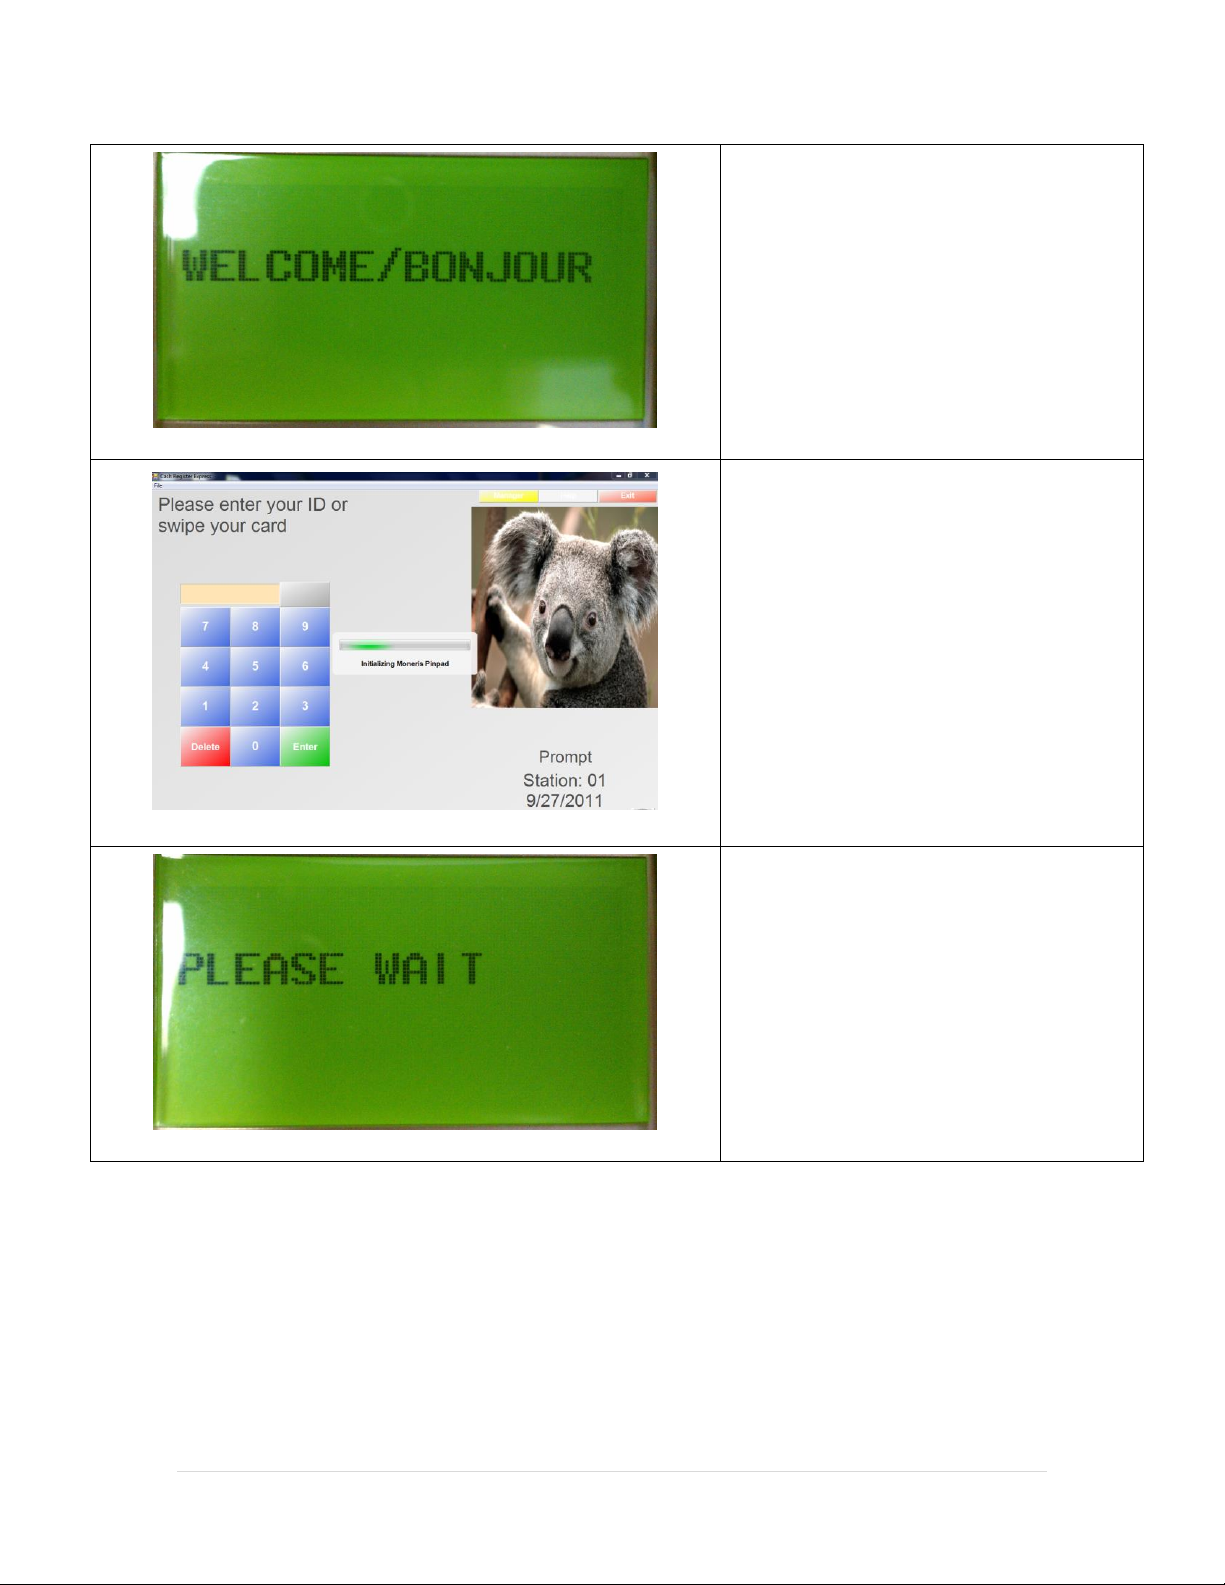
2. When the pinpad displays a screen stating Initializing CPXPL 0-062-20XXXXXX.
3. Press ALPHA (on the keypad) to configure the device.
4. When the menu (pictured left) is displayed highlight
MONPSPD by pressing CHQ (on the keypad).
5. Select OK.
Note: If MONPSPD is not listed as an option please highlight
CPXPL and contact Moneris to have your device updated, to
accept EMV Chips.
6. When the LANGUAGE prompt appears, press CHQ for English.
7. When the MSG RETRIES prompt appears, press ALPHA to turn the option off.
8. For the Communication Type prompt, select how the device is connected to the computer (this choice is dependent on
what cable you are using to connect the pinpad to the computer).
Press CHQ to select RS232 - Serial Connection
Press ALPHA to select USB - USB Connection
9. When the AUTOBAUD prompt appears, press ALPHA to turn the option off.
10. When the LINE SPEED prompt appears, select 9600 and then press OK.
11. When the PORT SETTINGS prompt appears, select 8b NO PARITY (by pressing CHQ (x2) to scroll down) then press OK.
12. When the ERROR CHECKING prompt appears, press ALPHA to turn the option off.
13. When the BEEP prompt appears, press CHQ to turn the option on.
14. When the PED SERIAL NUMBER # prompt appears, select OK.

7 | P a g e
15. The pinpad will display INITIALIZE, DONE,
and then WELCOME/BONJOUR.
16. At this point of the installation, you will need
to open CRE/RPE.
17. Login to the invoice screen.
Note: During the initial configuration CRE/RPE
will display Initializing Moneris Pinpad (shown
left).
18. While CRE/RPE is displaying Initializing
Moneris Pinpad the pinpad will show
PLEASE WAIT (shown left).
Note: The process of Initializing the Moneris
Pinpad could take a few minutes, please be
patient.

8 | P a g e
19. When the pinpad displays
WELCOME/BONJOUR and you are at the
invoice screen, your pinpad is ready to be
used!
20. Finally, you should login and perform a test
transaction to verify that you are able accept
credit and debit cards using this processor.
When processing EMV Chip card transactions:
After adding the items to the invoice select Pay then select Credit/Debit.
Select OK at the Credit Card Information window.
The pinpad will then prompt you to swipe or insert card. EMV Chip cards will need to be
inserted, any other card can be swiped.
This manual suits for next models
1
Table of contents
Other Moneris Credit Card Machine manuals