manuals.online logo
Brands
  1. Home
  2. •
  3. Brands
  4. •
  5. Mountain Buggy
  6. •
  7. Stroller
  8. •
  9. Mountain Buggy PRIMA DELUXE BUGGY User manual

Mountain Buggy PRIMA DELUXE BUGGY User manual

INSTRUCTIONS FOR
CORRECT USE
PRIMA DELUXE BUGGY
Adventure Buggy CompanY
INSTRUCTIONS
ATTACHING THE WHEELS
Depress the spring buttons on the axles of the two
rear wheels and push into the aperture situated at the
end of the buggy frame (when folded these are situ-
ated at the front of the buggy beside the footplate).
When the wheel has been firmly placed the button
will spring back preventing the wheel from involun-
tarily pulling away from the frame.
Note: If a button should stick, exert light pressure and
it will “pop” up.
Front wheel – the same process as for the rear wheels.
However, pull the tri-knob to ensure that locking pin
is about three quarters of the way out.
Simply push the wheel shaft into the aperture, twist-
ing the shaft as you push and the wheel will on its
own accord.
Retighten the tri-knob only half way for the swivel
wheel position.
Important:
Check that all the spring buttons located on the 3
wheels are “popped” out before using your buggy.
CHANGING THE SWIVEL TO A FIXED
WHEEL
Simply align the front wheel so that it sits directly
under the footplate and is pointing directly ahead.
Move the position of the black tri-knob at the front
swivel chamber at the extreme front of the buggy so
that the pin locks into the swivel wheel.
ASSEMBLING THE BUGGY INTO UPRIGHT
POSITION
Simply lift the buggy by the handle and pull the rear
frame backwards. You may need to use your foot to
assist with pulling the frame back.
The frame will lock automatically with an audible
“click”. The rear wheels and frame will fall into posi-
tion without manual assistance.
Warning:
Before using your buggy check all spring buttons
have sprung into position (wheels and handles).
We advise you to be in attendance of the buggy at all
times when your infant is seated or laying within the
buggy.
Children must be securely harnessed at all times with
the straps provided when lying or seated in the
buggy.
Do not carry extra children or bags in the buggy.
Maximum recommended weight of child 40kg.
COLLAPSING THE BUGGY
Standing in front of the buggy, reach around the two
chrome sliding arms (that joins the frame sections) and
pull out the two small black tri-knobs simultaneously.
When both knobs are released simply start to push the
buggy away from you. You may need to use your knee
to assist with pushing the frame.
Move your hands to the top of the main frame and then
continue folding.
Warning:
Once the knobs are released and the buggy has begun
to fold, move hands well away to prevent an injury
occurring.
Place your hands at the top of the mainframe before
folding the frame completely.
To prevent possible injury always keep your children
clear when folding your buggy.
APPLYING THE BRAKE
Standing behind your buggy, use your foot to push on
the brake. The brake will spring onto the wheel with
force.
Warning:
Always wear appropriate footwear when applying or
dis-engaging the brake.
Always apply the brake when the buggy is parked.
When adjusting your brake keep children well clear of
the buggy because injury could occur.
DIS-ENGAGING THE BRAKE
The reverse process as for applying the brake. The
brake springs back into an upward position.
ADJUSTING THE HEIGHT OF THE HANDLE
The handle can be adjusted to various heights with the
assistance of two black tri-knobs situated under the
frame.
First apply the brakes then simply slide the handle to
your desired height and tighten both tri-knobs.
REMOVING THE HANDLE
The handle can be taken completely out and turned
around to give you a different handle height. This is
also useful if your rubber grip is damaged – it can be
easily removed and replaced.
First apply the brakes the pull the handle out to the end
and two springs will spring into position. Depress the
spring buttons on the side of the frame and one at a
time also pulling the handle each side as you go.
Turn the handle around and simply push the handle
back into the aperture.
Depress the two spring buttons on both sides and slide
to the desired height.
Retighten both tri-knobs.
Important:
Check both plastic tri-knobs have been tightened after
adjusting your handle.
Care must be taken with your rubber grip handle as this
is not covered for damage of wear and tear under the
warranty.
WRIST STRAP
This is wrapped around the handle
Warning:
We recommend that the wrist strap be used at all times
during operation of the buggy. This joins you and the
buggy together providing safety and control.
SUNHOOD
The sunhood is fixed into position by tightening the
large tri-knobs to the side of the buggy. This prevents
the sunhood from involuntarily folding back when in
use.
NOTE: Do not over tighten.
Loosen tri-knobs when folding your sunhood back.
USE OF THE SLING
Important:
We recommend using a baby insert to support the in-
fant’s head.
Toddler in recline and upright position suitable for chil-
dren 4 months onwards.

RAINCOVER
This fits over the sunhood when folded down.
The raincover has straps on both sides, these are
wrappeda round the tri-knobs for the sunhood.
Dome the raincover to the front of the footplate.
Important:
The raincover is shower proof only – we recommend
using your raincover for only short intervals in heavy
rain.
SUNMESH/INSECT NET
This connects to the sunhood by zips on both fabric
parts.
Dome sunmesh to the front of the footplate.
The sunmesh has a 65% ultra violet shade factor.
Important:
Do not use the sunmesh as the only protection for your
child from the sun.
Protective clothing should also be worn and the appro-
priate sunshield applied.
FABRIC CARE
To keep the fabric looking fresh and new it should be
washed occasionally before substances such as dirt
and grime are allowed to accumulate and become
embedded in the fabric.
Spills should be mopped up immediately as they oc-
cur.
Brush off any loose dirt then clean with a mild solu-
tion of natural liquid soap or sunlight soap in luke-
warm water.
Rinse thoroughly to remove soap.
NOTE: DO NOT use detergents.
Allow to air dry naturally – DO NOT place in a
dryer.
CARE AND MAINTENANCE
There are three steps to cleaning your powder coated
buggy and chrome frame.
Remove loose deposits with a wet sponge rather than
risk micro scratching the surface by dry dusting.
Using a soft brush and a mild detergent in warm wa-
ter, clean the powder coating and chrome to remove
any dust, salt or other deposits.
Always rinse thoroughly with fresh water to remove
any remaining detergents.
Warning:
The use of harsh solvents may damage the powder
coating on the frame.
For the frames only, Dulux recommend Methelayted
spirits for stubborn stains.
BUGGY MAINTENANCE
The chrome sliding arms, extendable handle, axles,
nuts and bolts can become stiff and squeaky over
time.
This usually occurs from the accumulation of air-
borne salt deposits, atmospheric pollution, general
dirt, grime and ultra violet light.
Follow the instructions shown above for the “three
step” cleaning programme.
After cleaning the chrome parts, spray a light coating
of CRC/Silicone spray or equivalent onto the affected
area.
Important:
Remove fabric while performing buggy maintenance.
TYRES
Maximum recommended inflation pressure 30 P.S.I.
Size of tyre tube 12.5 x 2.25. (62-203).
Important:
Care must be taken with your tyre and tyre tubes.
Keep tyres inflated to recommended tyre pressure to
ensure effective operation of the brake.
There is no cover under the warranty for damage
done to tyres and tyre tubes due to wear and tear
PO Box 30-871
65 Pharazyn St
Lower Hutt
NEW ZEALAND
www.abcbuggy.co.nz
Email: abcbuggy@xtra.co.nz
Collapsing the buggy

Other Mountain Buggy Stroller manuals

Mountain Buggy Buggy Range Outside Cover User manual

Mountain Buggy

Mountain Buggy Buggy Range Outside Cover User manual

Mountain Buggy terrain User manual

Mountain Buggy

Mountain Buggy terrain User manual

Mountain Buggy Carrycot User manual

Mountain Buggy

Mountain Buggy Carrycot User manual

Mountain Buggy Urban Double U2204 User manual

Mountain Buggy

Mountain Buggy Urban Double U2204 User manual

Mountain Buggy Strollers User manual

Mountain Buggy

Mountain Buggy Strollers User manual

Mountain Buggy terrain User manual

Mountain Buggy

Mountain Buggy terrain User manual

Mountain Buggy Perle User manual

Mountain Buggy

Mountain Buggy Perle User manual

Mountain Buggy Buggy Range Outside Cove User manual

Mountain Buggy

Mountain Buggy Buggy Range Outside Cove User manual

Mountain Buggy buggypod Smorph2 User manual

Mountain Buggy

Mountain Buggy buggypod Smorph2 User manual

Mountain Buggy Cosmopolitan User manual

Mountain Buggy

Mountain Buggy Cosmopolitan User manual

Mountain Buggy urban elite User manual

Mountain Buggy

Mountain Buggy urban elite User manual

Mountain Buggy Urban Jungle Designer User manual

Mountain Buggy

Mountain Buggy Urban Jungle Designer User manual

Mountain Buggy Lite User manual

Mountain Buggy

Mountain Buggy Lite User manual

Mountain Buggy double terrain User manual

Mountain Buggy

Mountain Buggy double terrain User manual

Mountain Buggy Stroller User manual

Mountain Buggy

Mountain Buggy Stroller User manual

Mountain Buggy Cosmopolitan User manual

Mountain Buggy

Mountain Buggy Cosmopolitan User manual

Mountain Buggy freerider connector User manual

Mountain Buggy

Mountain Buggy freerider connector User manual

Mountain Buggy duo User manual

Mountain Buggy

Mountain Buggy duo User manual

Mountain Buggy swift Manual

Mountain Buggy

Mountain Buggy swift Manual

Mountain Buggy Nano User manual

Mountain Buggy

Mountain Buggy Nano User manual

Mountain Buggy Cosmopolitan User manual

Mountain Buggy

Mountain Buggy Cosmopolitan User manual

Mountain Buggy Mini User manual

Mountain Buggy

Mountain Buggy Mini User manual

Mountain Buggy carrycot plus User manual

Mountain Buggy

Mountain Buggy carrycot plus User manual

Mountain Buggy MB mini User manual

Mountain Buggy

Mountain Buggy MB mini User manual

Popular Stroller manuals by other brands

Delta Children Jeep SPORT UTILITY instruction manual

Delta Children

Delta Children Jeep SPORT UTILITY instruction manual

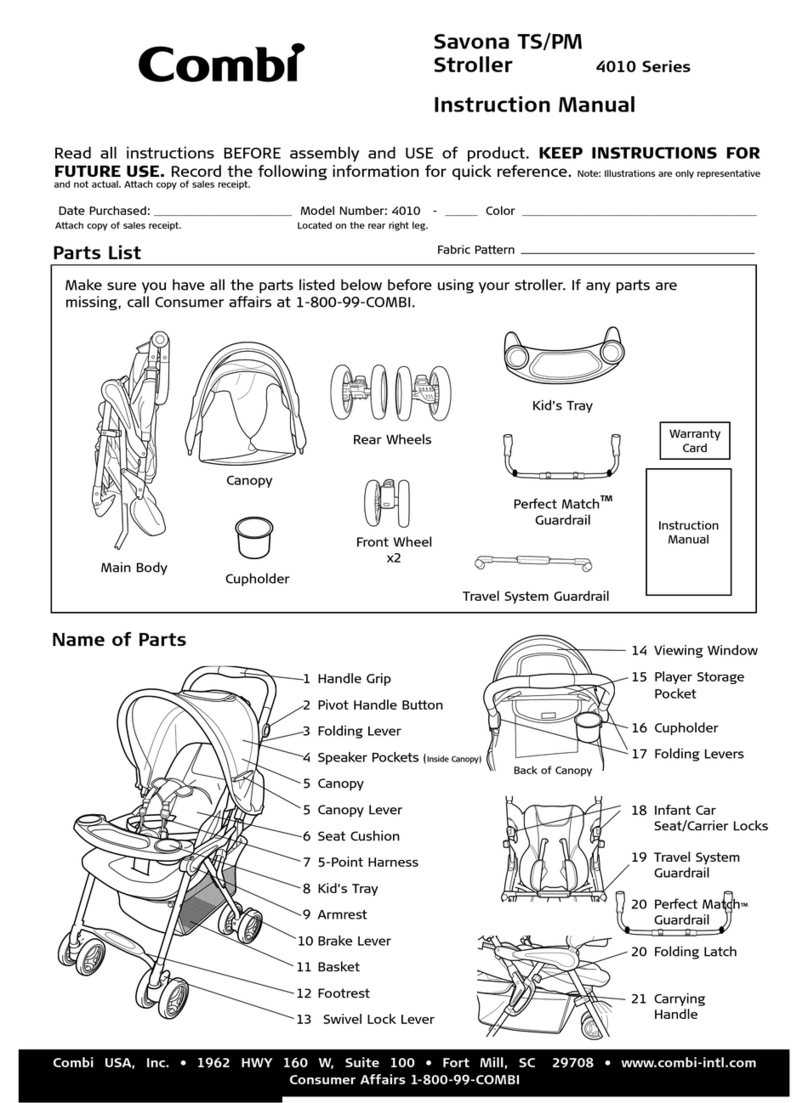
Combi 4010 instruction manual

Combi

Combi 4010 instruction manual

Giordani manhattan owner's manual

Giordani

Giordani manhattan owner's manual

Synetik ErgoCare TOM5 STREETER user guide

Synetik ErgoCare

Synetik ErgoCare TOM5 STREETER user guide

Verdi Babies solar classic user manual

Verdi Babies

Verdi Babies solar classic user manual

Zapf Creation Baby Born 828656 manual

Zapf Creation

Zapf Creation Baby Born 828656 manual

Thomashilfen EASyS Advantage Assembly instructions

Thomashilfen

Thomashilfen EASyS Advantage Assembly instructions

LuvLap Galaxy 18257 user manual

LuvLap

LuvLap Galaxy 18257 user manual

Kiddicare Stunning Stars Instruction leaflet

Kiddicare

Kiddicare Stunning Stars Instruction leaflet

Graco ISPA189AA owner's manual

Graco

Graco ISPA189AA owner's manual

Chipolino TRIA instruction manual

Chipolino

Chipolino TRIA instruction manual

Combi Well Comfort instruction manual

Combi

Combi Well Comfort instruction manual

Chicco Corso owner's manual

Chicco

Chicco Corso owner's manual

Evenflo Pivot Xpand user manual

Evenflo

Evenflo Pivot Xpand user manual

UPPAbaby PiggyBack CRUZ V2 manual

UPPAbaby

UPPAbaby PiggyBack CRUZ V2 manual

Hartan RS one S instructions

Hartan

Hartan RS one S instructions

Emmaljunga NXT90B manual

Emmaljunga

Emmaljunga NXT90B manual

Britton Metro instruction manual

Britton

Britton Metro instruction manual

manuals.online logo
manuals.online logoBrands
  • About & Mission
  • Contact us
  • Privacy Policy
  • Terms and Conditions

Copyright 2025 Manuals.Online. All Rights Reserved.