MP-Man MP-F56 User manual
MP-F56
User’s Guide
Stereo MP3/WMA Player
Before operating this product, please read these instructions completely.

1
PRECAUTIONS
COPYRIGHT:
˙Distributing copies of MP3 or WMA tracks without permission is a violation of
international copyright laws.
SAFETY:
˙Vibration experienced during walking or exercising will not affect the player. However,
dropping the player or dropping a heavy object on the player may result in damage or
sound distortion.
˙Avoid spilling any liquid onto or into the player.
˙Do not leave the player in a location near heat sources; in a location subject to direct
sunlight, excessive dust, sand, moisture, rain or mechanical shock; on an unlevel surface;
or in a car with the windows closed during periods of excessive heat.
ROAD SAFETY:
˙Do not use headphones while driving, cycling or operating any motorized vehicle. It may
create a traffic hazard and it is illegal in some areas. It can be potentially dangerous to
play your headset at a high volume while walking, especially at pedestrian crossings. You
should exercise extreme caution or discontinue use in potentially hazardous situations.

2
Dear Customer:
Selecting fine audio equipment such as the unit you’ve just purchased is only the start of
your musical enjoyment. Now it’s time to consider how you can maximize the fun and
excitement your equipment offers. This manufacturer and the Electronic Industries
Association’s Consumer Electronics Group want you to get the most out of your equipment
by playing it at a safe level. One that lets the sound come through loud and clear without
annoying blaring or distortion and, most importantly, without affecting your sensitive hearing.
Sound can be deceiving. Over time your hearing “comfort level”adapts to higher volumes of
sound. So what sounds “normal”can actually be loud and harmful to your hearing. Guard
against this by setting your equipment at a safe level BEFORE your hearing adapts.
To establish a safe level:
˙Start your volume control at a low setting.
˙Slowly increase the sound until you can hear it comfortably and clearly, and without
distortion.
Once you have established a comfortable sound level:
˙Set the dial and leave it there.
Taking a minute to do this now will help to prevent hearing damage or loss in the future. After
all, we want you listening for a lifetime.
We Want You Listening For A Lifetime
Use wisely, your new sound equipment will provide a lifetime of fun and enjoyment. Since
hearing damage from loud noise is often undetectable until it is too late, this manufacturer
and the Electronic Industries Association’s Consumer Electronics Group recommend you
avoid prolonged exposure to excessive noise. This list of sound levels is included for your
protection.

3
Decibel
Level Example
30 Quiet library, soft whispers
40 Living room, refrigerator, bedroom away from traffic
50 Light traffic, normal conversation, quiet office
60 Air conditioner at 20 feet, sewing machine
70 Vacuum cleaner, hair dryer, noisy restaurant
80 Average city traffic, garbage disposals, alarm clock at two feet
THE FOLLOWING NOISES CAN BE DANGEROUS UNDER CONSTANT EXPOSURE:
90 Subway, motorcycle, truck traffic, lawn mower
100 Garbage truck, chain saw, pneumatic drill
120 Rock band concert in front of speakers, thunderclap
140 Gunshot blast, jet engine
180 Rocket launching pad
Information courtesy of the Deafness Research Foundation.

4
LOCATION OF CONTROLS
1. Headphone Jack
2. VOLUME + / ﹣Buttons
3. Display
4. Battery Compartment and SD/MMC Memory Card Slot (Side of Unit)
5. Power On-Off / Stop Button
6. Function Switch (Play, Pause, Skip + / ﹣)
7. MODE Button (Main Menu / Setting)
8. LOCK Switch
9. EQ / REPEAT Button
10. USB Jack
1
2
3
4
10
9
7
8
6
5
5
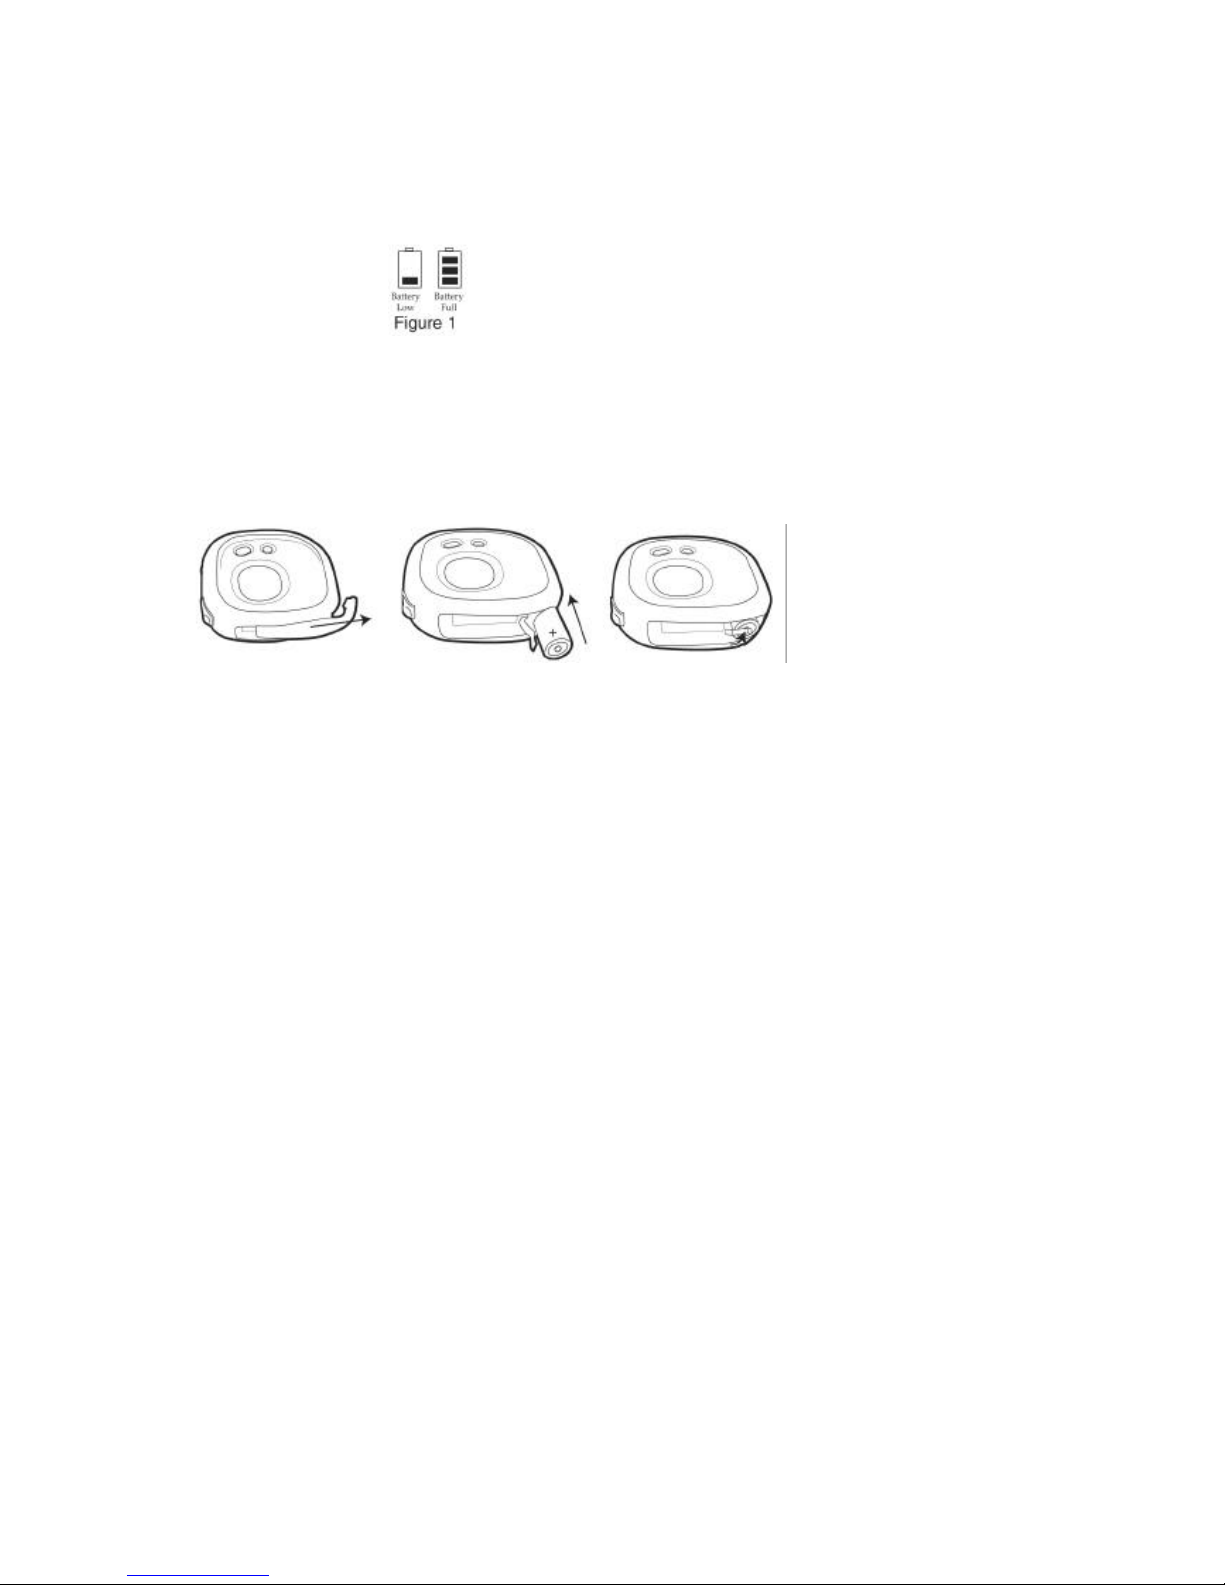
BATTERY INSTALLATION
When the bars in the battery indicator (in the display) become low (see figure 1), replace the
battery as follows.
1. Open the battery door by sliding it towards the bottom of the unit as shown in
figure 2.
2. Flip the battery plate upward and insert one (1) “AAA”cell battery (included) as
shown in figure 3. Alkaline batteries are recommended for the longest playing time.
3. Flip the battery plate to its original position as shown in figure 4 and slide the battery
door back on.
Figure2Figure 3 Figure 4
BATTERY PRECAUTIONS
Follow these precautions when using batteries in this device:
1. Use only the size and type of batteries specified.
2. Be sure to follow the correct polarity when installing the battery as indicated. Reversed
batteries may cause damage to the device.
3. If the device is not to be used for a long period of time, remove the battery to prevent
damage or injury from possible battery leakage.
4. Do not try to recharge batteries not intended to be recharged; they can overheat and
rupture. (Follow battery manufacturer’s directions.)
6
INSTALLATION (CONTINUED)
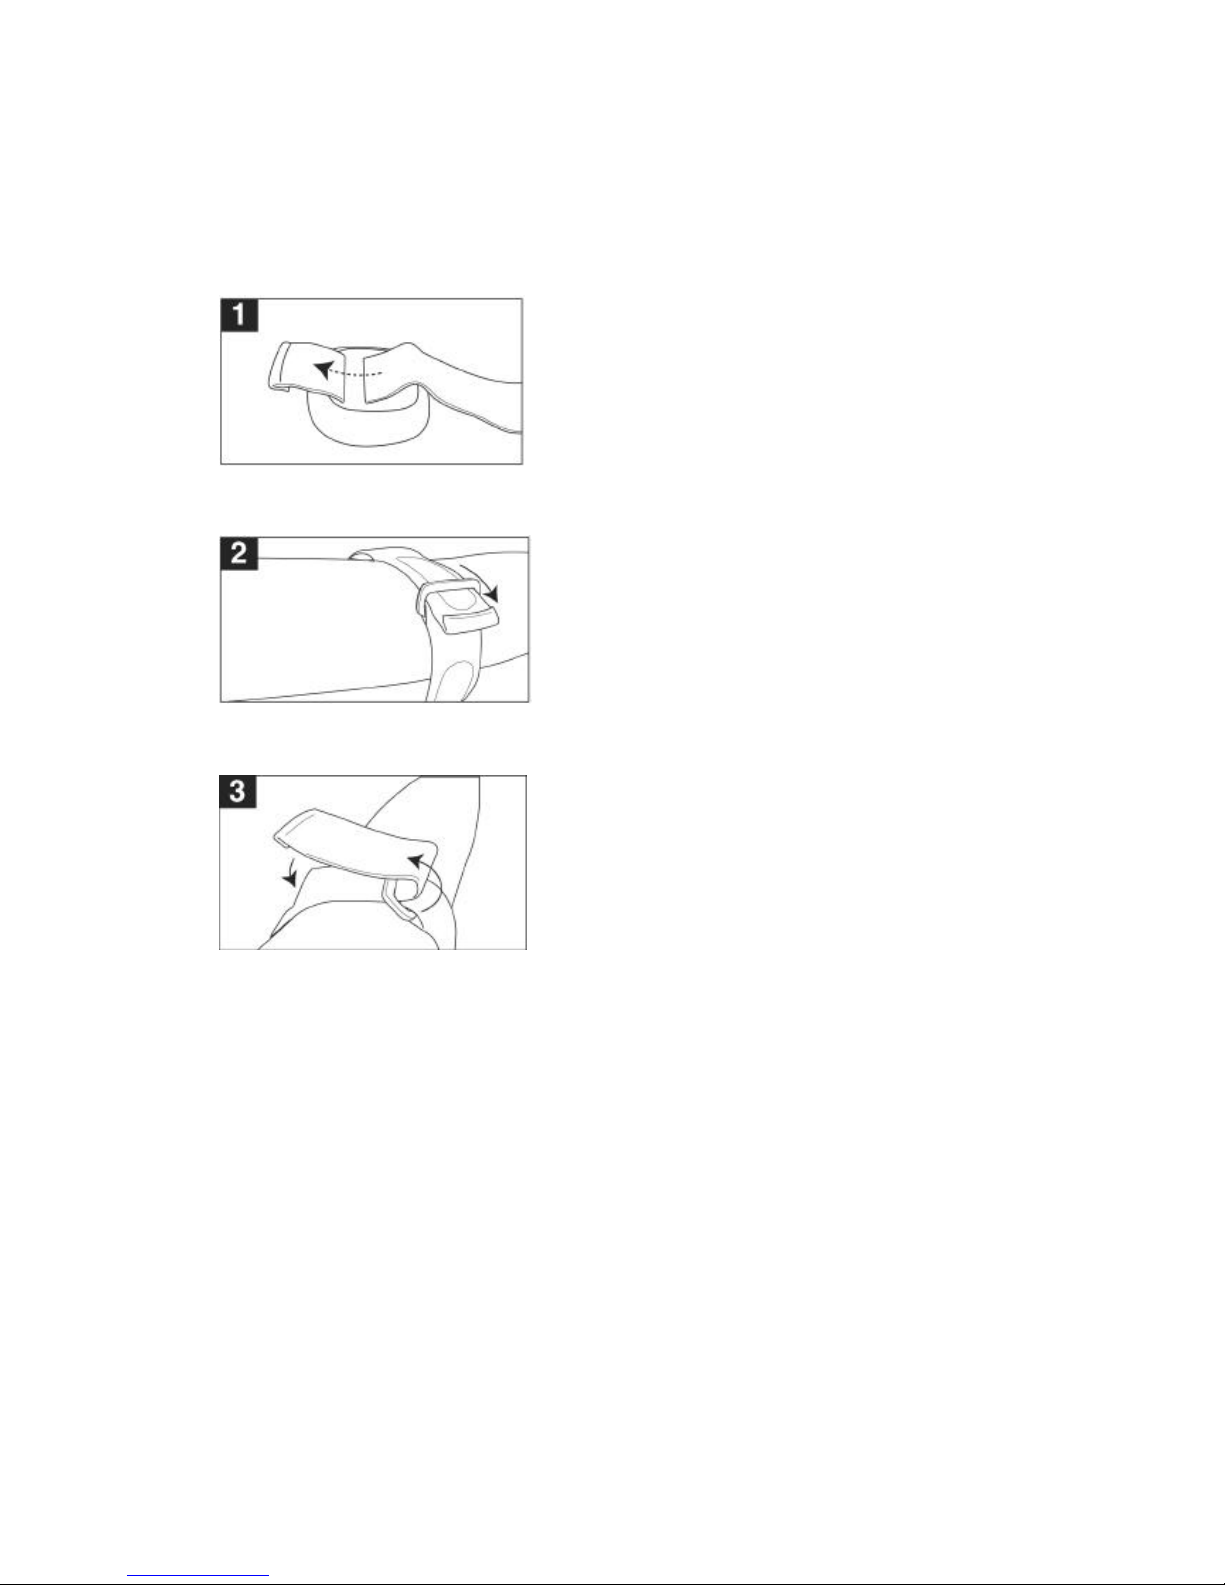
ARM STRAP
1. Insert the arm strap into the slot on the rear of the unit and pull through.
2. Pull the arm strap and insert it into the buckle.
3. Pull the strap and fold over, then fasten the velcro.
HEADPHONE JACK:
Turn on the unit and set the volume to low. Insert the headphone’s plug into the Headphone
jack.
7
DOWNLOADING AND TRANSFERRING FILES
TO INSTALL THE “DIGITAL AUDIO PLAYER”CD SOFTWARE
For Windows 98SE:
The USB mass storage function will not be activated without driver installation. To activate
the USB mass storage function, please use the installation CD-ROM to install the driver.
For Windows ME, Windows 2000 or Windows XP:
Windows will automatically detect the audio player without installing the CD software when
the USB cable is connected.
For Macintosh OSX:
Macintosh OSX will automatically detect the audio player without installing the CD software.
Do not install the software when using a Macintosh.
If you are connecting your player to your computer for the first time, please follow these
instructions:
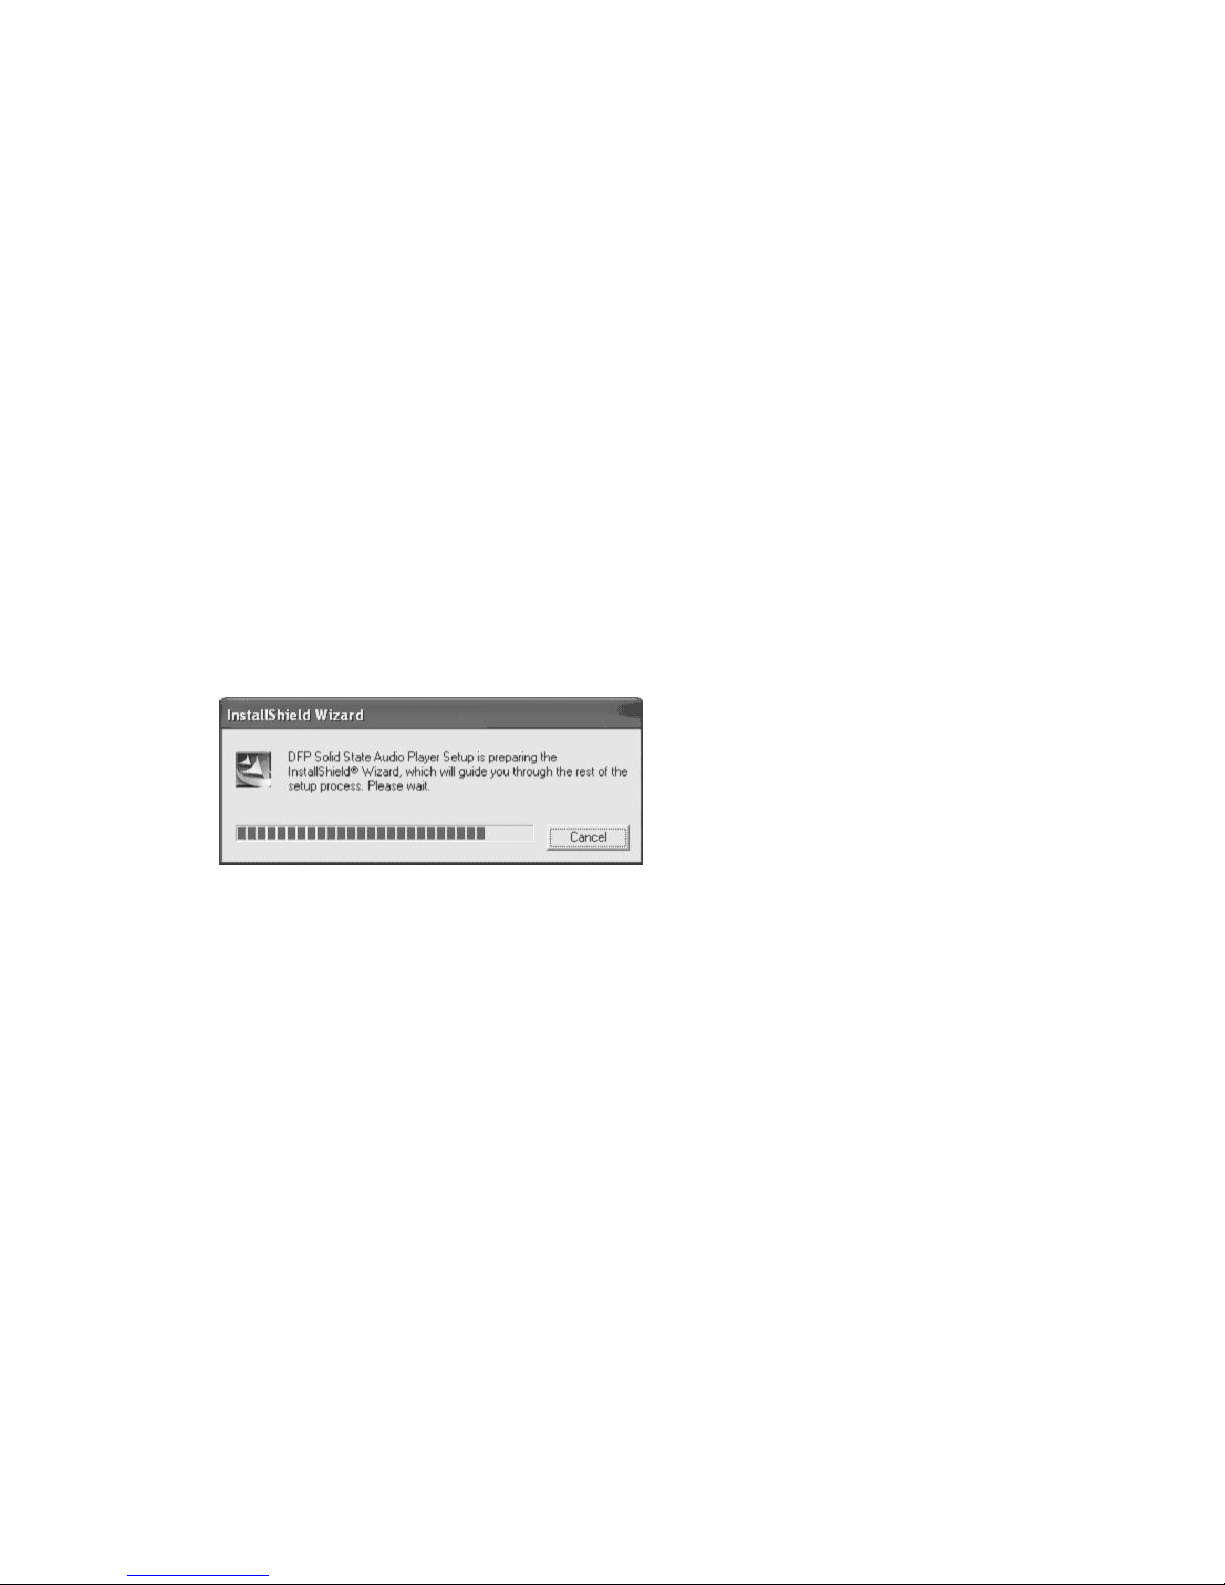
Procedure to Install Player Driver (For Win 98SE only)
1. Insert the Installation CD-ROM into the CD Drive; the auto-run program will start to install
the host driver automatically.
NOTE: If the setup does not start automatically, double click “Setup.exe”in the installation
CD to run the Host Driverinstallation.

8
DOWNLOADING AND TRANSFERRING FILES
(CONTINUED)
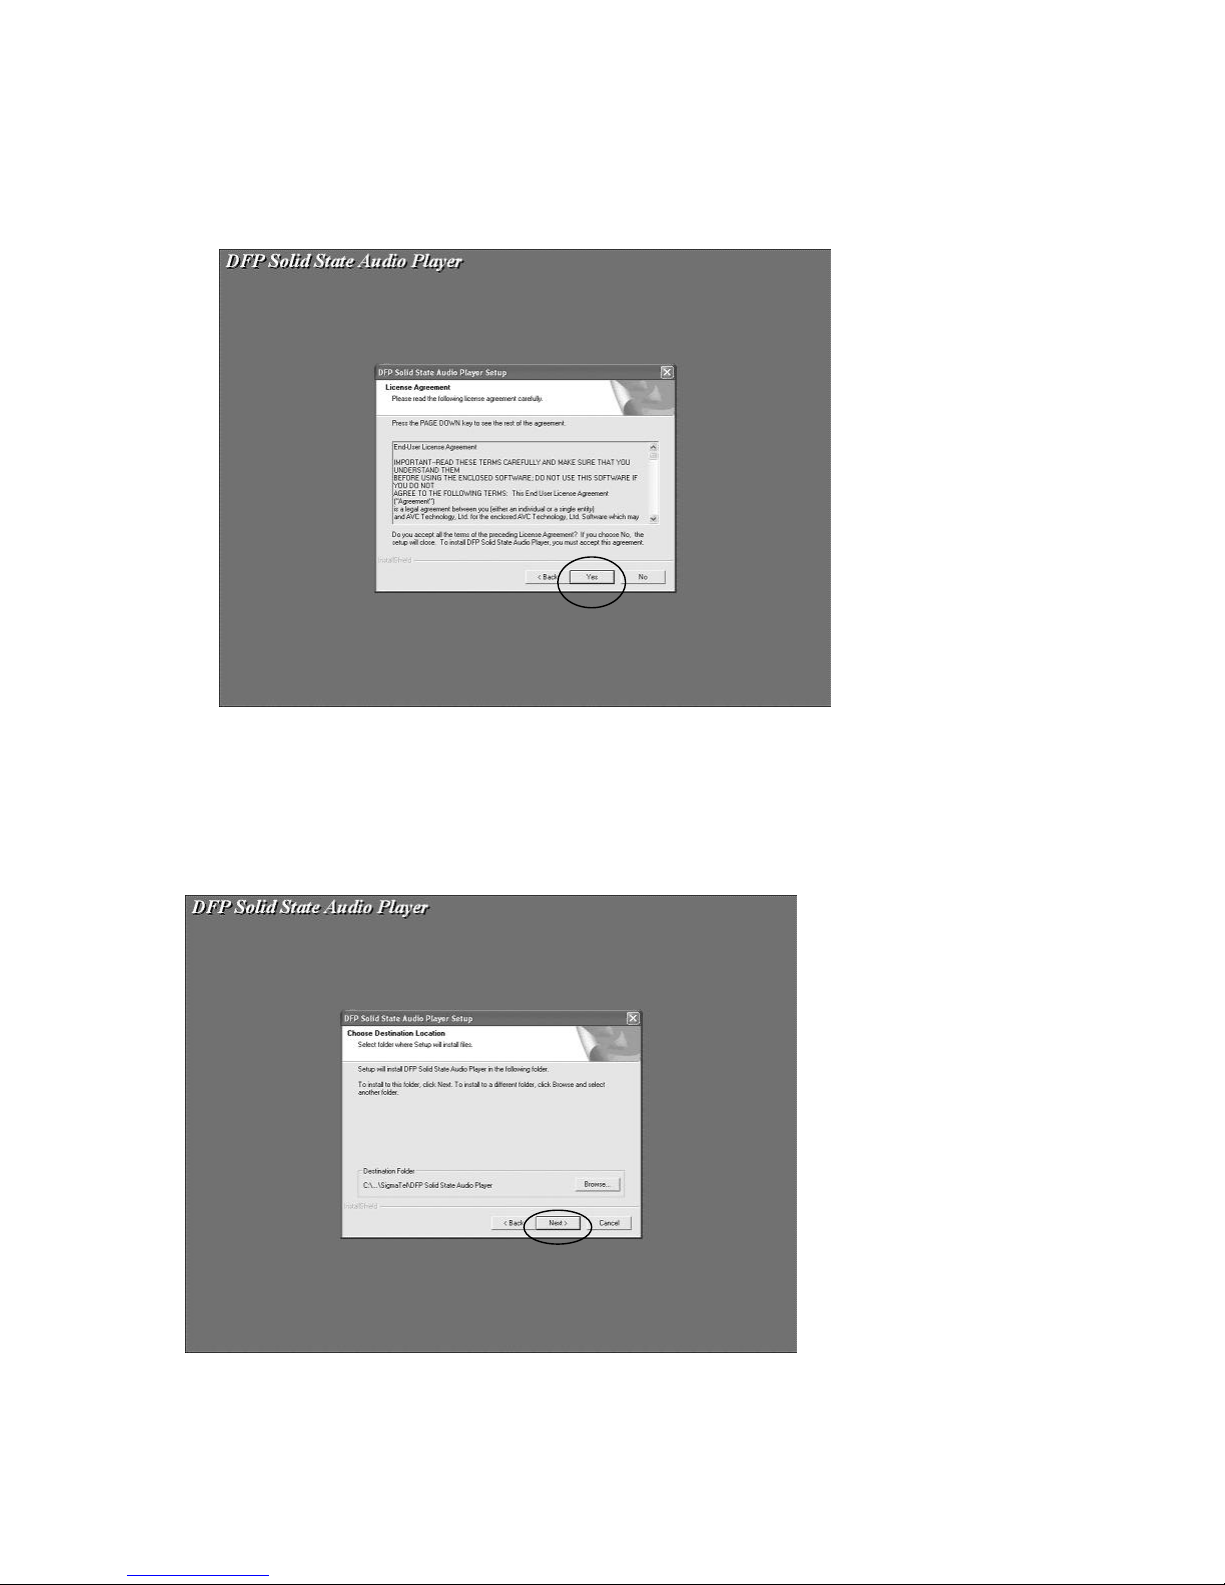
2. Follow the on screen instructions to install the host driver.
9
DOWNLOADING AND TRANSFERRING FILES
(CONTINUED)
3. Install the host driver under the directory as prompted.
Warning: DO NOT change the installation path. Otherwise, the host driver cannot run
properly.
Other manuals for MP-F56
2
Table of contents
Other MP-Man MP3 Player manuals

MP-Man
MP-Man MP-F72 User manual

MP-Man
MP-Man MP-F75 Manual

MP-Man
MP-Man MP-F80 User manual

MP-Man
MP-Man MPF405 User manual

MP-Man
MP-Man MP-F402 User manual

MP-Man
MP-Man MP-F72 Manual

MP-Man
MP-Man MP-F700 User manual

MP-Man
MP-Man MP-F55 Manual

MP-Man
MP-Man BT29 User manual

MP-Man
MP-Man TS200 Series User manual

MP-Man
MP-Man MP-F30 User manual

MP-Man
MP-Man MP-FUB269 User manual

MP-Man
MP-Man MP-F56 User manual

MP-Man
MP-Man MP-FOL10 Manual

MP-Man
MP-Man MP107 User manual

MP-Man
MP-Man TS 15 User manual

MP-Man
MP-Man BT24 User manual

MP-Man
MP-Man MP-FOL6 User manual

MP-Man
MP-Man TS 302 User manual

MP-Man
MP-Man MP-FUB27 User manual


