5
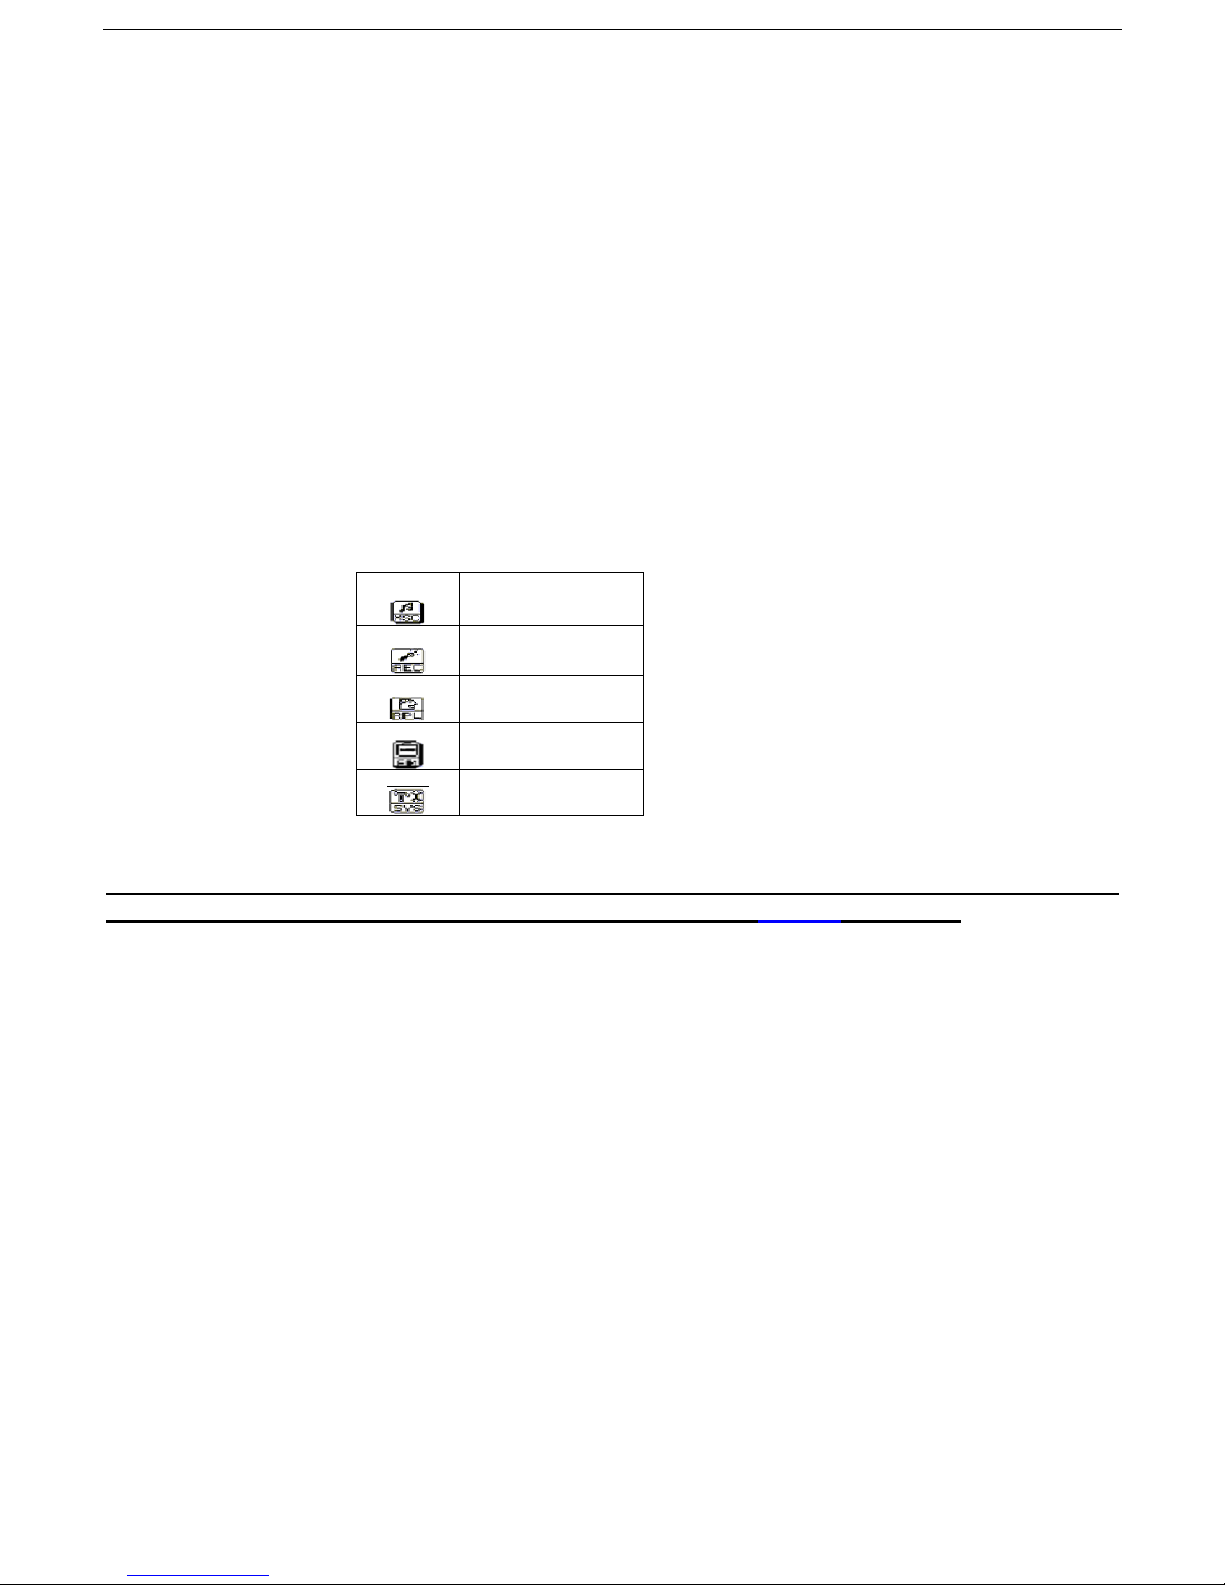
2.3.2.2 Equalizer
Seven options:
- Natural
- Rock
- Pop
- Classic
- Soft
- Jazz
- DBB
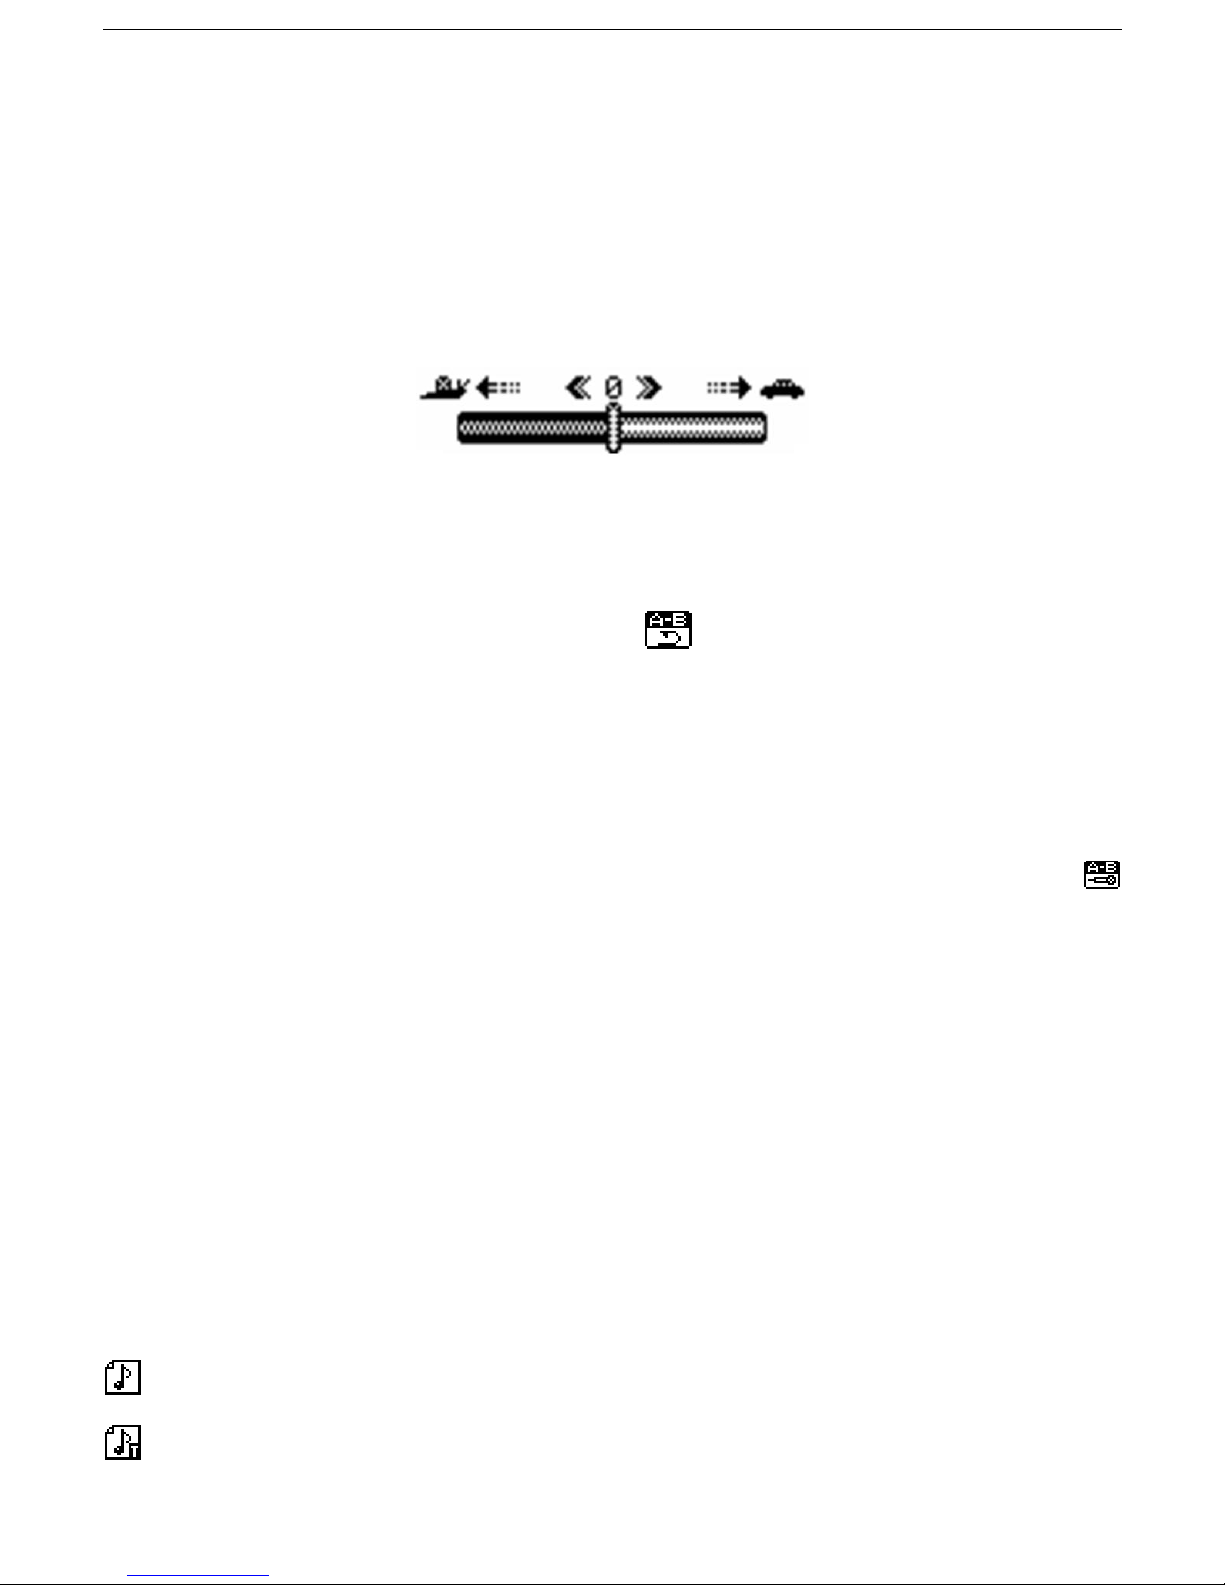
2.3.2.3 Tempo Rate
The music can be played faster or slower (only with MP3 files)
Change the rate by pushing the “PLAY” Button left or right.
2.3.2.4 Replay mode
- A-B replay
When replay mode is selected, the A-B icon is visible .
Select the start point A (flashing) by sliding “PLAY” button right.
Select the end point B(flashing) by sliding “PLAY” button right.
The A-B section will be repeated continuously
Press “MENU” button to return to normal playback
-During replay, the play-rate can be changed with VOL+ or VOL-".
- Adding your voice to the A-B section
During playback of the A-B section, slide “PLAY” button to the right. The microphone icon
appears and your voice is recorded. Slide “PLAY” button right again to stop the recording.
The A-B section + the voice recording will be repeated
2.3.2.5 Replay times
Here you are able to choose how many times (1-10) the A-B section will be repeated.
2.3.2.6 Replay gap
Choose the time (1-10 sec) between each A-B section.
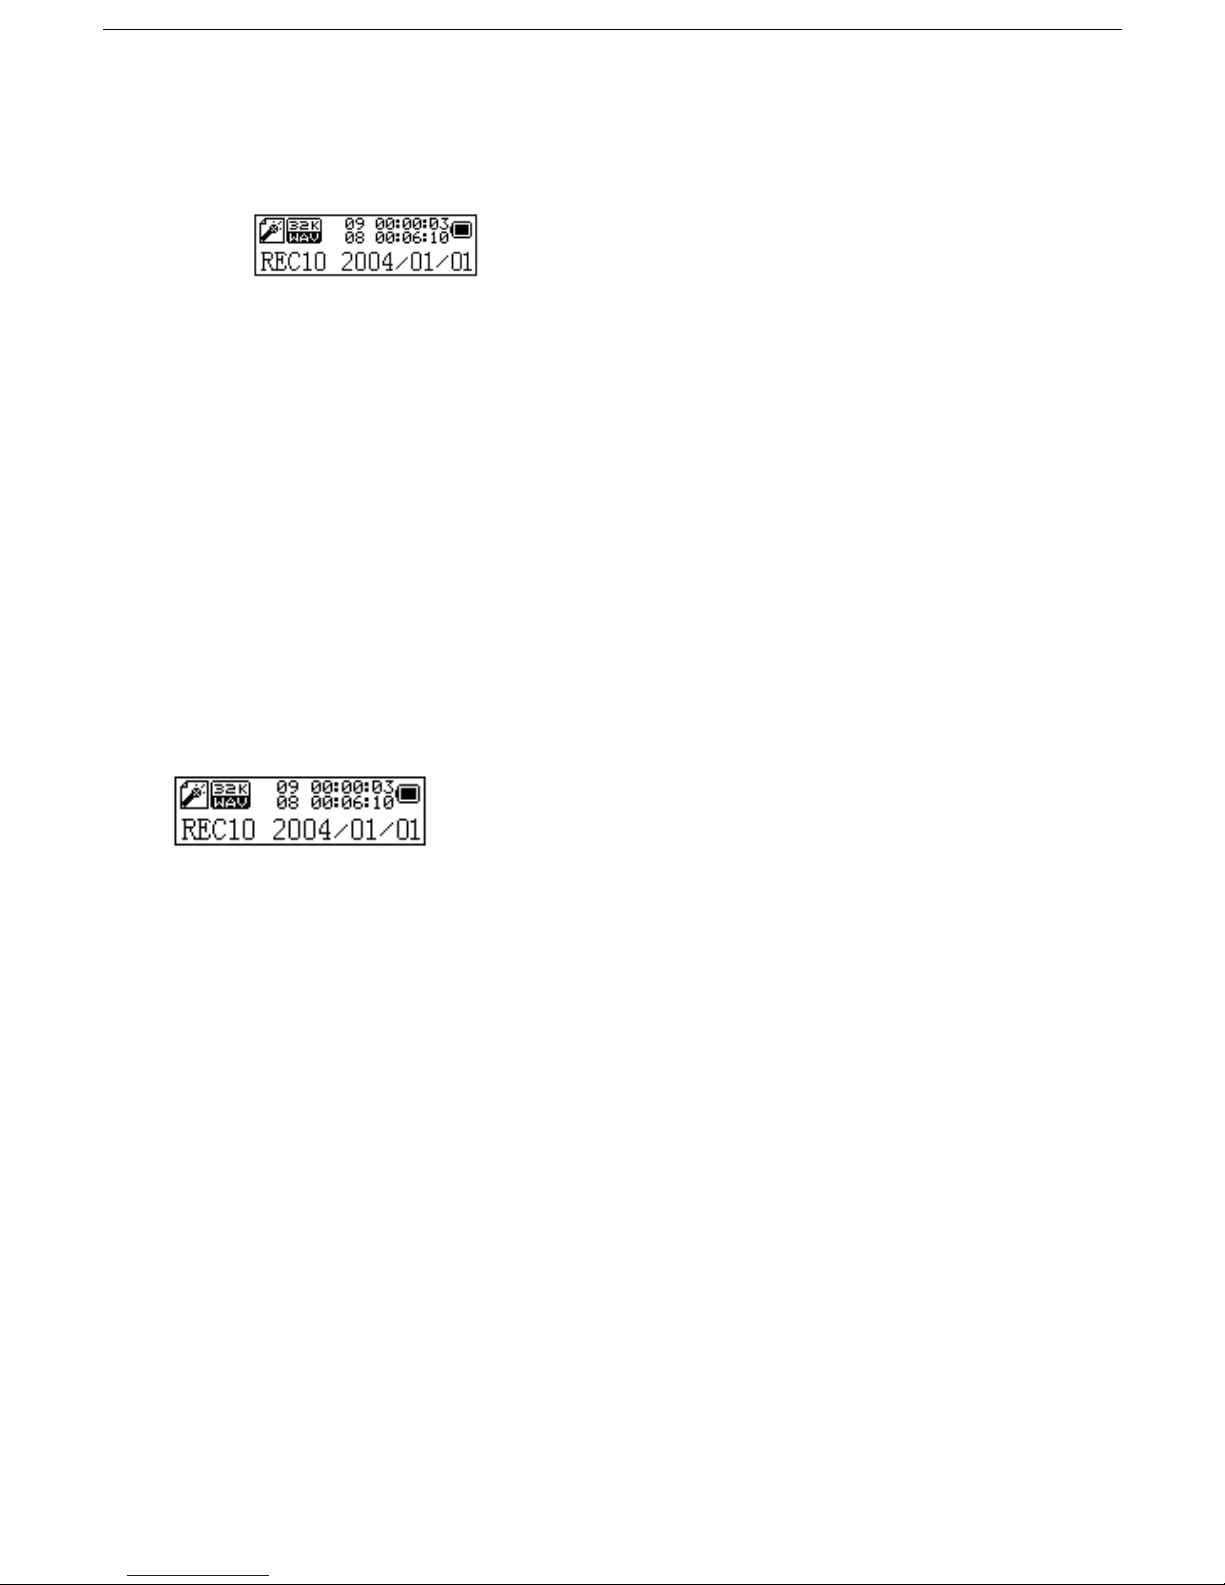
2.3.3 Lyrics
This MP3 player supports "*. lrc "Lyric files
Lyrics can be downloaded from the internet. Make sure that lrc-file has the same name as the
corresponding song. For example:
If the song name is “Yesterday.mp3 “, the lyric file should be named “Yesterday.lrc”
MP3 and LRC file must be stored in the same folder!
No Lyric
Lyric included
Attention: A lyric can not be larger then 500 words.