manuals.online logo
Brands
  1. Home
  2. •
  3. Brands
  4. •
  5. mPower Electronics
  6. •
  7. Gas Detector
  8. •
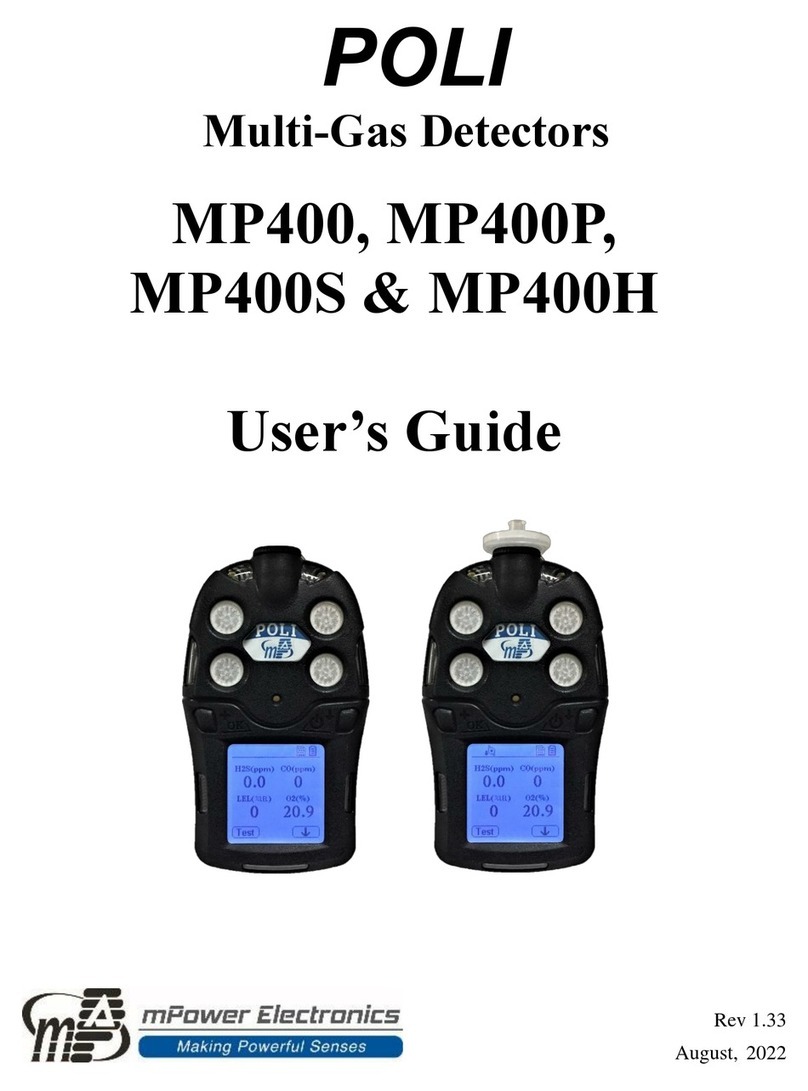
  9. mPower Electronics POLI MP400 User manual

mPower Electronics POLI MP400 User manual

WARNINGS
Read Before Operating
This manual must be carefully read by all individuals
who have or will have the responsibility of using,
maintaining or servicing this product. The product
will perform as designed only if it is used, maintained
and serviced in accordance with the manufacturer’s
instructions.
Caution
⚫Change battery only in area known to be
non-hazardous.
⚫Use only mPower’s battery PN:
12.01.09.0001.
Attention:
⚫Changez la batterie uniquement dans une
zone connue pour être non dangereuse.
⚫Utiliser uniquement la batterie mPower
PN: PN: 12.01.09.0001. 1
Warning
⚫Never operate the monitor when the cover is removed.
⚫Remove the monitor cover and battery only in area known as non-hazardous.
⚫Use only mPower’s lithium battery part number12.01.09.0001.
⚫This instrument has not been tested in an explosive gas/air atmosphere
having an oxygen concentration greater than 21%.
⚫Substitution of components will impair suitability for intrinsic safety and void
warranty.
⚫It is recommended to bump test with a known concentration gas to confirm
the instrument is functioning properly before use.
⚫Before use, ensure that the ESD film on the display is not damaged or peeling.
Avertissement:
⚫N'utilisez jamais le moniteur lorsque le couvercle est enlevé.
⚫Retirer le couvercle du moniteur et la batterie uniquement dans une zone
connue comme non dangereuse.
⚫Utilisez uniquement le numéro de pièce de la batterie au lithium
mPower12.01.09.0001.
⚫Cet instrument n'a pas été testé dans une atmosphère explosive gaz / air
ayant une concentration en oxygène supérieure à 21%.
⚫La substitution de composants compromettra l'aptitude à la sécurité
intrinsèque et annulera la garantie.
⚫Ilestrecommandédetesteravecun gazdeconcentrationconnupourconfirme
rquel'instrumentfonctionnecorrectementavantdel'utiliser.
⚫Avant de l’utiliser, assurez-vous que le film ESD sur l'écran n'est pas
endommagé ou épluché.
2
User Interface
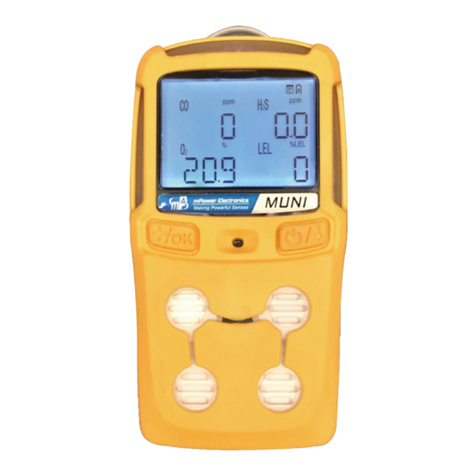
Two key operation, four sensor sockets, one big LCD,
eight alarm LEDs, one buzzer, two vibration alarms.
3
mPower Electronics Inc.
3046 Scott Blvd. Santa Clara, CA 95054
Phone: +1(408)320-1266
Fax: +1(669)342-7077
info@mpowerinc.com
www.mpowerinc.com
POLI
MP400 Series
Quick Start Guide
Sensor
Gas Inlet
LED Alarm
Buzzer
Left Key
(Confirm
/Number
Increase)
LCD
Charge/Comm Port
LED Alarm
Right Key
(Power/
Cursor Moving)
v1.0
Turning the Unit On
Press and hold the Right Key for 3 seconds, until
buzzer beeps, red LED on, unit is powered on. After
warm up and self-test sequence, unit enters normal
reading mode, showing real time gas concentration.
Turning the Unit Off
In normal reading mode, press and hold the Right
Key, unit will display 5 seconds count down, with red
LED flash and buzzer beeps once per second. After
the last long flash and beep, LCD displays “Power
Off”, unit is powered off.
Charging MP400
Always fully charge the battery before use. Plug charger
to the bottom of MP400. Unit LCD will show charge
status. While charging,the LCD displays a battery icon
cycle fromempty to full. When the battery is fully
charged, the LCD displays a full battery.
4
Normal Mode
After warm up finished, unit enters normal reading
mode, start monitoring gas concentration and the
reading value will be displayed on the LCD screen.
User can check some other values like STEL, TWA,
PEAK and MIN by pressing Right Key, these screens
will cycle one by one.
5
Config Mode
In config mode, user can do sensor calibration and
bump test, change sensor alarm limits and set unit
parameters. Enter Config Mode
Press and hold the Left and Right Key together for 3
seconds, the unit will enter config mode.
⚫The config mode is password protected.
⚫The default password is “0000”.
⚫After all four digits are inputted,
press Left Key to enter config
mode.
Config Mode Menu
⚫Sensor: Calibration, Bump, Set Span Value.
⚫Alarm: Set High, Low, STEL, TWA alarm.
⚫Datalog: Set datalog interval, clear datalog.
⚫Unit Setting: LCD contrast.
⚫Wireless: Wireless operation.
⚫Exit: Exit from config mode.
Exit Config Mode
Press Right Key to move high-light to “Exit”icon,
then press Left Key to exit from config mode. 6
Change Alarm Limit
All alarm limits can be customized, including high,
low, STEL and TWA alarm.
⚫To enter alarm limit setting:
Config mode →Alarm Menu →Alarm Type.
⚫To change value:
Press Right Key to move high-light field, press
Left Key to change value, hold Left Key down
will change value continuously.
⚫To change number direction:
Press Left and Right together to toggle between
increase( ) and decrease( ).
⚫To finished setting:
Press Right Key until bottom-left corner show
“Done”, press Left Key to exit setting. If value
has been changed, there will be a message to
confirm saving the new values. Press “Yes”to
save, “No”to discard.
7
Bump Test
Bump test is to check if the sensors and alarms are
still working properly.
⚫To enter bump test:
Config mode →Sensor Menu →Bump Test.
⚫To bump test the unit:
Select Sensor →Apply Gas →Start Bump →
Wait Count-down Finish →Get Result.
8
Fresh Air Calibration
Fresh air calibration is to get the baseline for sensor, it
is done in normal fresh air.
⚫To enter fresh air calibration:
Config Mode →Sensor Menu →Fresh Air Calib.
⚫To change sensor selection:
All sensors are selected by default, press Right
Key to start selecting, toggle selection with Left
Key, move high-light with Right Key, press “OK”
when selection is done.
⚫Start fresh air calibration:
Press Left Key to start calibration, a count-down
timer starts. User can cancel calibration during
count down. Calibration result will be displayed
on LCD screen after count-down is finished,
“Pass”or “Fail”.
9
Span Calibration
Span calibration is to get the metric of the sensor to
the gas, it is done with a known concentration gas.
⚫To enter span calibration:
Config Mode →Sensor Menu →Span Calib.
⚫To calibrate the unit:
Select Sensor →Apply Gas →Start Calibration
→Wait Count-down Finish →Get Result.
⚫To apply gas:
Apply gas to gas inlet, on the top of the unit.
10
Maintenance and Service
Battery, sensor replacement and other maintenances or
services, please contact mPower’s service department
or refer to the User Manual.
Year of manufacturing
To identify the year of manufacturing, please refer to
the serial number of the instrument.
The fifth to sixth digit in the serial number indicates
the year of manufacturing. 00~99
indicates the manufacturing year is 2000 to 2099.
11

Other manuals for POLI MP400

2

Other mPower Electronics Gas Detector manuals

mPower Electronics MUNI User manual

mPower Electronics

mPower Electronics MUNI User manual

mPower Electronics UNI Lite MP110 User manual

mPower Electronics

mPower Electronics UNI Lite MP110 User manual

mPower Electronics POLI MP400 User manual

mPower Electronics

mPower Electronics POLI MP400 User manual

mPower Electronics UNI 321 User manual

mPower Electronics

mPower Electronics UNI 321 User manual

mPower Electronics UNI MP100 User manual

mPower Electronics

mPower Electronics UNI MP100 User manual

mPower Electronics MP100 User manual

mPower Electronics

mPower Electronics MP100 User manual

mPower Electronics mSQUAD MP400S User manual

mPower Electronics

mPower Electronics mSQUAD MP400S User manual

mPower Electronics MUNI MP420 User manual

mPower Electronics

mPower Electronics MUNI MP420 User manual

mPower Electronics POLI MP400H User manual

mPower Electronics

mPower Electronics POLI MP400H User manual

mPower Electronics POLI MP400 User manual

mPower Electronics

mPower Electronics POLI MP400 User manual

Popular Gas Detector manuals by other brands

FORENSICS DETECTORS 90E user manual

FORENSICS DETECTORS

FORENSICS DETECTORS 90E user manual

Alecto COA4010 manual

Alecto

Alecto COA4010 manual

Honeywell Home SiXCOMBO-CN Installation and setup guide

Honeywell Home

Honeywell Home SiXCOMBO-CN Installation and setup guide

GasTech G-Shield Fire instruction manual

GasTech

GasTech G-Shield Fire instruction manual

olympia electronics BS-690 quick start guide

olympia electronics

olympia electronics BS-690 quick start guide

Satec DG-1 Series manual

Satec

Satec DG-1 Series manual

EDS EG Series user manual

EDS

EDS EG Series user manual

sauermann SI-CA 320 user manual

sauermann

sauermann SI-CA 320 user manual

ATI Technologies PortaSens III D16 O & M Manual

ATI Technologies

ATI Technologies PortaSens III D16 O & M Manual

Samon TR-SC-HCFC-4000 instructions

Samon

Samon TR-SC-HCFC-4000 instructions

Cool Air LBW-420-EC manual

Cool Air

Cool Air LBW-420-EC manual

Cool Air LBW-50 manual

Cool Air

Cool Air LBW-50 manual

Cool Air LBW-420-1-SS manual

Cool Air

Cool Air LBW-420-1-SS manual

Tecnocontrol TS293PM user manual

Tecnocontrol

Tecnocontrol TS293PM user manual

seeed studio Grove MQ3 manual

seeed studio

seeed studio Grove MQ3 manual

MSA DF-8500 user manual

MSA

MSA DF-8500 user manual

Atest Gaz LTT2 user manual

Atest Gaz

Atest Gaz LTT2 user manual

Riken Keiki SD-1DRI operating manual

Riken Keiki

Riken Keiki SD-1DRI operating manual

manuals.online logo
manuals.online logoBrands
  • About & Mission
  • Contact us
  • Privacy Policy
  • Terms and Conditions

Copyright 2025 Manuals.Online. All Rights Reserved.