3. Insert part (7) and part (4) and attach them by pushing in part (6) in a transverse/sideways
direction (= open position).
4. Press the nuts (13) in part (9) and assemble it to part (7) with the screws M4x20 (11).
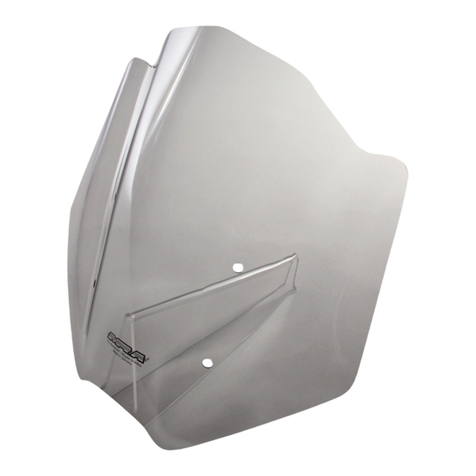
5. Put the preassembled X-creen onto the windscreen and attach it with the nuts (13), the cover
(10) and the screws M4x8 (12) to the provided drilled holes.
6. Tighten the screws M4x20 (11) o the mounting eet FXC-3 (9).
C - Drilling the Windscreen to the mount the X-creen:
Drill your windscreen only i you are sure you want to mount the X-creen spoiler permanently. Please
note it is also possible to clamp the X-creen onto your windscreen using the optionally available XCC
Tension Clamp Brackets kit (Art. No. 4025066125074) – no drilling is required with these (see section
D below).
1. Place the provided drilling template on the outside o the windscreen to be drilled so that
the two arrows on the template are lush with the windscreen edge and that the template is
centred. The scale on the le t and on the right o the template (P1) will help you.
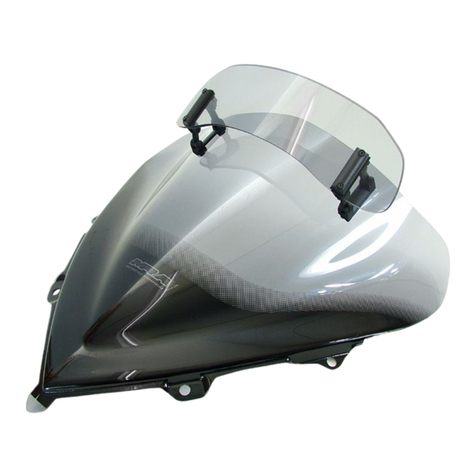
2. Take the preassembled X-creen spoiler, put the mounting eet (9) in a parallel position and
lock the adjusting buttons (2) or (6). Hold the X-creen spoiler on top o the drilling template
and check i the markings correspond with the mounting points o the X-creen (P2).
When doing so, the mounting eet (9) must be turned so that they lie lat on the
windscreen’s outer sur ace. I the markings on the template do not correspond with the
mounting holes, draw in suitable markings now.
3. Drill the 6mm holes with care and light pressure through the template into the windscreen.
Make sure you drill vertically to the windscreen sur ace and do not slip (sticking one or more
layers o clear tape on the screen’s sur ace be ore you mark and drill may assist with this).
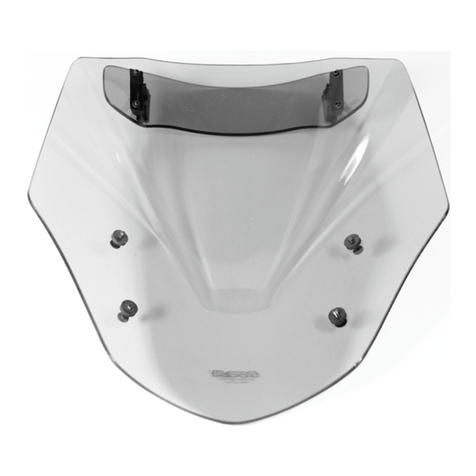
4. Put the preassembled X-creen onto the windscreen and attach it with the nuts (13), the
cover (10) and the screws M4x8 (12) to the provided drilled holes.
5. Tighten the screws M4x20 (11) o the mounting eet FXC-3 (9).
D - Mounting the X-creen spoiler using the XCC Tension Clamp Brackets kit:
I you would pre er not to drill your windscreen, you can mount the X-creen spoiler on your
windscreen using the optionally available XCC tension clamp brackets kit (Art. No. 4025066125074).
You will need 2.5 mm, 3mm and 4 mm Allen keys and a 10 mm combination spanner or assembly
and installation.
1. Take the preassembled X-creen spoiler, put the mounting eet (9) in parallel position and lock
the adjusting buttons (2) or (6).
2. Screw the coverings (10) with the screws M4x8 (12) to one side o the XCC brackets (14). On
the opposite side, screw the XCC brackets to the mounting eet (9) o the X-creen.
3. Press the rubber washers (15) on the thread end o the screws M4x8 (12). I you wish, you may
glue the rubber washers onto the XCC brackets with contact adhesive (such as Evo Stick
Impact), as this will make the assembly process easier.
4. Put the rubber hoses (16) into the XCC brackets, push the screws M6x30 (17) through them
and screw the nuts M6 (18) with the washers (19) on them.
5. Now put the X-creen centrally onto the windscreen so that the rubber hoses are on the edge
o the windscreen.
6. Tighten the screws using their corresponding tools, making sure that the XCC brackets stay in
the required position so that the joints are not under tension.

